Latest & Greatest
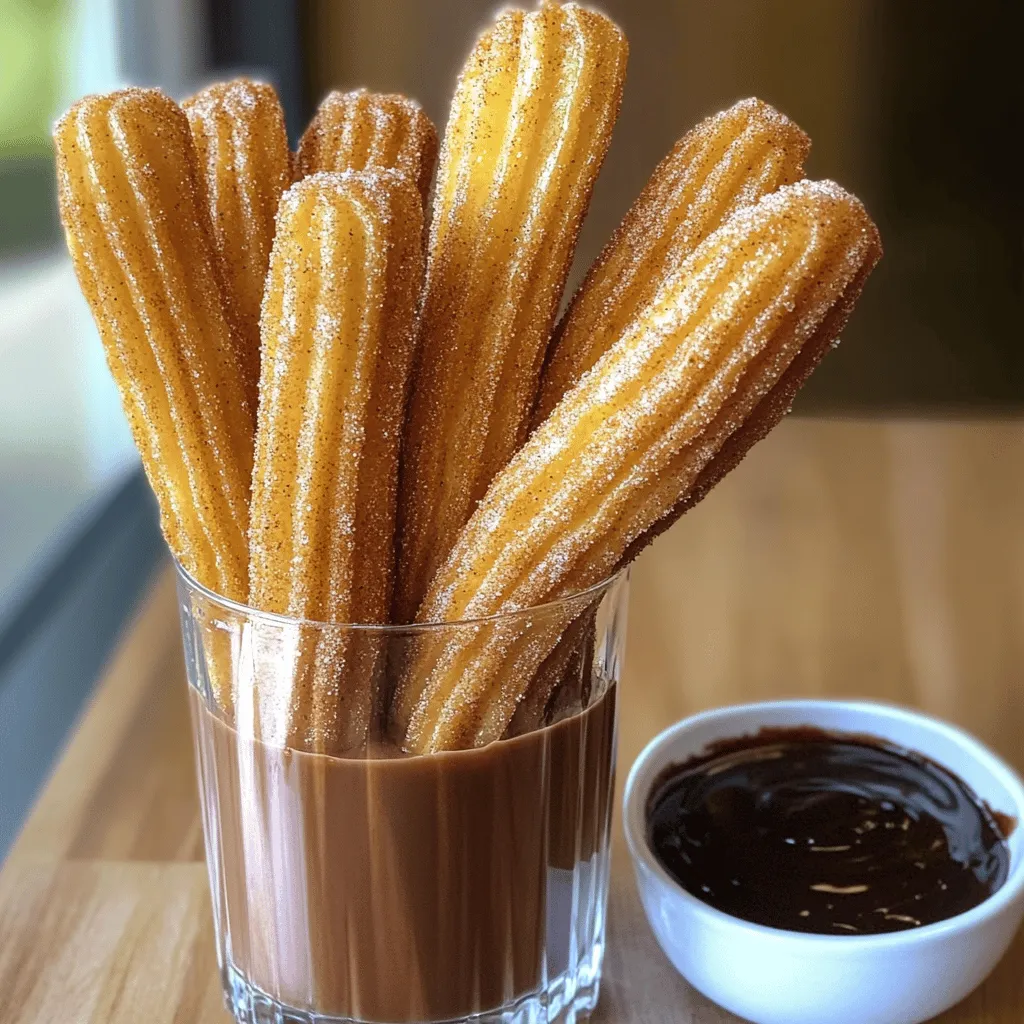
Cinnamon Sugar Churros Irresistible and Easy Recipe
Are you craving something sweet and warm? Cinnamon sugar churros are the answer! This easy recipe will guide you through
Read more…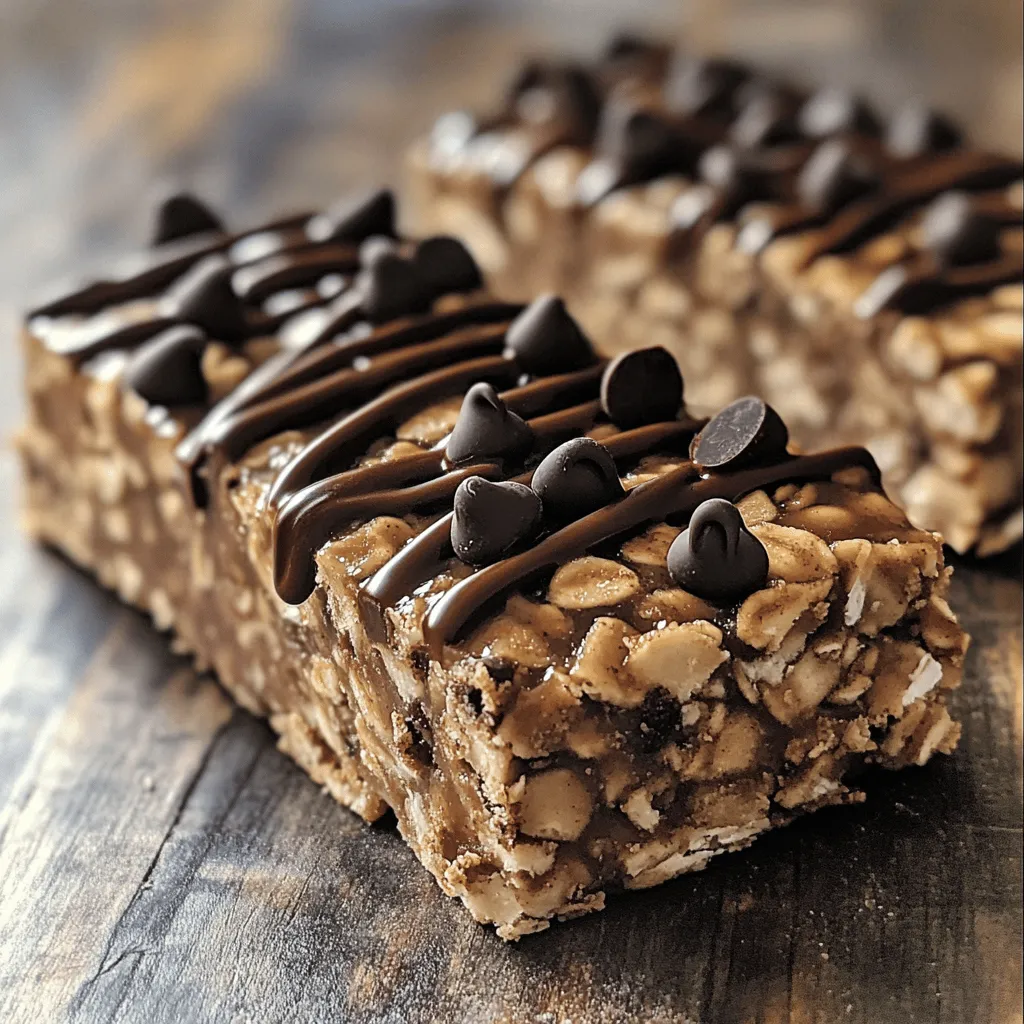
Mocha Chip Protein Bars Tasty and Nutritious Snack
Looking for a snack that gives you energy and tastes amazing? Try my Mocha Chip Protein Bars! These bars mix
Read more…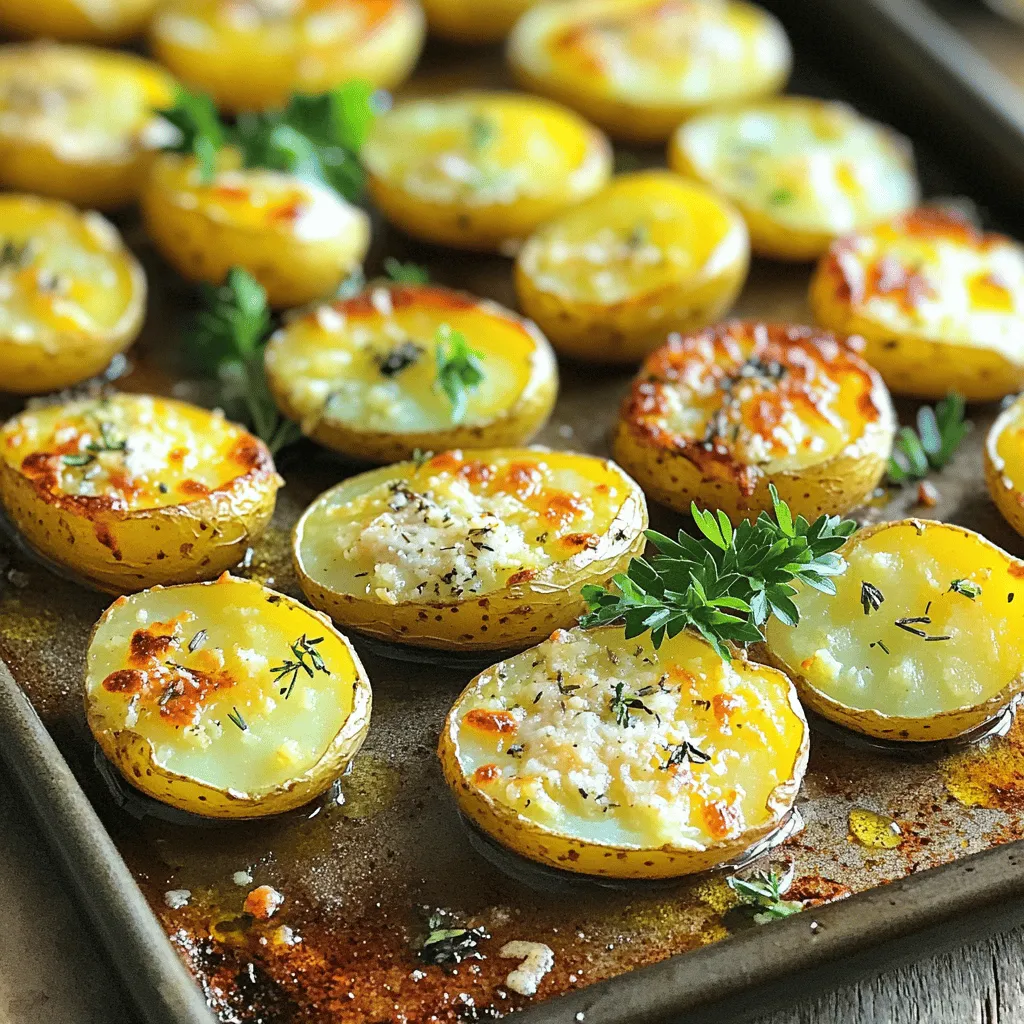
Garlic Parmesan Roasted Potatoes Simple and Tasty
Garlic Parmesan Roasted Potatoes are simple and full of flavor. If you want a tasty side dish that impresses, this
Read more…
Pesto Caprese Pasta Salad Flavorful and Simple Dish
If you’re craving a dish that strikes the perfect balance between fresh flavors and ease, look no further! My Pesto
Read more…
Teriyaki Chicken Skewers Easy Grill Recipe
If you’re craving a sweet and savory treat, you’ve stumbled upon the perfect recipe! My Teriyaki Chicken Skewers are easy
Read more…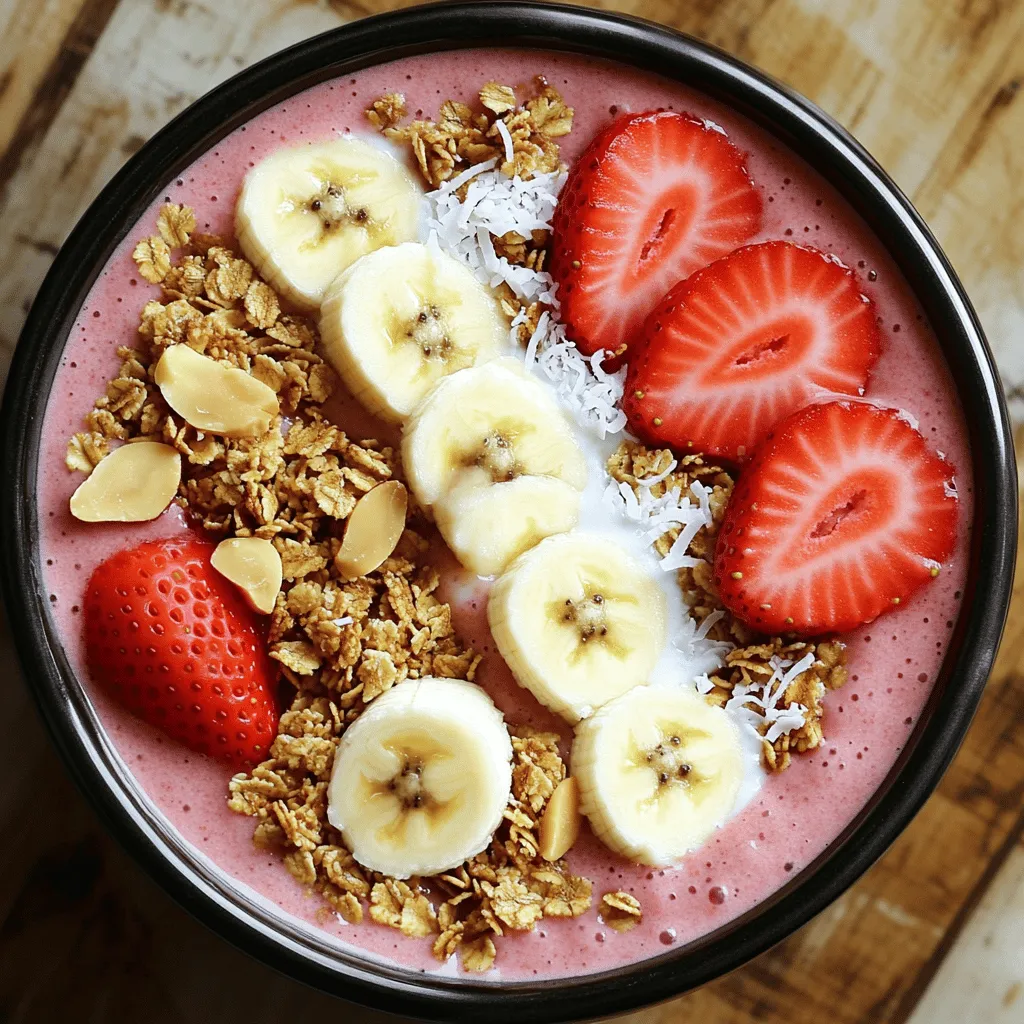
Strawberry Banana Smoothie Bowl Energizing Breakfast Idea
Start your day right with a Strawberry Banana Smoothie Bowl! This energizing breakfast is quick to make and packed with
Read more…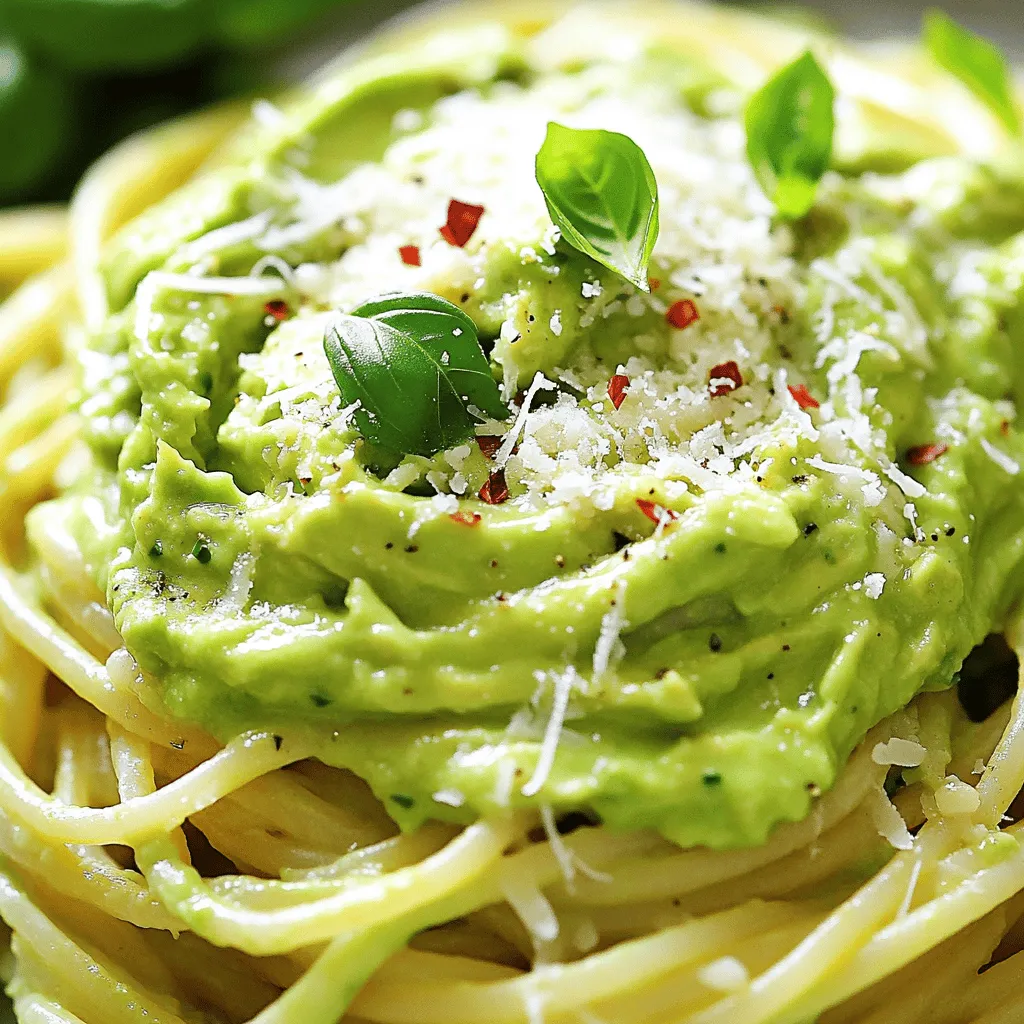
Creamy Avocado Pasta Flavorful and Easy Recipe
Are you ready to whip up something delicious? This Creamy Avocado Pasta is not only flavorful but also super easy
Read more…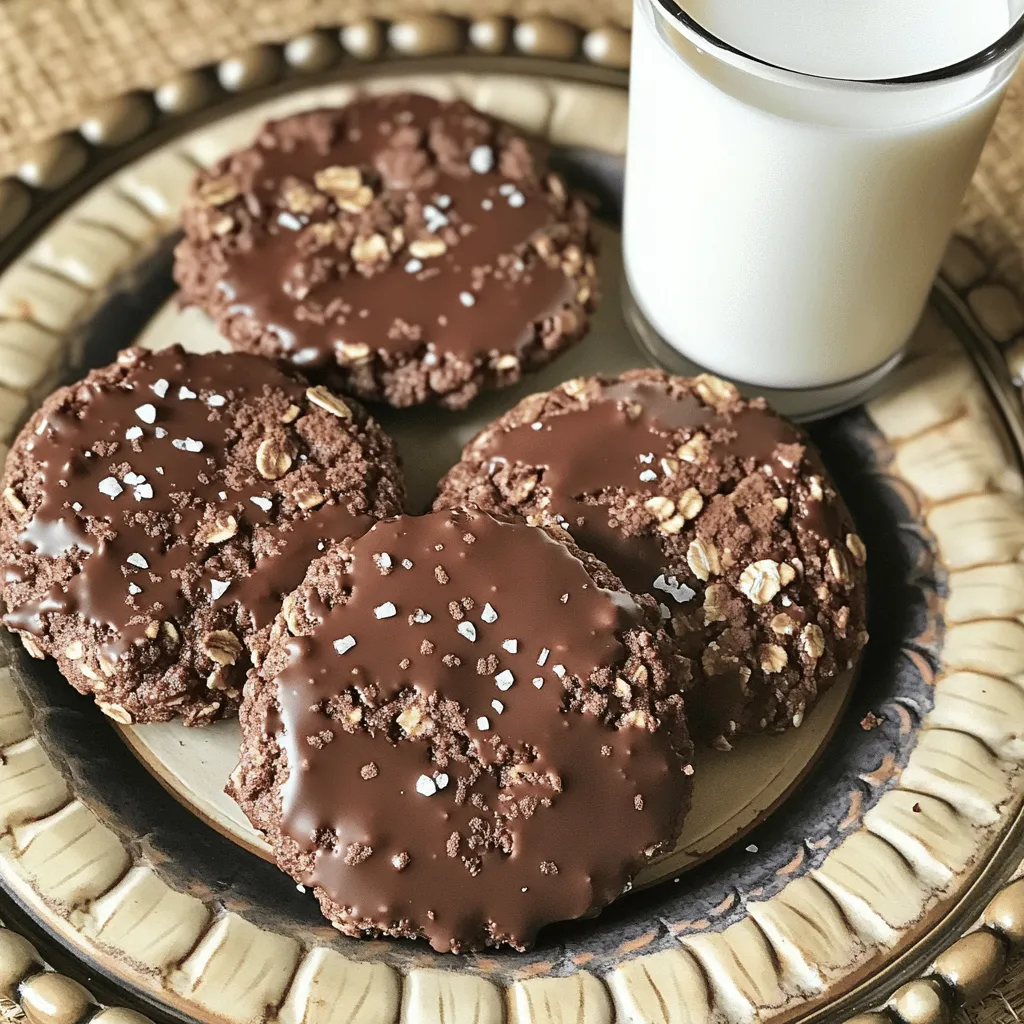
No-Bake Chocolate Oatmeal Cookies Simple Treat
Are you on the hunt for a quick and easy dessert? Look no further! My No-Bake Chocolate Oatmeal Cookies are
Read more…browse recipes

![To make a rich and creamy chocolate avocado mousse, you need just a few simple items. These ingredients blend to create a smooth, decadent treat. Here’s the full list: - 2 ripe avocados, pitted and peeled - 1/2 cup unsweetened cocoa powder - 1/2 cup pure maple syrup or honey - 1/4 cup almond milk - 1 teaspoon vanilla extract - A pinch of salt - Optional toppings: Whipped coconut cream, dark chocolate shavings, fresh berries, crushed nuts Ripe avocados are key. They provide a creamy base and a mild flavor. Unsweetened cocoa powder gives the mousse its rich chocolate taste. The maple syrup or honey adds sweetness, but you can adjust it to your liking. Almond milk makes it smooth, while vanilla and salt enhance the flavors. You can top your mousse with whipped coconut cream for extra richness. Dark chocolate shavings add a nice crunch. Fresh berries bring a bright flavor, and crushed nuts add texture. Each topping makes this mousse even more special. Now, gather these ingredients to create a delightful dessert. Trust me, this mousse is a crowd-pleaser! Making chocolate avocado mousse is easy and fun. Follow these steps to create a rich treat. - Step 1: Blend ripe avocados until smooth. Start with two ripe avocados. Cut them, remove the pit, and scoop out the flesh. Place the avocado in a food processor. Blend until you get a silky texture. Make sure there are no lumps. This step is key for creaminess. - Step 2: Mix in cocoa powder, sweetener, almond milk, and vanilla. Add half a cup of unsweetened cocoa powder to the blender. Next, pour in half a cup of pure maple syrup or honey. If you want it sweeter, you can adjust this later. Add a quarter cup of almond milk and one teaspoon of vanilla extract. Don't forget a pinch of salt. This enhances the chocolate flavor. - Step 3: Adjust sweetness and chill before serving. Blend the mixture again until it's completely smooth. Taste the mousse. If it needs more sweetness, add a little more maple syrup or honey. Once it’s perfect, scoop the mousse into bowls or glasses. Chill in the fridge for at least 30 minutes. This helps the mousse firm up and gives it a nice texture. Now you’re ready to enjoy this rich and creamy delight! For the detailed recipe, check out the Full Recipe. To make the best chocolate avocado mousse, start with ripe avocados. Ripe avocados are soft and creamy. They blend into a smooth mixture. If your avocados are hard, wait a few days. Check them for a slight give when you press gently. Next, use a good blender or food processor. This helps achieve that creamy texture. Blend the avocados first until smooth. Scrape down the sides to get every bit mixed in. Then, add the cocoa powder, sweetener, almond milk, and vanilla. Blend again until everything is combined. The mousse should be rich and creamy. Taste your mousse before serving. You can adjust the sweetness to your liking. If it is not sweet enough, add more maple syrup or honey. Blend again to mix it well. This way, you get the perfect flavor balance. Enjoy the process and trust your taste buds! {{image_2}} You can easily change up the flavor of your chocolate avocado mousse. Here are some fun ideas to try: - Adding a hint of espresso or coffee: A small amount of espresso can enhance the chocolate flavor. Just one teaspoon can add a nice depth. Blend it right in with the other ingredients. You will love the rich taste! - Incorporating peanut butter or almond butter: Mixing in a spoonful of your favorite nut butter gives a creamy texture. This adds protein and a unique flavor. Just remember to adjust the sweetness since nut butters can have their own taste. - Try different sweeteners: You can swap maple syrup or honey for other sweeteners. Agave nectar or coconut sugar work well too. Taste as you go to find your perfect sweetness level. Each sweetener brings its own flavor profile, allowing you to create a mousse that is just right for you. These variations keep your mousse exciting and personalized. Experimenting with different flavors can make your dessert journey even more fun! For the complete recipe, check out the [Full Recipe]. To keep your chocolate avocado mousse fresh, use an airtight container. This will stop air from getting in and keep it creamy. If stored well, the mousse lasts for about 3 to 5 days in the fridge. If you want to save some for later, you can freeze it. Just scoop it into a freezer-safe container. Make sure to leave some space at the top, as it may expand. The mousse can stay good for up to 2 months in the freezer. When you are ready to eat it again, move the mousse to the fridge overnight to thaw. Give it a quick stir after thawing. This will help restore the smooth texture. Enjoy this rich and creamy delight whenever you crave it! For the full recipe, check out the section above. Yes, you can easily make this mousse dairy-free. Use almond milk or any non-dairy milk instead of regular milk. This keeps the mousse creamy and delicious without dairy. Check for a dark green or black skin color. Gently squeeze the avocado. It should feel soft but not mushy. If it is hard, leave it out to ripen for a few days. Sure! You can use coconut milk, oat milk, or soy milk. Each type adds a unique taste but keeps the mousse creamy. Avocados are full of healthy fats, vitamins, and fiber. They can improve heart health and help with digestion. Using avocados makes this mousse rich and nutritious. Serve the mousse in small bowls or glasses. Top it with whipped coconut cream, dark chocolate shavings, fresh berries, or crushed nuts for added flavor and fun. You can find the full recipe above for more details. This blog post shows you how to make a simple chocolate avocado mousse. You need ripe avocados, cocoa powder, and a sweetener. Proper blending gives a creamy texture, and you can add fun flavors like peanut butter. For storage, keep your mousse in an airtight container. This treat is healthy and easy to customize. Enjoy making this tasty dessert that pleases many palates. Dive into your kitchen and create something amazing!](https://southerndishes.com/wp-content/uploads/2025/04/039aff8d-0171-4eec-8742-225c64655352.webp)
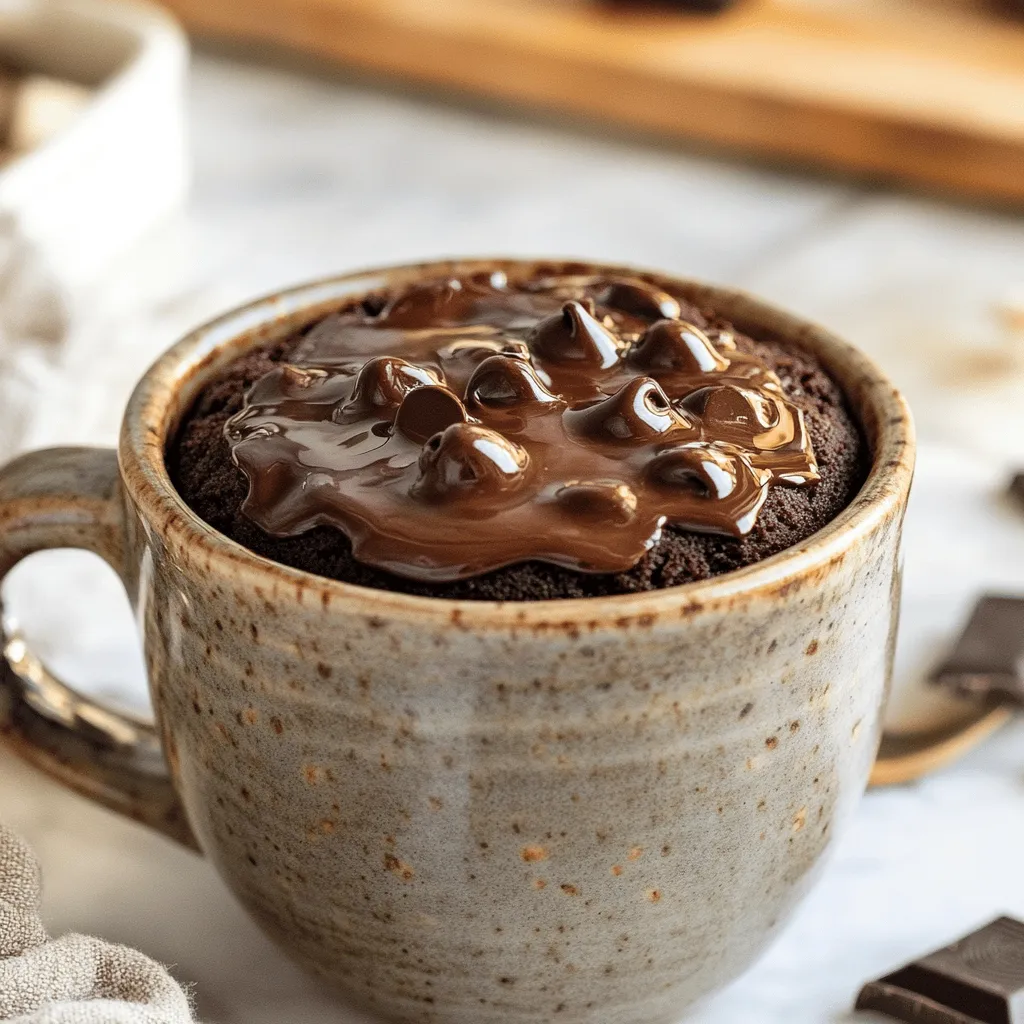
Chocolate Avocado Mousse Rich and Creamy Delight
Indulging in a rich and creamy dessert doesn’t have to mean guilt. With this Chocolate Avocado Mousse, you get both! This simple recipe combines…
My Latest Desserts
-
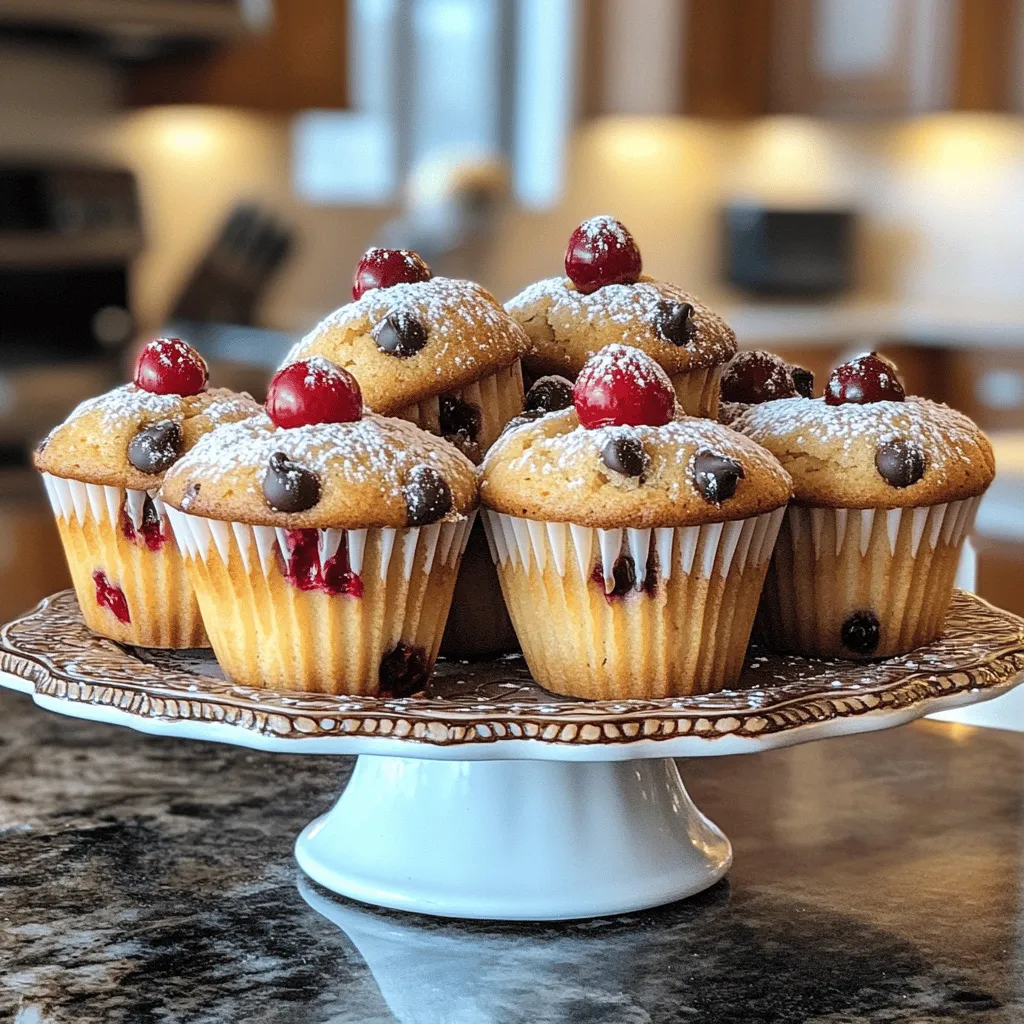
Cherry Chocolate Chip Muffins Irresistible and Easy Recipe
Get ready to bake some magic with my Cherry Chocolate Chip Muffins! This easy recipe combines tart cherries and rich Read Full Recipe -

Cherry Lemonade Popsicles Refreshing Summer Treat
Looking for a cool treat this summer? Try my Cherry Lemonade Popsicles! They combine tart lemon and sweet cherries, making Read Full Recipe -
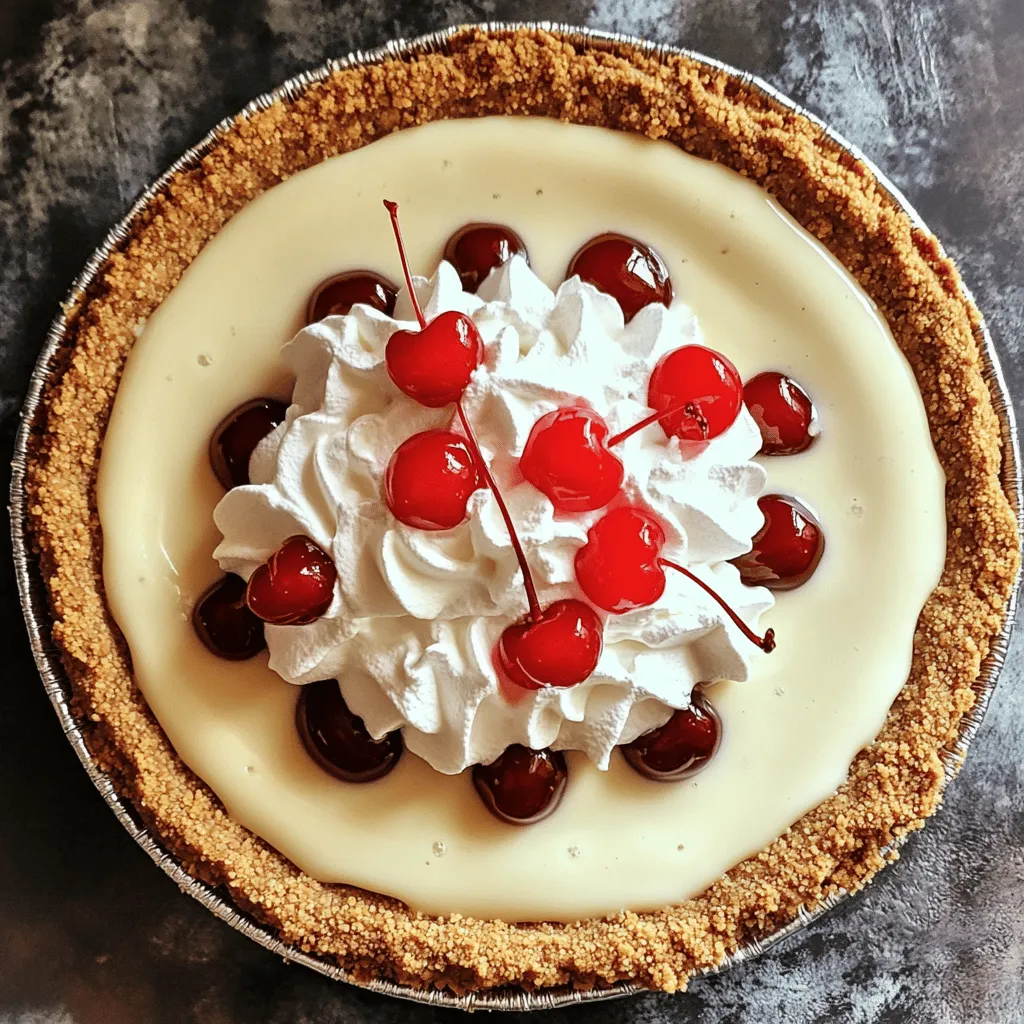
Cream Soda Milkshake Pie Tasty and Simple Recipe
Are you ready to impress your friends with a sweet treat? This Cream Soda Milkshake Pie is not just tasty; Read Full Recipe -

Cherry Swirl Frozen Yogurt Bark Easy and Delicious Treat
Craving a sweet yet healthy treat? You’ll love this Cherry Swirl Frozen Yogurt Bark! It’s easy to make and packed Read Full Recipe -
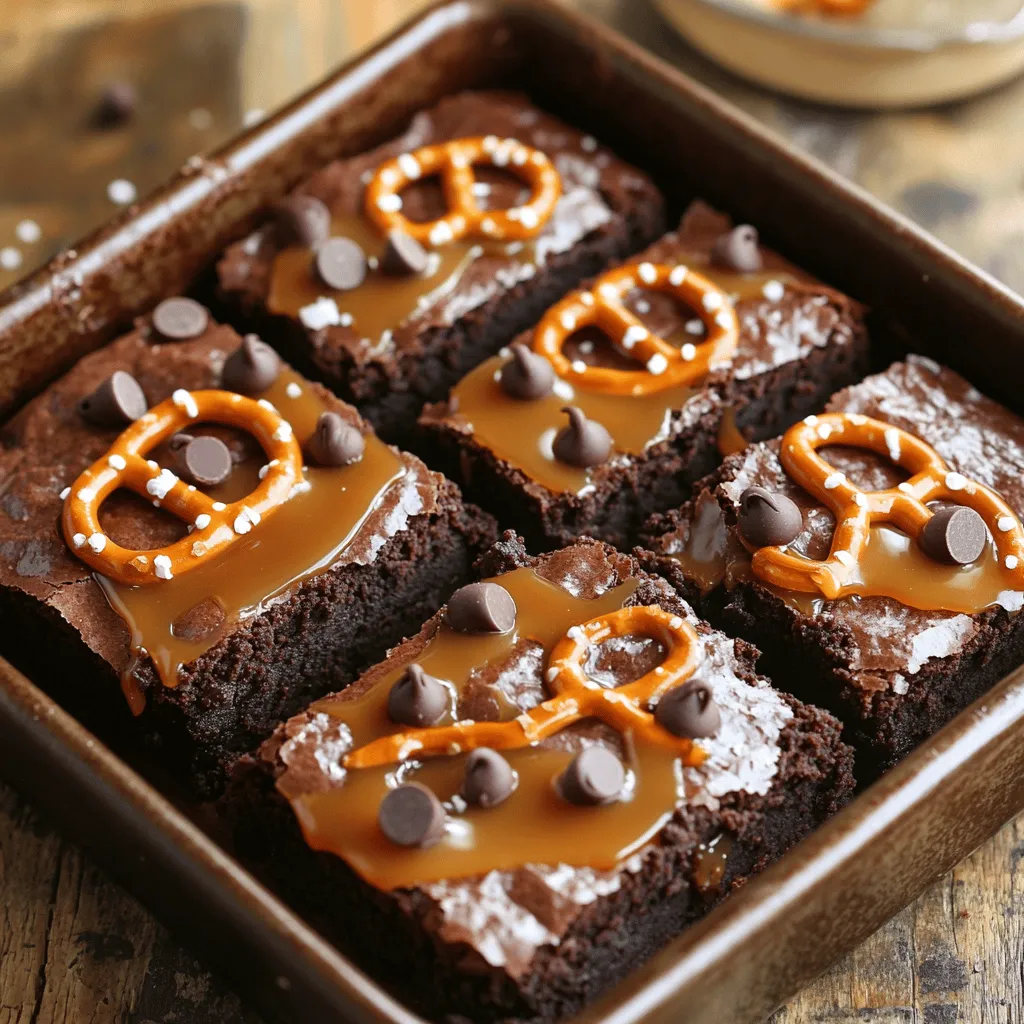
Brownies with Pretzel Crown Delightful and Sweet Treat
Looking for a sweet treat that’s packed with flavor? Try my Brownies with Pretzel Crown! This recipe combines soft, chewy Read Full Recipe -
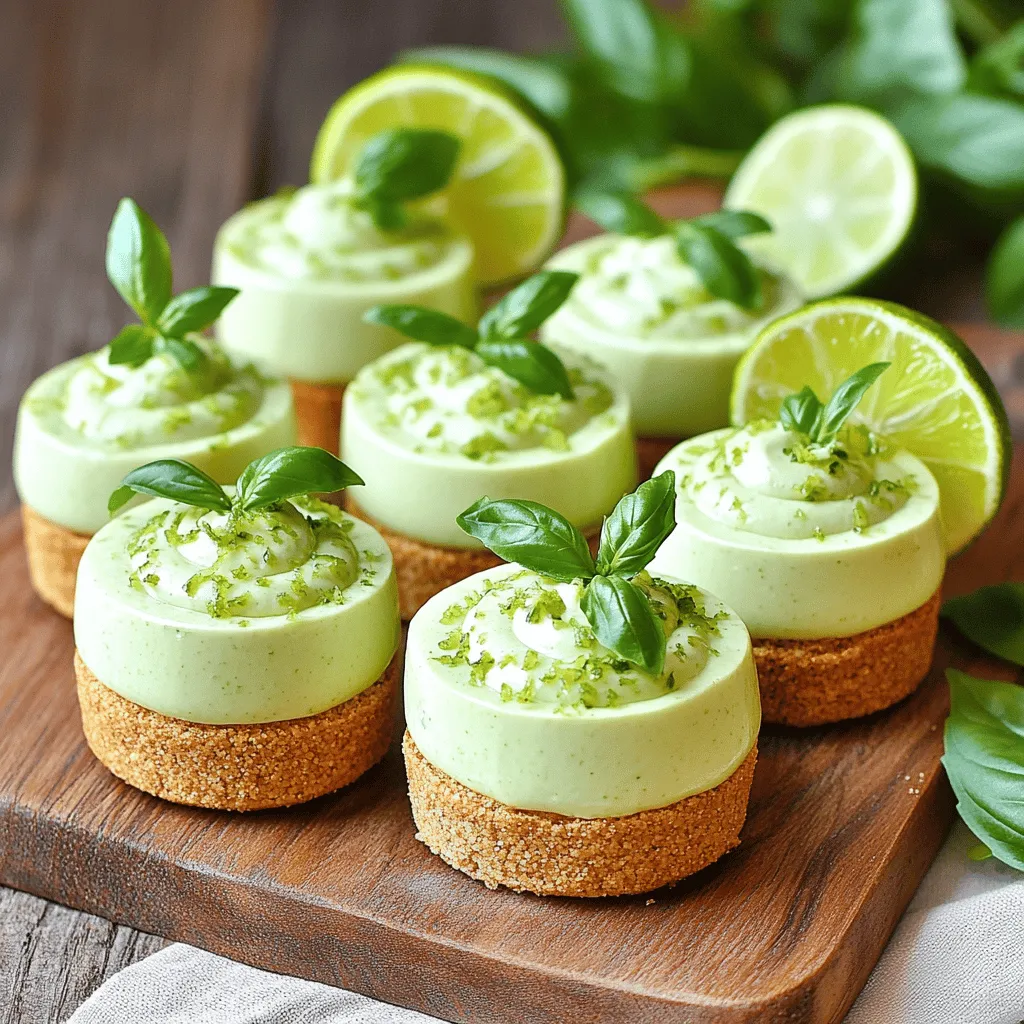
No Bake Basil Lime Cheesecake Cups Delightful Treat
Are you ready to treat yourself to something unique and delicious? These No Bake Basil Lime Cheesecake Cups are here Read Full Recipe -
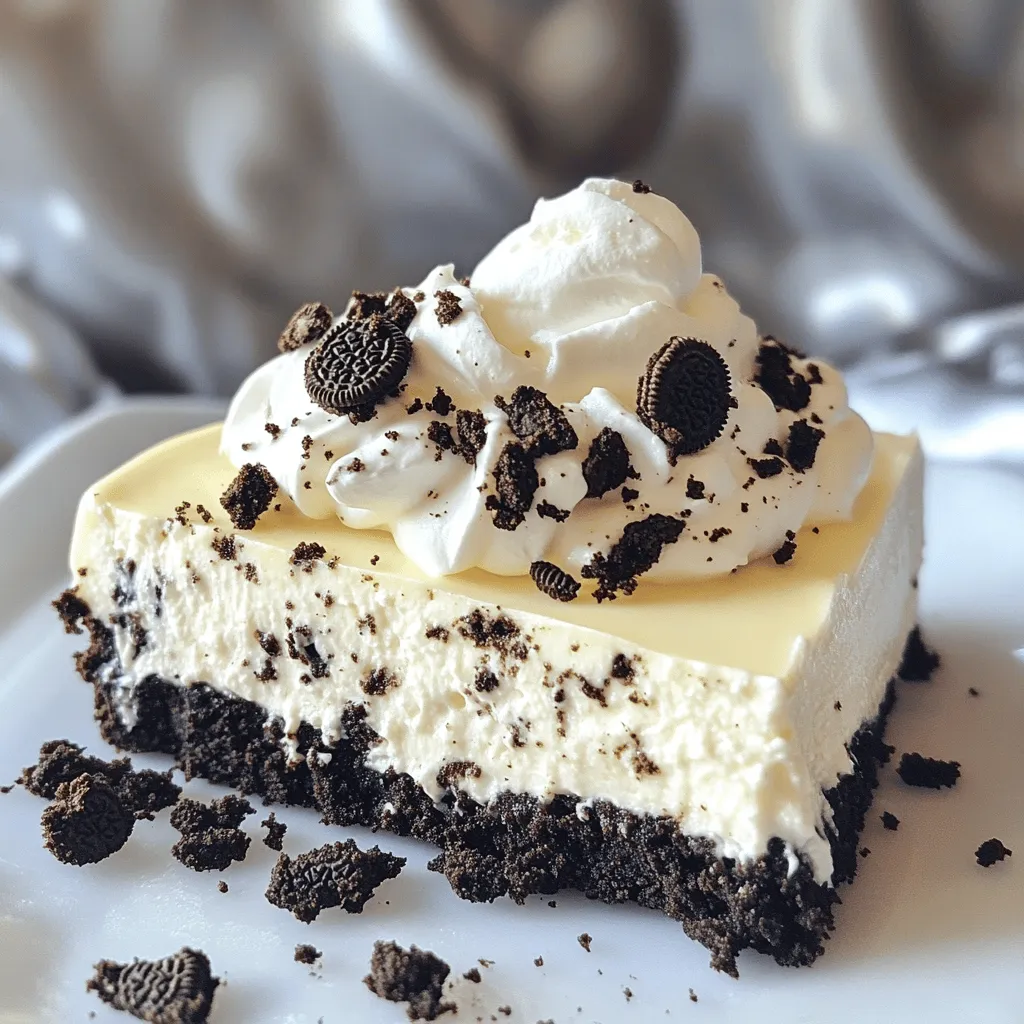
No-Bake Oreo Cheesecake Easy Dessert Treat Idea
Are you craving a sweet treat that requires no oven? I’ve got just the recipe for you: No-Bake Oreo Cheesecake! Read Full Recipe -

Savory Mini Cheesecake Bites Easy and Delicious Treat
If you’re looking for a quick and tasty dessert, these savory mini cheesecake bites are perfect! With their creamy texture Read Full Recipe -
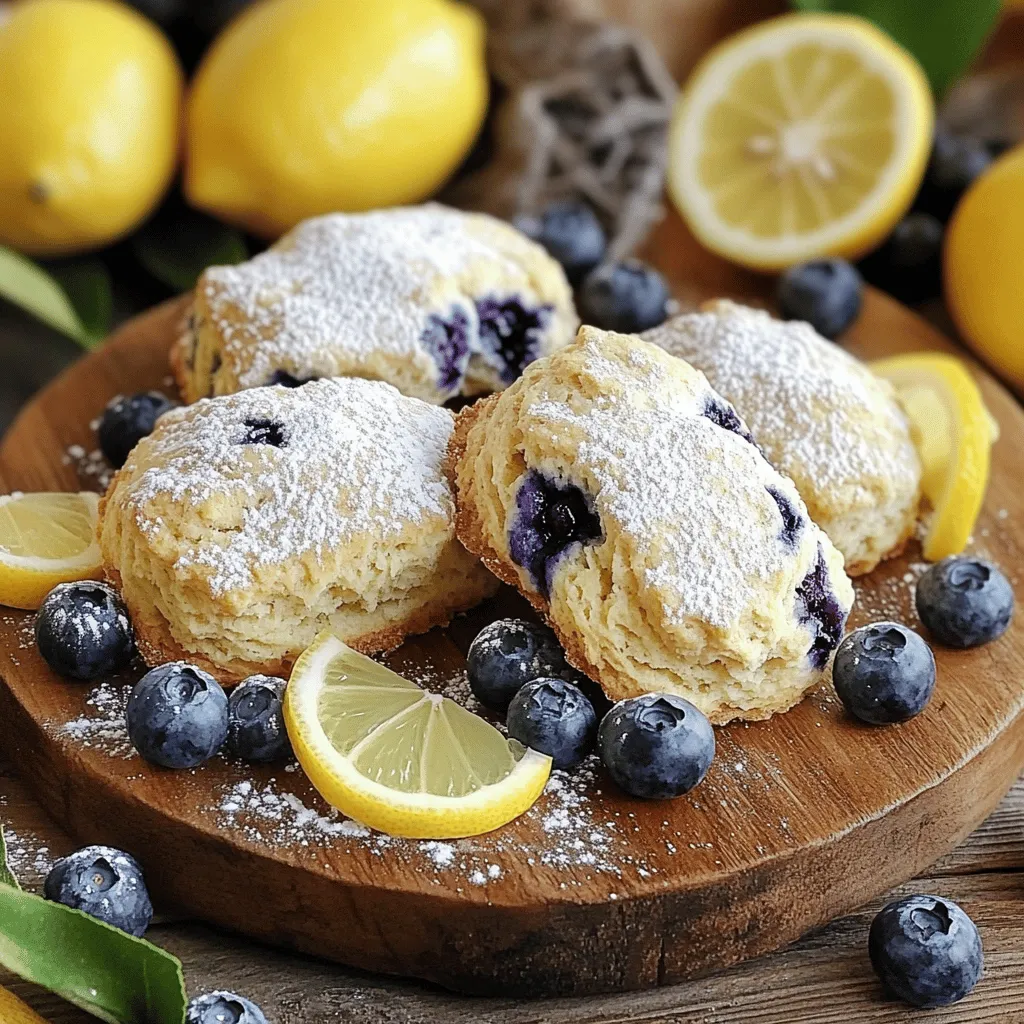
Blueberry Lemon Scones Fresh and Flavorful Delight
If you’re craving a burst of flavor, you’ll love these Blueberry Lemon Scones! These delightful treats blend fresh blueberries and Read Full Recipe -
Vegan Chocolate Mug Cake Quick and Easy Dessert
Craving something sweet but short on time? This Vegan Chocolate Mug Cake is your answer! In just minutes, you can Read Full Recipe
My Latest Recipes

hey,
i’m !
I’m so happy you’re here!
My kitchen is filled with stories, flavors, and love and I’m so happy to share them with you. Here’s to dishes that feel like home.

![- 1 ½ cups graham cracker crumbs - ½ cup unsalted butter, melted - 2 cups cream cheese, softened - 1 cup powdered sugar - 1 teaspoon vanilla extract - 1 cup heavy whipping cream - 2 cups fresh peaches, sliced - ½ teaspoon cinnamon In this recipe, each ingredient plays a key role. The graham cracker crumbs form a sweet and crunchy base. Melted butter binds the crumbs together, creating a perfect crust. Cream cheese gives the cheesecake its rich and creamy texture. Powdered sugar sweetens the mix without making it grainy. Vanilla extract adds a warm, comforting flavor. Heavy whipping cream makes the filling light and fluffy. Fresh peaches bring a juicy burst of flavor, while cinnamon adds a hint of warmth. - Fresh mint leaves for garnish - Other fruit toppings While the essential ingredients make a great peach cheesecake, you can enhance it with some optional items. Fresh mint leaves give a pop of color and a refreshing taste. You can also use different fruit toppings like berries or cherries to mix it up. This flexibility lets you personalize your cheesecake to suit your taste. For the complete recipe, check out the [Full Recipe]. Start by combining 1 ½ cups of graham cracker crumbs with ½ cup of melted unsalted butter in a medium bowl. Mix them well until the crumbs look like wet sand. This mixture will form the base of your cheesecake. Once combined, press the crust firmly into the bottom of a 9-inch springform pan. Use your fingers or the back of a measuring cup to make it even. After you press it, put the crust in the refrigerator to chill while you make the cheesecake filling. In a large bowl, beat 2 cups of softened cream cheese with an electric mixer. Mix until it's smooth and creamy. This will be the rich base for your filling. Next, gradually add in 1 cup of powdered sugar and 1 teaspoon of vanilla extract. Continue mixing until everything combines. The mixture should be thick and creamy. In a separate bowl, whip 1 cup of heavy whipping cream using high speed until soft peaks form. This means the cream should hold its shape but still be soft. Gently fold this whipped cream into the cream cheese mixture. Make sure to mix it well, but be careful not to deflate the whipped cream. Now it’s time to assemble your cheesecake. Spoon the cheesecake filling over the crust and smooth it out evenly with a spatula. This step is crucial for a nice finish. Then, take 2 cups of fresh sliced peaches and toss them with ½ teaspoon of cinnamon in a small bowl. This adds a warm flavor to the peaches. Layer the cinnamon peaches over the cheesecake filling, arranging them beautifully. Refrigerate the cheesecake for at least 4 hours, or until it sets firm. For best results, leave it overnight to chill. Once set, run a knife around the edges to release the springform. Now, you’re ready to slice and serve this delicious treat! You can find the full recipe above. To get the best texture, start by ensuring your cream cheese is softened. Cold cream cheese will clump, making it hard to mix. Leave it out for about 30 minutes before you start. This will help you achieve a smooth filling. Properly whipping the heavy cream is key too. Use a chilled bowl and beaters. Start at a low speed, then increase to high. Watch for soft peaks to form. This means it’s ready to fold into the cream cheese mixture. The whipped cream adds lightness, so don’t skip this step! When serving your cheesecake, consider some tasty accompaniments. A dollop of whipped cream adds a nice touch. You can also drizzle some honey or maple syrup for sweetness. Fresh fruit pairs well too. Try berries or more peaches on the side. The ideal serving temperature is cold. Let your cheesecake chill in the fridge for at least four hours. For the best flavor, serve it straight from the fridge. Cleanup can be a breeze with a few simple tricks. After mixing, soak your bowls and utensils in warm, soapy water. This helps loosen the cream cheese and whipped cream. For stubborn residue, sprinkle a little baking soda on the bowl. Let it sit for a few minutes. Then, scrub gently with a sponge. This will make your cleanup much easier! {{image_2}} You can change the flavor of your no bake peach cheesecake in fun ways. Try using different fruits like strawberries or blueberries. These fruits add bright colors and fresh tastes. If you love chocolate, drizzle melted chocolate on top. Caramel sauce also adds a sweet touch. Both options make your dessert more special. If you need a gluten-free option, simply use gluten-free graham cracker crumbs. Many brands offer these now, so you can enjoy the same great taste. For a vegan version, swap out cream cheese for a plant-based cream cheese. Coconut cream or cashew cream can also work well. This way, everyone can enjoy this tasty treat. Making mini cheesecakes is easy and fun! Use a muffin tin to create individual portions. Instead of a 9-inch springform pan, line the muffin cups with paper liners. Press the crust mixture into each cup. Then, fill them with the cheesecake mixture just like usual. You can add peach slices on top for a lovely finish. These mini versions are perfect for parties or small gatherings. For the full recipe, check out the original guide and enjoy your cheesecake adventure! To keep your no bake peach cheesecake fresh, store it in the fridge. Place it in an airtight container or cover it tightly with plastic wrap. This helps keep moisture out and taste in. Your cheesecake will stay good for about 3 to 5 days. If you notice any changes in smell or texture, it’s best to toss it out. For the best flavor, serve your cheesecake cold. This makes each bite creamy and refreshing. Avoid cutting slices until you're ready to serve. This will help keep the rest of the cheesecake intact and fresh. You can freeze slices of cheesecake for later enjoyment. Start by wrapping each slice in plastic wrap. Then, place the wrapped slices in a freezer-safe bag or container. This keeps them free from freezer burn. The cheesecake can last up to 2 months in the freezer. When you’re ready to eat, take a slice out of the freezer. Place it in the fridge overnight to thaw. This helps maintain a smooth texture. Avoid using a microwave, as it can make the cheesecake soggy. Enjoy your peachy treat whenever you want! No bake peach cheesecake lasts about 5 to 7 days in the fridge. To keep it fresh, store it in an airtight container. Look for signs of spoilage, such as off smells or a change in texture. If it feels slimy or has a strange odor, it's best to toss it. Yes, you can use canned peaches. However, they may change the texture and taste. Canned peaches are softer and sweeter than fresh ones. If you choose canned, drain them well to avoid extra moisture in your cheesecake. Your cheesecake is set when it feels firm to the touch. Gently shake the pan; it should not jiggle too much. After chilling for 4 hours, it should hold its shape. For best results, let it set overnight for a perfect slice. To make a no-bake peach cheesecake, gather all essential ingredients. Combine them carefully for the crust and filling. Follow the simple steps to assemble your dessert. Remember the tips for the best texture and presentation. You can also explore tasty variations or healthy adaptations. In conclusion, this delightful dessert is easy and quick. The fresh peaches add a sweet touch. Enjoy your cheesecake and share it with friends! Your kitchen will smell amazing, and your taste buds will thank you.](https://southerndishes.com/wp-content/uploads/2025/06/b8b39837-d59c-4b9a-964b-126216882c40-300x300.webp)
![To make this tasty side dish, gather these key ingredients: - 1 pound Brussels sprouts, halved - 3 tablespoons balsamic vinegar - 2 tablespoons honey or maple syrup - 2 tablespoons olive oil - 1 teaspoon garlic powder - Salt and pepper to taste These ingredients work together to create rich flavors. The balsamic vinegar adds sweetness and depth. Honey or maple syrup balances the tanginess. Olive oil helps the sprouts roast nicely. Garlic powder boosts the overall taste. You can also add extra ingredients to make your dish even better. Consider these options: - 1/4 cup chopped walnuts (for crunch) - 1/4 cup crumbled feta cheese (for tang) - Fresh parsley, chopped (for garnish) These add-ins provide texture and flavor. Walnuts give a nice crunch, while feta adds a creamy tang. Fresh parsley brightens up the dish with color and taste. Balsamic Glazed Brussels Sprouts are not only delicious but also healthy. Here’s a quick look at their benefits: - Low in calories and high in fiber - Packed with vitamins C and K - Contains antioxidants that support health This dish fits well into many diets. It can be a great addition to meals. If you want to know the full recipe, check out the [Full Recipe]. Enjoy cooking! To start, choose fresh Brussels sprouts. Look for bright green ones with tight leaves. Cut off the ends and remove any yellow leaves. Next, slice each sprout in half. This helps them cook evenly and soak up the flavor. In a large bowl, mix the halved sprouts with olive oil, garlic powder, salt, and pepper. Make sure every piece is coated well. This will give your sprouts a tasty base. Preheat your oven to 400°F (200°C). This temperature helps create a nice caramelization. Line a baking sheet with parchment paper for easy cleanup. Spread the Brussels sprouts on the baking sheet in a single layer. Avoid stacking them. This allows hot air to circulate and cook them evenly. Roast for 20 minutes, shaking the pan halfway through. This step helps them brown well on all sides. While the sprouts roast, combine balsamic vinegar and honey (or maple syrup) in a small bowl. This mix will become your glaze. After the first 20 minutes, take the sprouts out of the oven. Drizzle the balsamic mixture over them. Toss to coat every sprout well. Return them to the oven for another 10-15 minutes. They should be caramelized and tender when done. If you want extra crunch, add chopped walnuts during the last 5 minutes of roasting. Once out of the oven, let them cool a bit. For a special touch, sprinkle crumbled feta cheese and chopped parsley on top. Enjoy your Balsamic Glazed Brussels Sprouts! For the complete recipe, check the [Full Recipe]. When picking Brussels sprouts, look for small, firm ones. They should be bright green and tightly closed. Avoid any that are yellowing or have brown spots. Fresh sprouts should feel heavy for their size. If you can, choose sprouts that still have their stems. This keeps them fresh longer. Many people overcook Brussels sprouts. This makes them mushy and bitter. Aim for a nice caramelization without burning. Always coat them evenly with oil and seasonings. Forgetting to toss them halfway through roasting can lead to uneven cooking. Lastly, don’t skip the balsamic glaze; it adds great flavor. These Brussels sprouts taste great on their own or as a side dish. Serve them with grilled chicken or fish for a tasty meal. You can also add them to a salad for crunch and flavor. Try them with quinoa or rice for a hearty, healthy dish. For extra flair, top them with crumbled feta or walnuts. These options create a delightful mix of tastes and textures. Check out the Full Recipe for more tips! {{image_2}} If you want to try a different sweetener, there are great options. You can use maple syrup for a rich taste. Agave nectar is another choice for a lighter flavor. Brown sugar brings a nice caramel note too. Each sweetener adds its own twist to the glaze. Choose one that you like best! You can add more fun to your Brussels sprouts. Try adding bacon bits for a savory crunch. You might also like adding apples for a sweet touch. If you prefer, substitute walnuts with pecans or almonds for a different nutty flavor. Crumbled blue cheese can also replace feta for a tangy kick. Mix and match to find your favorite combo! Balsamic glazed Brussels sprouts are versatile. They pair well with chicken, beef, or fish. You can also serve them with grains like quinoa or brown rice. This adds more fiber and makes the meal heartier. Experiment with different proteins or grains to create a balanced dish. The sprouts will shine no matter what you choose! For the full recipe, check the detailed instructions and tips to make this side dish a delight! To keep your Balsamic Glazed Brussels Sprouts fresh, place them in an airtight container. Make sure the sprouts cool down before sealing. This step helps prevent moisture buildup. Store them in the fridge for up to three days. If you want to keep them longer, freezing is a great option. When you're ready to enjoy your leftovers, reheat them in the oven. Preheat your oven to 350°F (175°C). Spread the Brussels sprouts on a baking sheet. Heat for about 10-15 minutes until they are warm and crispy again. If you prefer, you can also use a microwave, but the oven gives better results. If you want to freeze your Balsamic Glazed Brussels Sprouts, first cool them completely. Place them on a baking sheet in a single layer and freeze for about two hours. This step stops them from clumping together. After they are frozen, transfer the sprouts to a freezer bag or container. They can last up to three months in the freezer. When you are ready to eat them, thaw in the fridge overnight before reheating. For full details on making this dish, check the Full Recipe. To make Balsamic Glazed Brussels Sprouts vegan, simply swap honey for maple syrup. Use olive oil as your base, which is already vegan. This change keeps the dish sweet and tasty without any animal products. Yes, you can prepare Brussels sprouts ahead of time. Wash and halve them, then store them in the fridge. You can also mix the oil and spices in advance. Just keep the balsamic glaze separate until you are ready to roast. This way, your dish stays fresh and flavorful. Balsamic Glazed Brussels Sprouts pair well with many dishes. Try them with roasted chicken or grilled fish for a balanced meal. They also complement pasta dishes or quinoa bowls nicely. For a vegetarian option, serve with a hearty grain salad. You can find the full recipe and more tips to enhance your meal! This blog post covered the essentials for making balsamic glazed Brussels sprouts. We explored key ingredients, followed step-by-step instructions, and shared tips for success. I also discussed variations and how to store leftovers properly. In summary, you now have the tools to create a tasty dish that fits your needs. Enjoy your cooking and feel free to customize the recipe! Your perfect Brussels sprouts await.](https://southerndishes.com/wp-content/uploads/2025/05/7bf8a2a3-27f1-4d16-8bb5-fb868c4678a9-300x300.webp)
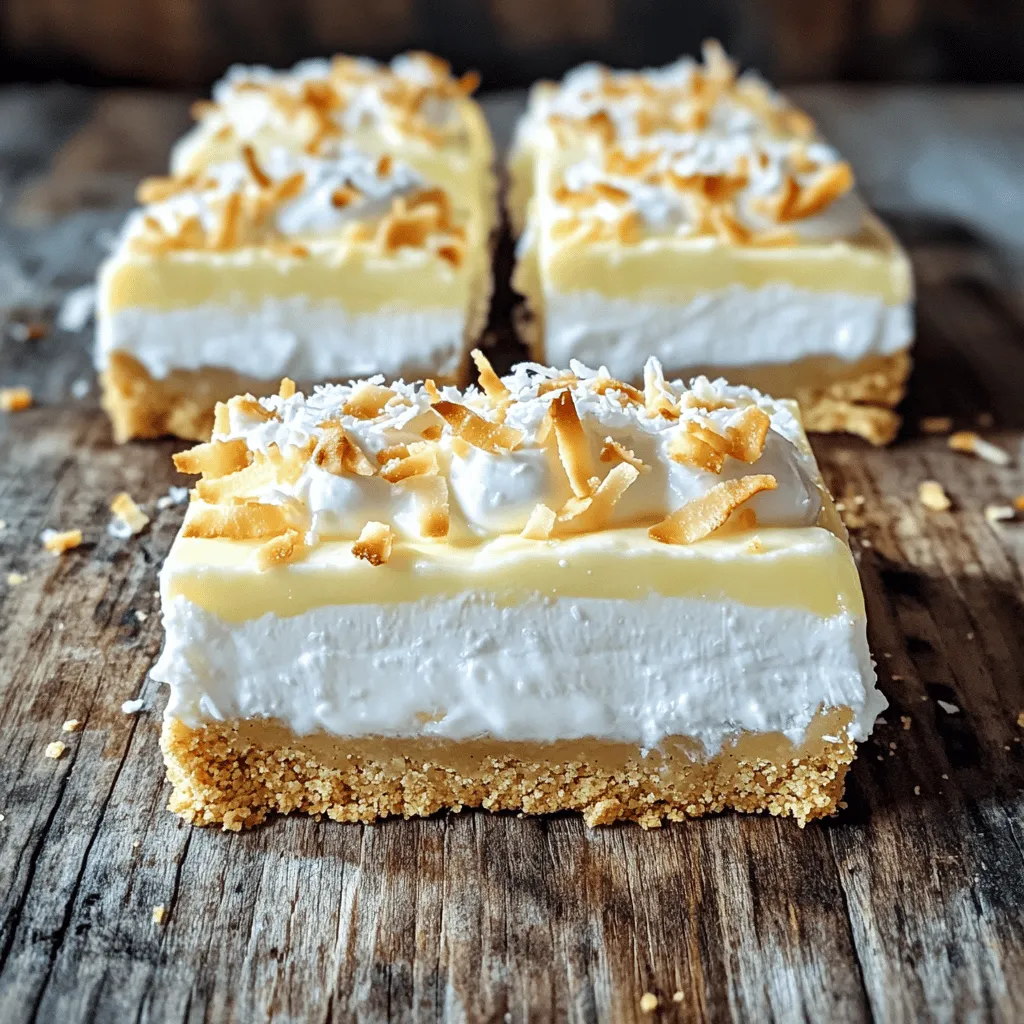
Coconut Cream Pie Bars Delicious Chilled Dessert Treat
If you love sweet and creamy treats, you’ll adore these Coconut Cream Pie Bars! They are a cool, tasty dessert perfect for warm days.…