
Latest & Greatest
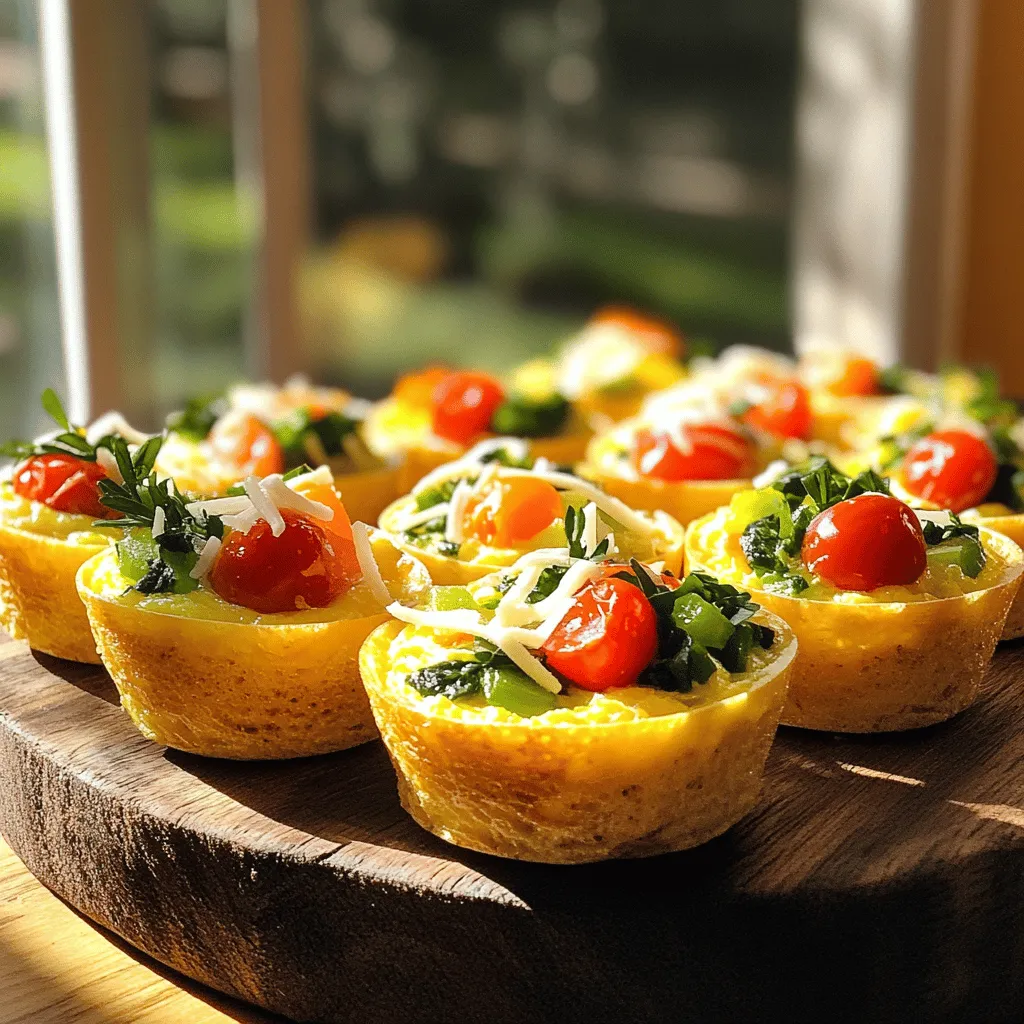
Egg Muffins with Veggies Nutritious and Easy Recipe
If you’re looking for a quick, healthy breakfast option, you’ve landed in the right place! These Egg Muffins with Veggies
Read more…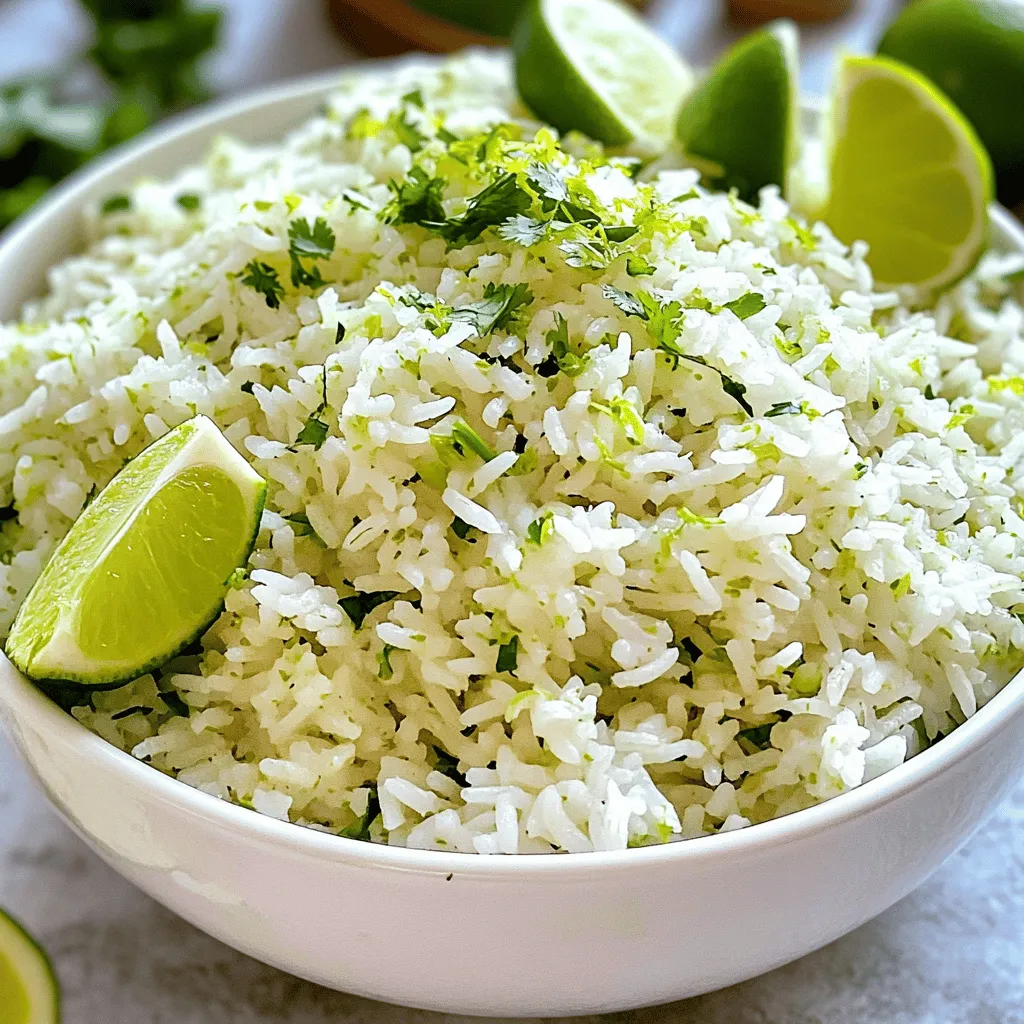
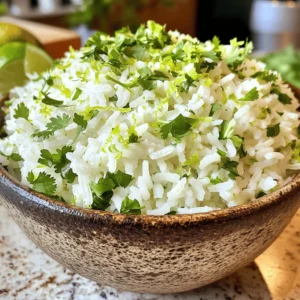
Lime Cilantro Rice Fresh and Flavorful Side Dish
Are you ready to add a burst of flavor to your meals? Lime Cilantro Rice is a fresh and vibrant
Read more…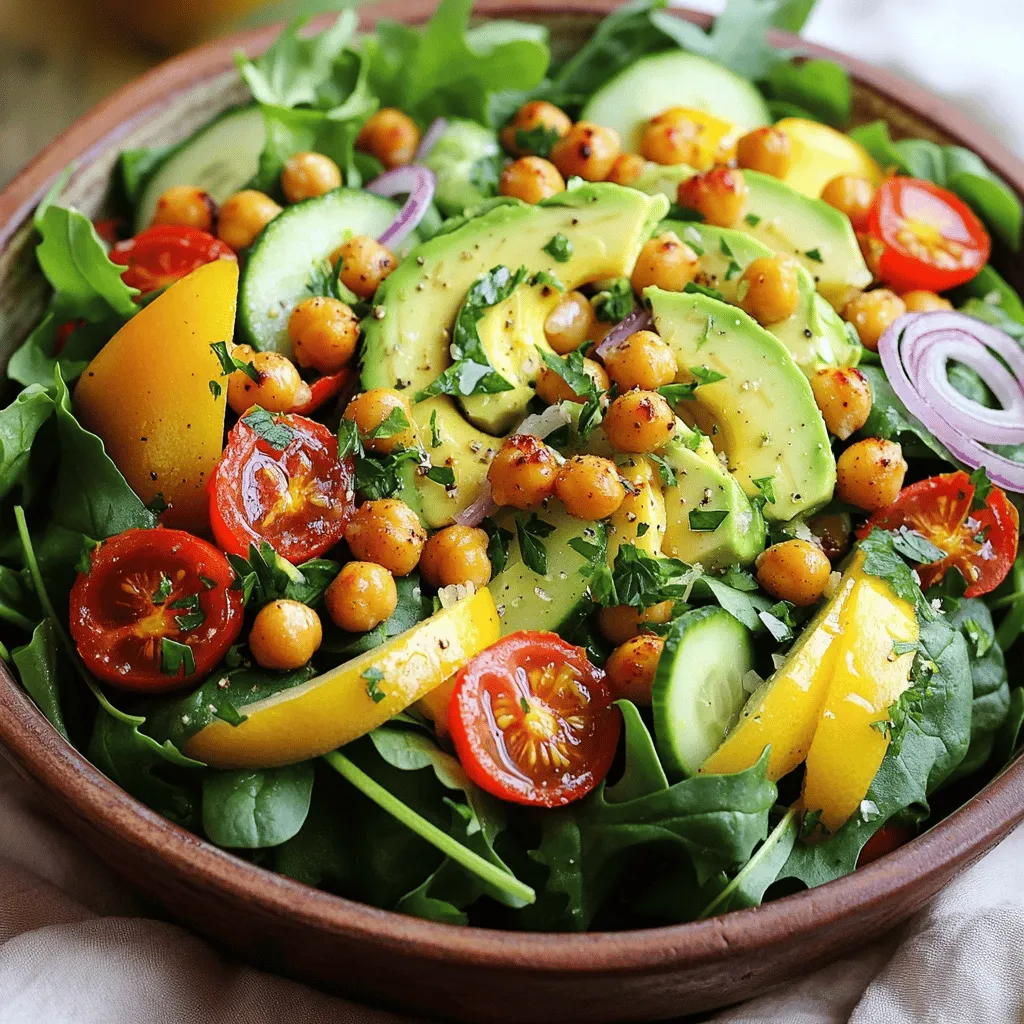
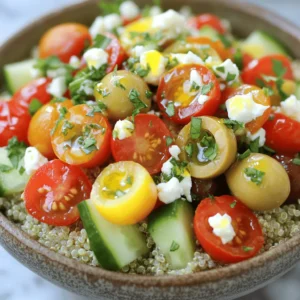
Crispy Chickpea Salad Flavorful and Healthy Dish
If you’re searching for a dish that’s both delicious and healthy, you’ve found it! My Crispy Chickpea Salad combines crunchy
Read more…
Savory Sweet and Spicy Meatball Subs Recipe
Get ready to savor the perfect blend of sweet and spicy in every bite! In this blog post, I’ll show
Read more…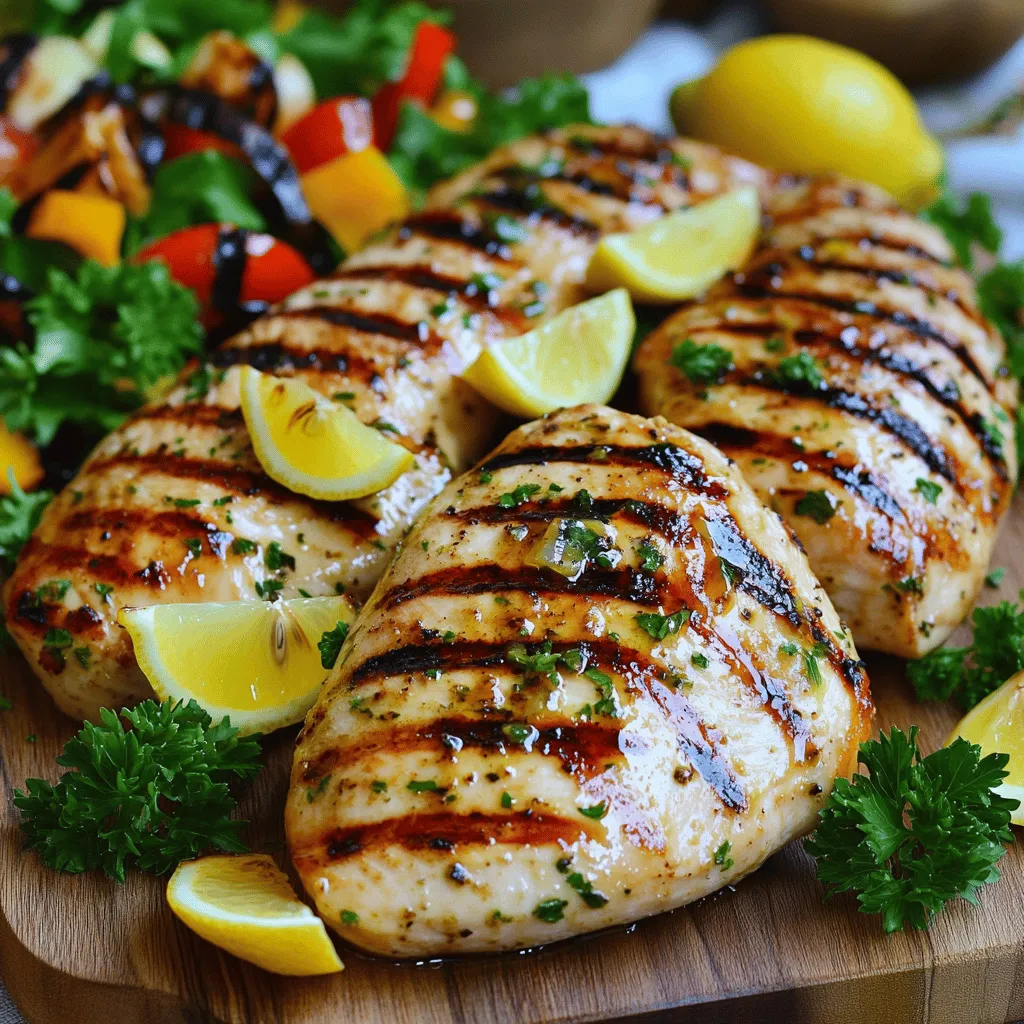
Lemon Herb Grilled Chicken Flavorful Easy Recipe
Get ready to impress at your next cookout with my Lemon Herb Grilled Chicken recipe! This dish is bursting with
Read more…
Chocolate Chip Pancakes Sweet and Simple Recipe
Wake up to a stack of gooey, warm chocolate chip pancakes that are easy to make! This sweet and simple
Read more…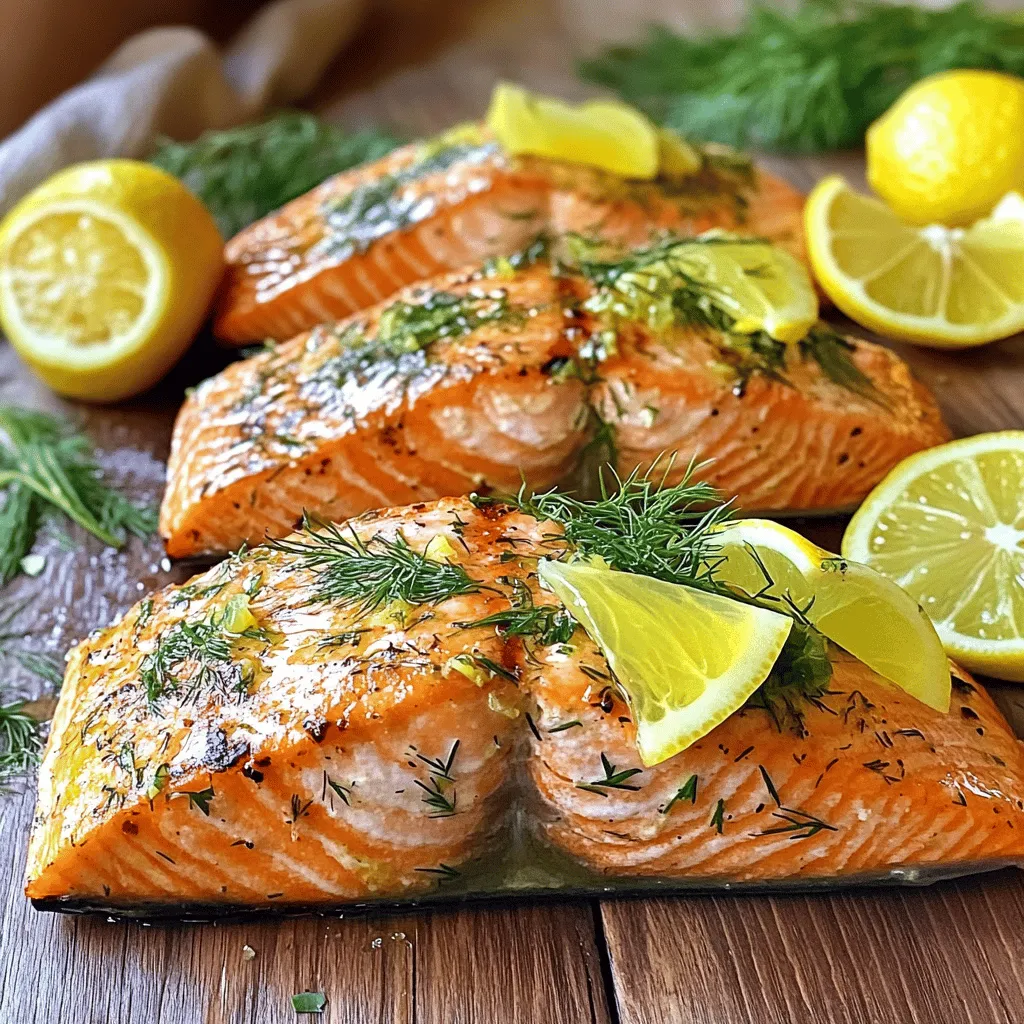
Lemon Herb Grilled Salmon Fresh and Flavorful Dish
Are you ready to bring vibrant flavors to your table? My Lemon Herb Grilled Salmon recipe is fresh, simple, and
Read more…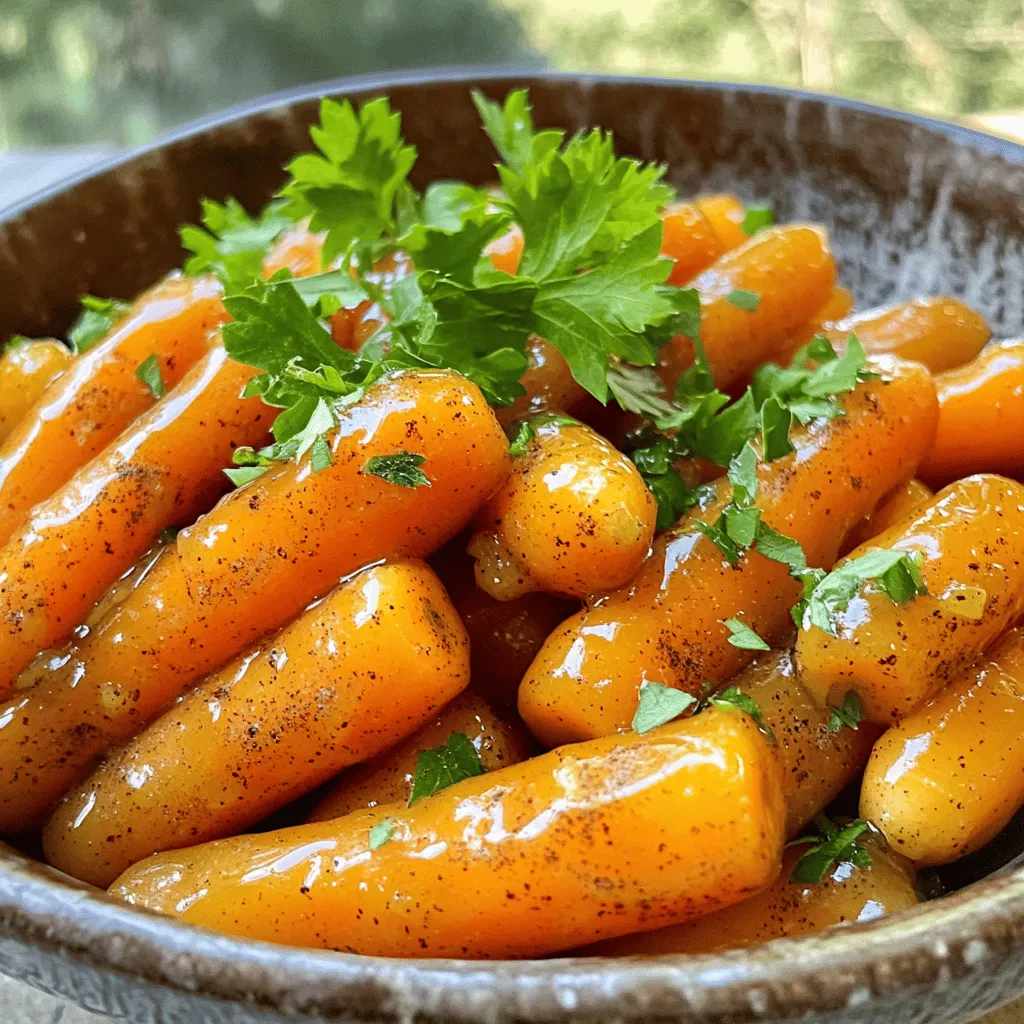
Maple Glazed Carrots Flavorful and Simple Side Dish
Maple glazed carrots are a tasty and simple side dish that you will love. With just a few easy ingredients,
Read more…browse recipes


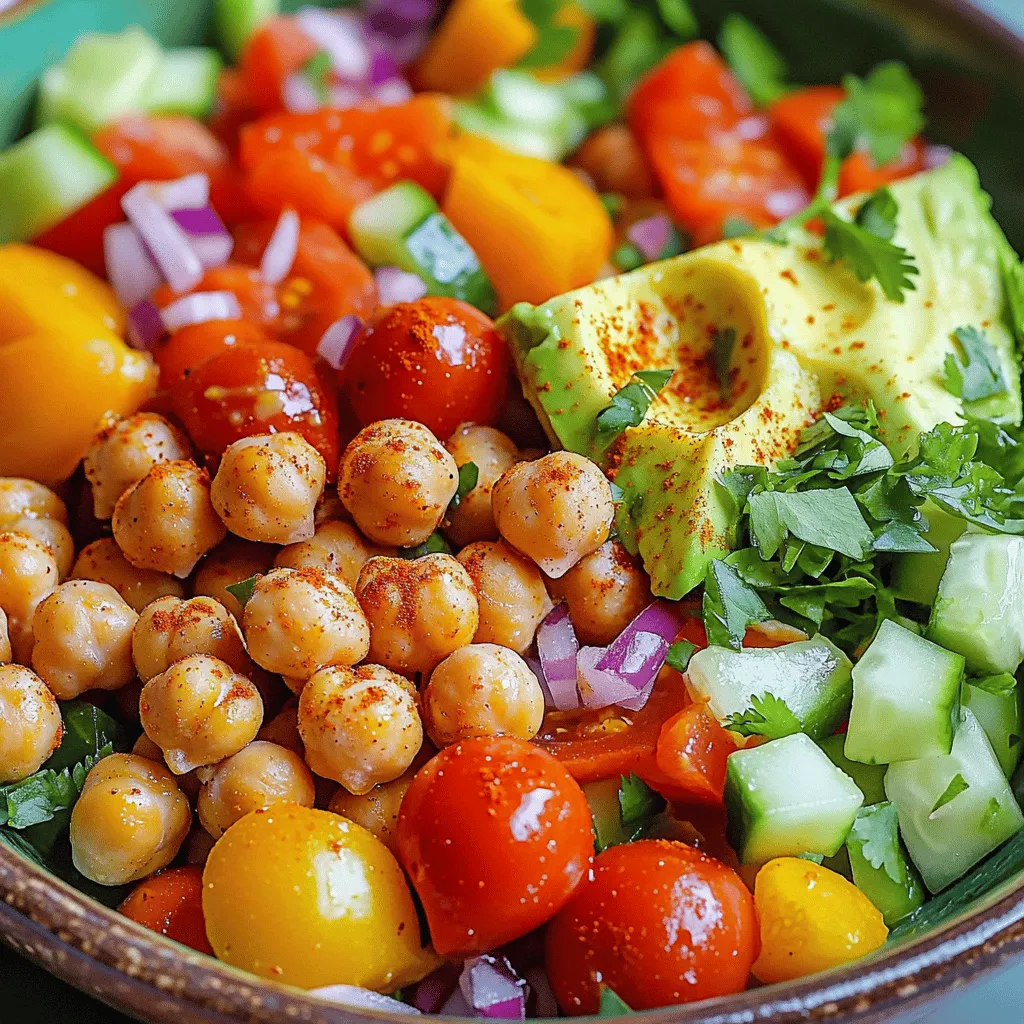
Crispy Chickpea Salad Fresh and Flavorful Delight
Are you ready to make a salad that’s both crispy and healthy? In this blog post, I’ll share my favorite recipe for Crispy Chickpea…
My Latest Desserts
-
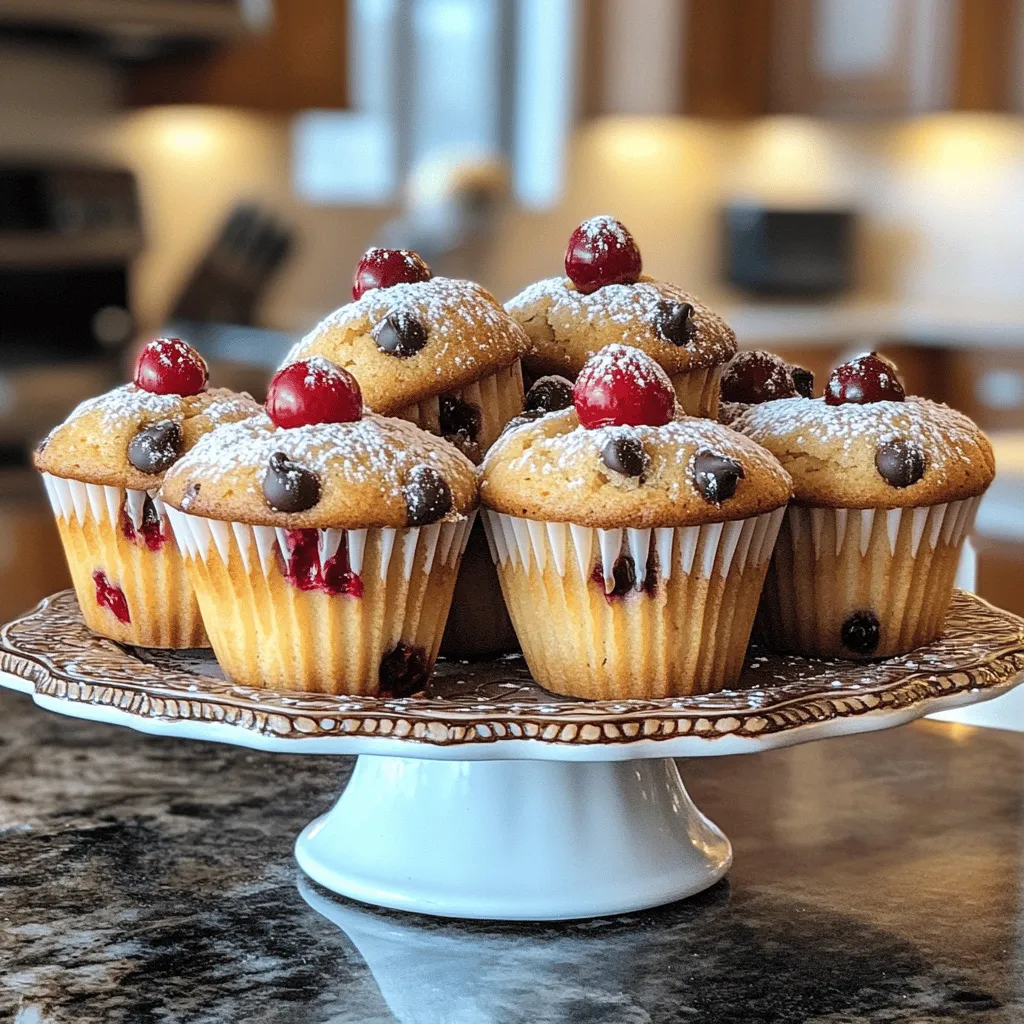
Cherry Chocolate Chip Muffins Irresistible and Easy Recipe
Get ready to bake some magic with my Cherry Chocolate Chip Muffins! This easy recipe combines tart cherries and rich Read Full Recipe -

Cherry Lemonade Popsicles Refreshing Summer Treat
Looking for a cool treat this summer? Try my Cherry Lemonade Popsicles! They combine tart lemon and sweet cherries, making Read Full Recipe -

Cream Soda Milkshake Pie Tasty and Simple Recipe
Are you ready to impress your friends with a sweet treat? This Cream Soda Milkshake Pie is not just tasty; Read Full Recipe -

Cherry Swirl Frozen Yogurt Bark Easy and Delicious Treat
Craving a sweet yet healthy treat? You’ll love this Cherry Swirl Frozen Yogurt Bark! It’s easy to make and packed Read Full Recipe -

Brownies with Pretzel Crown Delightful and Sweet Treat
Looking for a sweet treat that’s packed with flavor? Try my Brownies with Pretzel Crown! This recipe combines soft, chewy Read Full Recipe -
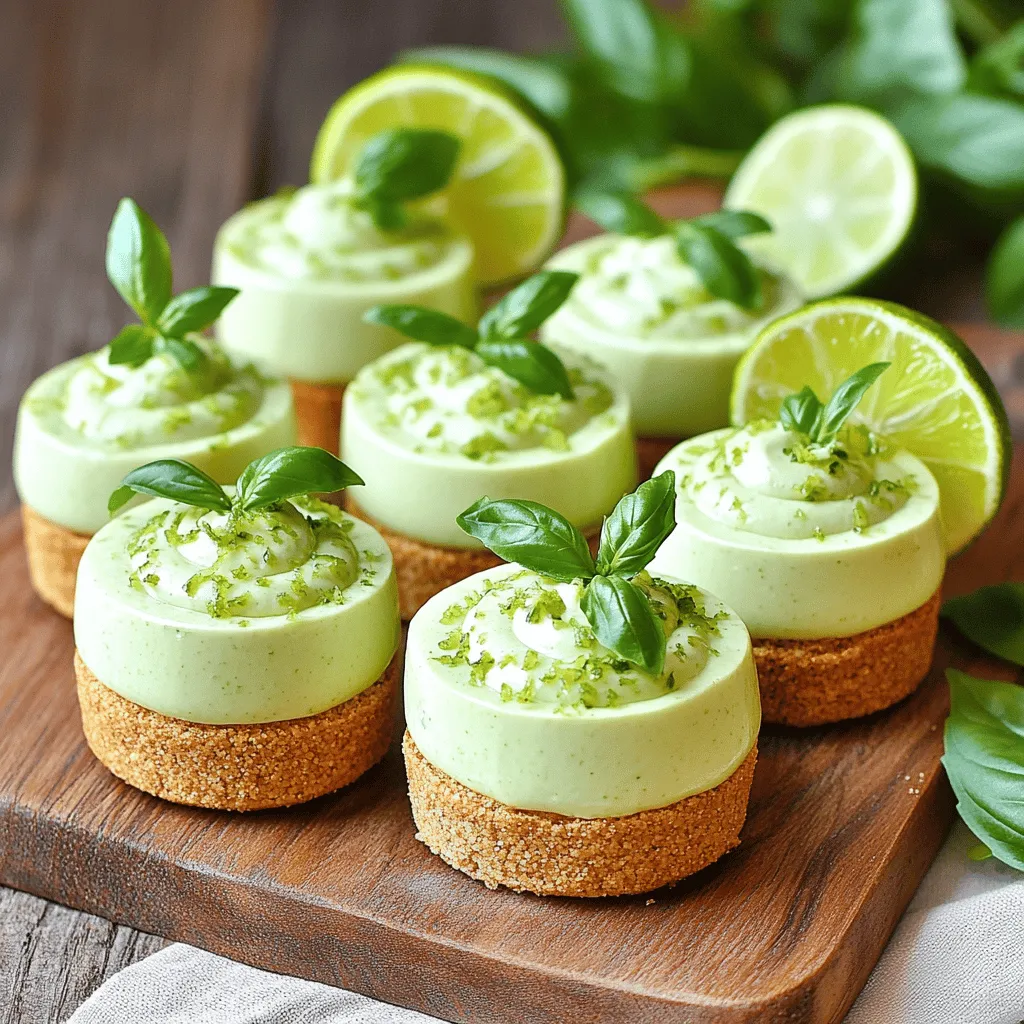
No Bake Basil Lime Cheesecake Cups Delightful Treat
Are you ready to treat yourself to something unique and delicious? These No Bake Basil Lime Cheesecake Cups are here Read Full Recipe -

No-Bake Oreo Cheesecake Easy Dessert Treat Idea
Are you craving a sweet treat that requires no oven? I’ve got just the recipe for you: No-Bake Oreo Cheesecake! Read Full Recipe -

Savory Mini Cheesecake Bites Easy and Delicious Treat
If you’re looking for a quick and tasty dessert, these savory mini cheesecake bites are perfect! With their creamy texture Read Full Recipe -

Blueberry Lemon Scones Fresh and Flavorful Delight
If you’re craving a burst of flavor, you’ll love these Blueberry Lemon Scones! These delightful treats blend fresh blueberries and Read Full Recipe -

Vegan Chocolate Mug Cake Quick and Easy Dessert
Craving something sweet but short on time? This Vegan Chocolate Mug Cake is your answer! In just minutes, you can Read Full Recipe
My Latest Recipes

hey,
i’m !
I’m so happy you’re here!
My kitchen is filled with stories, flavors, and love and I’m so happy to share them with you. Here’s to dishes that feel like home.
![- 4 boneless, skinless chicken thighs - 1 cup homemade or store-bought basil pesto - 1 cup cherry tomatoes, halved - 1 cup mozzarella cheese, shredded - 1 tablespoon olive oil - Salt and pepper to taste - Fresh basil leaves for garnish - Balsamic glaze (optional for drizzling) - Baking dish - Aluminum foil - Measuring cups and spoons In this recipe, chicken thighs steal the show. They stay juicy and tender during baking. You can use homemade or store-bought basil pesto. The pesto adds a great flavor that pairs well with the chicken. Cherry tomatoes bring a sweet burst, while mozzarella cheese adds creaminess. You will also need some olive oil to keep the chicken moist. A touch of salt and pepper enhances all the flavors. Fresh basil leaves make a lovely garnish. If you want, drizzle balsamic glaze on top for extra flavor. Make sure you have a good baking dish to hold everything. Aluminum foil helps the chicken cook evenly. Measuring cups and spoons keep your ingredients precise. This dish is simple yet full of flavor. Gather your ingredients and equipment, and let’s get cooking! For the complete recipe, check out the Full Recipe. - Preheat your oven to 375°F (190°C). - Take a baking dish and drizzle olive oil. Spread it evenly across the bottom. - Season both sides of the chicken thighs with salt and pepper. - Place the seasoned chicken in the baking dish. - Spread the pesto generously over each chicken piece. - Cover the dish with aluminum foil and bake for 25 minutes. - After 25 minutes, carefully remove the foil. - Sprinkle the shredded mozzarella cheese over the chicken. - Return the dish to the oven and bake uncovered for 15 more minutes. - Make sure the chicken hits 165°F (75°C) and the cheese is bubbly. - Take it out of the oven and let it rest for a few minutes. - Garnish with fresh basil leaves and drizzle balsamic glaze if you like. You can find the full recipe to guide you through each step. To get juicy baked chicken, set your oven to 375°F (190°C). Cook the chicken thighs for about 25 minutes covered with foil. This keeps the moisture in. After that, remove the foil and add cheese for 15 more minutes. Check that the chicken reaches 165°F (75°C). This ensures it is safe to eat and packed with flavor. You can choose between homemade or store-bought pesto. Homemade pesto often has fresher flavors. You can make it with fresh basil, garlic, nuts, and olive oil. If you use store-bought, pick a high-quality brand for the best taste. Feel free to mix in other herbs like parsley or cilantro for a twist. You can also add spices like red pepper flakes for heat. To make your dish look great, garnish with fresh basil leaves. This adds a nice touch of color. You can drizzle balsamic glaze on top for extra flavor and a glossy finish. Serve the baked pesto chicken with sides like rice or a simple salad. This adds balance to your meal and makes it more filling. For the full recipe, check out the [Full Recipe]. {{image_2}} You can switch proteins or veggies in this recipe. Try using chicken breasts, turkey, or even tofu for a plant-based option. If you want a lighter dish, use zucchini or eggplant instead of chicken. For cheese, there are great dairy-free options. Look for almond or cashew-based cheeses. These melt well and add flavor without dairy. Adding spices can take your dish to the next level. Try garlic powder, red pepper flakes, or Italian seasoning. These spices enhance the pesto and give your chicken a nice kick. You can also customize the sauces. A squeeze of lemon juice brightens the flavors. For a twist, use sun-dried tomato pesto or even a spicy harissa sauce. Meal prep is easy with baked pesto chicken. You can make a big batch and store it in the fridge. Just divide it into containers for quick lunches or dinners. If you have leftovers, get creative! Chop the chicken and toss it into salads or wraps. You can also serve it over pasta or rice for a hearty meal. Check out the Full Recipe for more details! To store your baked pesto chicken, let it cool first. Place leftovers in an airtight container. This keeps the chicken moist and prevents odors from mixing. You can store it in the fridge for up to four days. You can also freeze baked pesto chicken. Cut it into portions for easy meals later. Wrap each piece in plastic wrap and place them in a freezer-safe bag. This helps prevent freezer burn. When you’re ready to eat, thaw it overnight in the fridge. To reheat, warm it in the oven at 350°F (175°C) until hot. Baked pesto chicken is perfect for meal prep. Cook a big batch on the weekend. You can serve it with rice, pasta, or salad throughout the week. For family-friendly storage, try using individual containers. This makes it easy to grab a meal for busy days. To check if the chicken is fully cooked, use a meat thermometer. The safe internal temperature for chicken is 165°F (75°C). Insert the thermometer into the thickest part of the thigh. If it reads 165°F, your chicken is ready. Cooking to this temperature ensures the chicken is safe to eat and juicy. Yes, you can use frozen chicken thighs. However, the cooking time will change. Frozen chicken takes longer to cook. Add about 10-15 minutes to the baking time. Always check the internal temperature to ensure it reaches 165°F. Baked pesto chicken pairs well with many sides. Here are some great options: - Roasted vegetables - Garlic bread - A fresh green salad - Quinoa or rice - Mashed potatoes These sides complement the flavors of the chicken and make a complete meal. For the full recipe, check out the detailed cooking instructions. This blog post covered the ingredients, steps, and tips for making baked pesto chicken. You learned about the main ingredients like chicken thighs, basil pesto, and mozzarella cheese. I also shared storage tips for leftovers and ways to customize the dish. Enjoying a delicious meal is simple when you have the right recipe. With these steps, you'll impress your family and friends. Keep experimenting with flavors and enjoy every bite!](https://southerndishes.com/wp-content/uploads/2025/06/b060b40b-d71e-41f9-b529-79307b238458-300x300.webp)
![To make a tasty Vegetable Lo Mein, gather these items: - 8 oz lo mein noodles - 2 tablespoons sesame oil - 1 cup broccoli florets - 1 bell pepper, thinly sliced (any color) - 1 carrot, julienned - 1 cup snap peas - 4 green onions, chopped - 3 cloves garlic, minced - 1-inch piece ginger, grated - 3 tablespoons soy sauce - 1 tablespoon oyster sauce (vegetarian version) - 1 tablespoon hoisin sauce - Salt and pepper to taste - Sesame seeds for garnish Using fresh vegetables makes your lo mein colorful and full of flavor. I love adding: - Broccoli for crunch and nutrients. - Bell peppers add sweetness and color. - Carrots provide a nice texture. - Snap peas bring a lovely snap. - Green onions give a great bite. Feel free to mix and match your favorites. Use seasonal veggies for the best taste. You need some basic tools to make your Vegetable Lo Mein. Here’s what I recommend: - A large skillet or wok for even cooking. - A pot for boiling noodles. - A sharp knife for slicing veggies. - A cutting board for safe prep. With these tools and ingredients, you can create a dish that shines. For the full recipe, check out the details above. Enjoy your cooking! First, gather your lo mein noodles. Measure out 8 ounces for this dish. Bring a pot of water to a boil. Add the noodles, cooking them according to the package instructions. This usually takes about 3 to 5 minutes. Taste them to see if they are just right. Drain the noodles and set them aside. Toss them in 1 tablespoon of sesame oil. This helps to keep them from sticking. Next, get your large skillet or wok. Heat the remaining 1 tablespoon of sesame oil over medium-high heat. Add 3 cloves of minced garlic and 1-inch grated ginger. Cook these for about 1 minute until you smell their nice aroma. Now, add your vegetables: 1 cup of broccoli florets, 1 thinly sliced bell pepper, 1 julienned carrot, and 1 cup of snap peas. Stir-fry these for about 5 to 7 minutes. You want them to be tender but still a bit crisp. Once your vegetables are ready, add the cooked lo mein noodles to the skillet. Toss in 4 chopped green onions as well. Now it's time for flavor! Pour in 3 tablespoons of soy sauce, 1 tablespoon of vegetarian oyster sauce, and 1 tablespoon of hoisin sauce. Stir-fry everything together for another 3 to 4 minutes. Make sure all the noodles and veggies are well coated in sauce. Finally, season with salt and pepper to taste. Serve your delicious Vegetable Lo Mein hot, garnished with sesame seeds. For full details, check the Full Recipe. To get the best lo mein noodles, start with boiling water. Use plenty of water to keep the noodles from sticking. Cook them for about 3-4 minutes until they are al dente. Drain the noodles and toss them with a bit of sesame oil. This step keeps them from clumping together. Flavoring your lo mein is all about the sauce. Use soy sauce, oyster sauce, and hoisin sauce to create a rich taste. You can adjust these sauces based on your liking. Add fresh garlic and ginger for an aromatic kick. If you want more heat, toss in some red pepper flakes. Serve your Vegetable Lo Mein hot and fresh. Garnish with sesame seeds and green onions for a nice touch. You can add a side of spring rolls or dumplings for extra flavor. This meal pairs well with a light salad or steamed vegetables. Check the Full Recipe for more details on preparation and serving. {{image_2}} You can boost your Vegetable Lo Mein by adding protein. Chicken, shrimp, or tofu work well. Cook your chosen protein in the skillet before adding vegetables. This step gives the dish extra flavor. For a vegan option, use firm tofu. Just cube it and sauté until golden. If you need a gluten-free meal, use rice noodles instead of lo mein noodles. They have a similar texture and taste great. Be sure to check your sauces for gluten. Tamari is a great gluten-free soy sauce option. This way, everyone can enjoy the dish. To make a low-carb version, skip the noodles and use zucchini noodles or cauliflower rice. Spiralize zucchini for a fun twist. Cauliflower rice adds volume and keeps the dish light. Toss in vegetables like bell peppers and snap peas for crunch. This keeps the meal satisfying without the carbs. For the complete recipe, check out the [Full Recipe]. To keep your Vegetable Lo Mein fresh, store it in an airtight container. Make sure it cools down first. This way, you prevent moisture buildup. Place it in the fridge if you plan to eat it within three days. If you want it to last longer, consider freezing. When you're ready to enjoy leftovers, reheat them gently. Use a skillet over medium heat for the best results. Add a splash of water or soy sauce to keep it moist. Stir often to heat evenly. You can also use a microwave, but cover the bowl to keep the steam in. If you choose to freeze your Vegetable Lo Mein, let it cool completely first. Portion it into freezer-safe bags or containers. Remove as much air as possible to prevent freezer burn. It can last up to three months in the freezer. Just thaw it overnight in the fridge before reheating. Enjoy your delicious meal whenever you want with these simple storage tips! To make Vegetable Lo Mein vegetarian, use plant-based sauces. In this dish, we already use vegetarian oyster sauce and soy sauce. If you want a deeper flavor, add more hoisin sauce. All the veggies, like broccoli and bell pepper, are naturally vegetarian. You can enjoy a colorful and tasty meal without meat. If you can't find lo mein noodles, you have options. You can use spaghetti or thin rice noodles. These substitutes cook quickly and still taste great. You can also try zoodles, made from zucchini, for a low-carb option. The key is to cook them until they are just right. Yes, you can prepare Vegetable Lo Mein in advance. Cook the noodles and veggies, then store them separately. When you're ready to eat, just mix them together and heat. This helps keep the noodles from getting mushy. You can also enjoy leftovers. They will still taste great the next day. For the full recipe, check out the Veggie Delight Lo Mein. You learned about making delicious Vegetable Lo Mein. We covered all the key ingredients needed. I explained how to cook the noodles and veggies step by step. You got great tips for perfecting your dish and ideas for fun variations. Lastly, I shared how to store and reheat your Lo Mein. With this guide, you can create a tasty meal that fits your needs. Enjoy your cooking adventure!](https://southerndishes.com/wp-content/uploads/2025/05/cbe49cf4-1444-4d9d-a134-0053912c4ce8-300x300.webp)
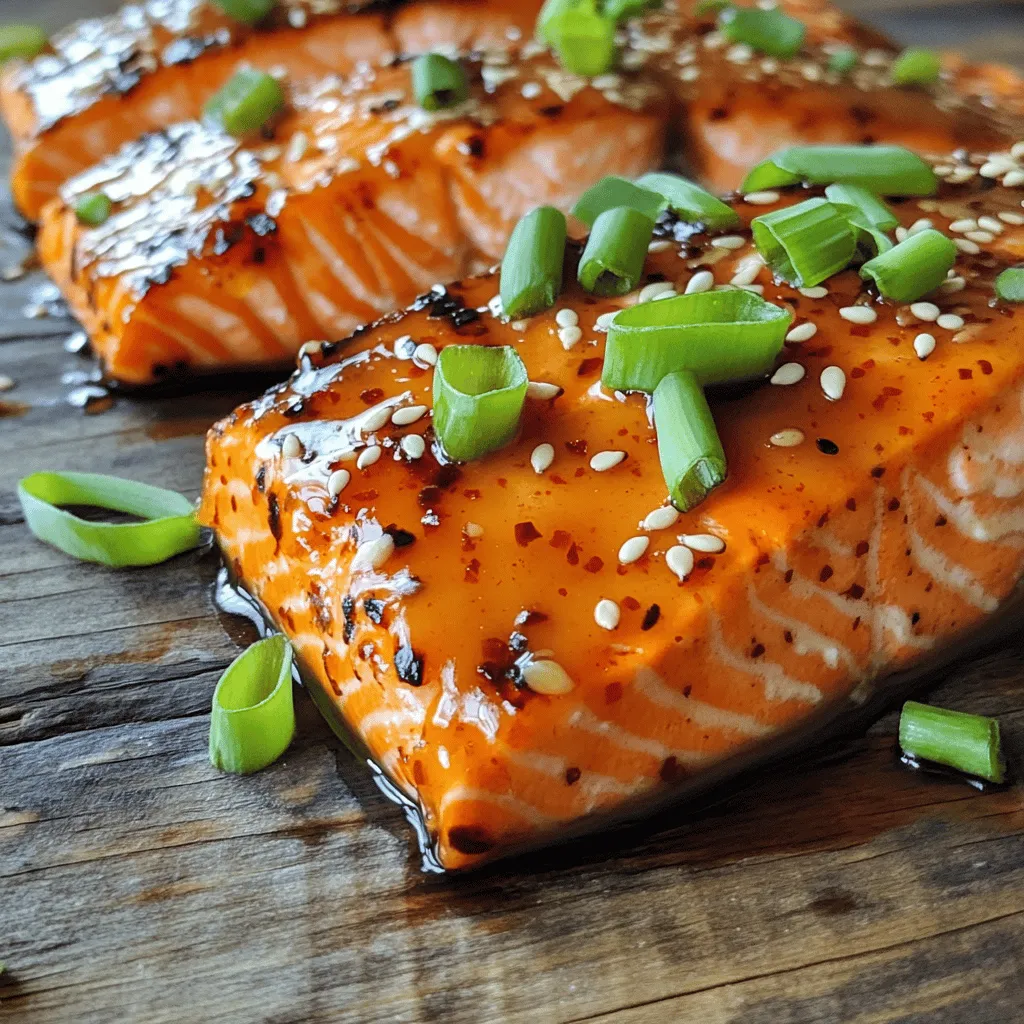
Sweet Chili Glazed Salmon Flavorful and Simple Meal
Are you ready to elevate your dinner game with Sweet Chili Glazed Salmon? This dish combines sweet, spicy, and savory flavors in a way…