
Latest & Greatest
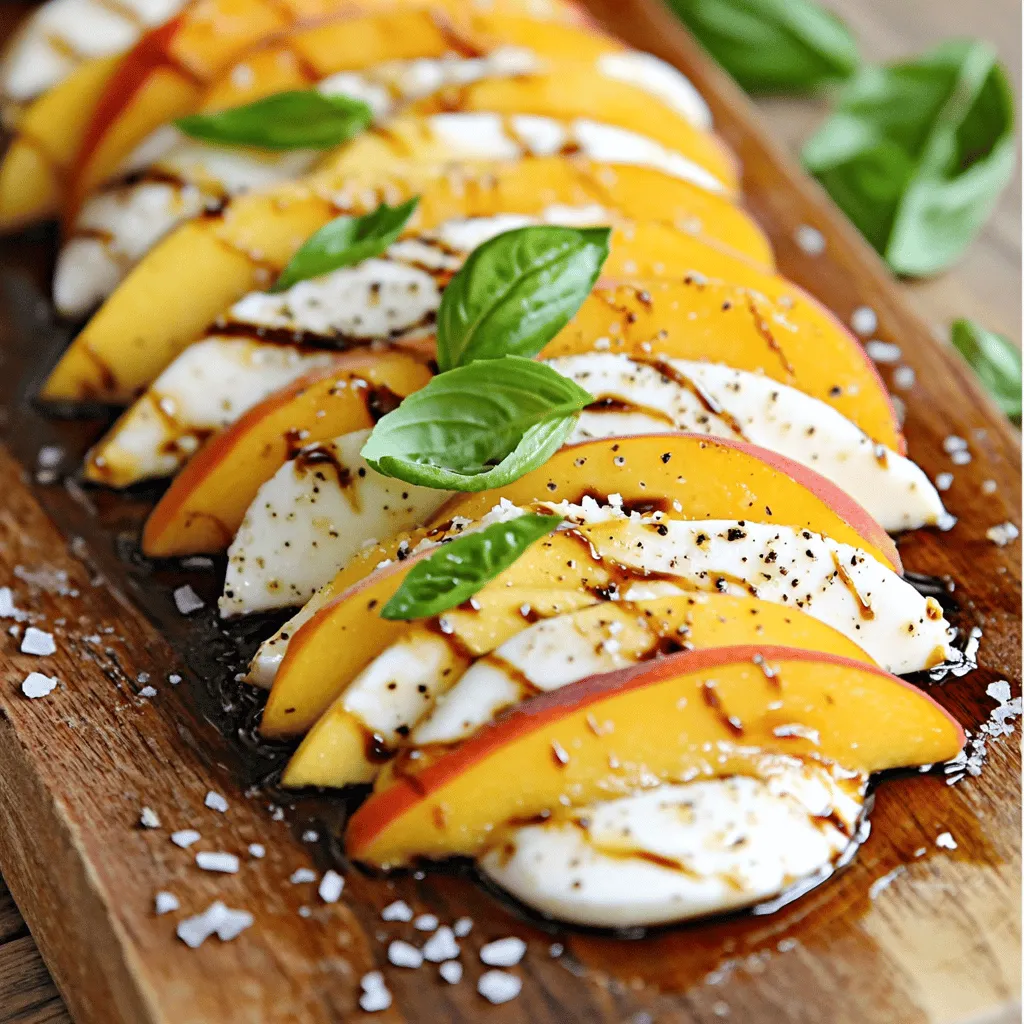
Peach Caprese Salad Fresh and Flavorful Delight
Looking for a fresh twist on a classic salad? This Peach Caprese Salad combines juicy peaches, creamy mozzarella, and fragrant
Read more…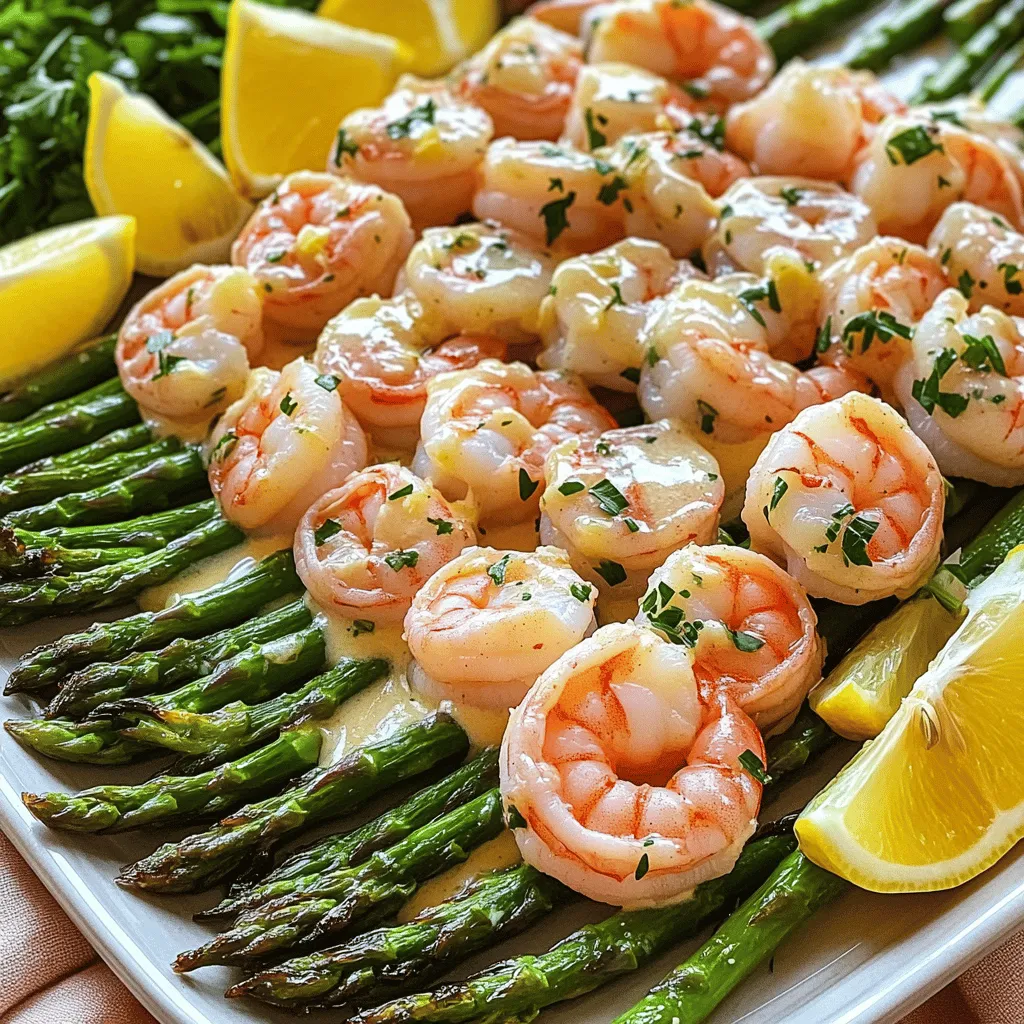
Garlic Butter Shrimp and Asparagus Flavorful Delight
Are you ready to wow your taste buds? Garlic Butter Shrimp and Asparagus is a quick and tasty dish that
Read more…
Lemon Herb Grilled Salmon Easy and Flavorful Recipe
Ready for a burst of flavor? This Lemon Herb Grilled Salmon recipe is easy and perfect for any meal. I’ll
Read more…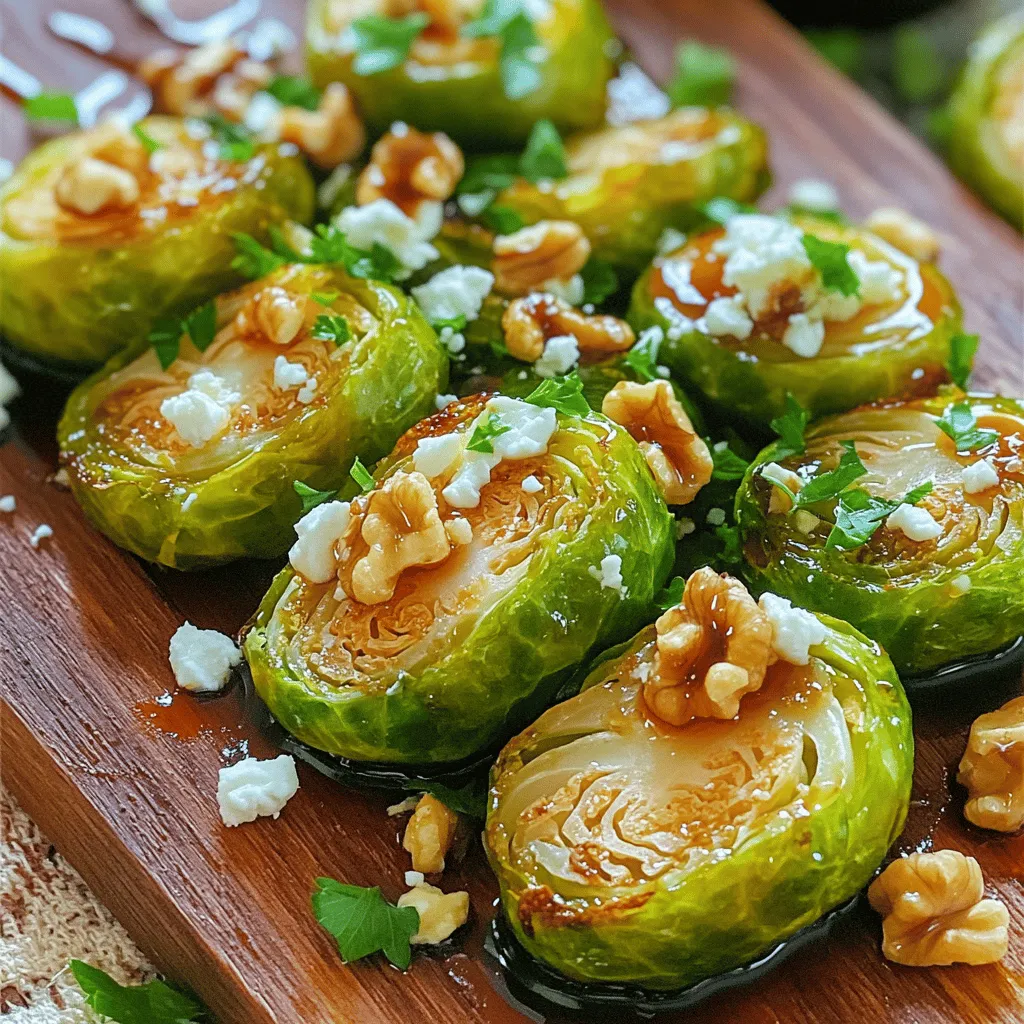
Balsamic Glazed Brussels Sprouts Tasty Side Dish Delight
Looking for a side dish that bursts with flavor? Balsamic glazed Brussels sprouts are the answer! This recipe combines sweet
Read more…
Savory Stuffed Bell Peppers with Quinoa Recipe
Looking for a tasty and healthy meal? You’re in the right place! My savory stuffed bell peppers with quinoa are
Read more…
Honey Mustard Chicken Skewers Flavorful Grilling Recipe
Are you ready to elevate your grill game? My Honey Mustard Chicken Skewers are a must-try! This simple recipe features
Read more…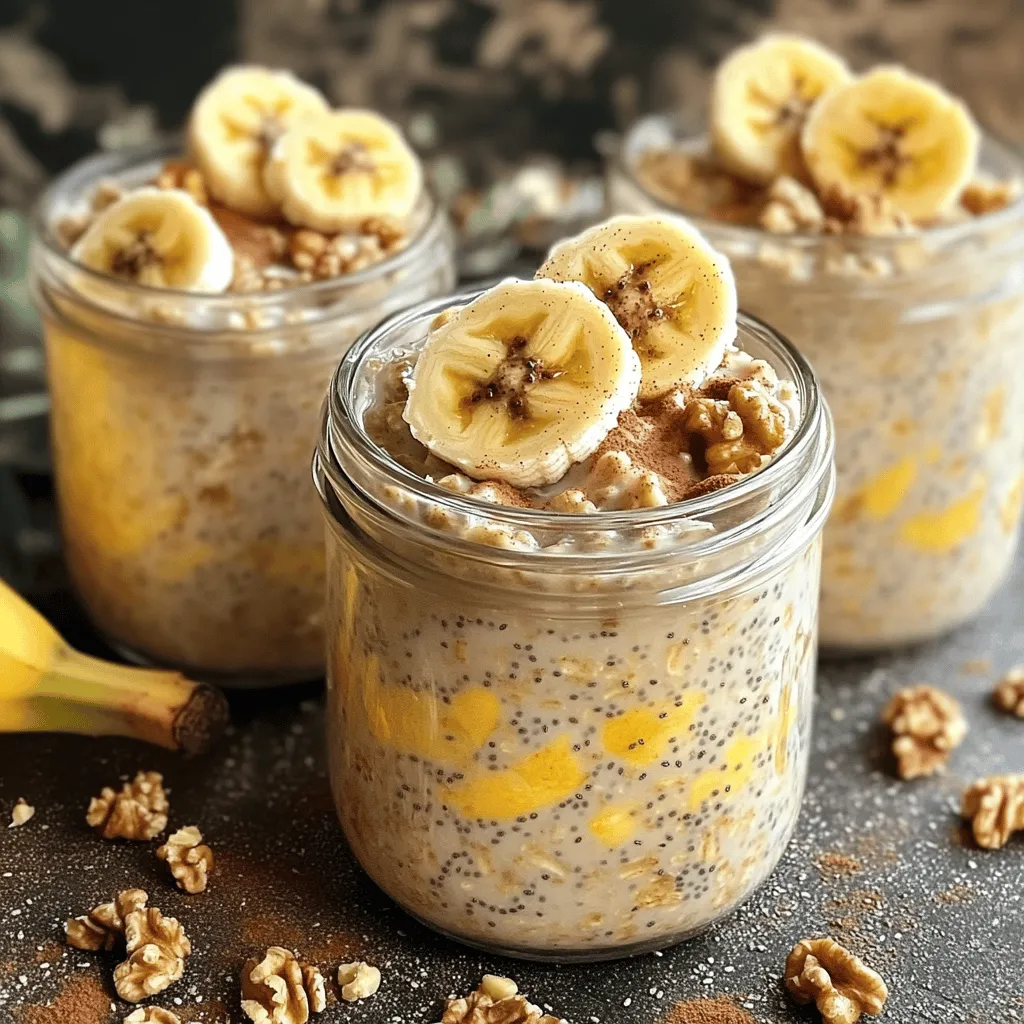
Banana Bread Overnight Oats Easy and Healthy Recipe
Are you ready to kickstart your mornings with a delicious twist? My Banana Bread Overnight Oats recipe combines the sweet
Read more…
Cheesy Spinach Artichoke Dip Irresistible Party Snack
If you’re searching for the perfect party snack, look no further! My Cheesy Spinach Artichoke Dip is creamy, tangy, and
Read more…browse recipes


![- 1 cup all-purpose flour - 1/2 cup whole wheat flour - 1/2 cup granulated sugar - 1/4 cup brown sugar, packed - 2 teaspoons baking powder - 1/2 teaspoon baking soda - 1/4 teaspoon salt - 2 large eggs - 1/2 cup milk - 1/4 cup vegetable oil - 1 teaspoon vanilla extract - 1 cup fresh cherries, pitted and halved - 1/2 cup dark chocolate chips - 1 tablespoon powdered sugar (for dusting) To make cherry chocolate chip muffins, you need simple ingredients. First, I use all-purpose and whole wheat flour. They give the muffins a nice texture. Next, I mix granulated and brown sugar. This blend adds sweetness and depth to the flavor. I also add baking powder and baking soda. These help the muffins rise. A pinch of salt balances the sweetness. For the wet ingredients, I whisk together eggs, milk, vegetable oil, and vanilla extract. The eggs provide structure, while the milk keeps the muffins moist. The oil adds richness, and the vanilla enhances the taste. Now for the stars of the show: fresh cherries and dark chocolate chips. The cherries burst with flavor, while the chocolate adds a delightful touch. Finally, I use powdered sugar to dust the tops. It gives the muffins a pretty finish. This ingredient list makes the cherry chocolate chip muffins easy and fun to make. You can find the full recipe to get started! 1. First, preheat your oven to 375°F (190°C). This step helps the muffins bake evenly. 2. Next, line your muffin tin with paper liners or lightly grease it with cooking spray. This keeps the muffins from sticking. 3. In a large mixing bowl, combine the all-purpose flour, whole wheat flour, granulated sugar, brown sugar, baking powder, baking soda, and salt. Whisk these dry ingredients together until they look even. 4. In another bowl, whisk the eggs, milk, vegetable oil, and vanilla extract until mixed well. This forms your wet ingredients. 5. Pour the wet mixture into the dry mixture. Stir gently with a wooden spoon or spatula. Be careful not to overmix; a few lumps are fine. 1. Now, fold in the halved cherries and dark chocolate chips. Make sure they spread evenly throughout the batter. 2. Spoon the batter into your prepared muffin tin, filling each cup about two-thirds full. This gives the muffins room to rise. 1. Bake your muffins in the preheated oven for 18-20 minutes. To check for doneness, insert a toothpick into the center of a muffin. If it comes out clean, they are ready. 2. Let the muffins cool in the pan for about 5 minutes. Then, transfer them to a wire rack to cool completely. 3. Once cooled, dust the tops with powdered sugar for a sweet touch. This adds a nice finish to your muffins. For a complete list of ingredients and instructions, refer to the Full Recipe. To bake the best cherry chocolate chip muffins, follow these tips. - Avoid Overmixing: When mixing your batter, stir gently. Overmixing can make muffins tough. You want a tender, fluffy texture. - Check Your Leavening Agents: Make sure your baking powder and baking soda are fresh. Old leavening agents can lead to flat muffins. - Use Room Temperature Ingredients: Eggs and milk should be at room temperature. This helps create a smooth batter. - Fill Muffin Tins Correctly: Fill each cup about two-thirds full. This allows room for the muffins to rise nicely. Presentation matters, especially with these delightful muffins. - Serve on a Colorful Platter: Arrange your muffins on a decorative plate. A bright platter adds visual appeal. - Garnish with Fresh Cherries: Place whole cherries around the muffins. This adds color and hints at the flavors inside. - Dust with Powdered Sugar: A light sprinkle of powdered sugar on top gives a sweet finish. It makes the muffins look even more tempting. - Pair with a Beverage: Serve with coffee, tea, or milk for a complete treat. This makes for a cozy breakfast or snack. For the complete recipe, check the [Full Recipe]. {{image_2}} You can easily change some ingredients in this recipe. Here are some ideas: - Alternative flours or sugars: You can swap all-purpose flour with almond or oat flour. If you want less sugar, try using honey or maple syrup. Just reduce the liquid a bit since these sweeteners are liquid. - Dairy-free or egg-free options: Use almond or oat milk instead of regular milk. For an egg substitute, you can use one tablespoon of flaxseed meal mixed with three tablespoons of water. Let it sit for a few minutes to thicken up. Adding unique flavors can make your muffins stand out. - Adding spices or other fruits: Try adding a pinch of cinnamon or nutmeg for warmth. You can also mix in blueberries or raspberries for a fruity twist. Just keep the same amount for a balanced flavor. - Chocolate variations and additional mix-ins: For a richer taste, use milk or white chocolate chips instead of dark. You can also add nuts like walnuts or pecans for a crunchy texture. Just chop them up and fold them in with the cherries. These variations let you play with flavors and textures. You can make a new version every time you bake! For the full recipe, check out the main guide. To keep your cherry chocolate chip muffins fresh, store them properly. Place the muffins in an airtight container. This keeps moisture in and helps them stay soft. You can also use a zip-top bag for storage. Make sure to remove as much air as possible. You can store muffins at room temperature for up to three days. If your kitchen is warm, they may not last as long. If you want to keep them longer, consider refrigeration. But remember, refrigeration may dry them out a bit. If you choose this option, wrap them in plastic wrap first. Freezing your muffins is a great way to enjoy them later. To freeze muffins correctly, let them cool completely first. Then, wrap each muffin in plastic wrap. After that, place the wrapped muffins in a freezer bag. Make sure to label the bag with the date. For thawing, take a muffin out and let it sit at room temperature. This usually takes about an hour. If you want to warm it up, use the microwave for about 15 seconds. This brings back that fresh-baked taste. Enjoy your muffins any time! For the full recipe, check back to the beginning of this article. What can I use instead of cherries? If you don't have cherries, try using blueberries or raspberries. You can even use chopped strawberries. Each fruit gives a different flavor but stays sweet and yummy. How can I tell if my muffins are done baking? To check if muffins are done, insert a toothpick into the center. If it comes out clean, your muffins are ready. If it has batter on it, bake them a bit longer. Can I make these muffins ahead of time? Yes, you can make these muffins ahead. They taste great for up to two days stored in an airtight container. You can also freeze them for later. What is the best way to reheat muffins? To reheat muffins, place them in the microwave for about 10 to 15 seconds. You can also warm them in an oven at 350°F (175°C) for 5 to 10 minutes. Reheating brings back their soft texture. For the full recipe, check out the Cherry Chocolate Chip Muffins section above. In this blog post, we explored how to make cherry chocolate chip muffins. I shared a detailed list of ingredients and easy step-by-step instructions for mixing and baking. You also learned tips for perfect muffins and fun variations to try. Remember to store them correctly for lasting freshness. Baking can be fun and creative. Enjoy these muffins with friends or family, and don’t be afraid to experiment with flavors. Happy baking!](https://southerndishes.com/wp-content/uploads/2025/07/30b2e2f8-a452-4c8f-b0c5-2b290fd43b7e.webp)
Cherry Chocolate Chip Muffins Irresistible and Easy Recipe
Get ready to bake some magic with my Cherry Chocolate Chip Muffins! This easy recipe combines tart cherries and rich chocolate for a treat…
My Latest Desserts
-
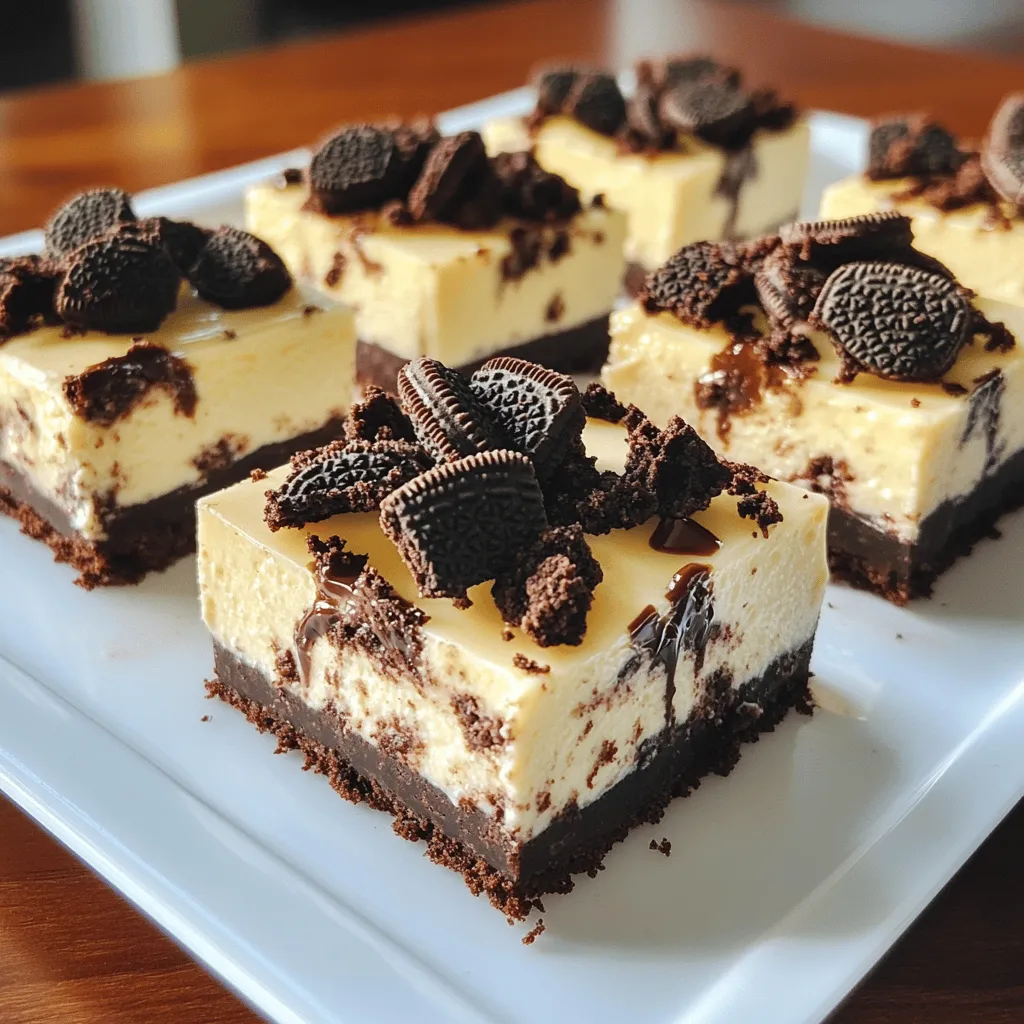
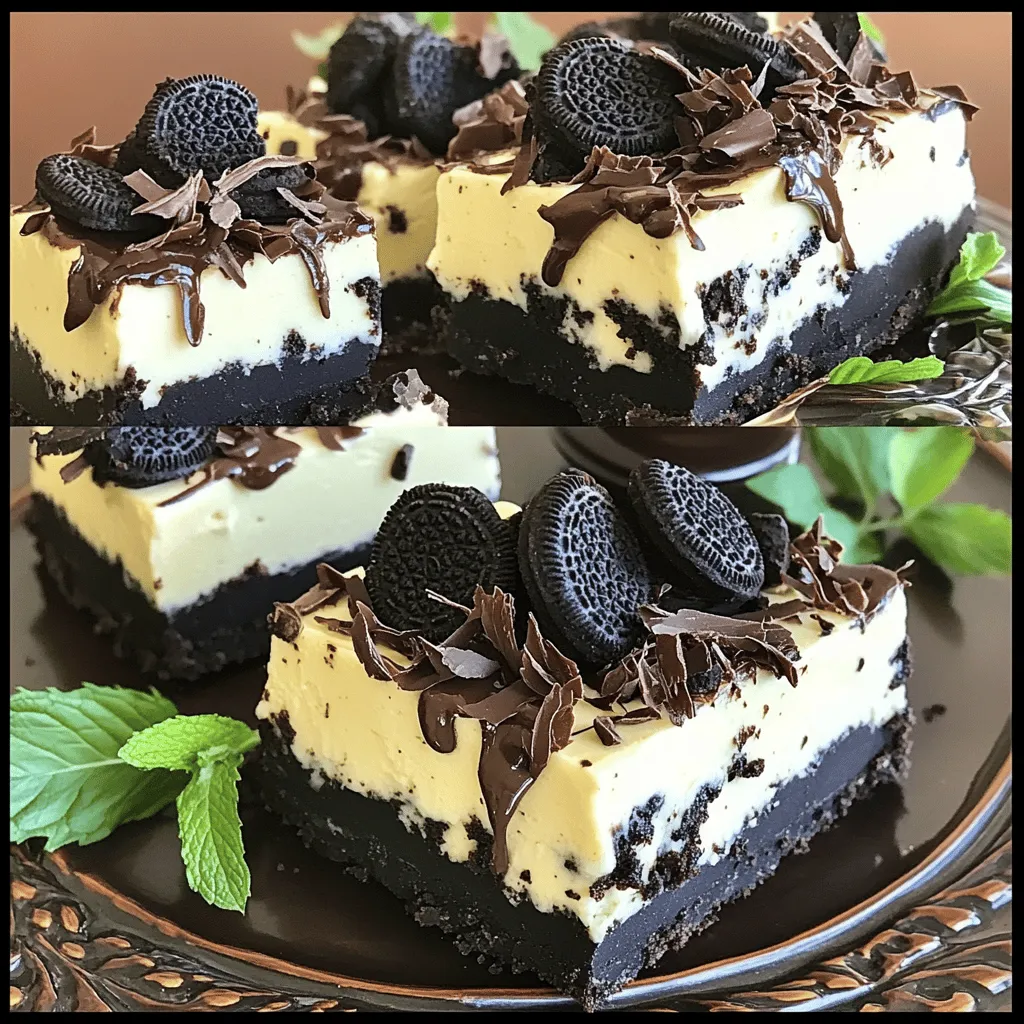
No Bake Oreo Cheesecake Bars Easy and Delicious Treat
Craving a sweet treat that’s both easy to make and utterly delicious? Look no further than these No Bake Oreo Read Full Recipe -
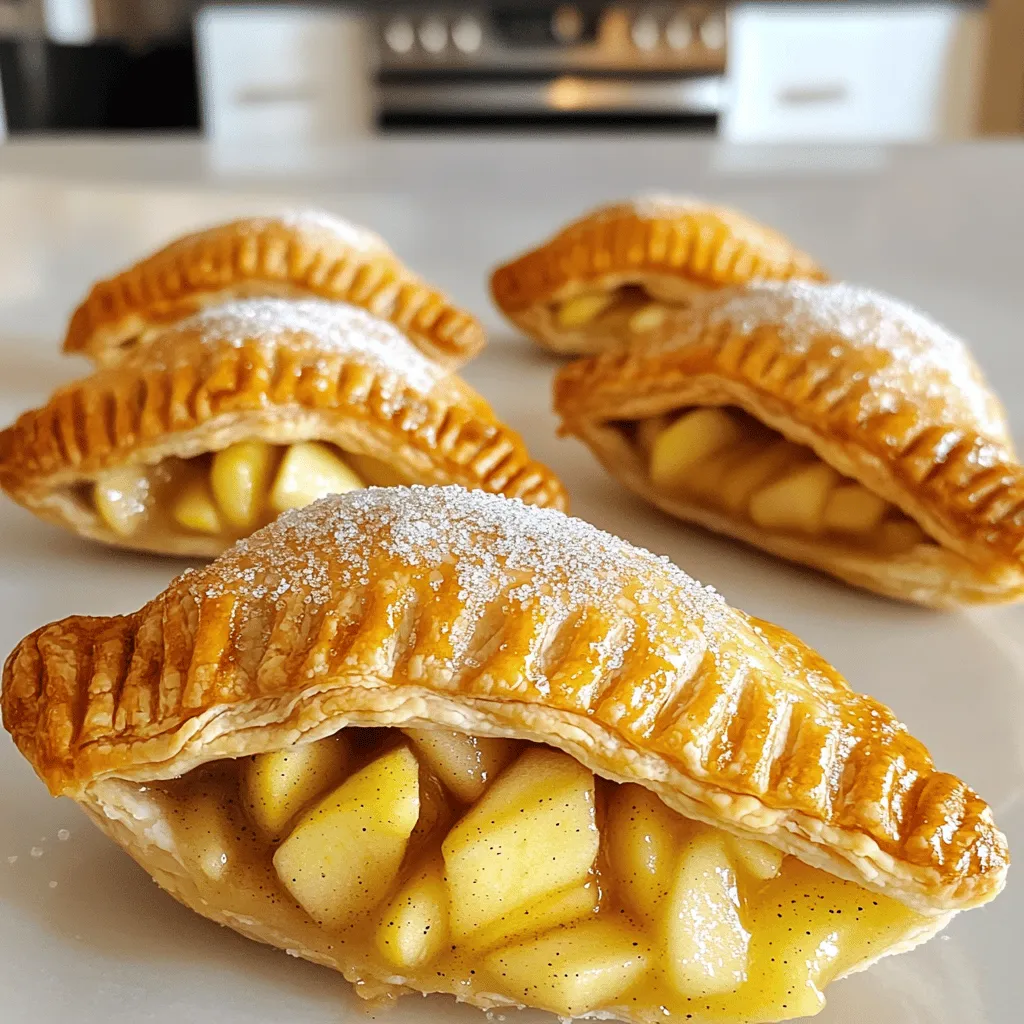
Air Fryer Apple Hand Pies Delightful and Easy Snack
Craving a tasty treat that’s simple to make? You’ll love these Air Fryer Apple Hand Pies! They are crispy, sweet, Read Full Recipe -
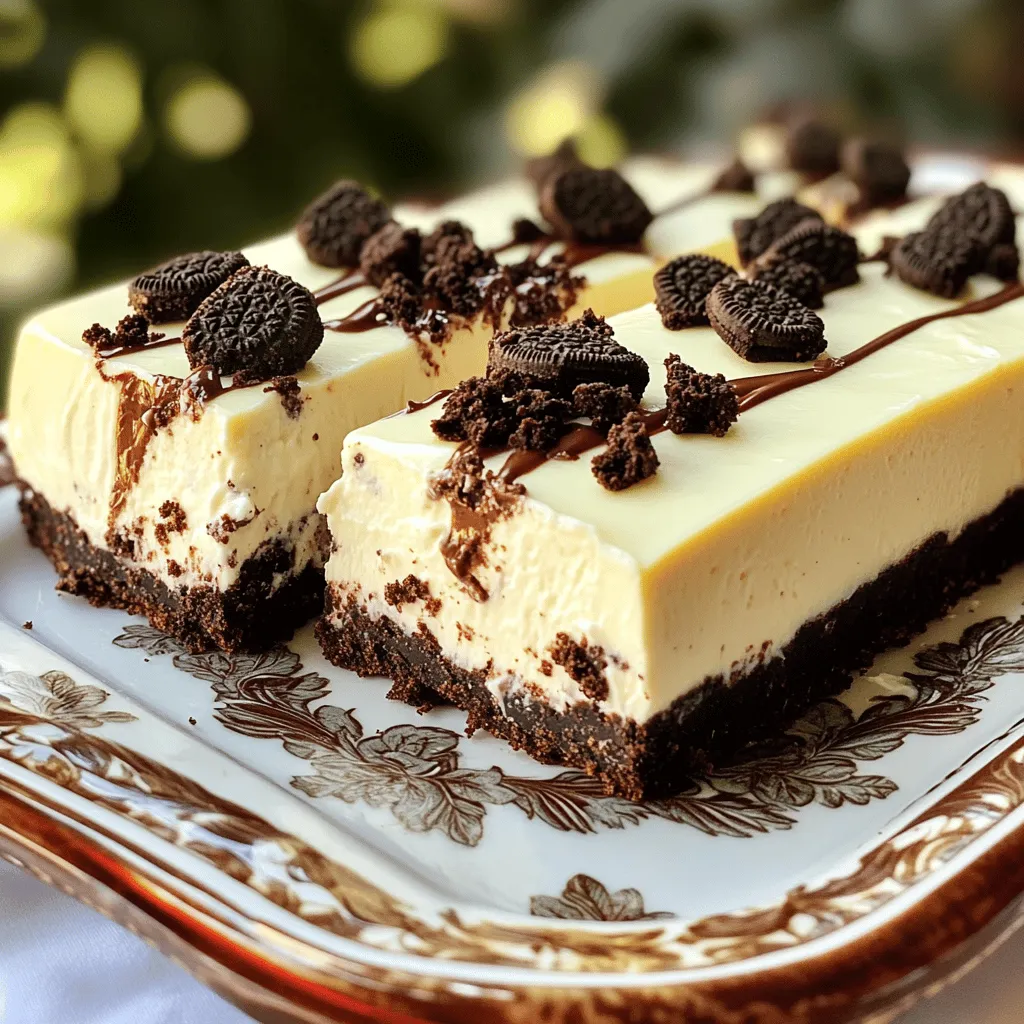
No Bake Oreo Cheesecake Bars Simple and Tasty Treat
Craving a sweet treat that’s simple to make? Look no further than these No Bake Oreo Cheesecake Bars! You’ll love Read Full Recipe -
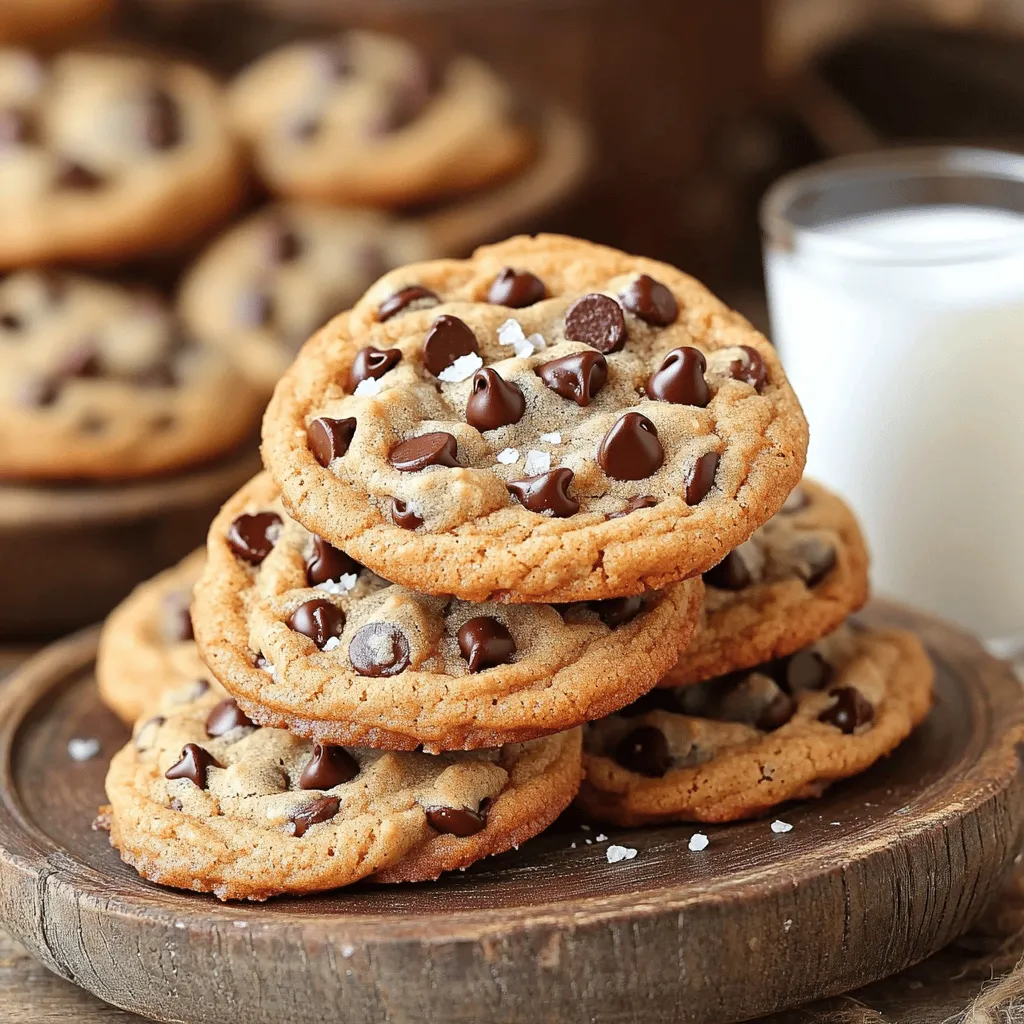
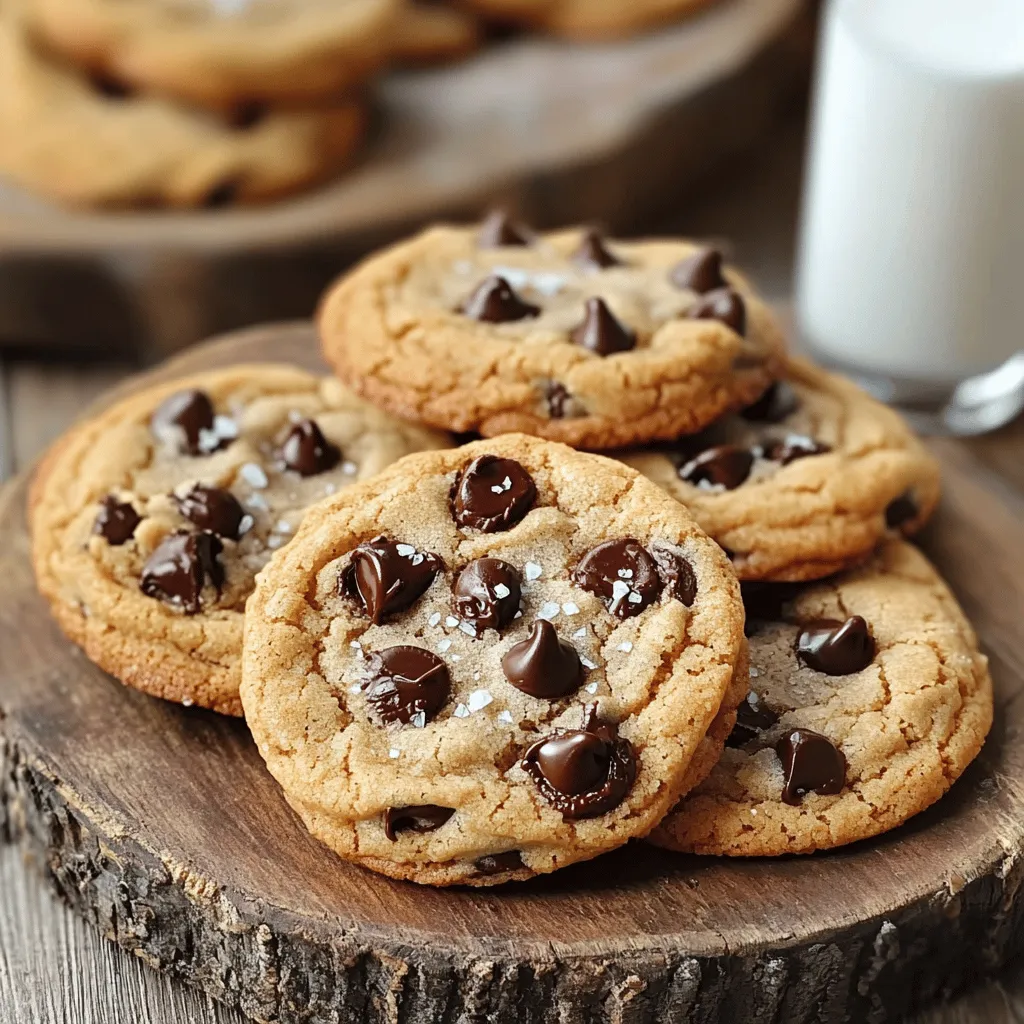
Chewy Brown Butter Chocolate Chip Cookies Delight
Are you ready for the best cookies ever? These Chewy Brown Butter Chocolate Chip Cookies are a game changer! With Read Full Recipe -
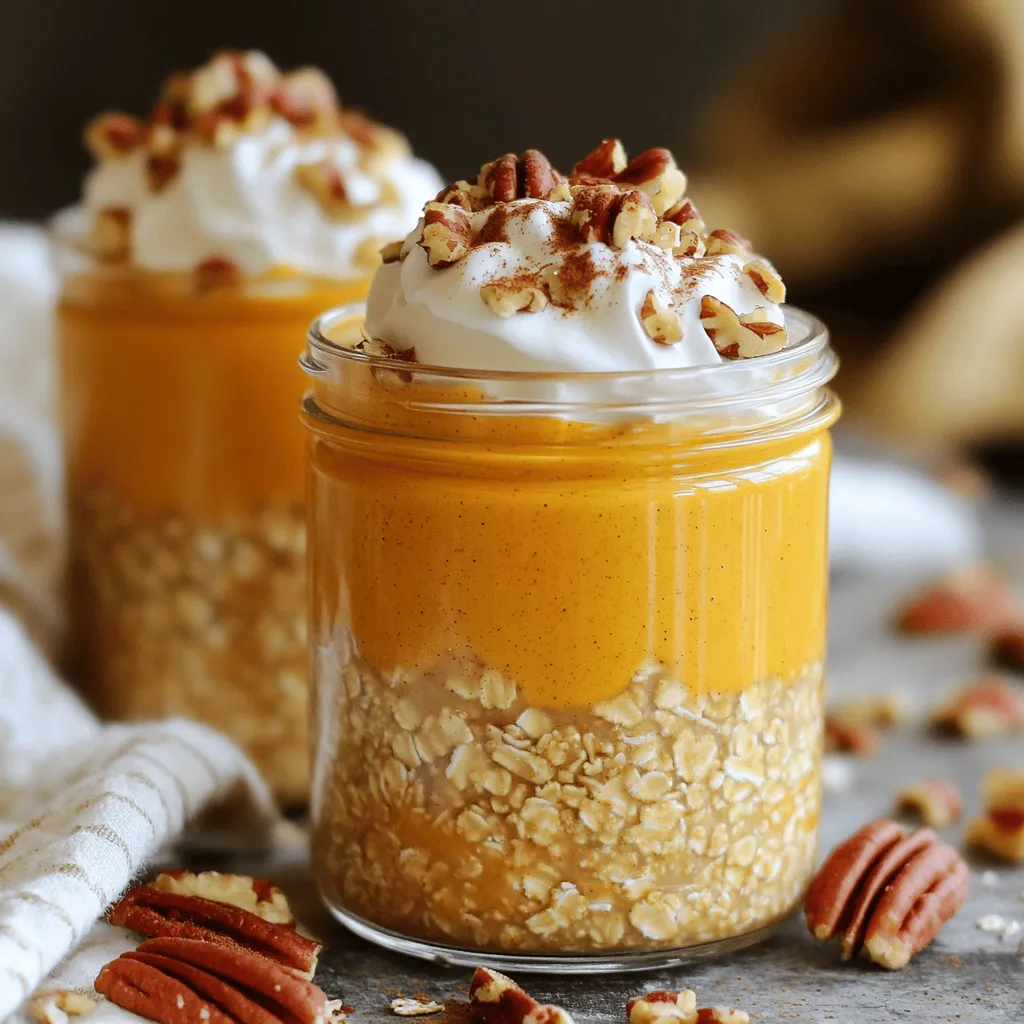
Easy Pumpkin Pie Overnight Oats Creamy and Delicious
If you’re looking for a quick, tasty breakfast that captures the essence of fall, you’re in for a treat! My Read Full Recipe -
Irresistible No Bake Oreo Cheesecake Bars Recipe
Are you craving a dessert that’s simple yet delicious? Look no further! My Irresistible No Bake Oreo Cheesecake Bars are Read Full Recipe -
Chewy Brown Butter Chocolate Chip Cookies Recipe
Are you ready for the best cookie recipe ever? These Chewy Brown Butter Chocolate Chip Cookies are rich, warm, and Read Full Recipe -
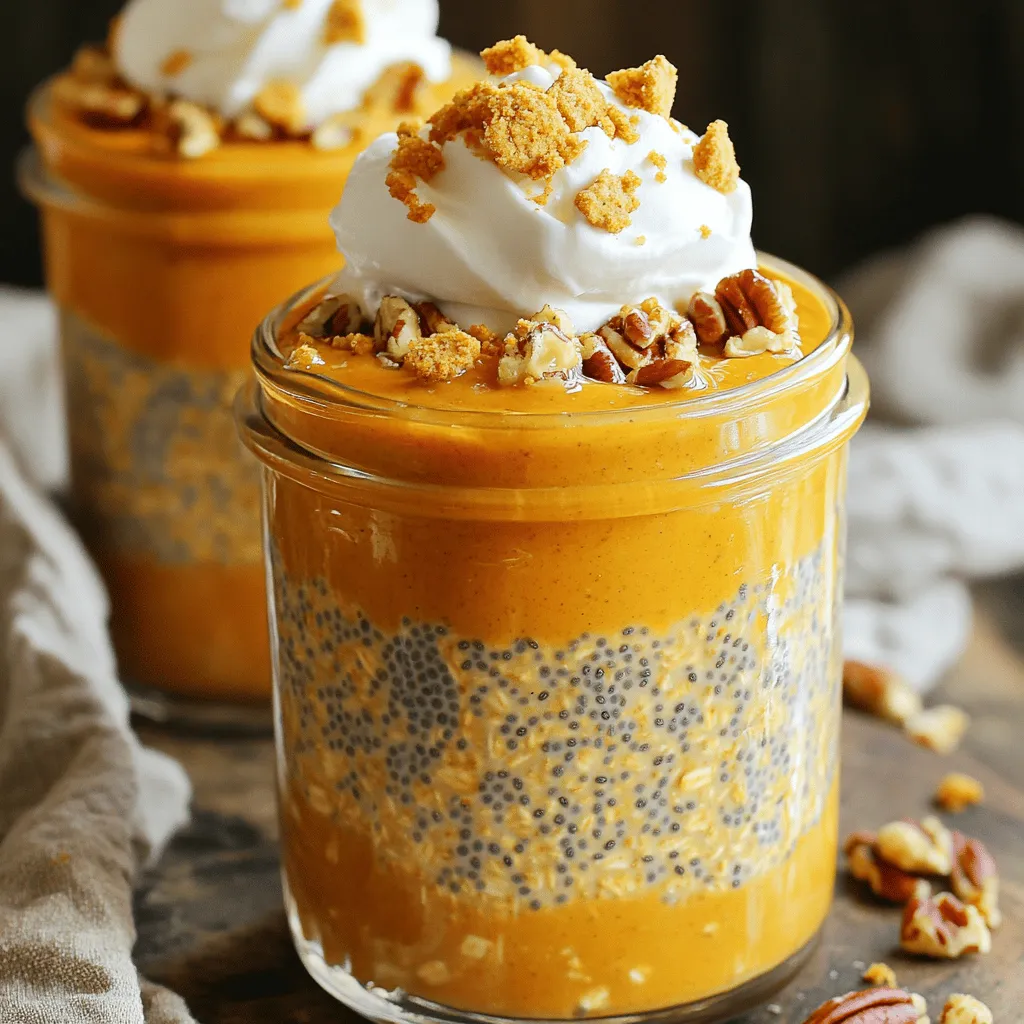
Easy Pumpkin Pie Overnight Oats Tasty and Simple Recipe
Ready to enjoy a warm slice of fall in a bowl? My Easy Pumpkin Pie Overnight Oats recipe brings the Read Full Recipe -
Cherry Chocolate Chip Muffins Irresistible and Easy Recipe
Get ready to bake some magic with my Cherry Chocolate Chip Muffins! This easy recipe combines tart cherries and rich Read Full Recipe -

Cherry Lemonade Popsicles Refreshing Summer Treat
Looking for a cool treat this summer? Try my Cherry Lemonade Popsicles! They combine tart lemon and sweet cherries, making Read Full Recipe
My Latest Recipes

hey,
i’m !
I’m so happy you’re here!
My kitchen is filled with stories, flavors, and love and I’m so happy to share them with you. Here’s to dishes that feel like home.


Chocolate Chip Cookie Dough Dip Tasty and Simple Treat
Craving something sweet and fun? You’ve got to try my Chocolate Chip Cookie Dough Dip! It’s tasty, simple, and perfect for any occasion. With…

