Latest & Greatest
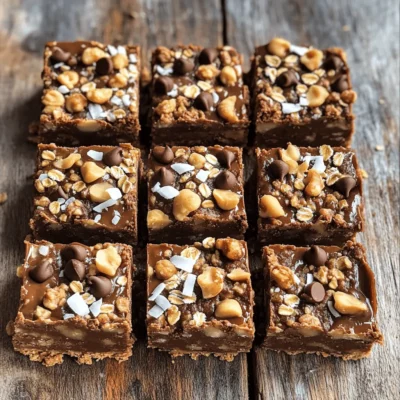
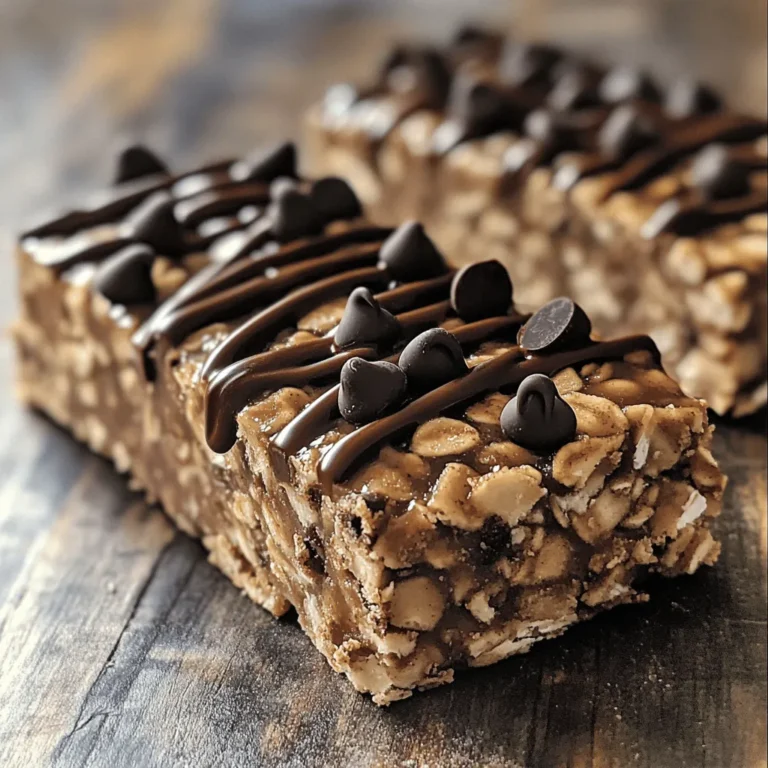
No Bake Chocolate Peanut Butter Bars Simple Recipe
Are you craving a sweet treat without the fuss of baking? Look no further! These No Bake Chocolate Peanut Butter
Read more…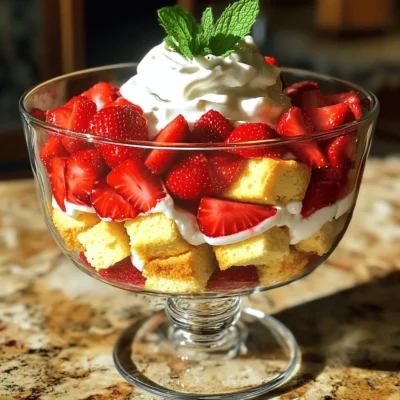
Strawberry Shortcake Trifle Delightful and Simple Treat
If you crave a sweet, easy dessert, the Strawberry Shortcake Trifle is perfect for you. This delightful treat layers fresh
Read more…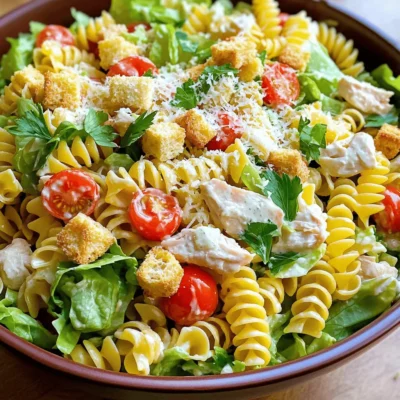
Savory Chicken Caesar Pasta Salad Easy and Tasty Meal
Looking for a quick, tasty meal? Look no further than my Savory Chicken Caesar Pasta Salad! This dish blends juicy
Read more…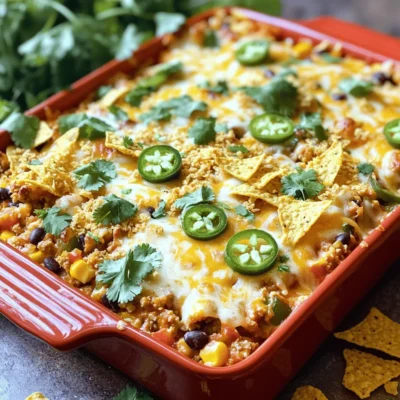
Easy Taco Casserole Tasty and Simple Dinner Idea
Looking for a quick and tasty dinner idea? My Easy Taco Casserole is the perfect choice! Packed with flavor and
Read more…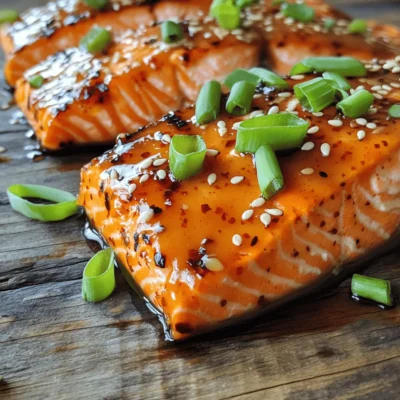
Sweet Chili Glazed Salmon Flavorful and Simple Meal
Are you ready to elevate your dinner game with Sweet Chili Glazed Salmon? This dish combines sweet, spicy, and savory
Read more…
Copycat Chick-fil-A Nuggets Tasty and Easy Recipe
Do you crave those crispy, mouthwatering Chick-fil-A nuggets? Look no further! I’m here to share an easy, homemade recipe that
Read more…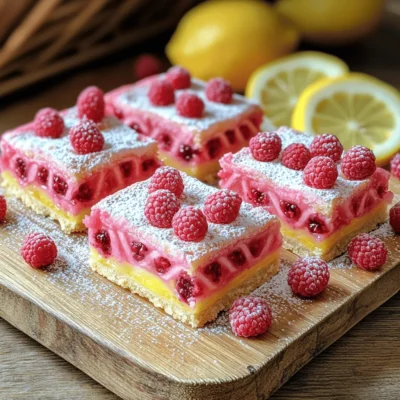
Raspberry Lemonade Bars Tangy and Refreshing Treat
Are you craving a sweet and tangy treat? Look no further than these Raspberry Lemonade Bars! They combine the bright
Read more…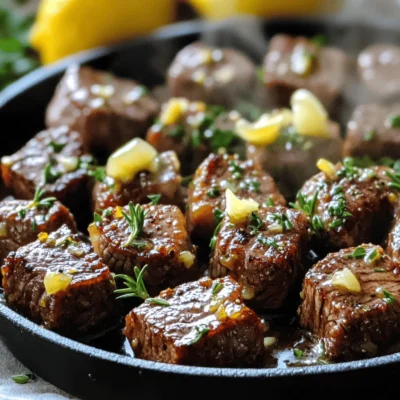
Garlic Butter Steak Bites Flavorful and Quick Meal
Looking for a dish that’s packed with flavor yet quick to whip up? Garlic Butter Steak Bites are your answer!
Read more…browse recipes


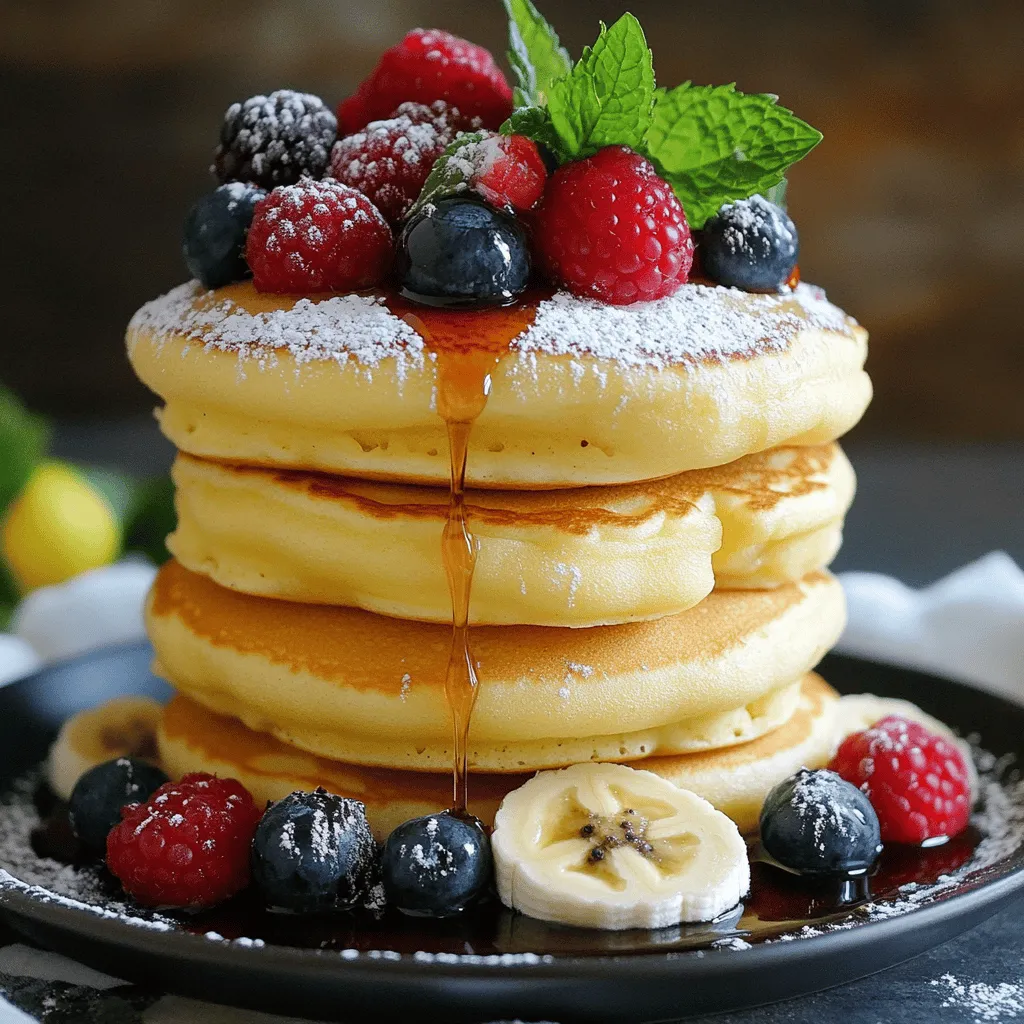
Fluffy Japanese Souffle Pancakes Easy and Delicious Recipe
If you’ve ever craved pancakes that are light and airy, you’re in for a treat! Fluffy Japanese Souffle Pancakes are a delightful twist on…
My Latest Desserts
-
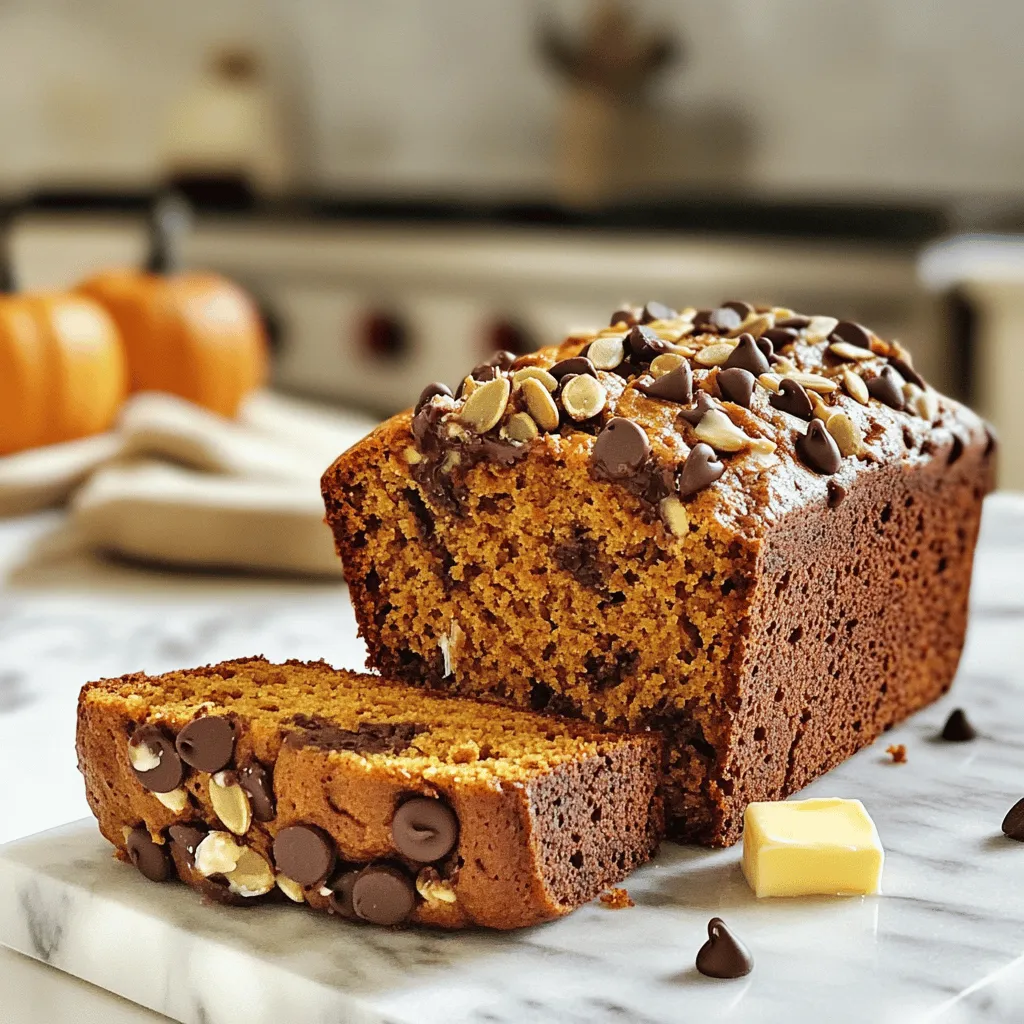
Chocolate Chip Pumpkin Bread Fresh and Tasty Recipe
Are you ready to bake something special? This Chocolate Chip Pumpkin Bread recipe is fresh and tasty! It blends the Read Full Recipe -
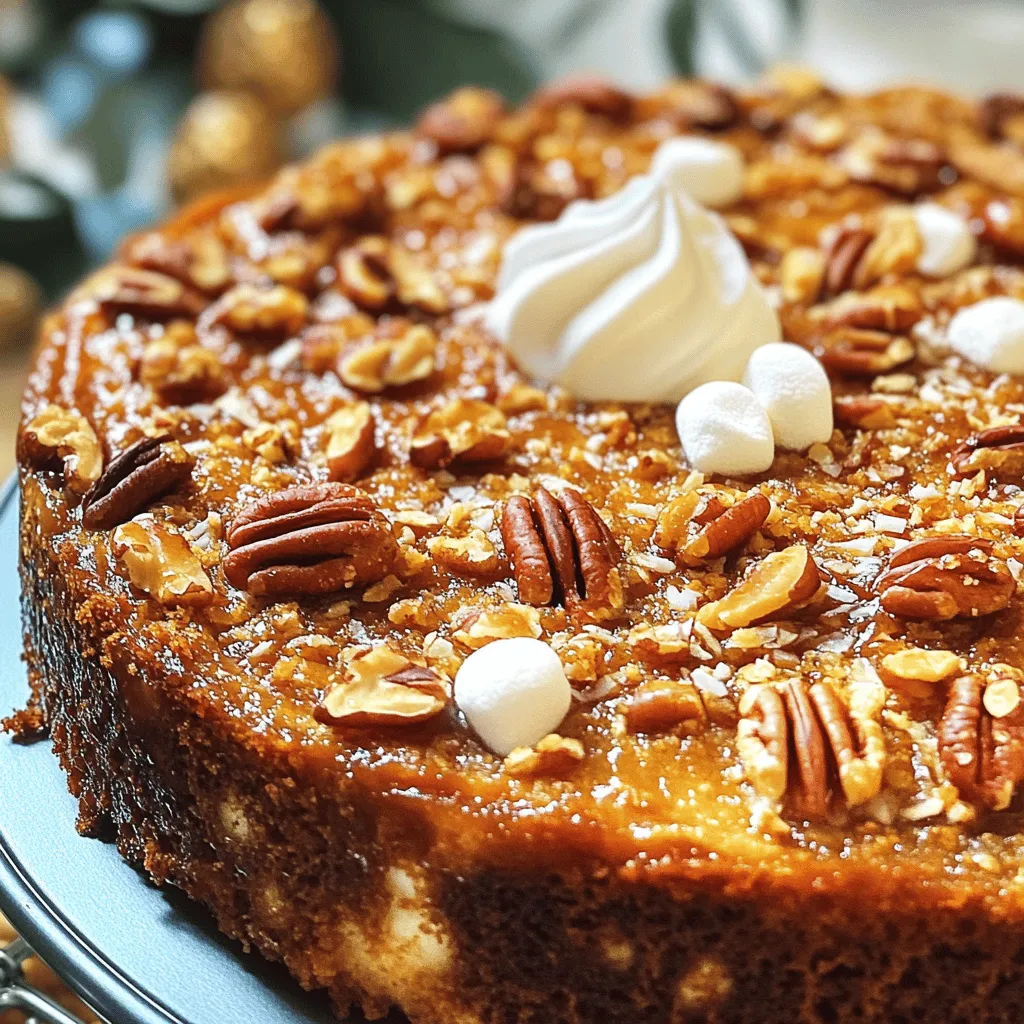
Pecan Praline Dump Cake Irresistible Easy Dessert
Are you ready to impress your friends and family with a simple yet delicious dessert? Let me introduce you to Read Full Recipe -
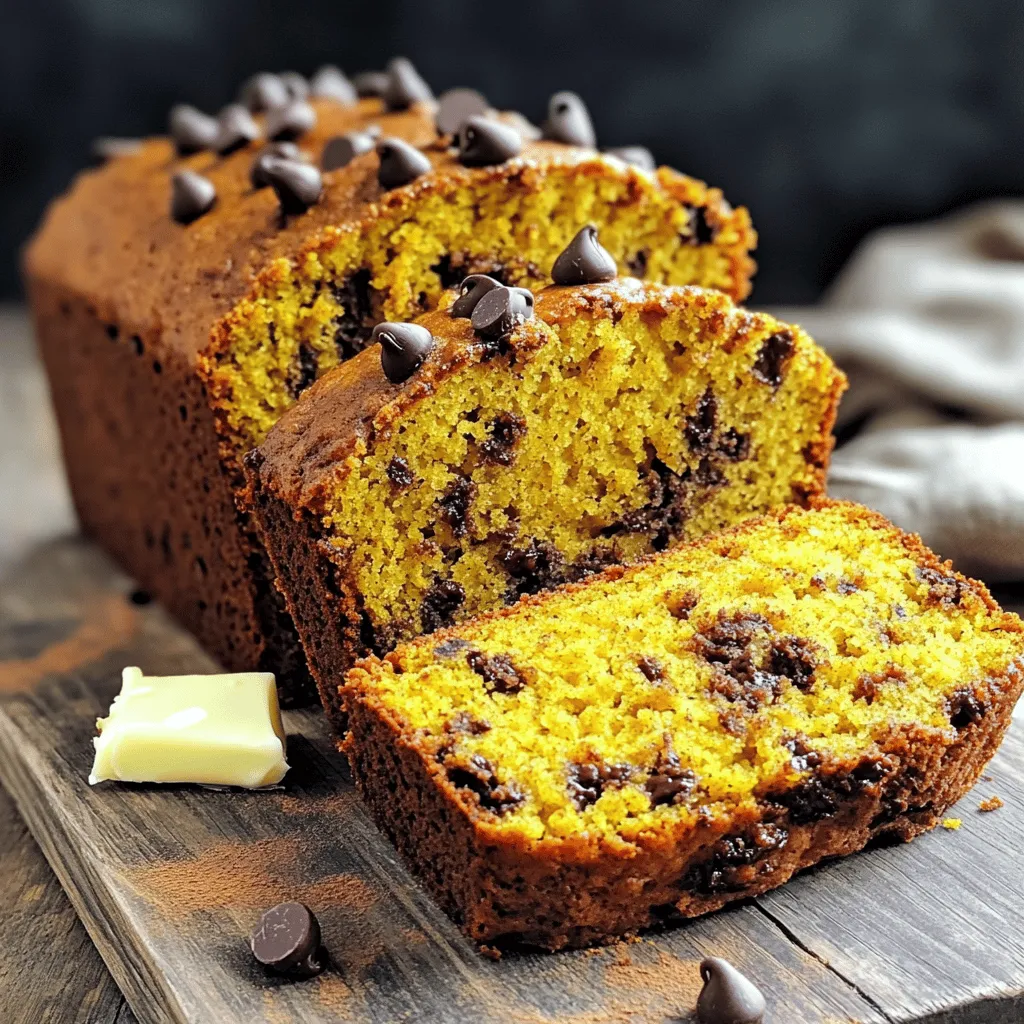
Pumpkin Chocolate Chip Bread Delightful Moist Treat
Are you ready to bake the most delightful treat of the season? Pumpkin chocolate chip bread is a moist, flavorful Read Full Recipe -
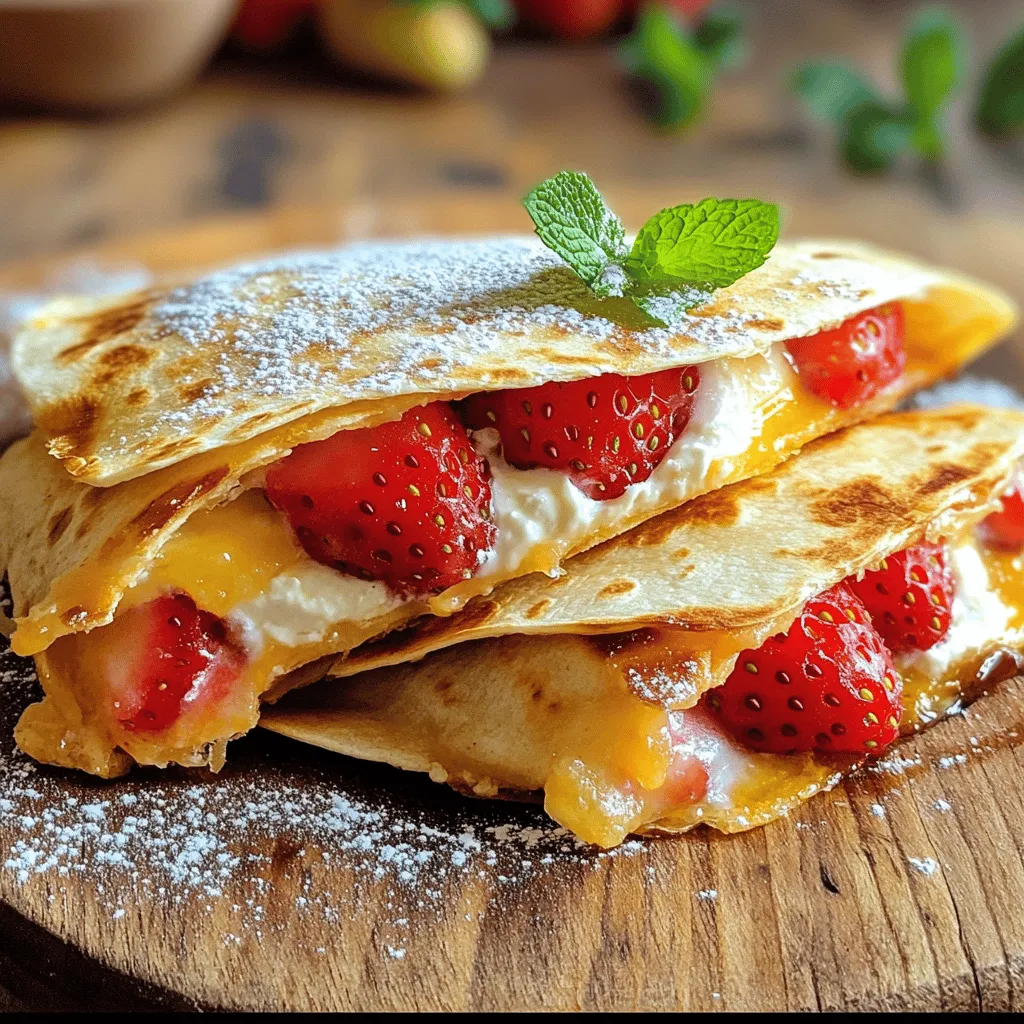
Strawberry Cream Cheese Quesadillas Delightful Treat
Get ready to delight your taste buds with Strawberry Cream Cheese Quesadillas! This sweet twist on a savory favorite will Read Full Recipe -
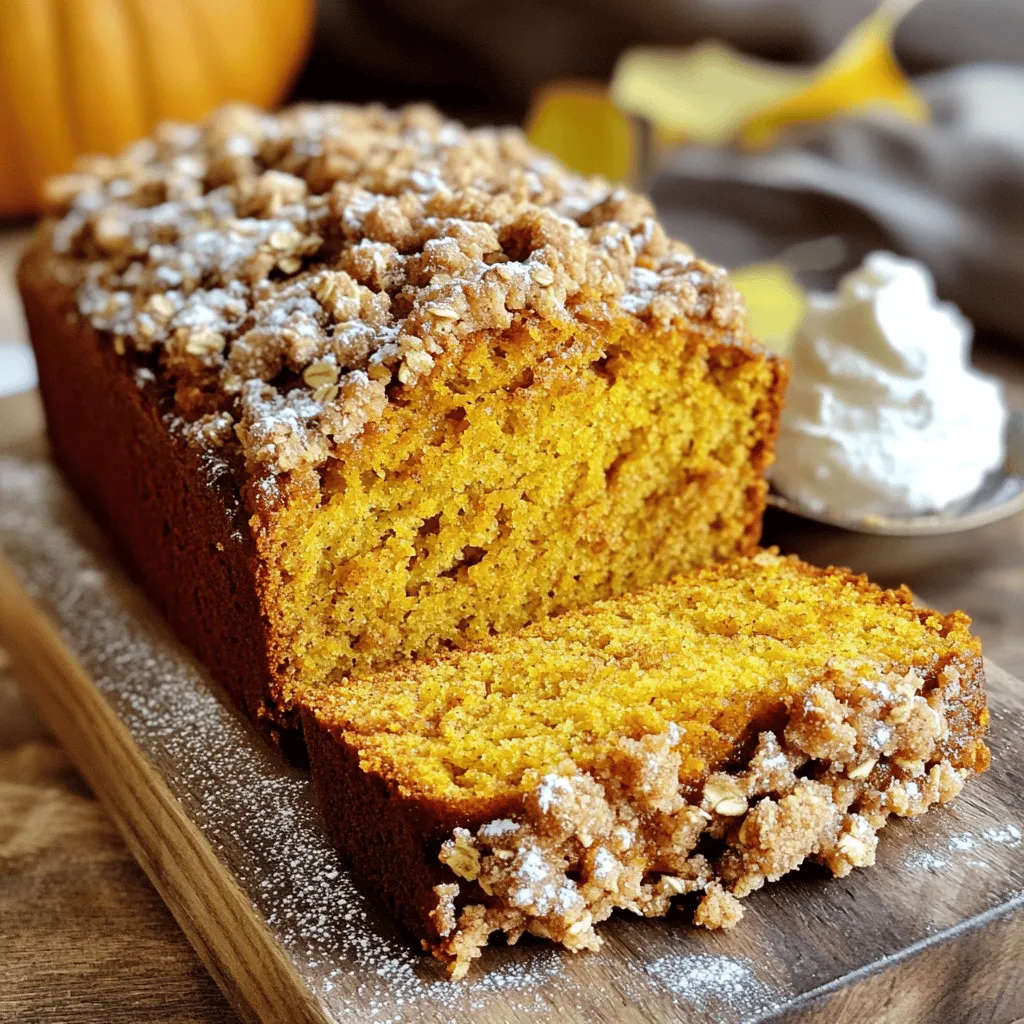
Pumpkin Bread With Streusel Topping Easy Recipe
Do you love the warm, spicy flavors of pumpkin bread? With my easy recipe for Pumpkin Bread With Streusel Topping, Read Full Recipe -
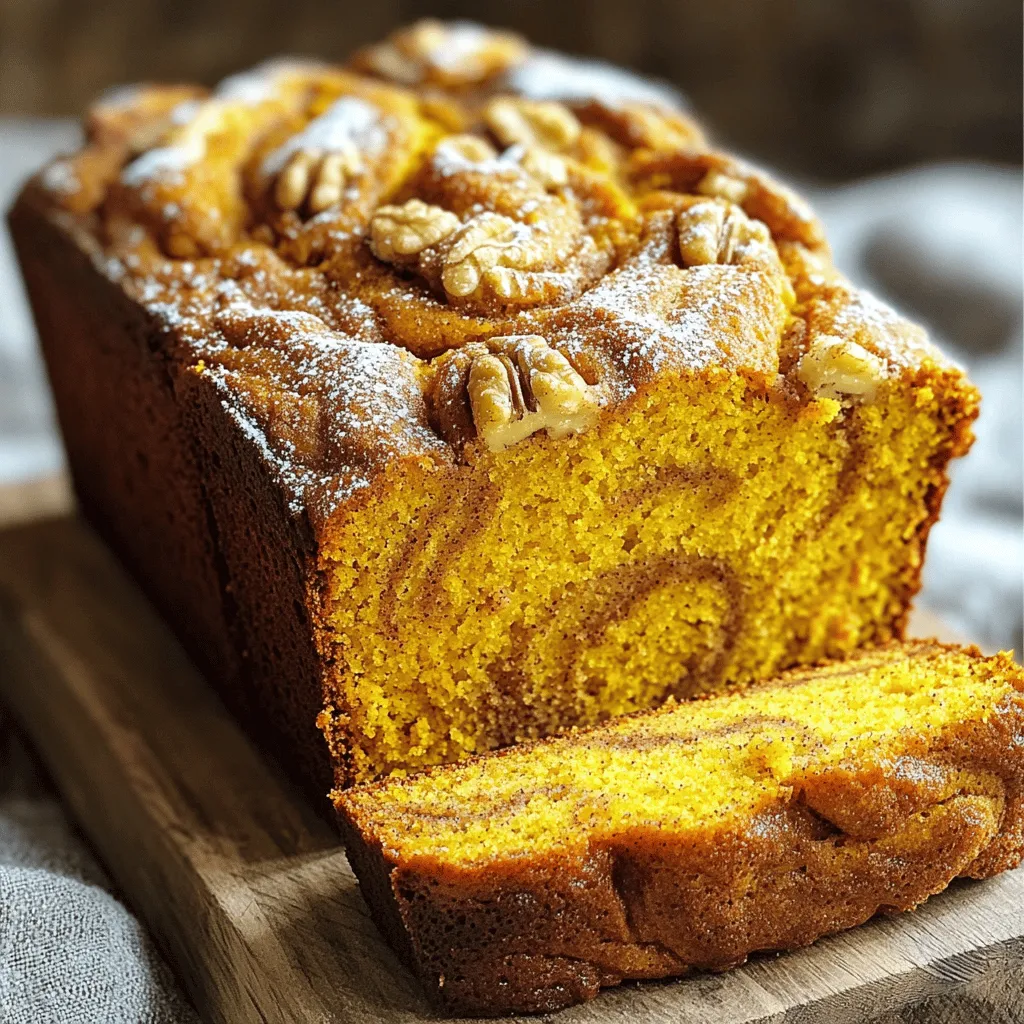
Cinnamon Swirl Pumpkin Bread Irresistible Recipe Guide
Craving a cozy, fall-inspired treat? You’ll love my Cinnamon Swirl Pumpkin Bread! This guide gives you everything you need to Read Full Recipe -
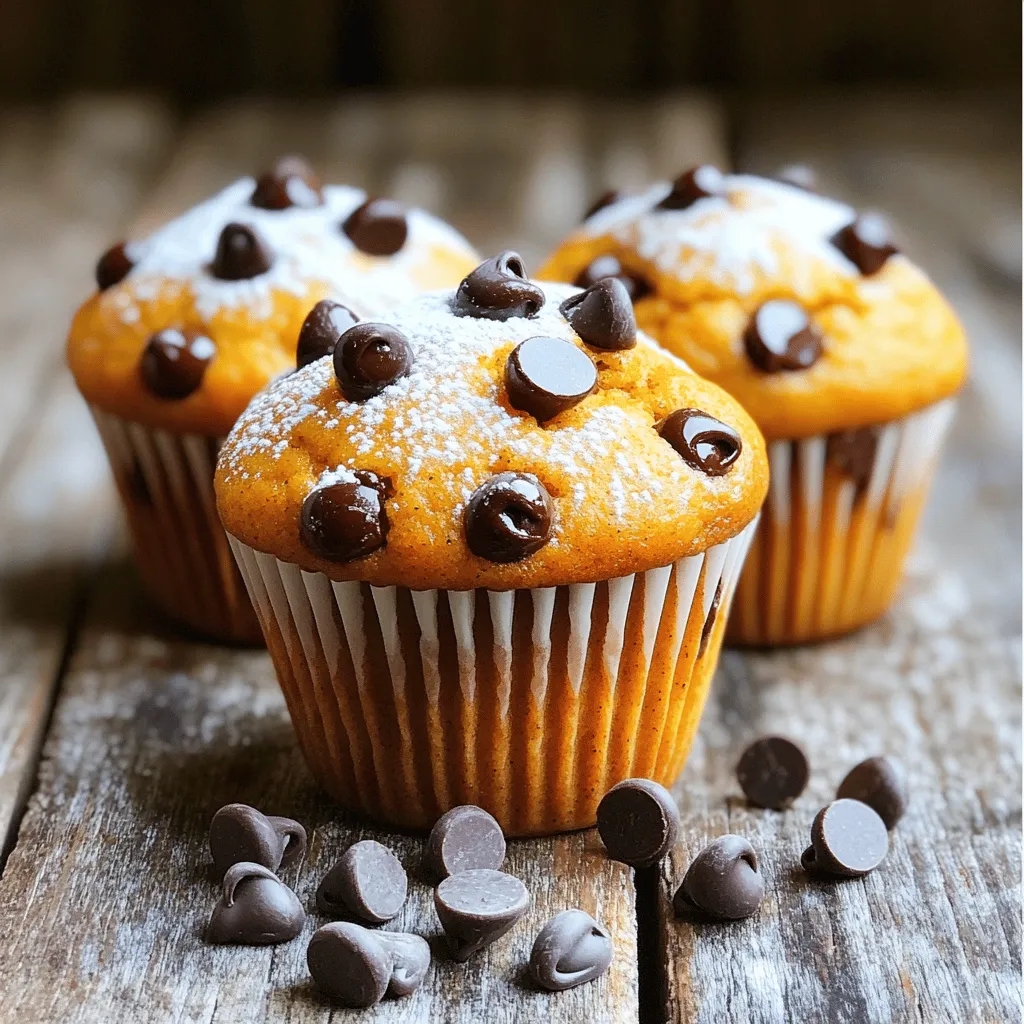
Pumpkin Chocolate Chip Muffins Delicious and Easy Recipe
If you’re looking for a simple and delicious treat, these Pumpkin Chocolate Chip Muffins are calling your name! With warm Read Full Recipe -
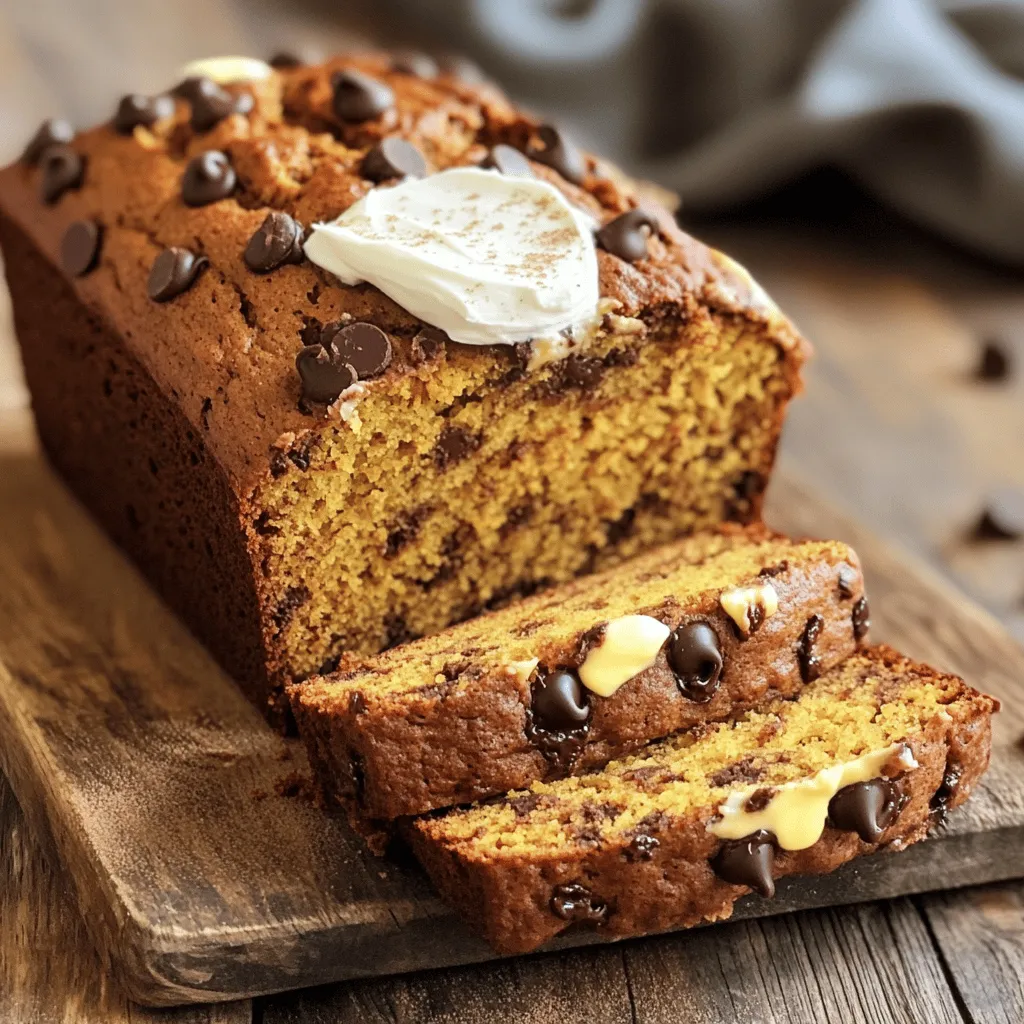
Chocolate Chip Pumpkin Bread Irresistible Treat
Are you ready to bake an irresistible treat that combines the cozy flavors of fall? This Chocolate Chip Pumpkin Bread Read Full Recipe -
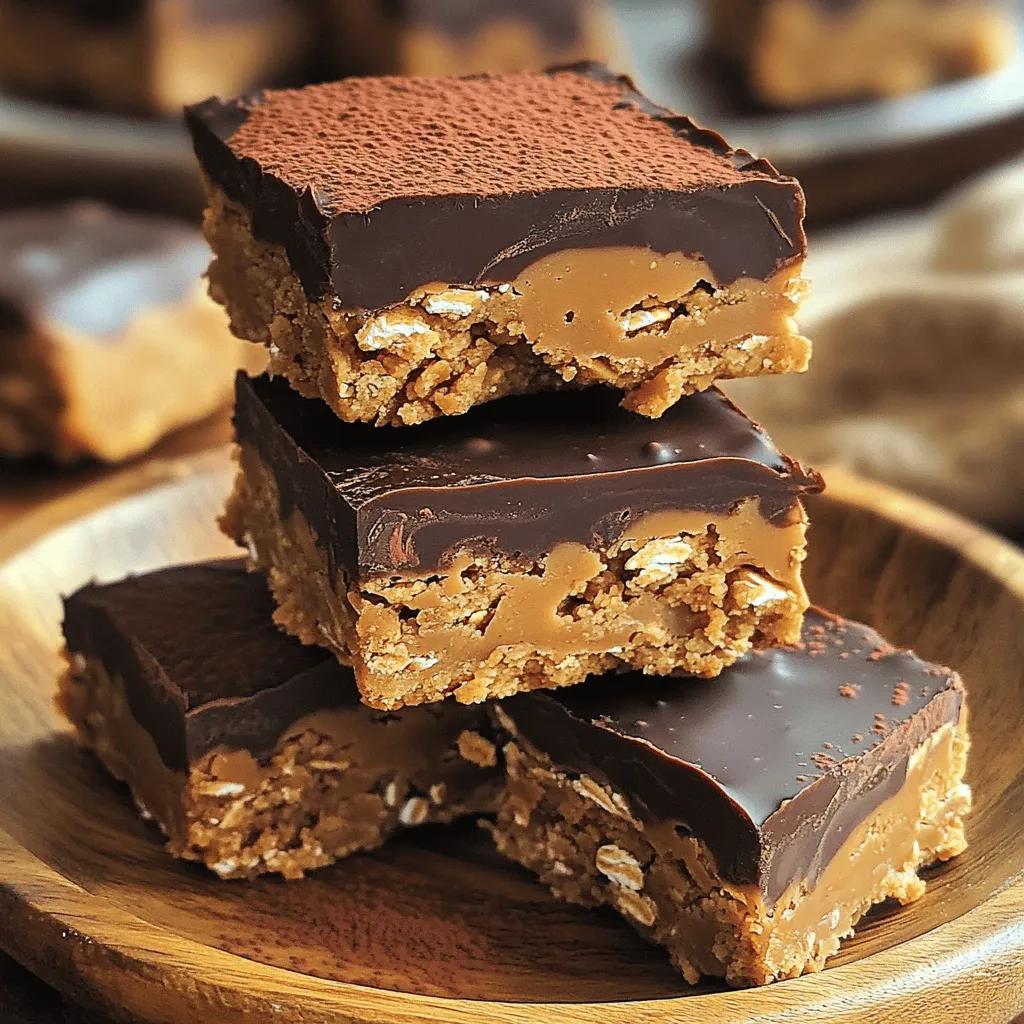
No Bake Peanut Butter Bars Simple and Tasty Treat
Craving a sweet treat that’s easy to whip up? You’ll love these no bake peanut butter bars! With just a Read Full Recipe -
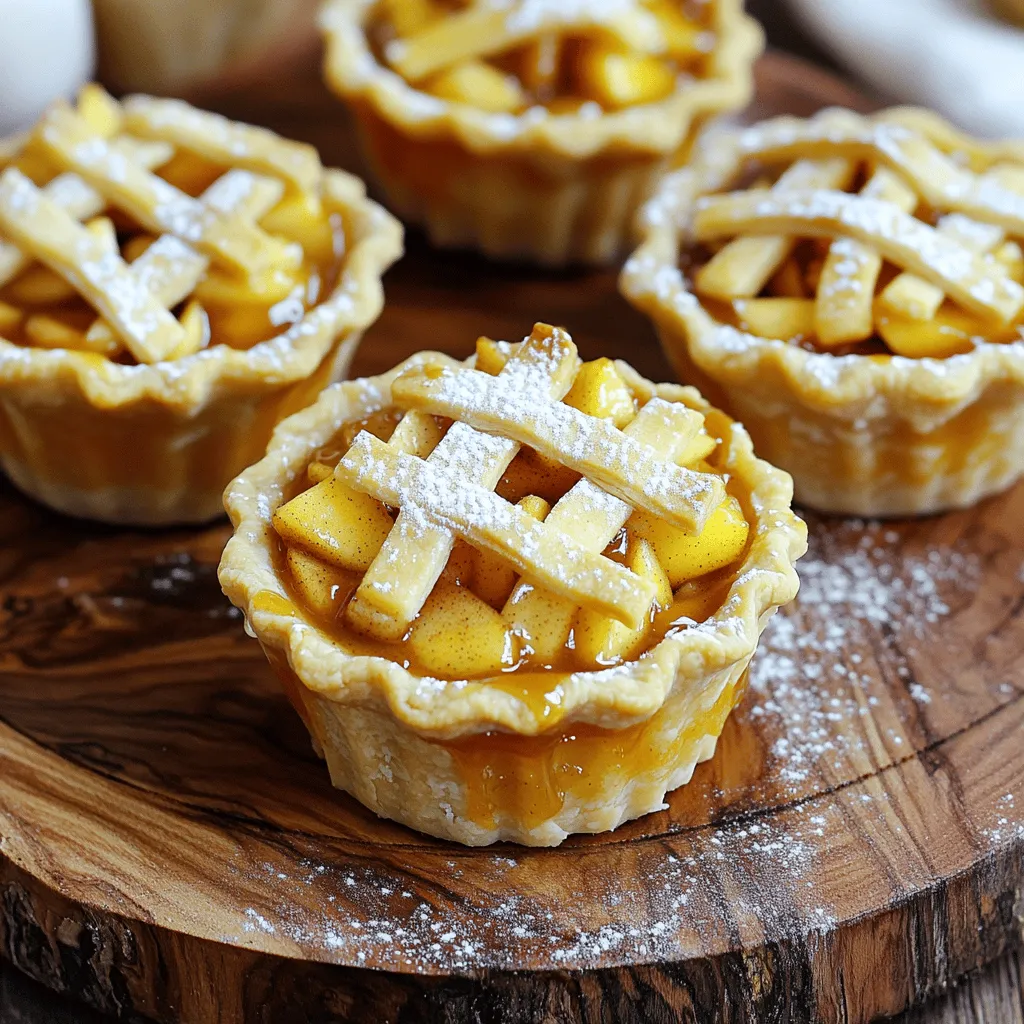
Apple Pie Cups Delightful Dessert for Any Occasion
Are you ready to enjoy a delightful dessert that fits any occasion? Apple Pie Cups bring the classic flavors of Read Full Recipe
My Latest Recipes

hey,
i’m !
I’m so happy you’re here!
My kitchen is filled with stories, flavors, and love and I’m so happy to share them with you. Here’s to dishes that feel like home.


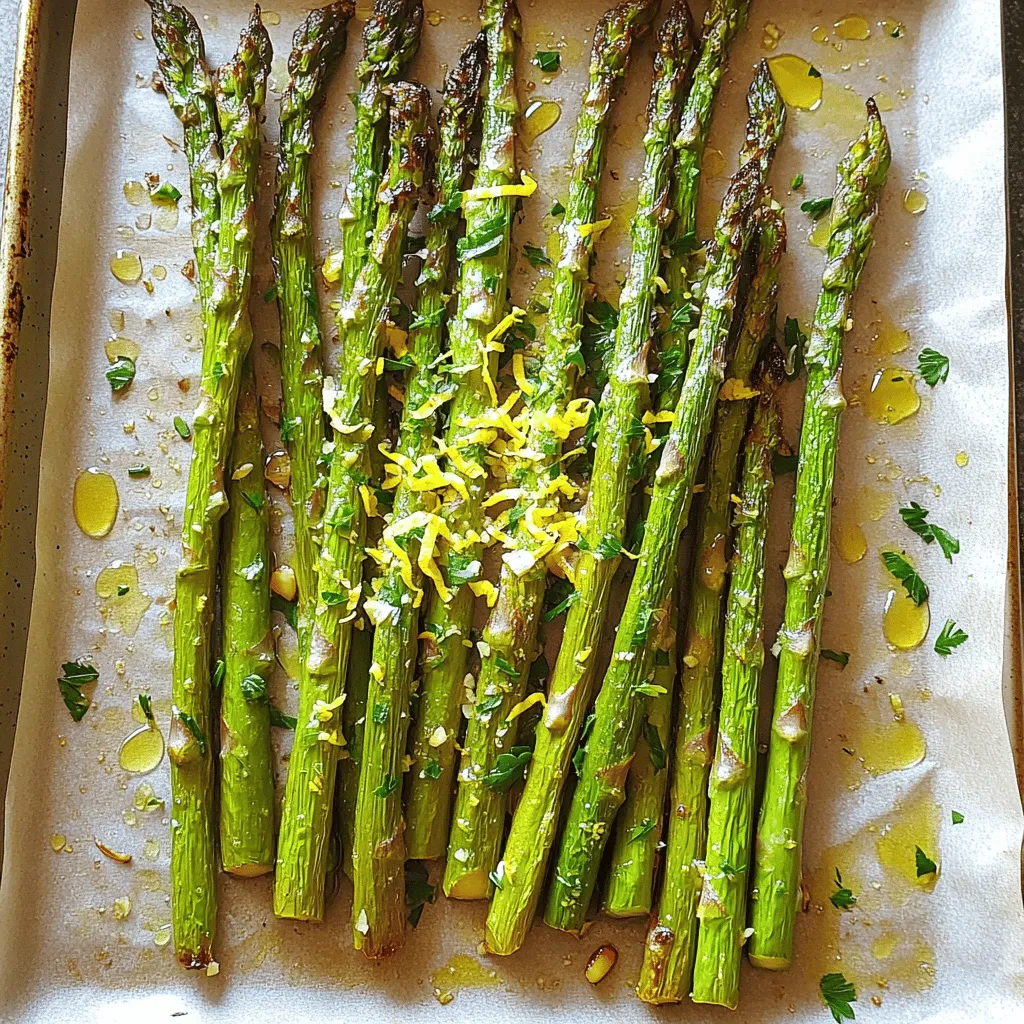
Lemon Garlic Roasted Asparagus Fresh and Flavorful Side
Looking for a fresh and flavorful side dish that’s easy to make? Lemon Garlic Roasted Asparagus is your answer! This tasty dish brings bright…