

Latest & Greatest
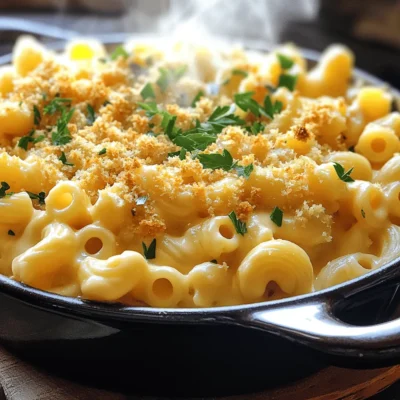
One-Pot Creamy Mac and Cheese Simple Comfort Food
Craving a dish that’s both easy to make and utterly delicious? Look no further! This One-Pot Creamy Mac and Cheese
Read more…
Easy Chicken Enchilada Bake Simple Family Dinner
Looking for an effortless family dinner? Try my Easy Chicken Enchilada Bake! This tasty dish features layers of chicken, cheese,
Read more…
Cheesy Garlic Breadsticks Delightful and Easy Recipe
You’re about to dive into the world of cheesy garlic breadsticks, a treat so simple yet downright irresistible! Imagine warm,
Read more…
No-Churn Oreo Ice Cream Creamy and Simple Delight
Are you craving a sweet treat without the fuss of ice cream machines? Let me introduce you to my No-Churn
Read more…
Chicken Parmesan Bake Flavorful Easy Family Meal
Looking for a quick, tasty dinner that your family will love? This Chicken Parmesan Bake combines juicy chicken, rich marinara,
Read more…
Cheesy Stuffed Bell Peppers Flavorful and Simple Dish
Are you ready to spice up dinner with a dish that is both cheesy and simple? Cheesy stuffed bell peppers
Read more…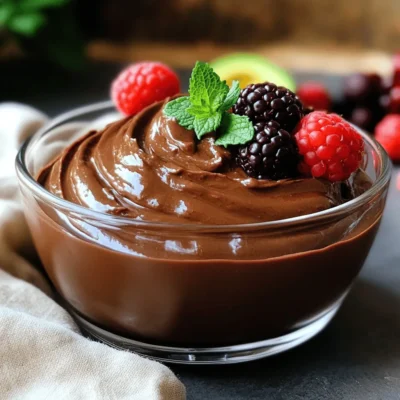
Vegan Chocolate Avocado Mousse Rich and Creamy Delight
Are you ready to enjoy a rich and creamy dessert without any guilt? This Vegan Chocolate Avocado Mousse is both
Read more…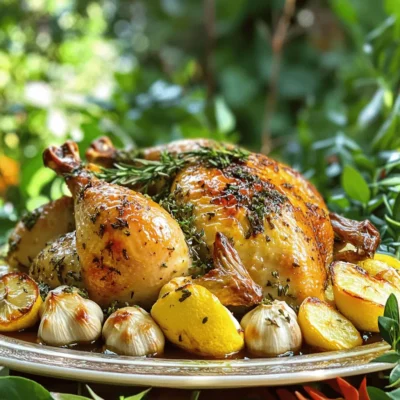
Garlic Herb Roasted Chicken Crispy and Flavorful Dish
Are you ready to impress your friends and family with a truly delicious dish? Garlic Herb Roasted Chicken is the
Read more…browse recipes


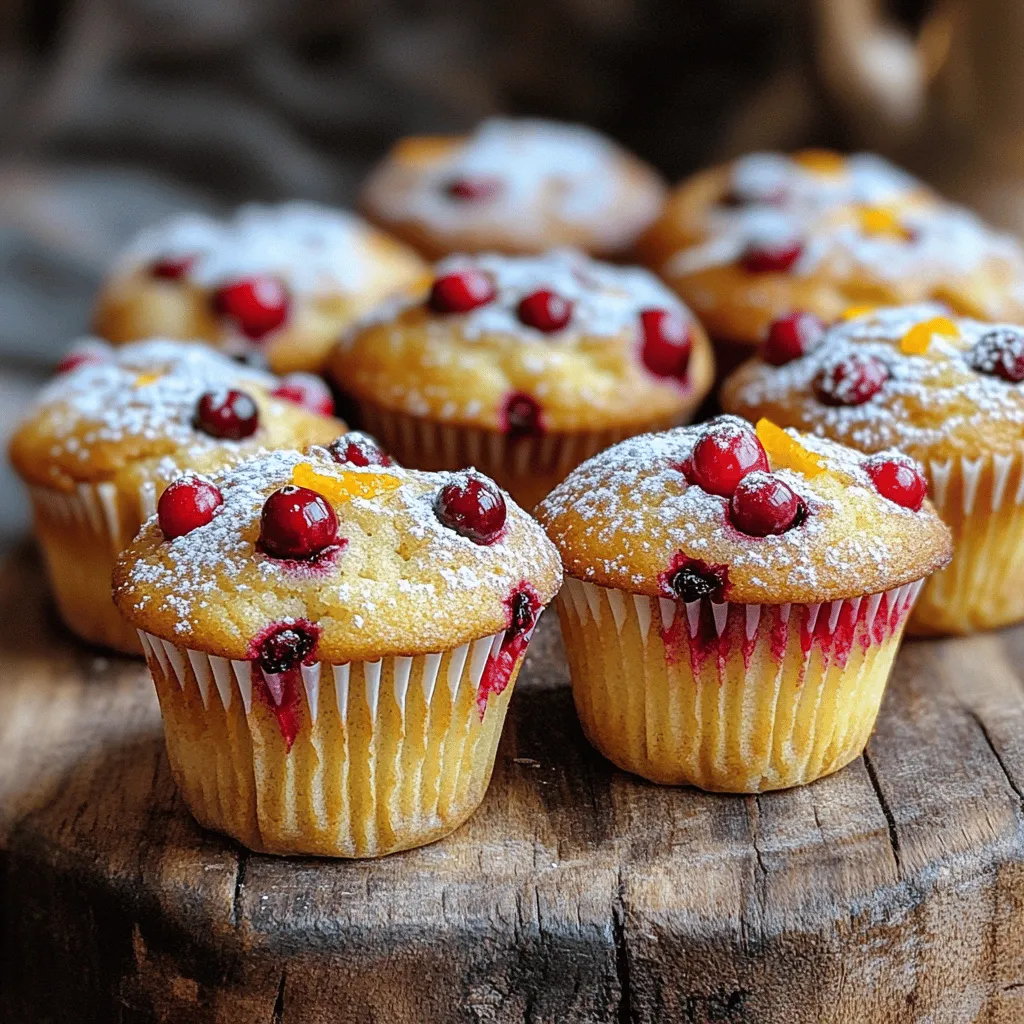
Cranberry Orange Muffins Fresh and Tasty Delight
Welcome to a delicious adventure with my Cranberry Orange Muffins! These muffins burst with fresh flavors that brighten any day. I’ll guide you through…
My Latest Desserts
-
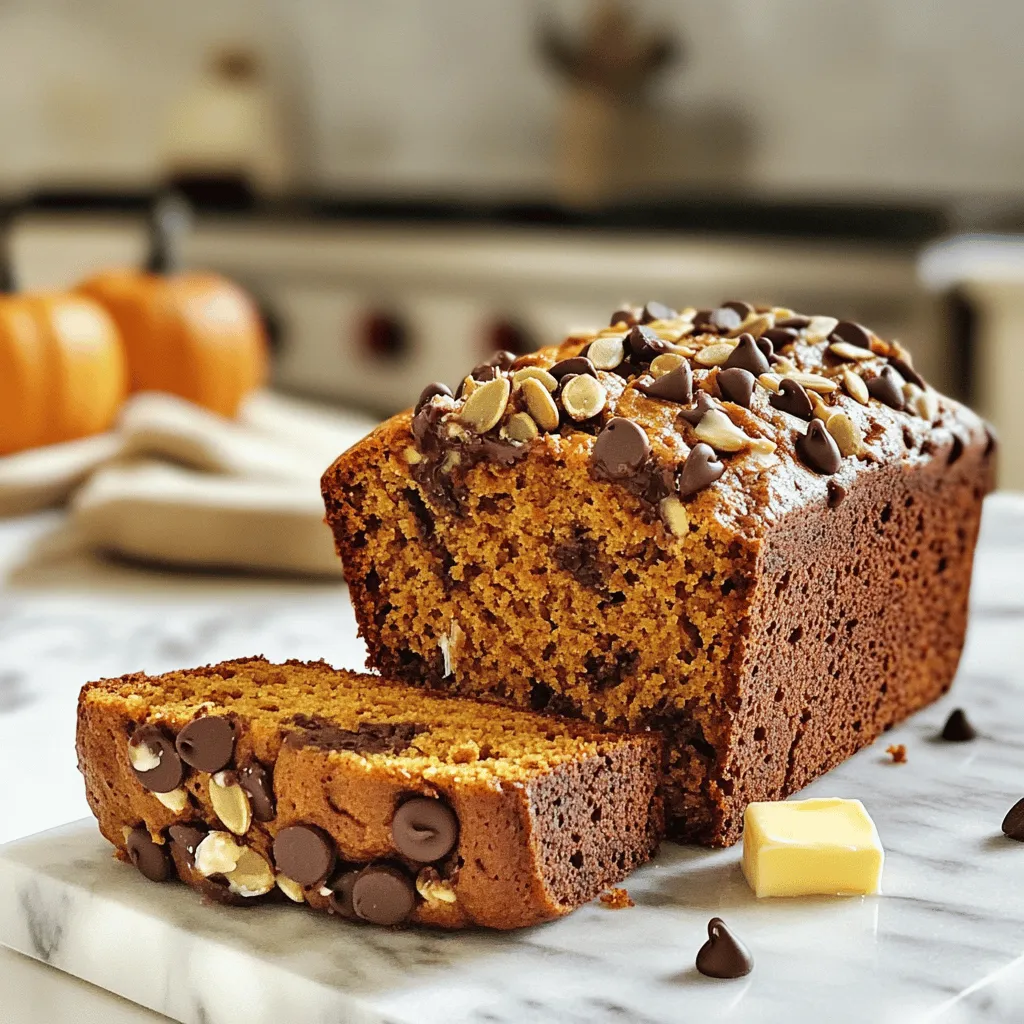
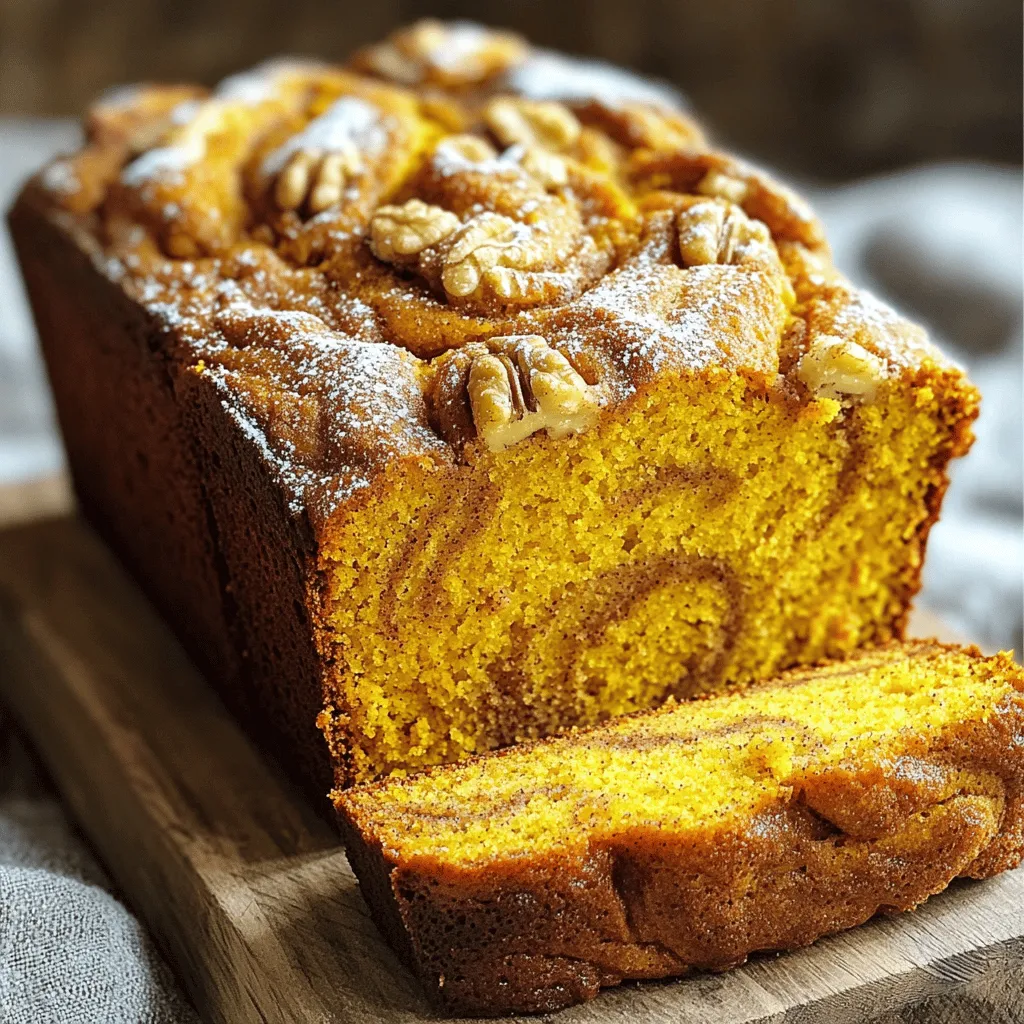
Chocolate Chip Pumpkin Bread Fresh and Tasty Recipe
Are you ready to bake something special? This Chocolate Chip Pumpkin Bread recipe is fresh and tasty! It blends the Read Full Recipe -
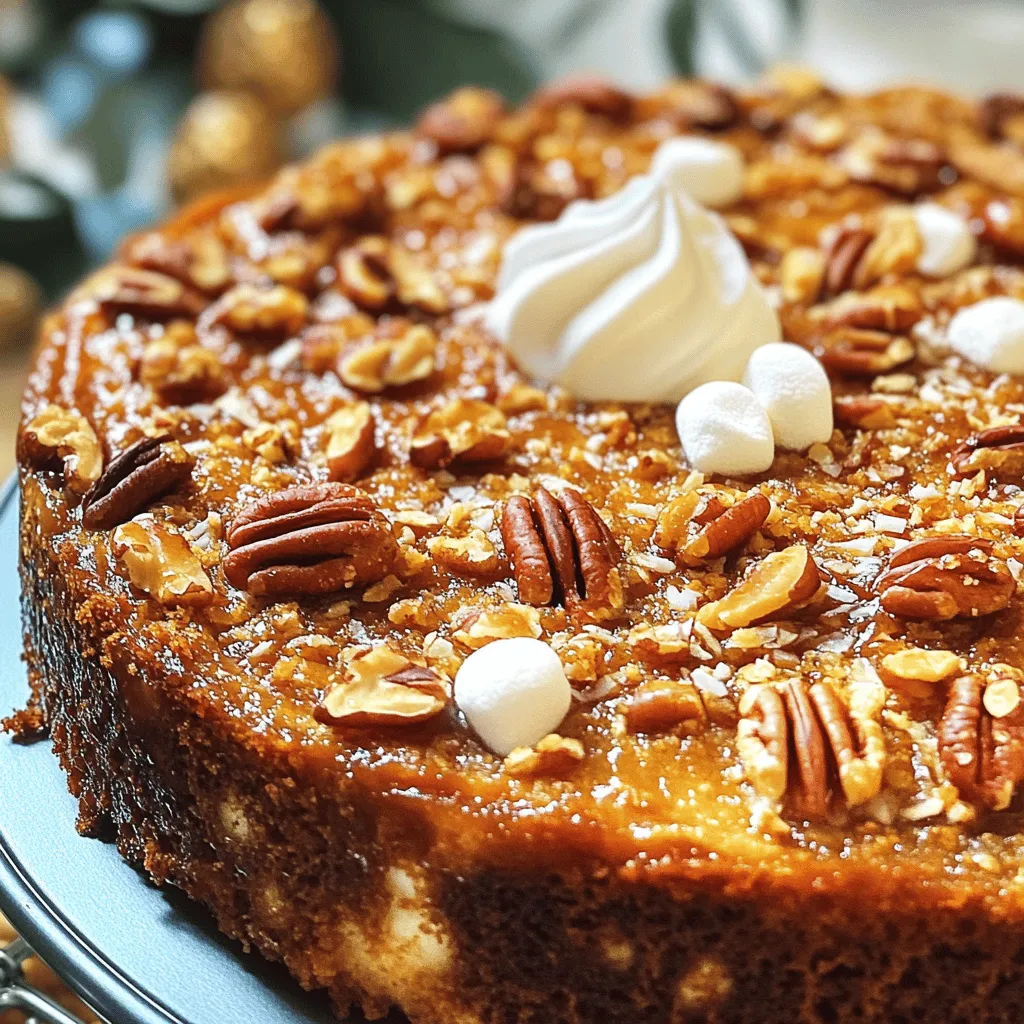
Pecan Praline Dump Cake Irresistible Easy Dessert
Are you ready to impress your friends and family with a simple yet delicious dessert? Let me introduce you to Read Full Recipe -
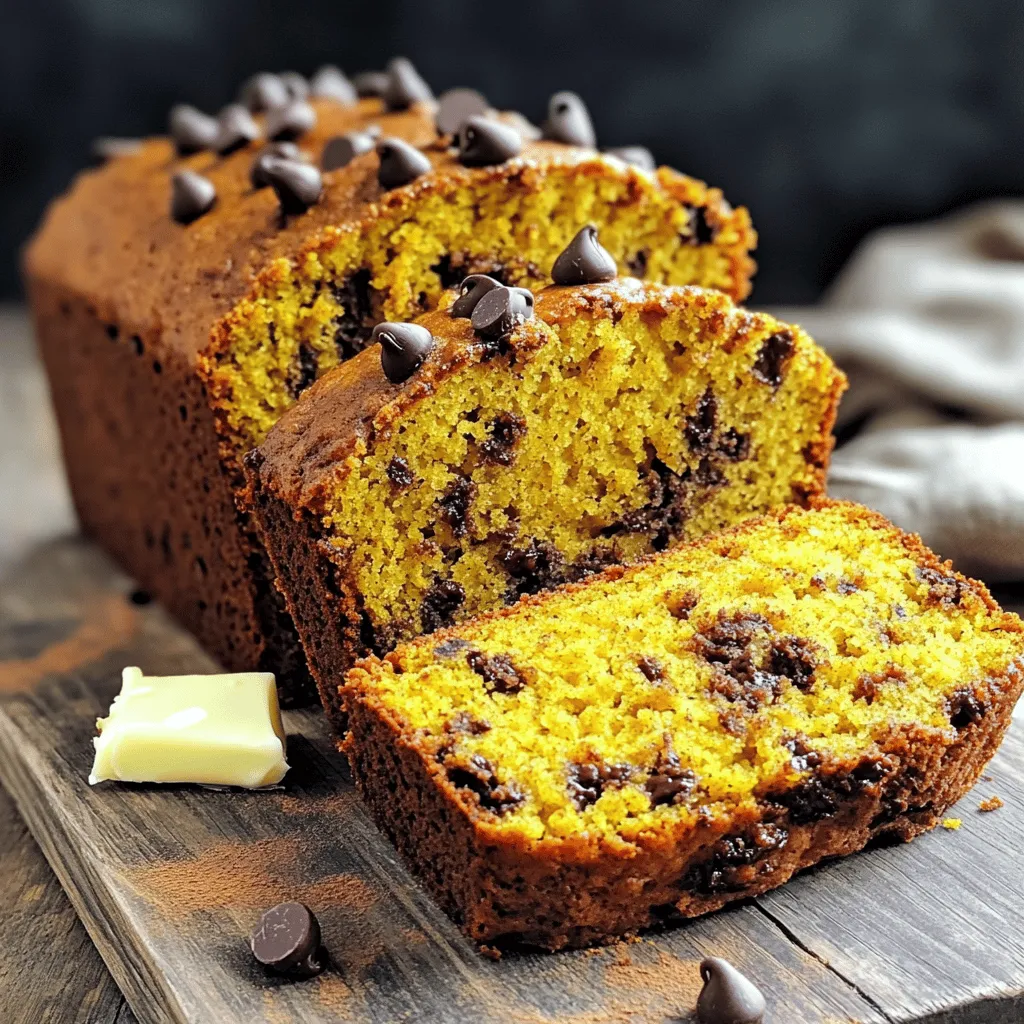
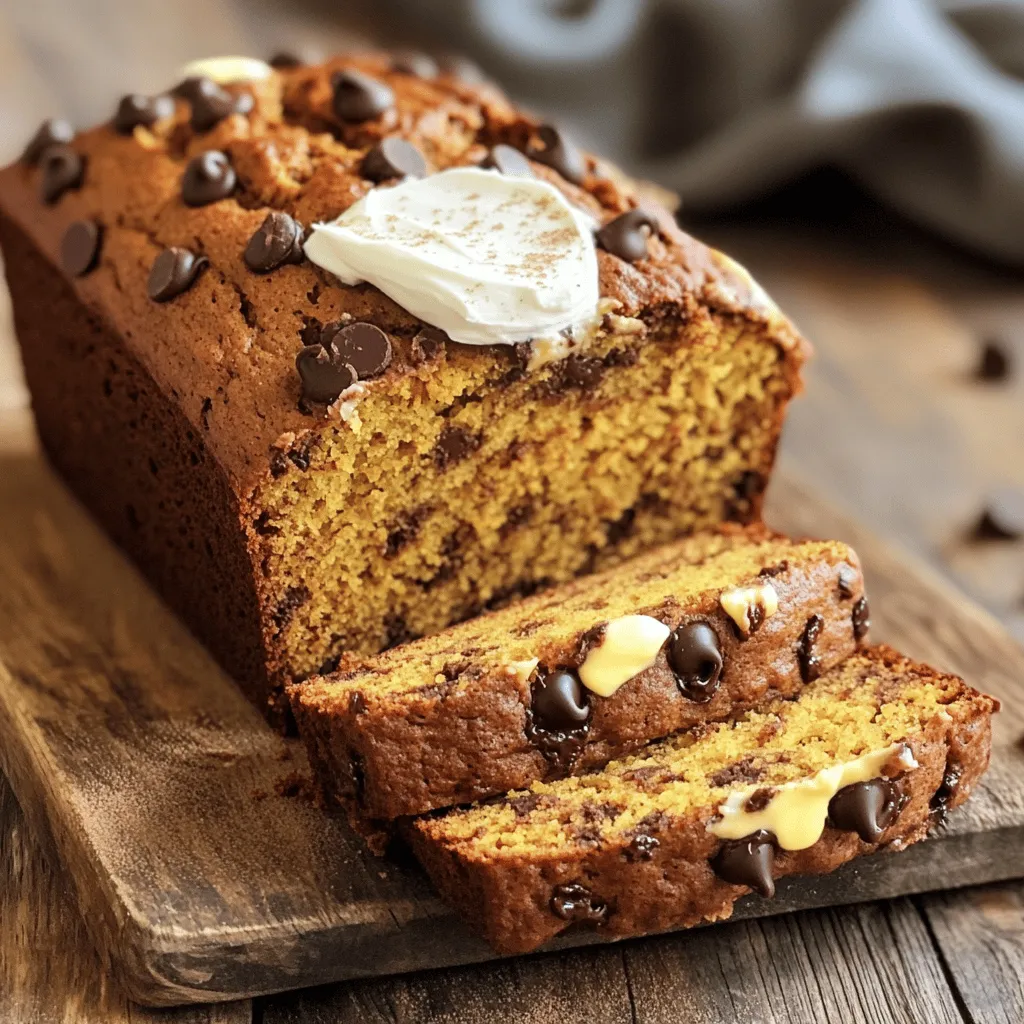
Pumpkin Chocolate Chip Bread Delightful Moist Treat
Are you ready to bake the most delightful treat of the season? Pumpkin chocolate chip bread is a moist, flavorful Read Full Recipe -

Strawberry Cream Cheese Quesadillas Delightful Treat
Get ready to delight your taste buds with Strawberry Cream Cheese Quesadillas! This sweet twist on a savory favorite will Read Full Recipe -
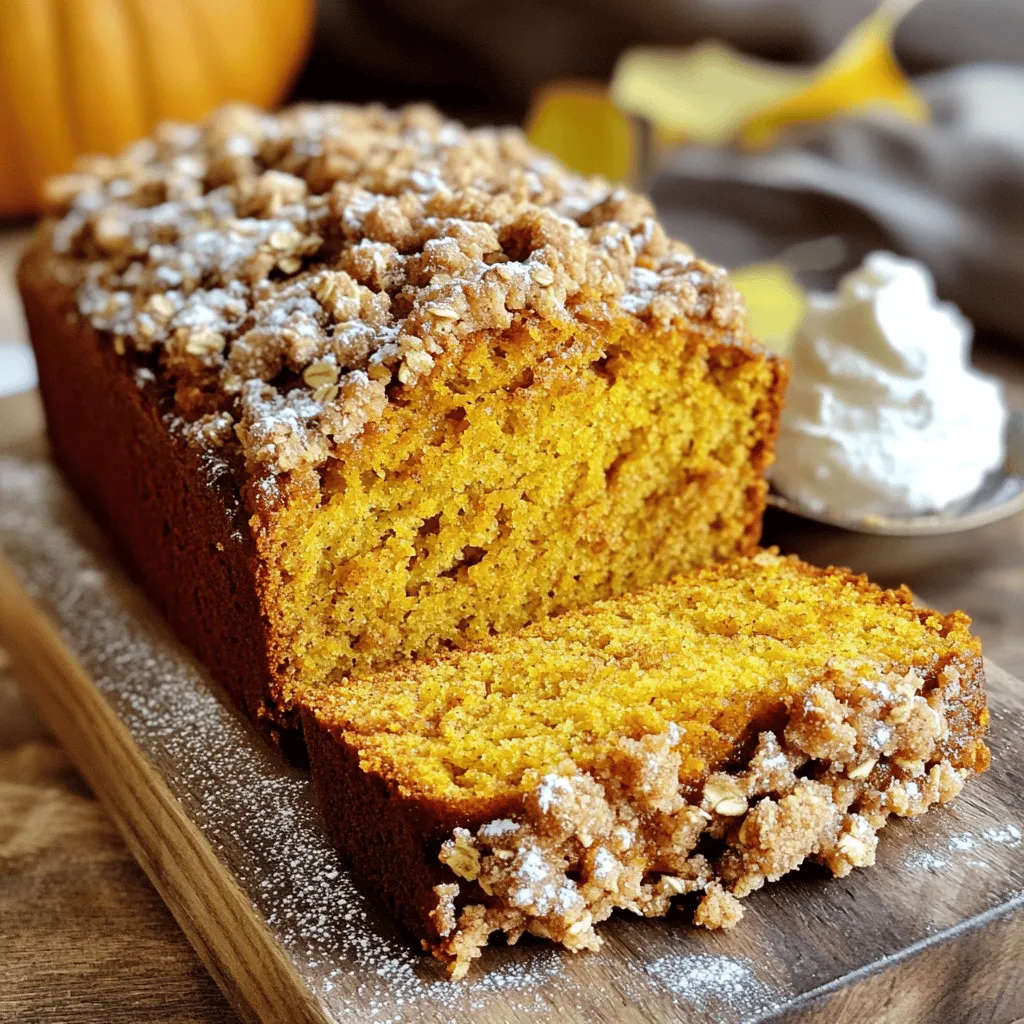
Pumpkin Bread With Streusel Topping Easy Recipe
Do you love the warm, spicy flavors of pumpkin bread? With my easy recipe for Pumpkin Bread With Streusel Topping, Read Full Recipe -
Cinnamon Swirl Pumpkin Bread Irresistible Recipe Guide
Craving a cozy, fall-inspired treat? You’ll love my Cinnamon Swirl Pumpkin Bread! This guide gives you everything you need to Read Full Recipe -
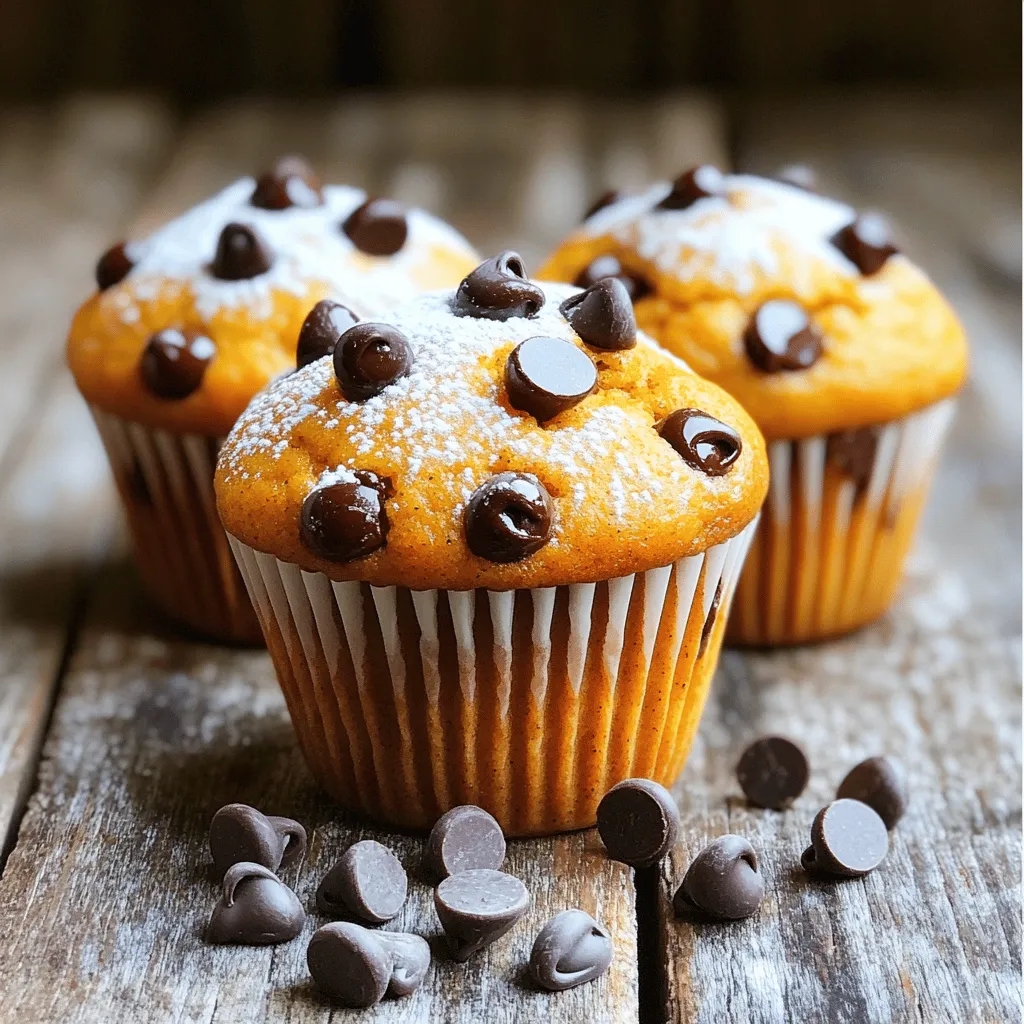
Pumpkin Chocolate Chip Muffins Delicious and Easy Recipe
If you’re looking for a simple and delicious treat, these Pumpkin Chocolate Chip Muffins are calling your name! With warm Read Full Recipe -
Chocolate Chip Pumpkin Bread Irresistible Treat
Are you ready to bake an irresistible treat that combines the cozy flavors of fall? This Chocolate Chip Pumpkin Bread Read Full Recipe -
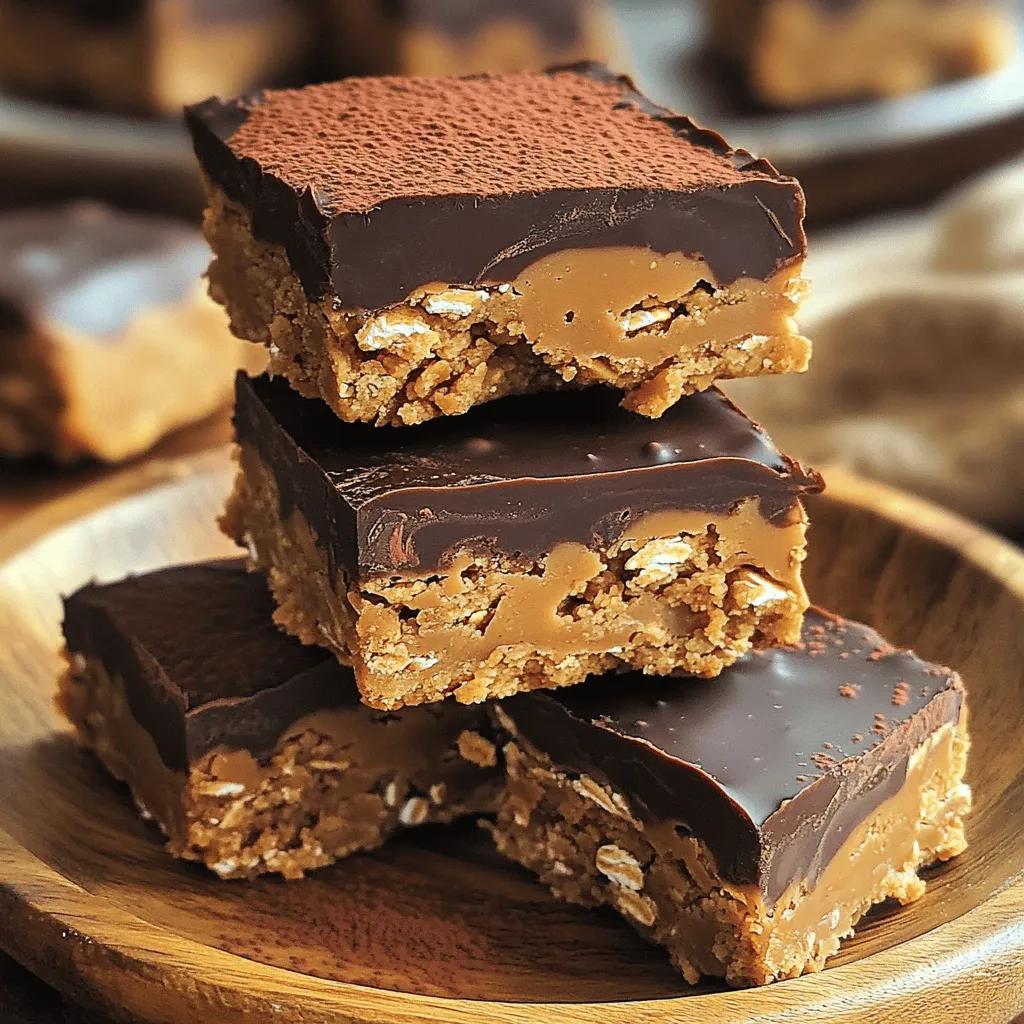
No Bake Peanut Butter Bars Simple and Tasty Treat
Craving a sweet treat that’s easy to whip up? You’ll love these no bake peanut butter bars! With just a Read Full Recipe -

Apple Pie Cups Delightful Dessert for Any Occasion
Are you ready to enjoy a delightful dessert that fits any occasion? Apple Pie Cups bring the classic flavors of Read Full Recipe
My Latest Recipes

hey,
i’m !
I’m so happy you’re here!
My kitchen is filled with stories, flavors, and love and I’m so happy to share them with you. Here’s to dishes that feel like home.
![- 1 ½ cups all-purpose flour - ½ cup granulated sugar - 1 teaspoon baking powder - ½ teaspoon baking soda - ¼ teaspoon salt - Zest and juice of 1 large lemon - ½ cup unsalted butter, melted - 2 large eggs - ½ cup buttermilk (or milk + ½ tablespoon vinegar) - 1 teaspoon vanilla extract - 1 cup fresh blueberries (or frozen, do not thaw) - Optional: Coarse sugar for topping When I make lemon blueberry muffins, I start with the dry ingredients. I mix flour, sugar, baking powder, baking soda, and salt. This gives the muffins their structure. The wet ingredients come next. I love the bright flavor from the lemon zest and juice. They make the muffins fresh and zesty. I melt unsalted butter for richness. I then add eggs, buttermilk, and vanilla extract. The butter makes the muffins moist and fluffy. Buttermilk adds tang and helps them rise. For the add-ins, I use fresh blueberries if I can. They burst with juice when baked. If fresh ones aren't available, frozen blueberries work too. Just don't thaw them. I often sprinkle coarse sugar on top for a sweet crunch. This recipe is simple and quick. You can find the full recipe above. Enjoy these muffins fresh from the oven! First, we need to preheat the oven. Set it to 375°F (190°C). This step is key for even baking. Next, prepare the muffin tin. Use paper liners or grease it with cooking spray. This keeps your muffins from sticking. Now, let’s combine the dry ingredients. In a big bowl, whisk together: - 1 ½ cups all-purpose flour - ½ cup granulated sugar - 1 teaspoon baking powder - ½ teaspoon baking soda - ¼ teaspoon salt Make sure everything is mixed well. In another bowl, we will whisk the wet ingredients. Combine: - Zest and juice from 1 large lemon - ½ cup melted unsalted butter - 2 large eggs - ½ cup buttermilk (or milk mixed with vinegar) - 1 teaspoon vanilla extract Whisk until everything is smooth. Pour the wet mixture into the dry bowl. Gently fold them together. Be careful not to overmix; a few lumps are okay. Now, it’s time to add the blueberries. Gently fold in 1 cup of fresh or frozen blueberries. Make sure they are mixed evenly. Scoop the batter into the muffin tin, filling each cup about ¾ full. If you want a sweet crust, sprinkle some coarse sugar on top. Bake the muffins for 18 to 22 minutes. To check if they are done, insert a toothpick into the center. If it comes out clean, your muffins are ready! Let them cool in the tin for 5 minutes. Then, transfer them to a wire rack. Enjoy your Lemon Blueberry Muffins! For the full recipe, check out the details above. To make sure your muffins turn out great, avoid overmixing. When you mix the batter, do it just enough to combine the ingredients. A few lumps are okay. Overmixing can make your muffins tough. The temperature of your ingredients matters too. Use room temperature butter and eggs. This helps them blend better and gives your muffins a nice rise. Always use fresh ingredients for the best taste. Fresh blueberries will burst with flavor. If you use frozen, do not thaw them first. This keeps the muffins moist. You can also experiment with toppings. Adding a sprinkle of coarse sugar gives a sweet crunch. You might try nuts or a lemon glaze for added flavor. One common mistake is not letting the muffins cool properly. Let them cool in the tin for five minutes. Then, move them to a wire rack. This prevents sogginess and helps them stay fluffy. Be careful with substitutions. If you swap the buttermilk for regular milk, add vinegar to mimic the acidity. This is important for texture and flavor. For the full recipe, check out the recipe section. {{image_2}} You can easily adapt this recipe for different diets. Here’s how: - Vegan lemon blueberry muffins: Replace eggs with flax eggs. Use plant-based milk and butter. This keeps the muffins moist and fluffy. - Gluten-free options: Swap all-purpose flour for a gluten-free blend. Make sure it has a good binding agent like xanthan gum. These changes ensure great texture and taste. You can mix up the flavors in your lemon blueberry muffins: - Adding nuts or seeds: Walnuts or chia seeds add a nice crunch. They also boost nutrition in your muffins. - Other fruits to incorporate: Try adding raspberries or strawberries. These fruits pair well with lemon and blueberries. They add a twist to the classic flavor. Adjust the recipe for seasonal freshness: - Adjusting for different berry varieties: In summer, use blackberries or fresh strawberries. In winter, consider dried fruits like cranberries. Each season offers unique flavors. - Incorporating spices like cinnamon or nutmeg: A sprinkle of cinnamon adds warmth. Nutmeg gives a lovely depth. This small change can elevate the taste of your muffins. Explore the [Full Recipe] to see how these variations can come to life in your kitchen! Store your lemon blueberry muffins at room temperature for the best taste. Place them in a container with a lid. This keeps them soft and fresh. If you want to store them longer, use the fridge. Just make sure to wrap them well. They can dry out quickly in the fridge. Use airtight containers or resealable bags. This helps prevent air from making the muffins stale. If you have a lot of muffins, you can stack them in layers. Just place parchment paper between layers to avoid sticking. You can freeze your muffins for later enjoyment. First, let them cool completely. Then, wrap each muffin tightly in plastic wrap. After that, put them in a freezer-safe bag or container. Squeeze out as much air as possible. This way, they stay fresh for up to three months. When you are ready to eat one, take it out of the freezer. Let it thaw in the fridge overnight or on the counter for a few hours. You can also warm it up in the oven for a few minutes. Enjoy your muffins fresh and tasty! For the full recipe, check out the delicious details above. To make your muffins fluffy, follow these tips: - Use fresh baking powder and baking soda. - Beat the eggs well to trap air. - Do not overmix the batter; mix until just combined. - Let the batter rest for 10 minutes before baking. These simple steps help create a light texture. Yes, you can use frozen blueberries! Just remember: - Do not thaw them before adding to the batter. - This helps prevent the batter from turning blue. - Add them directly from the freezer for best results. Using frozen blueberries can add a nice chill to your muffins. If you don’t have buttermilk, you can use: - Milk with ½ tablespoon of vinegar mixed in. - Plain yogurt thinned with a little water. - Sour cream mixed with water until smooth. These options keep the batter moist and tasty. Yes, you can double the recipe! Here’s how: - Simply use twice the amount of each ingredient. - Make sure your mixing bowl is large enough. - Bake in batches if your oven can’t fit all the muffins. Doubling is perfect for sharing or for a big breakfast! This post covered key ingredients, easy steps, and tips for perfect lemon blueberry muffins. Remember to measure carefully and avoid overmixing. Try using fresh ingredients for the best taste. You can also explore different flavors or dietary needs. Storing muffins properly will keep them fresh for longer. Feel free to experiment and make this recipe your own. Happy baking!](https://southerndishes.com/wp-content/uploads/2025/06/44327039-0015-47f0-b6b2-248bd58e34cf-300x300.webp)


Sriracha Honey Cauliflower Bites Flavorful Snack Idea
If you’re craving a snack that’s bold and tasty, Sriracha Honey Cauliflower Bites are a perfect choice. These crunchy bites pack a zesty punch…
![To make Sriracha honey cauliflower bites, gather these simple ingredients: - 1 medium head of cauliflower, cut into bite-sized florets - 1 cup all-purpose flour - 1 cup almond milk (or any milk of choice) - 1 cup breadcrumbs (panko for extra crunch) - 1 tablespoon olive oil - 1 teaspoon garlic powder - 1 teaspoon onion powder - ½ teaspoon salt - ½ teaspoon black pepper - ¼ cup Sriracha sauce - ¼ cup honey (or maple syrup for a vegan option) - 1 tablespoon soy sauce (or tamari for gluten-free) - Chopped green onions and sesame seeds for garnish You can swap ingredients for what you have on hand: - Use coconut milk or oat milk instead of almond milk. - Substitute whole wheat flour for all-purpose for a healthier option. - If you prefer a spicy kick, add more Sriracha to your sauce. - Maple syrup works great if you want a vegan option for honey. To keep your cauliflower bites fresh and tasty: - Choose a firm cauliflower head. It should feel heavy for its size. - Use fresh spices for the best flavor. Old spices can lose their punch. - Store leftover bites in an airtight container in the fridge. - For extra crispiness, reheat them in an oven or air fryer. For the complete recipe, check out the [Full Recipe]. To start, preheat your oven to 425°F (220°C). This keeps the bites crispy. Line a baking sheet with parchment paper for easy cleanup. Next, take a medium head of cauliflower and cut it into bite-sized florets. In a large bowl, toss the florets with one tablespoon of olive oil, one teaspoon of garlic powder, one teaspoon of onion powder, half a teaspoon of salt, and half a teaspoon of black pepper. Make sure all the florets are well-coated. This adds great flavor. In another bowl, whisk together one cup of all-purpose flour and one cup of almond milk until smooth. This will be your batter. Take each floret and dip it into the batter, letting any extra drip off. Then, roll it in one cup of breadcrumbs, making sure it is fully coated. Place each coated floret on the prepared baking sheet in a single layer. Bake in the oven for about 20 minutes. Turn them halfway through for even cooking. They should be golden and crispy. While the cauliflower bakes, prepare the sauce. In a small saucepan over low heat, mix together a quarter cup of Sriracha, a quarter cup of honey, and one tablespoon of soy sauce. Stir until warm and well-mixed. When the cauliflower is done baking, transfer it to a large bowl. Pour the warm Sriracha honey sauce over the bites and gently toss to coat them evenly. A few tips can help you achieve the best coating. First, use panko breadcrumbs for extra crunch. They make a big difference. Make sure the cauliflower is dry before coating. Moisture can prevent the batter from sticking well. If you want more flavor, add more spices to the flour batter. You can also let the coated bites rest for a few minutes before baking. This helps the coating stick better during cooking. For the full recipe, check out the details above. Enjoy your delicious snack! When making Sriracha honey cauliflower bites, avoid these pitfalls: - Not Preheating the Oven: Preheating helps the bites cook evenly. - Overcrowding the Baking Sheet: Give the bites space to get crispy. - Skipping the Coating Steps: The flour batter and breadcrumbs add texture and flavor. - Not Tasting the Sauce: Adjust the spice or sweetness to fit your taste. Using the right tools makes cooking easier. Here are my go-to items: - Baking Sheet: Use a large one to spread the bites out evenly. - Parchment Paper: It helps prevent sticking and makes cleanup easy. - Mixing Bowls: Have a couple ready for batter and coating. - Whisk: A whisk is handy for mixing the batter smoothly. - Tongs: Use tongs for easy flipping and coating of the cauliflower. These bites are great as a snack or party treat. Try these ideas: - With Dipping Sauce: Serve with ranch or blue cheese for a cool contrast. - On a Salad: Toss them on a bed of greens for a spicy crunch. - As a Side Dish: Pair with grilled meats or a hearty grain bowl. - Garnished: Add extra green onions or sesame seeds for a pop of color. For the full recipe of these bites, check out the complete guide above! {{image_2}} If you want a vegan twist, swap honey with maple syrup. This change keeps sweetness but makes it plant-based. You can also use any non-dairy milk. Almond, oat, or soy milk works well. For the batter, ensure you pick flour that fits your needs. Gluten-free flour can substitute all-purpose flour easily. Love heat? Add more Sriracha to the sauce for a fiery kick. You can also mix in chili powder or cayenne pepper. If you prefer a milder taste, reduce the Sriracha. A hint of sweet chili sauce can add flavor without too much spice. Balance is key to keep everyone happy! Get creative with add-ins! Try tossing in some chopped nuts for crunch or sesame seeds for extra flavor. You can also mix in grated carrots or zucchini for added nutrition. Top your bites with fresh herbs like cilantro or parsley for a fresh taste. Each variation brings a new twist to this dish! To keep your Sriracha honey cauliflower bites fresh, place them in an airtight container. Make sure they cool down first. Store them in the fridge for up to three days. This way, you can enjoy the flavors later without losing too much texture. Reheating these bites is simple. Preheat your oven to 350°F (175°C). Spread the cauliflower bites on a baking sheet. Bake for about 10-15 minutes. This method helps restore their crispy goodness. You can use an air fryer, too. Just heat them for 5-7 minutes at 350°F (175°C). If you want to freeze the bites, do it right after cooking. Let them cool entirely first. Place them in a freezer-safe bag or container. They can last up to three months in the freezer. When you’re ready to eat, thaw them overnight in the fridge. Reheat as mentioned above for best results. Keep the flavors fresh by following these steps! To make these bites extra crispy, use panko breadcrumbs. They add a nice crunch. You can also double-bake them. Bake the first time until golden, then coat in sauce and bake again. This helps lock in the crispiness. Don’t crowd the baking sheet; give them space. This allows hot air to circulate and crisp them up nicely. Yes, you can use frozen cauliflower. Just thaw it first and pat it dry. This helps remove excess moisture. When cauliflower is too wet, it won't crisp up well. After thawing, follow the same steps in the recipe. The flavor will still be great, but fresh cauliflower gives a better texture. To make these bites gluten-free, swap all-purpose flour for a gluten-free flour blend. You can also use gluten-free breadcrumbs instead of regular ones. Make sure the soy sauce is gluten-free or use tamari. This way, everyone can enjoy these tasty bites without concern. For the full recipe, check out the details above. We explored ingredients, steps, and tips to make delicious bites. You learned swaps for fresh ingredients and how to store leftovers. I shared common mistakes to avoid and how to make your dish unique. Remember, adjustments in spice and toppings can change flavor. With these insights, you can create bites that everyone will love. Enjoy your cooking adventure!](https://southerndishes.com/wp-content/uploads/2025/04/cb15804e-0d6e-4b14-be6e-03e67140ba03.webp)
