
Latest & Greatest
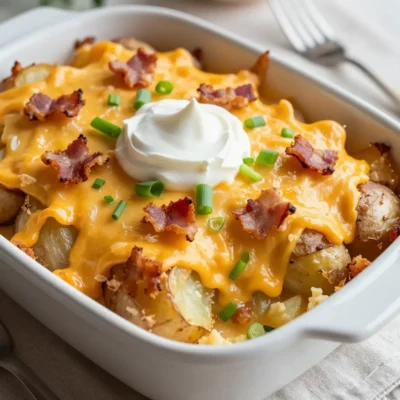
Loaded Baked Potato Casserole Easy and Comforting Dish
Looking for a dish that brings warmth and joy to your table? This Loaded Baked Potato Casserole is easy to
Read more…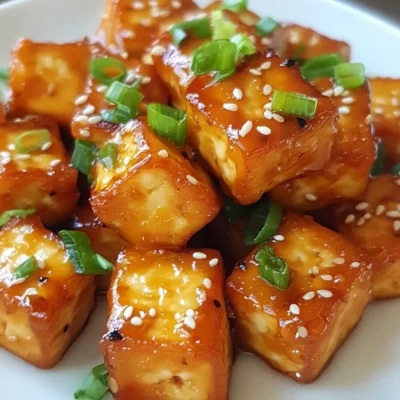
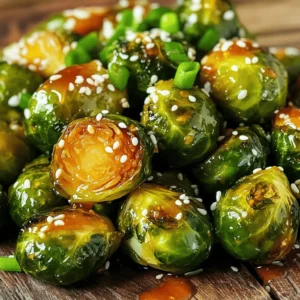
Crispy Honey Garlic Tofu Quick and Flavorful Delight
Are you ready to savor a dish that bursts with flavor and texture? My Crispy Honey Garlic Tofu is a
Read more…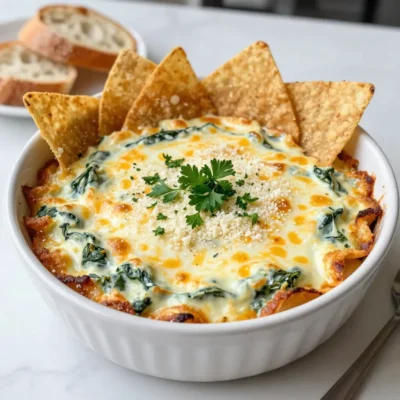
Creamy Spinach Artichoke Dip Flavorful and Easy Recipe
If you crave a warm, cheesy dip bursting with flavor, you’re in for a treat! My Creamy Spinach Artichoke Dip
Read more…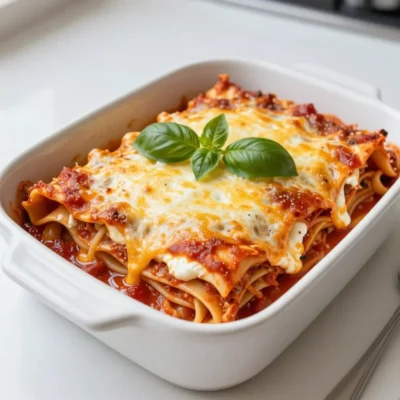
Cheesy Lasagna Rolls Easy and Flavorful Dinner Dish
Craving a comforting dinner tonight? Cheesy lasagna rolls are the answer! This easy and flavorful dish combines tender pasta, creamy
Read more…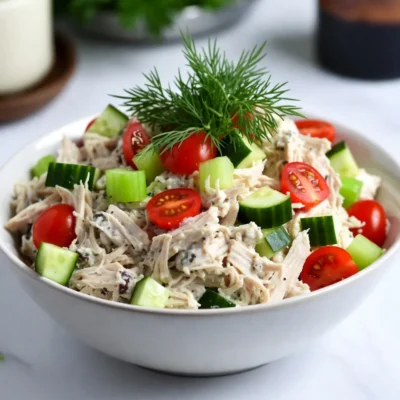
Greek Yogurt Chicken Salad Flavorful and Nutritious Meal
Looking for a tasty, healthy meal that’s quick to make? Greek Yogurt Chicken Salad is the answer! It’s packed with
Read more…
Loaded Breakfast Hash Flavorful Morning Delight
Start your day right with a Loaded Breakfast Hash! This hearty dish combines crispy potatoes, colorful veggies, and savory sausage,
Read more…
Vegan Buffalo Chickpea Wraps Satisfying and Tasty Meal
Are you ready to spice up your lunch routine? These Vegan Buffalo Chickpea Wraps are not only tasty but also
Read more…
Sheet Pan Fajita Chicken Quick and Tasty Recipe
Looking for a quick and tasty dinner idea? This Sheet Pan Fajita Chicken recipe is just what you need! It’s
Read more…browse recipes


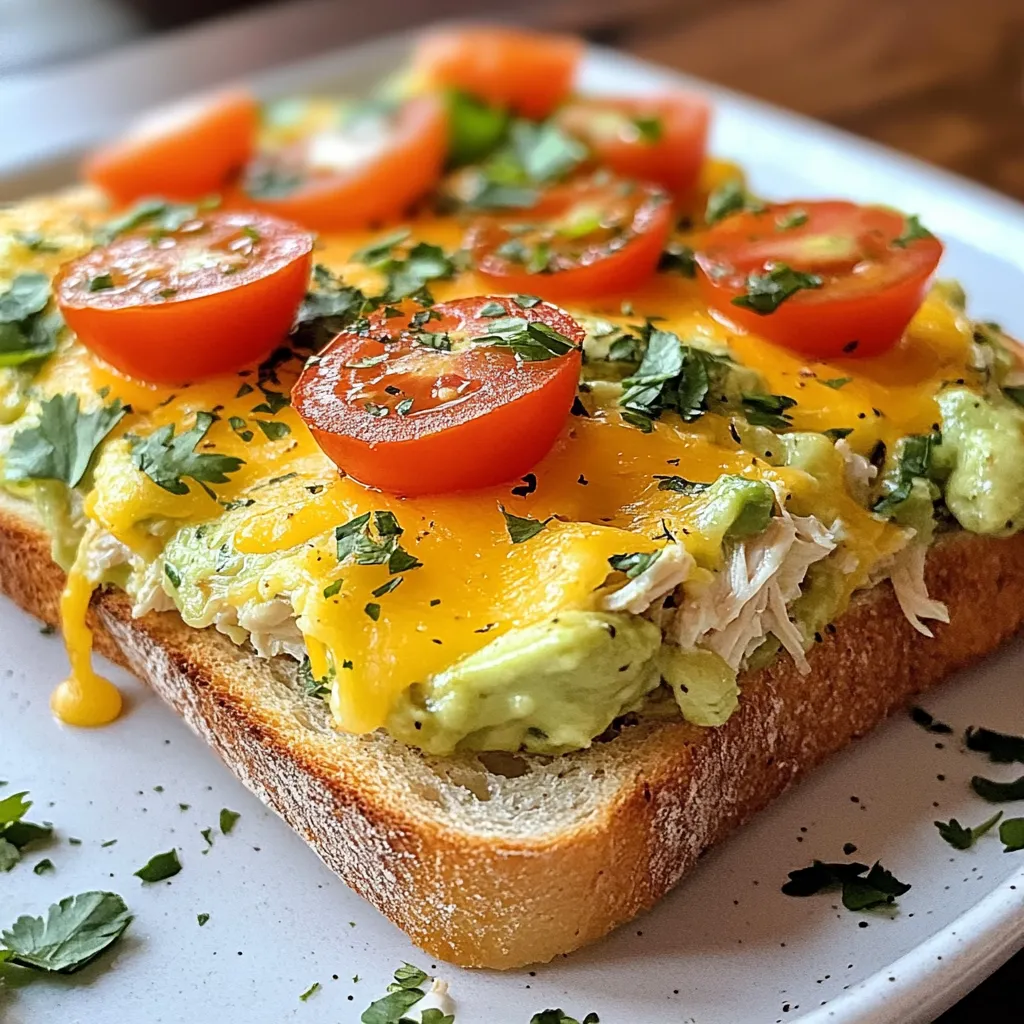
Savory Chicken Avocado Melt Quick and Simple Recipe
Craving a quick and tasty meal? Try my Chicken Avocado Melt! This easy recipe combines juicy chicken, creamy avocado, and melted cheese for a…
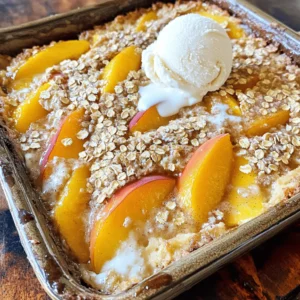
My Latest Desserts
My Latest Recipes

hey,
i’m !
I’m so happy you’re here!
My kitchen is filled with stories, flavors, and love and I’m so happy to share them with you. Here’s to dishes that feel like home.


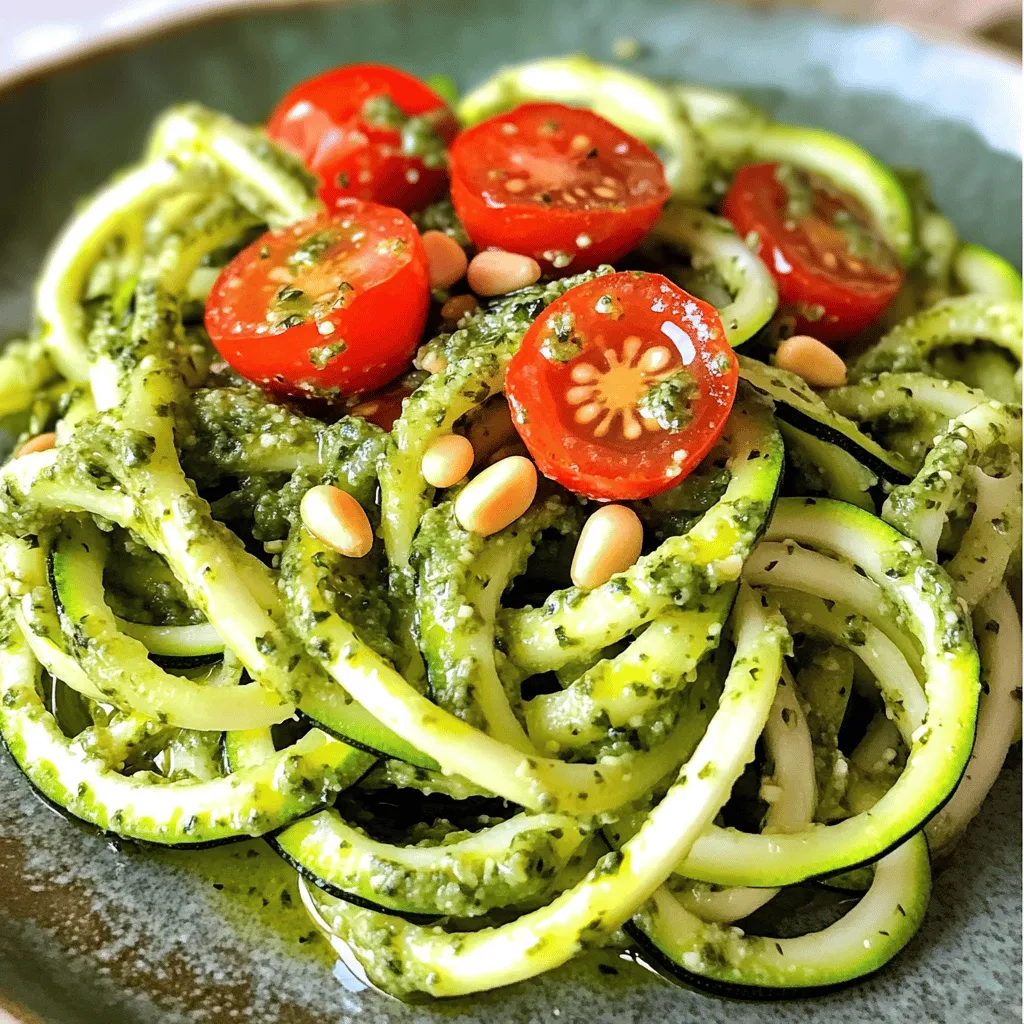
Zucchini Noodles with Pesto Simple Flavor Boost
Are you looking for a fresh and tasty meal? Zucchini noodles with pesto offer a simple flavor boost that can delight your taste buds.…