Latest & Greatest
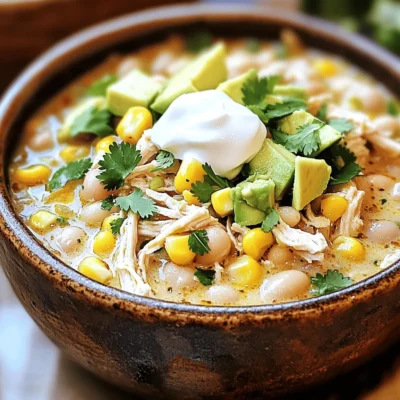
Slow Cooker White Chicken Chili Easy and Flavorful Dish
Are you ready to indulge in a warm bowl of Slow Cooker White Chicken Chili? This easy and flavorful dish
Read more…
One Pot Creamy Pesto Chicken Orzo Simple Recipe
Are you looking for a quick meal that packs a punch? You’ve come to the right place! In this post,
Read more…
Air Fryer Garlic Parmesan Wings Tasty and Simple Dish
Are you ready to transform your dinner menu with a dish that’s both tasty and easy? These Air Fryer Garlic
Read more…
Creamy Garlic Butter Mashed Potatoes Perfectly Indulgent
Are you ready to elevate dinner with creamy garlic butter mashed potatoes? These rich, indulgent potatoes make any meal feel
Read more…
Matcha White Chocolate Fudge Delightful Sweet Treat
Are you ready to indulge in a sweet treat that combines the rich flavors of white chocolate with the unique
Read more…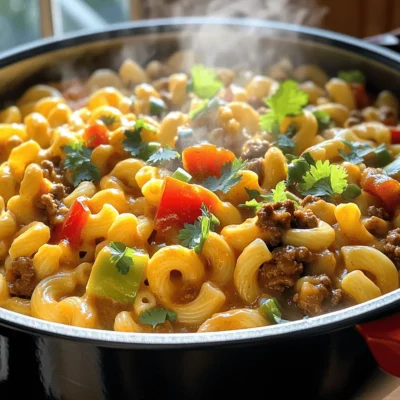
Cheesy One-Pot Chili Mac Simple and Hearty Meal
Are you ready for a meal that’s both simple and delicious? Cheesy One-Pot Chili Mac is your answer! This dish
Read more…
Maple Glazed Donuts Irresistible Sweet Treat Recipe
Looking for a sweet treat that delights your taste buds? You’ll love these Maple Glazed Donuts! This recipe is simple
Read more…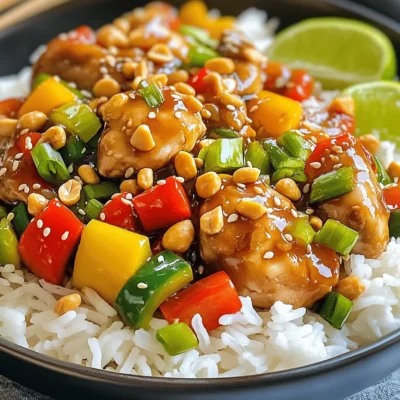
Min Kung Pao Chicken Flavorful Weeknight Dinner Recipe
If you’re craving a tasty, quick dinner, you’ve come to the right place! Min Kung Pao Chicken is a flavorful
Read more…browse recipes


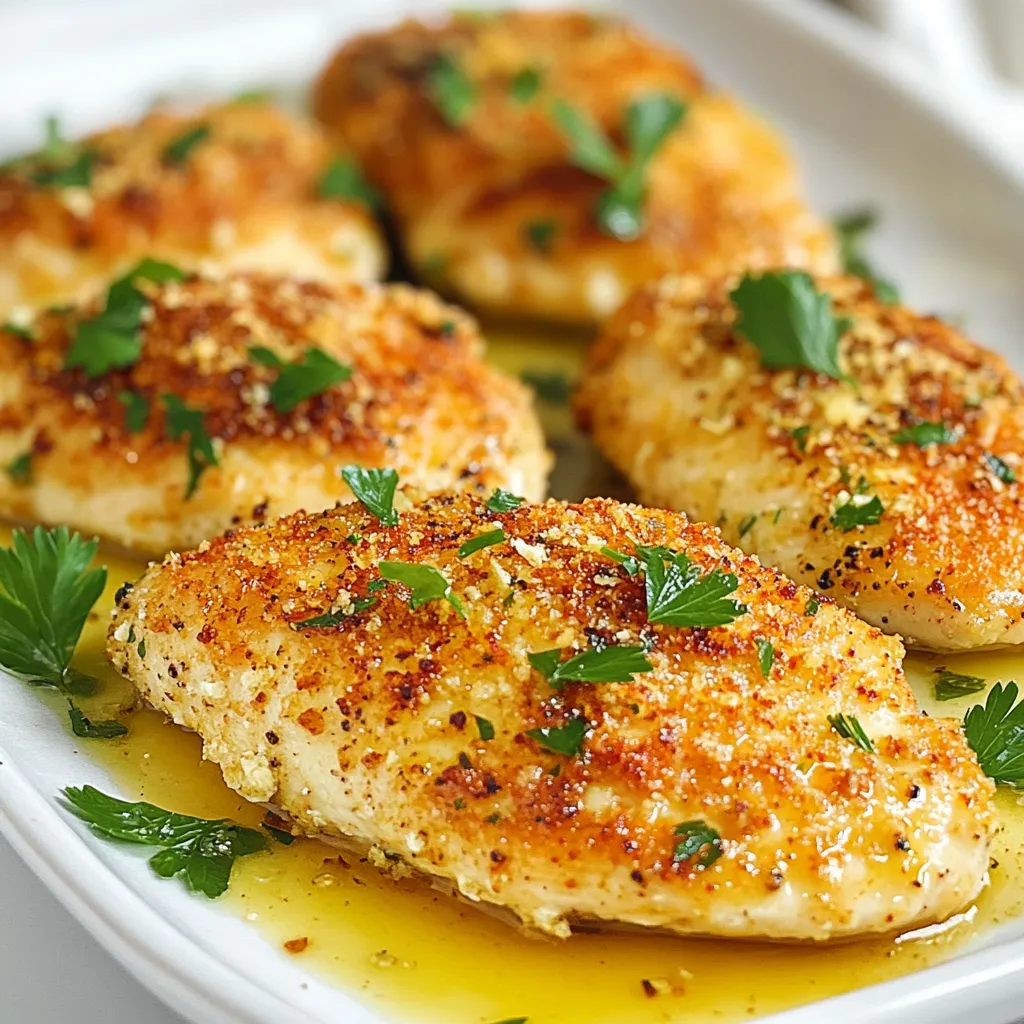
Crispy Parmesan Chicken with Garlic Sauce Delight
Ready to elevate your dinner game? In my latest recipe, I’ll show you how to make Crispy Parmesan Chicken with Garlic Sauce that will…
My Latest Desserts
My Latest Recipes

hey,
i’m !
I’m so happy you’re here!
My kitchen is filled with stories, flavors, and love and I’m so happy to share them with you. Here’s to dishes that feel like home.

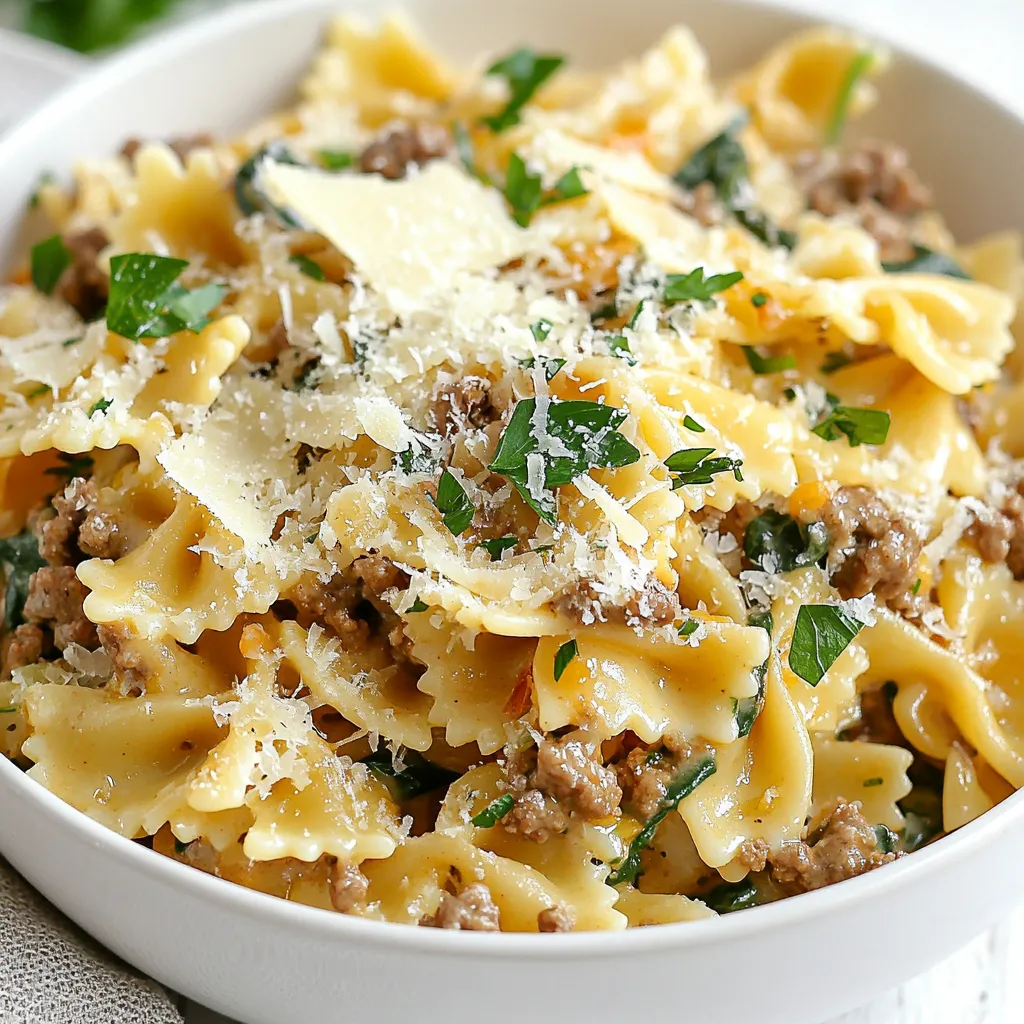
Creamy Parmesan Beef Bowtie Pasta Easy Dinner Recipe
Looking for a simple yet delicious dinner? My Creamy Parmesan Beef Bowtie Pasta checks all the boxes! This tasty dish combines tender bowtie pasta…