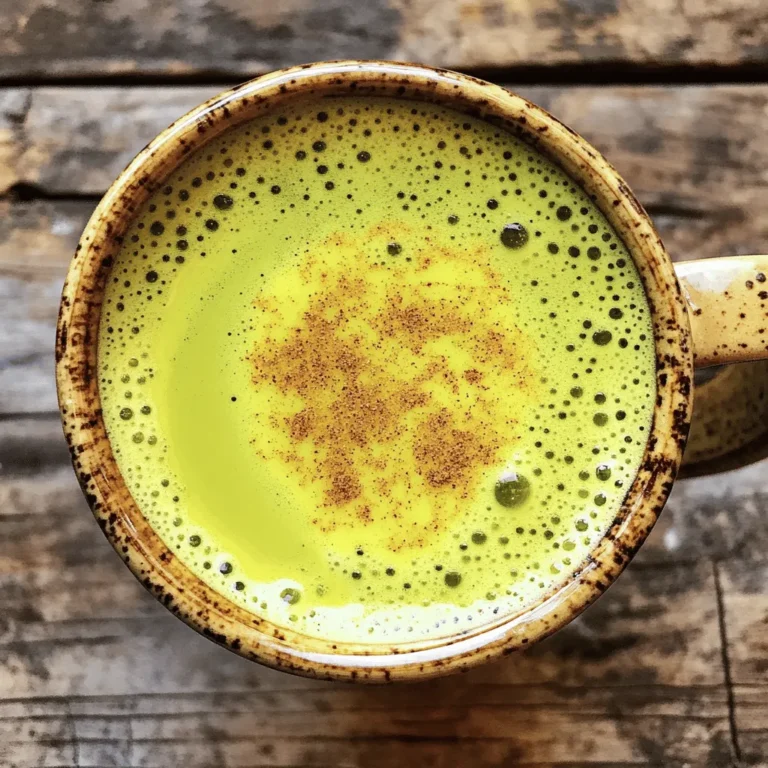
Latest & Greatest
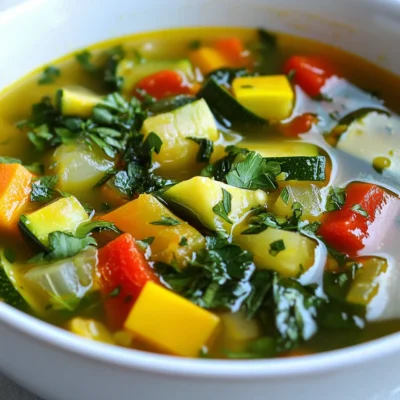
Mediterranean Vegetable Soup Flavorful and Healthy Dish
Looking for a warm, tasty meal that’s both healthy and simple to make? Mediterranean Vegetable Soup is your answer! Packed
Read more…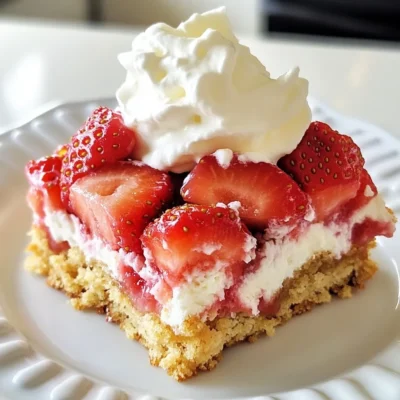
Easy Strawberry Shortcake Bars Simple and Delicious Treat
If you crave a sweet treat that’s easy to make, you’ve found it! Easy Strawberry Shortcake Bars are simple, delicious,
Read more…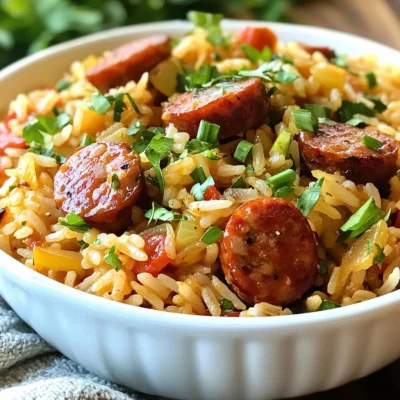
Cajun Sausage Rice Skillet Quick and Tasty Meal
Get ready to spice up your dinner with my Cajun Sausage Rice Skillet! This quick and tasty meal combines the
Read more…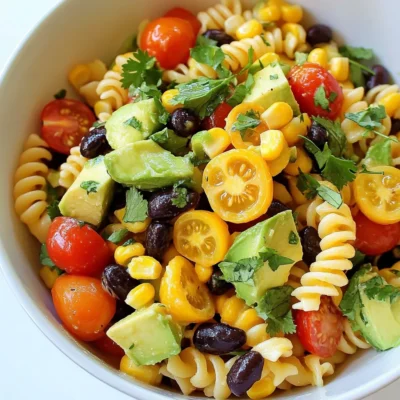
Mexican Cold Pasta Salad Fresh and Flavorful Dish
Looking for a vibrant dish that cools you down? A Mexican Cold Pasta Salad is just what you need! Packed
Read more…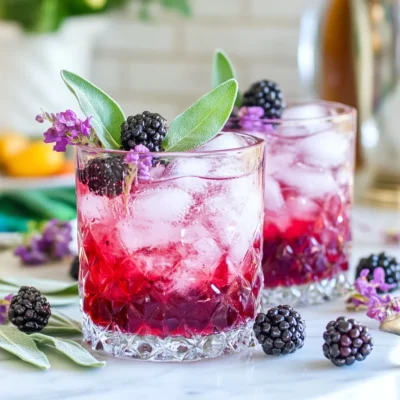
Blackberry Sage Mocktail Refreshing and Simple Recipe
Are you ready to whip up a drink that bursts with flavor? The Blackberry Sage Mocktail is a refreshing option
Read more…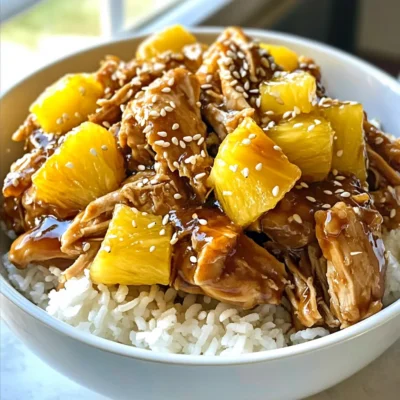
Three Ingredient Crockpot Teriyaki Chicken Delight
Are you ready for a simple and tasty dinner? This Three Ingredient Crockpot Teriyaki Chicken is your answer! With just
Read more…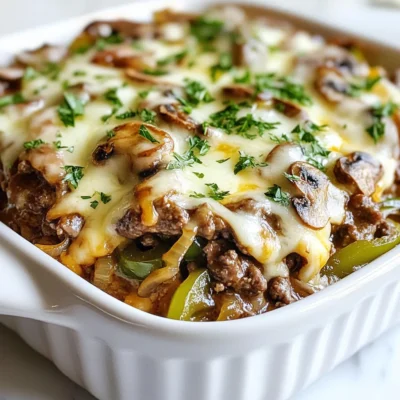
Keto Philly Cheesesteak Casserole Flavorful and Easy
Are you craving something cheesy and savory while sticking to your keto plan? Look no further! My Keto Philly Cheesesteak
Read more…
Chopped Cheese Sliders Easy and Tasty Recipe Guide
Are you ready to make the ultimate comfort food? Chopped cheese sliders are quick, easy, and delicious. In this guide,
Read more…browse recipes


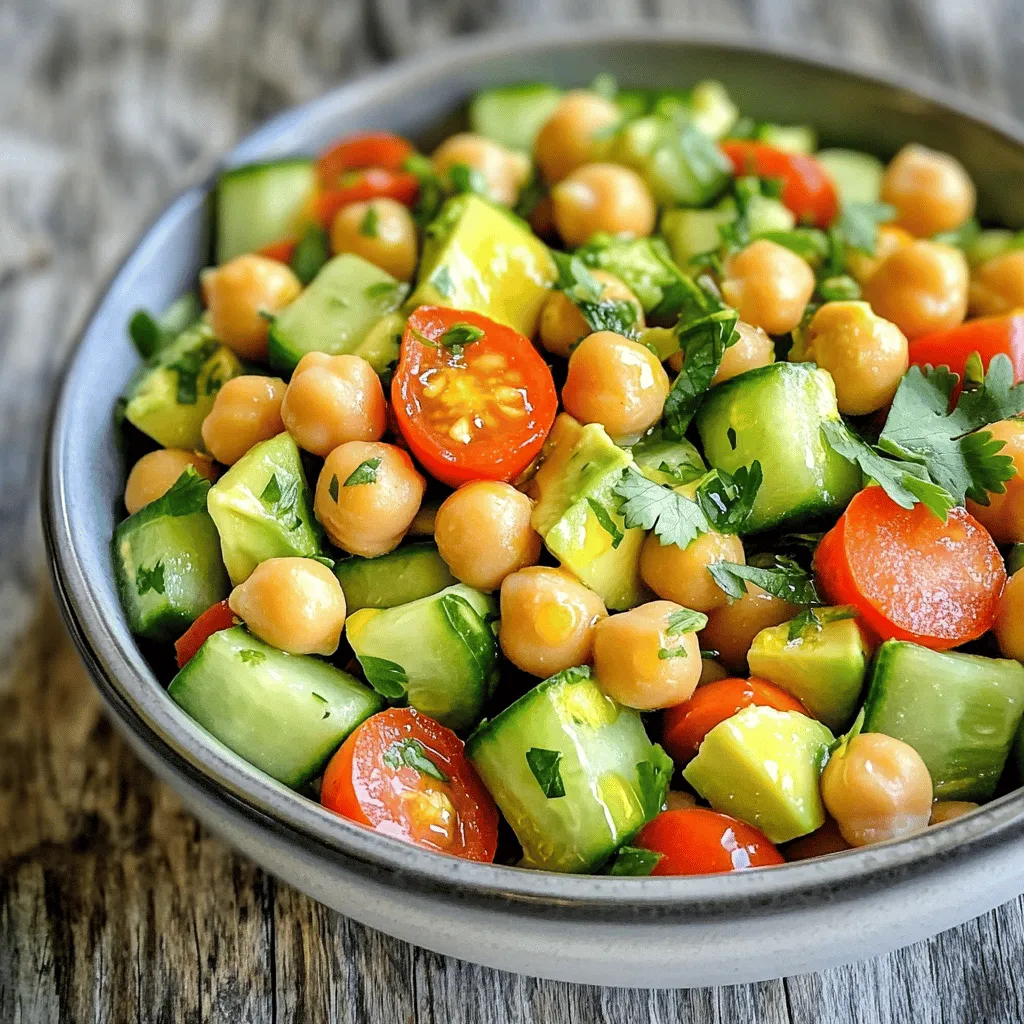
Avocado Chickpea Salad Healthy and Flavorful Dish
Looking for a tasty and healthy dish? You’ll love this Avocado Chickpea Salad! Packed with fresh flavors and great nutrients, it’s perfect for any…
My Latest Desserts
My Latest Recipes

hey,
i’m !
I’m so happy you’re here!
My kitchen is filled with stories, flavors, and love and I’m so happy to share them with you. Here’s to dishes that feel like home.

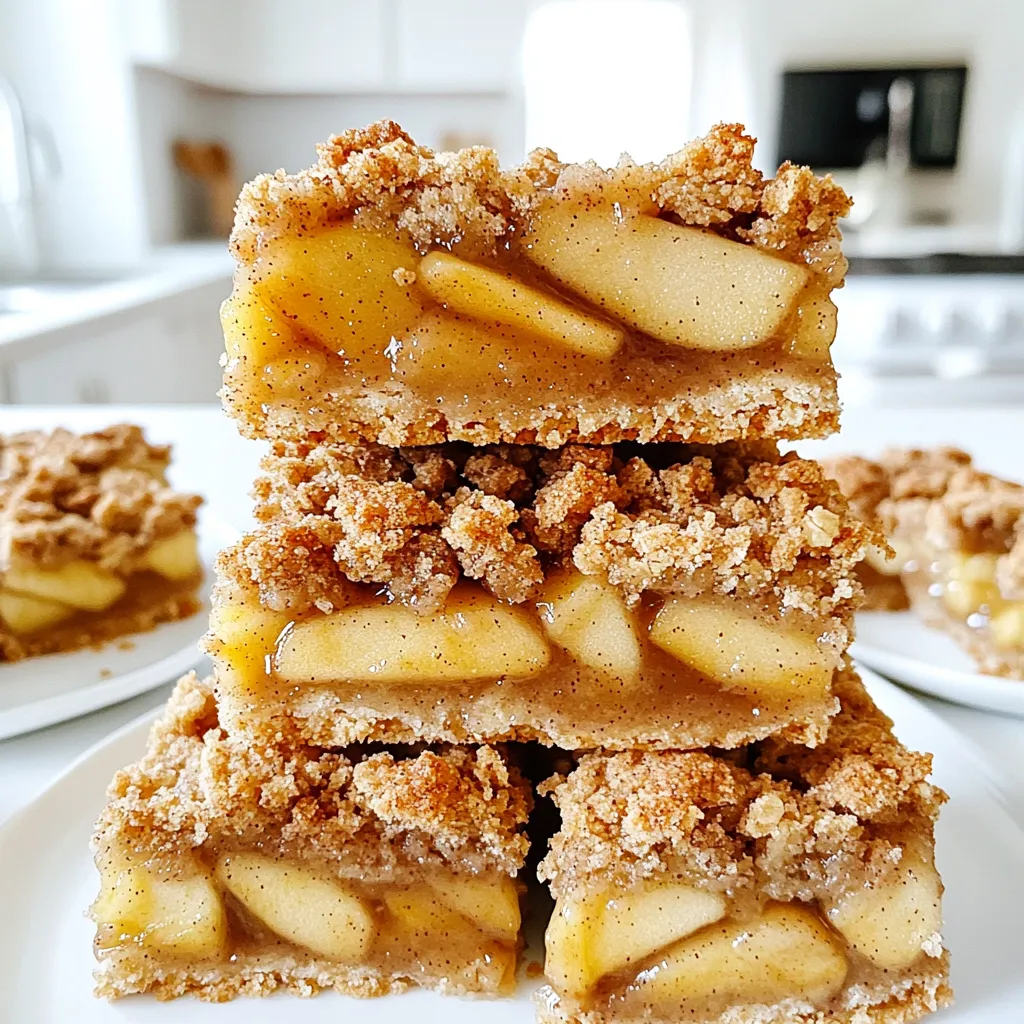
Brown Butter Apple Crumble Bars Delightful Treat
Are you ready for a treat that will make your taste buds dance? My Brown Butter Apple Crumble Bars combine rich, nutty brown butter…