

Latest & Greatest
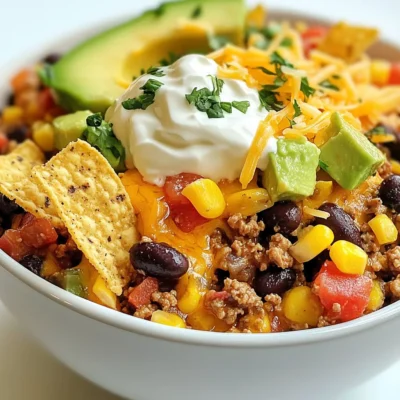
Crockpot Taco Casserole Easy Family Dinner Recipe
Looking for an easy family dinner that everyone will love? My Crockpot Taco Casserole is the answer! Packed with flavorful
Read more…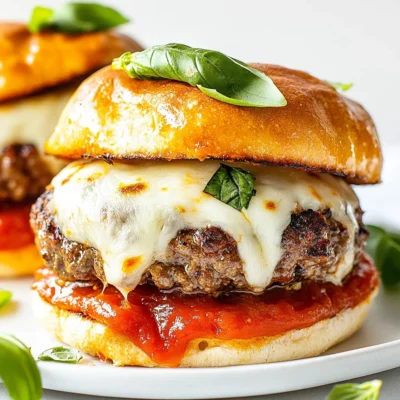
Old School Pizza Burgers Flavorful and Easy Recipe
If you love pizza and burgers, this recipe is for you! Old School Pizza Burgers blend the best of both
Read more…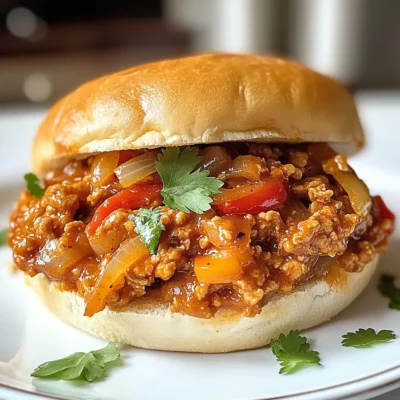
Ground Chicken Sloppy Joes Quick and Easy Recipe
Looking for a quick and tasty meal? Ground Chicken Sloppy Joes are the answer! This easy recipe combines juicy ground
Read more…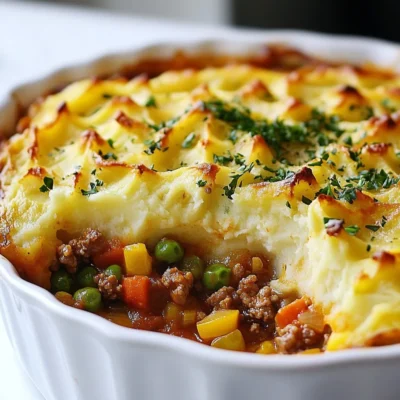
Easy Shepherd’s Pie Quick and Tasty Dinner Recipe
Looking for a quick dinner that pleases everyone? My Easy Shepherd’s Pie recipe is just what you need! This dish
Read more…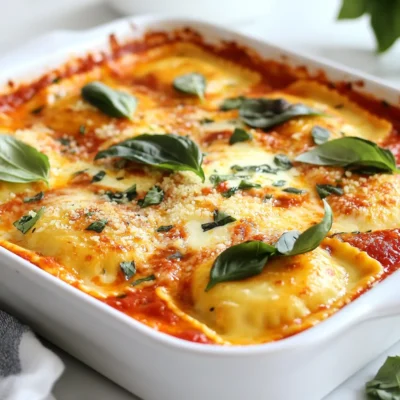
Ravioli Lasagna Crockpot Easy and Savory Dish
If you crave a warm, cheesy dish that’s quick to make, try my Ravioli Lasagna Crockpot! This recipe blends the
Read more…
Fiery Chicken Ramen Bold and Flavorful Recipe Guide
Are you ready to spice up your dinner? This Fiery Chicken Ramen recipe is here to bring bold flavors to
Read more…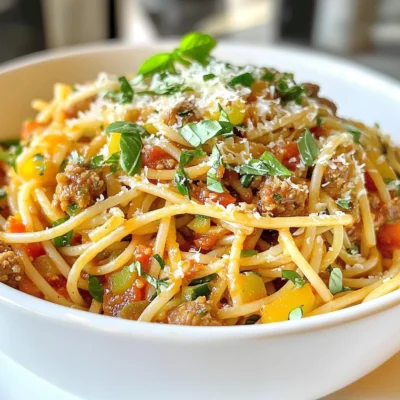
Minute Italian Sausage Pasta Quick and Flavorful Meal
Looking for a quick and tasty dinner? This Minute Italian Sausage Pasta is your answer! Packed with flavor, it’s easy
Read more…
Vegan Burrito Wraps Flavorful and Nutritious Meal
Looking for a meal that’s both tasty and healthy? Vegan burrito wraps are your answer! Packed with fresh veggies, protein-rich
Read more…browse recipes

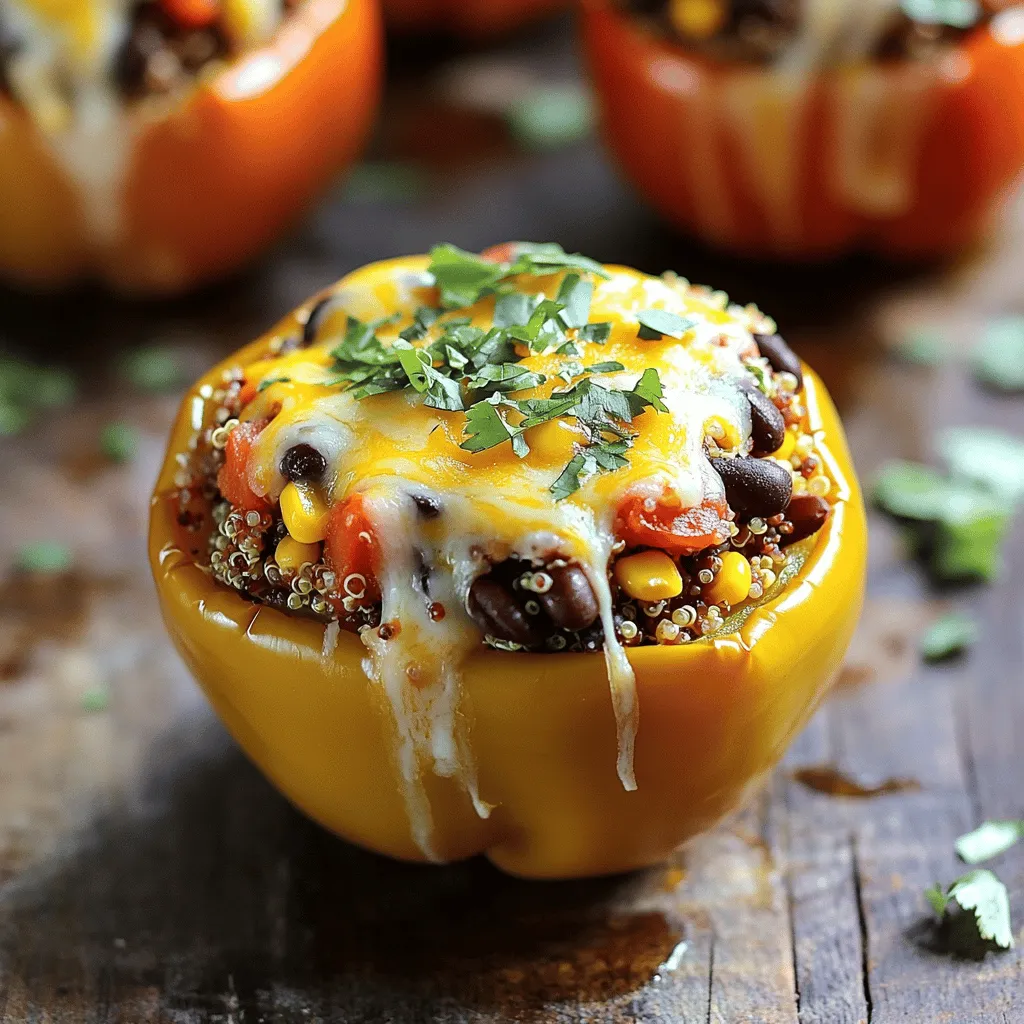
Stuffed Bell Peppers Flavorful and Easy Recipe
Are you ready to impress your family with a colorful and tasty dish? Stuffed bell peppers are not only easy to make, but they’re…
My Latest Desserts
My Latest Recipes

hey,
i’m !
I’m so happy you’re here!
My kitchen is filled with stories, flavors, and love and I’m so happy to share them with you. Here’s to dishes that feel like home.
![To make Garlic Parmesan roasted potatoes, you need simple yet tasty ingredients. - 1.5 lbs baby potatoes, halved: Baby potatoes are small and tender. Their skins hold flavor well and give a nice texture. - 4 tablespoons olive oil: Olive oil adds richness and helps the potatoes roast evenly. - 4 cloves garlic, minced: Garlic brings a bold flavor. It caramelizes, giving a sweet, savory taste to the dish. Herbs and seasonings make your dish pop. - 1 tablespoon dried thyme: Thyme gives an earthy note that pairs well with potatoes. - 1 tablespoon dried rosemary: Rosemary adds a fragrant touch and enhances the overall flavor. - Salt and black pepper to taste: Salt brings out all the flavors, while black pepper adds a gentle heat. Garnishes can elevate your dish. - Fresh parsley, chopped (for garnish): Parsley adds a fresh color and brightness. - Additional cheese variations: You can use different cheeses like cheddar or mozzarella for a twist. These ingredients come together to create a simple yet delicious side dish. To see the full recipe, check out the [Full Recipe]. First, let's prep the potatoes. You want to use baby potatoes for this dish. They are small and cook evenly. Start by washing them well. Then, cut each potato in half. This helps them roast faster. Next, grab a large mixing bowl. In this bowl, combine the halved potatoes, olive oil, and minced garlic. The olive oil makes the potatoes crispy. Add dried thyme and rosemary for flavor. Don't forget to season with salt and black pepper. Toss everything together until the potatoes are well coated. Now it's time to roast. Preheat your oven to 425°F (220°C). This high temperature gives the potatoes a nice golden color. Once the oven is hot, take a baking sheet. Spread the seasoned potatoes in a single layer on the sheet. Make sure they have space around them. This helps them brown well. Roast the potatoes for about 25 minutes. Stir them halfway through for even cooking. You want them to be golden brown and fork-tender. After roasting, it's time for the cheese. Remove the baking sheet from the oven. Sprinkle the grated Parmesan cheese evenly over the hot potatoes. This cheese adds a rich flavor. Return the baking sheet to the oven for another 5 to 7 minutes. Watch closely as the cheese melts and gets crispy. When done, take the baking sheet out and let it cool for a few minutes. Garnish with fresh chopped parsley for a pop of color. For the full recipe, check out the details above. Enjoy your Garlic Parmesan Roasted Potatoes! To get the best Garlic Parmesan roasted potatoes, space is key. When you spread the potatoes on the baking sheet, make sure they are not touching. This helps them cook evenly and get crispy. If they are too close, they will steam instead of roast. Oven temperature matters too. Preheat your oven to 425°F (220°C). A hot oven helps the outside get golden brown. Always check the temperature with an oven thermometer if you can. This way, you ensure your oven heats correctly. After cooking, let your potatoes cool completely. Once cooled, transfer them to an airtight container. This keeps them fresh and tasty. Store in the fridge for up to three days. When reheating, use the oven for the best results. Preheat your oven to 375°F (190°C). Spread the potatoes on a baking sheet and heat for about 10-15 minutes. This method keeps them crispy. You can also microwave them, but they may not stay as crunchy. Feel free to mix things up with herbs. Instead of thyme and rosemary, try using oregano or basil. These simple changes can give a new flavor twist. You can also swap the cheese. If you want a different taste, use mozzarella or feta. This gives a fun twist to classic Garlic Parmesan roasted potatoes. Each variation adds its own special touch to this easy side dish. For the full recipe, check out the [Full Recipe]. {{image_2}} Garlic Parmesan roasted potatoes go well with many main dishes. They are great with grilled chicken. The crispy edges balance the juicy meat. You can also serve them with steak or pork chops. The rich flavors of garlic and cheese enhance the savory proteins. For a lighter option, pair these potatoes with fish. Salmon or tilapia works nicely. The freshness of the fish complements the hearty potatoes. Adding some green veggies brightens your plate. Try steamed broccoli or sautéed green beans. Their crunch and color create a fun contrast. Serving your garlic Parmesan roasted potatoes well makes them more appetizing. Use a large, shallow bowl to display the potatoes. It helps show off their golden color. If you want to impress, try using individual plates. This is perfect for dinner parties or special events. Garnishing adds a nice touch. Sprinkle fresh parsley on top just before serving. It gives a pop of color and freshness. You can also add more grated cheese for extra flavor. Garlic Parmesan roasted potatoes fit into many meal plans. You can make them ahead of time and reheat them. They are perfect for family dinners or potlucks. For a larger meal, serve them with a big salad. This adds freshness and balances the meal. You can also use these potatoes as a side for holiday gatherings. They are sure to be a hit at any occasion. Check out the Full Recipe to make these tasty potatoes your new favorite side dish! Garlic Parmesan roasted potatoes are tasty and filling. Each serving has about 200 calories. The macronutrient breakdown includes: - Carbohydrates: 30g - Protein: 5g - Fat: 8g These numbers can change based on the amount of oil or cheese you use. Potatoes are more than just delicious; they are also packed with nutrients. They provide: - Vitamin C: Great for your immune system. - Potassium: Helps with muscle and nerve function. Garlic is another superstar. It has compounds that may boost heart health. Plus, herbs like thyme and rosemary add flavor and antioxidants. They can help reduce inflammation in your body. If you want to lower carbs, try using cauliflower instead of potatoes. It still gives a nice texture. For those who need gluten-free options, this recipe is already safe. Just make sure all your seasonings are gluten-free. Enjoy your garlic Parmesan roasted potatoes worry-free! For the full recipe, check the earlier section. How can I make them crispy? To make your garlic Parmesan roasted potatoes crispy, use high heat. Preheat your oven to 425°F (220°C). Spread the potatoes out on the baking sheet. Give them space to roast evenly. Stir them halfway through cooking. This helps them brown better. Also, adding Parmesan cheese toward the end ensures it gets crispy. Can I use other types of potatoes? Yes, you can use other types of potatoes. Russet potatoes work well. They become fluffy inside. Yukon Gold potatoes have a creamy texture. You can even try sweet potatoes for a twist. Just adjust the cooking time as needed. Can I make this dish vegan? Yes, you can easily make this dish vegan. Replace Parmesan cheese with nutritional yeast or a vegan cheese alternative. Use olive oil as your fat source. This keeps the flavor but removes dairy. What to do with leftovers? Leftovers can be stored in an airtight container. They will last for about three days in the fridge. To reheat, use an oven or air fryer. This helps keep them crispy. You can also toss them into a salad for a tasty addition. Why are my potatoes soggy? Soggy potatoes usually mean they are too crowded on the baking sheet. Make sure they have enough space. Also, check the oven temperature. If it's too low, they won't crisp up. Finally, tossing them in oil can help prevent sogginess. How to tell when they are done baking? To check if your potatoes are done, use a fork. They should be fork-tender and golden brown. You can also look for a crispy layer of cheese on top. If they need more time, put them back in the oven for a few more minutes. This blog post covered how to make Garlic Parmesan Roasted Potatoes. We discussed key ingredients like baby potatoes, olive oil, and garlic. I shared step-by-step instructions, tips for perfect roasting, and how to store leftovers. We also explored serving ideas and the nutritional benefits of the main ingredients. In summary, these potatoes are easy to make and delicious. You can customize them to fit your taste. Enjoy your cooking and have fun experimenting!](https://southerndishes.com/wp-content/uploads/2025/06/d9163f87-c2a1-4594-b5ec-9f71b8940d9a-300x300.webp)

No Bake Oreo Cheesecake Bars Easy and Delicious Treat
Craving a sweet treat that’s both easy to make and utterly delicious? Look no further than these No Bake Oreo Cheesecake Bars! With just…