


Latest & Greatest

Cheesy Pull-Apart Christmas Tree Bread Delight
Are you ready to impress your guests this holiday season? My Cheesy Pull-Apart Christmas Tree Bread is not just a
Read more…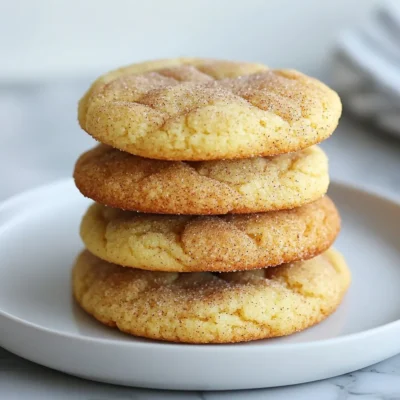
Snickerdoodle Cookies Delightful and Easy Recipe
If you love cookies that are soft, sweet, and sprinkled with cinnamon, you’ll adore Snickerdoodle cookies! In this post, I’ll
Read more…
Stuffed Pepper Soup Savory and Flavorful Dish
Looking for a hearty meal that bursts with flavor? Stuffed pepper soup is your answer! This dish combines colorful bell
Read more…
Baked Ziti Dinner Delight Simple and Satisfying Meal
When you crave a hearty meal that everyone loves, baked ziti is the answer. This dish is simple to make
Read more…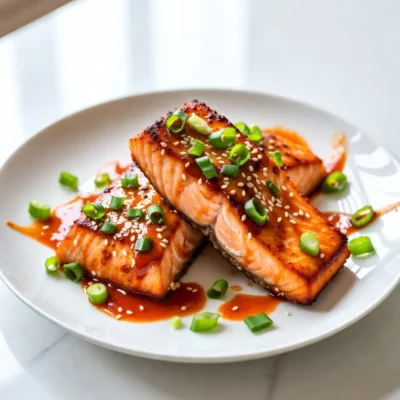
Air Fryer Bang Bang Salmon Flavorful and Simple Dish
Welcome to a tasty adventure with Air Fryer Bang Bang Salmon! If you love quick and flavorful meals, this dish
Read more…
Cajun Chicken Alfredo Creamy and Flavorful Dish
Craving a dish that bursts with flavor? Let’s dive into Cajun Chicken Alfredo! This creamy, spicy meal blends tender chicken
Read more…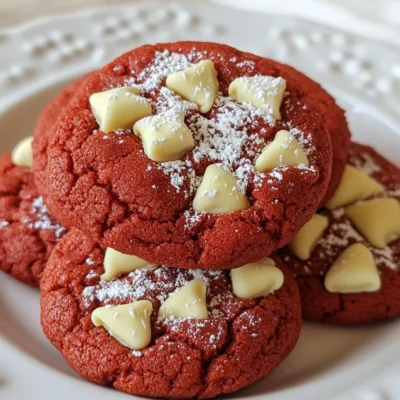
Red Velvet Cake Mix Cookies Soft and Chewy Treat
Craving a soft and chewy treat that’s both fun and easy to make? Look no further than red velvet cake
Read more…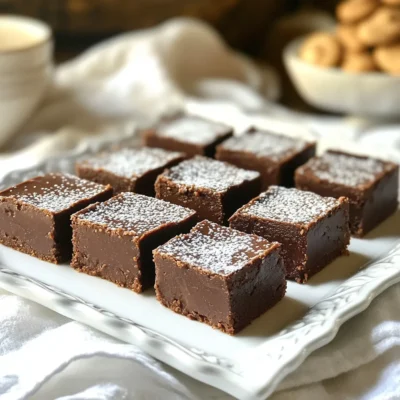
Classic Christmas Fudge Easy Treat for the Holidays
Christmas is just around the corner, and there’s no better treat than classic Christmas fudge. This easy recipe brings sweet
Read more…browse recipes


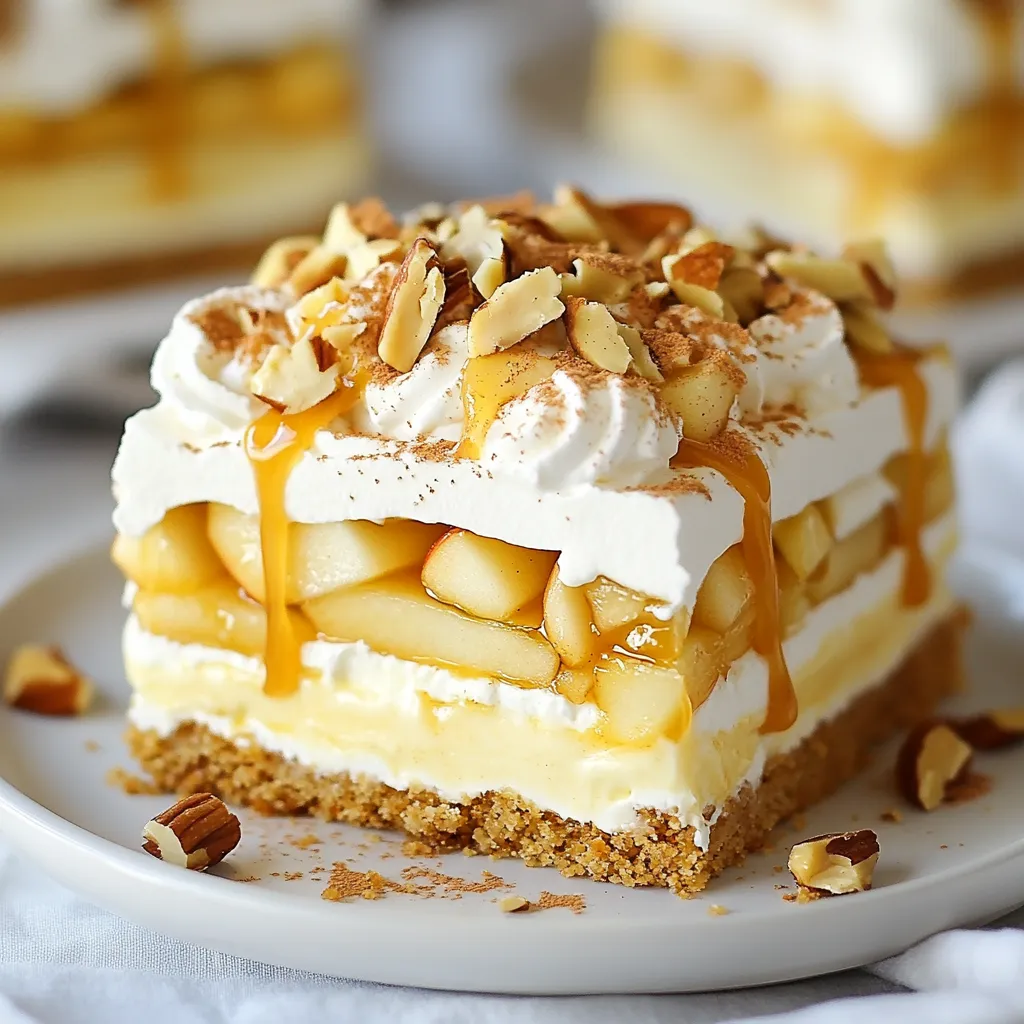
Caramel Apple Eclair Cake Irresistible Dessert Delight
If you crave a dessert that packs a flavor punch, look no further than the Caramel Apple Eclair Cake. This tasty treat combines creamy…
My Latest Desserts
My Latest Recipes

hey,
i’m !
I’m so happy you’re here!
My kitchen is filled with stories, flavors, and love and I’m so happy to share them with you. Here’s to dishes that feel like home.


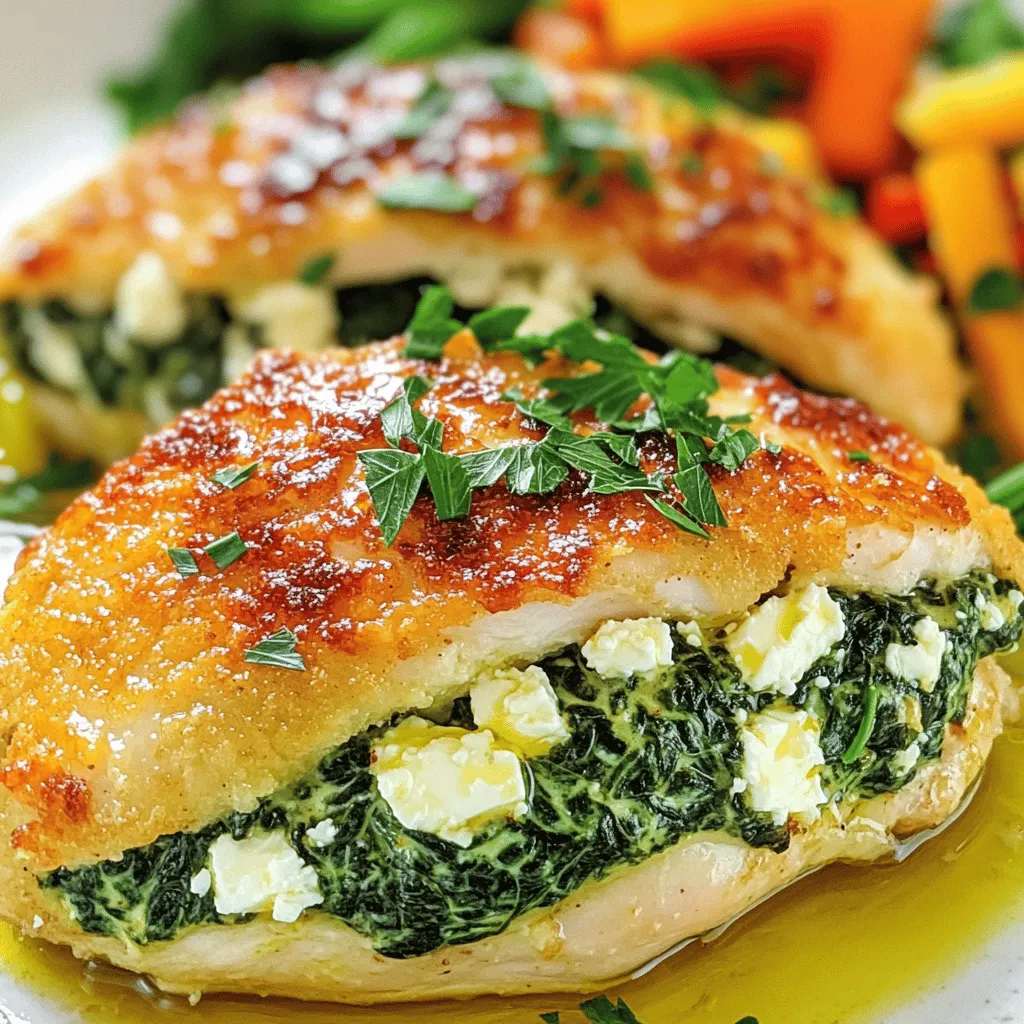
Spinach Feta Stuffed Chicken Breast Simple and Tasty
If you’re craving a meal that combines flavor and nutrition, look no further! My Spinach Feta Stuffed Chicken Breast is just what you need.…