Latest & Greatest
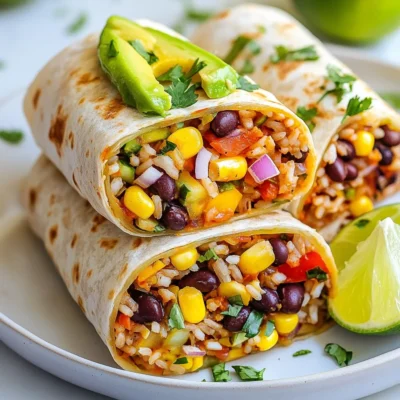
Vegan Burrito Wraps Flavorful and Nutritious Meal
Looking for a meal that’s both tasty and healthy? Vegan burrito wraps are your answer! Packed with fresh veggies, protein-rich
Read more…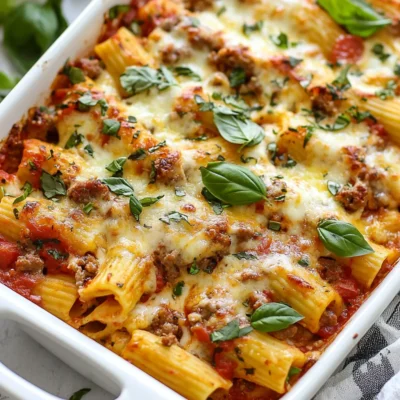
Baked Ziti Supreme Flavorful and Simple Recipe
Looking for a simple and tasty meal? Baked Ziti Supreme is your answer! This recipe combines pasta, cheese, and hearty
Read more…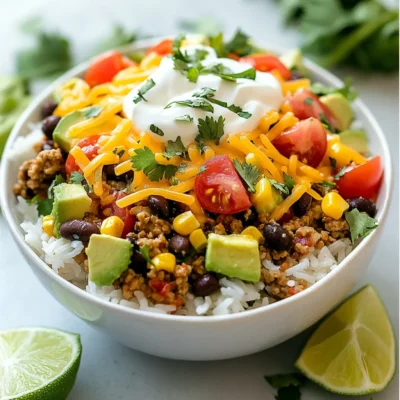
Easy Taco Rice Bowls Simple and Flavorful Meal
Ready for a dinner that’s quick, tasty, and crowd-pleasing? Easy Taco Rice Bowls are your answer! With simple ingredients and
Read more…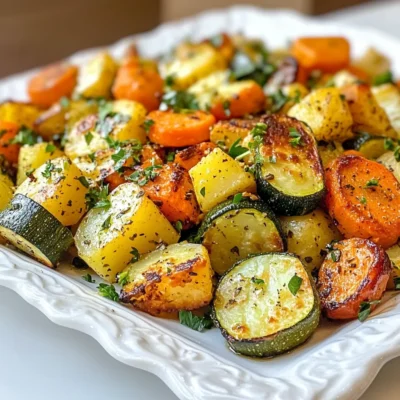
Herb Roasted Potatoes Carrots Zucchini Flavorful Dish
If you’re searching for a simple yet delicious side dish, look no further! Herb roasted potatoes, carrots, and zucchini are
Read more…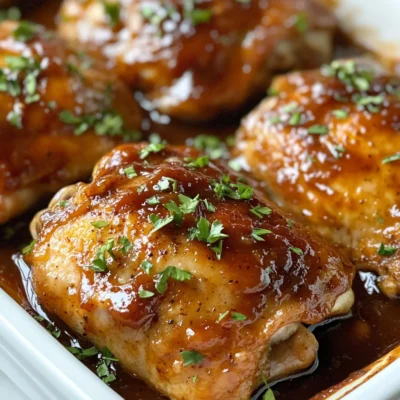
Low Carb BBQ Chicken Thighs Simple and Savory Recipe
Are you craving a flavorful dish that fits your low-carb lifestyle? Look no further! I’m excited to share my simple
Read more…
Weeknight Rigatoni Marinara Simple and Tasty Meal
Busy weeknights don’t have to mean bland dinners! With my simple Weeknight Rigatoni Marinara recipe, you can whip up a
Read more…browse recipes
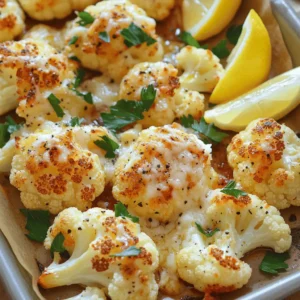


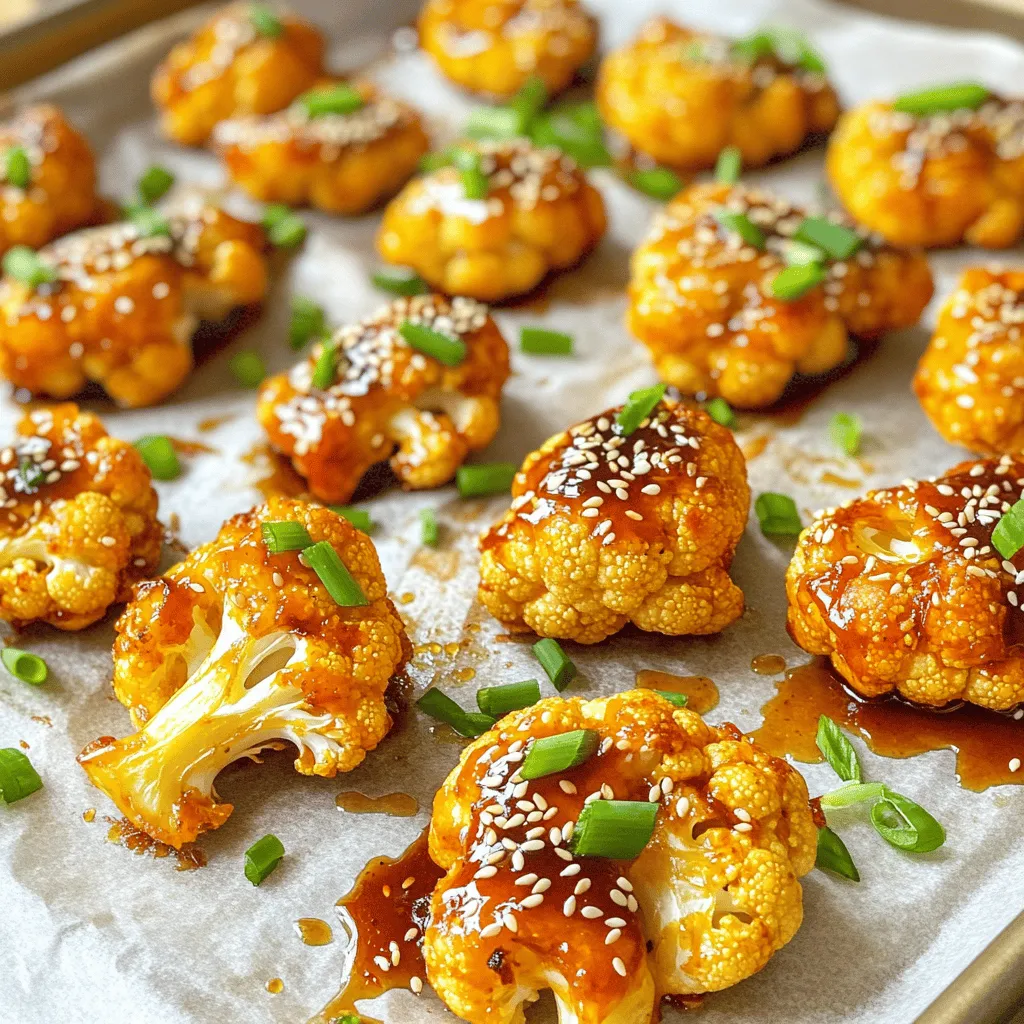
Korean Baked Cauliflower Tasty and Simple Recipe
Looking for a tasty dish that’s simple to make? Korean Baked Cauliflower is your answer! This recipe combines crispy cauliflower with spicy gochujang and…
My Latest Desserts
My Latest Recipes

hey,
i’m !
I’m so happy you’re here!
My kitchen is filled with stories, flavors, and love and I’m so happy to share them with you. Here’s to dishes that feel like home.


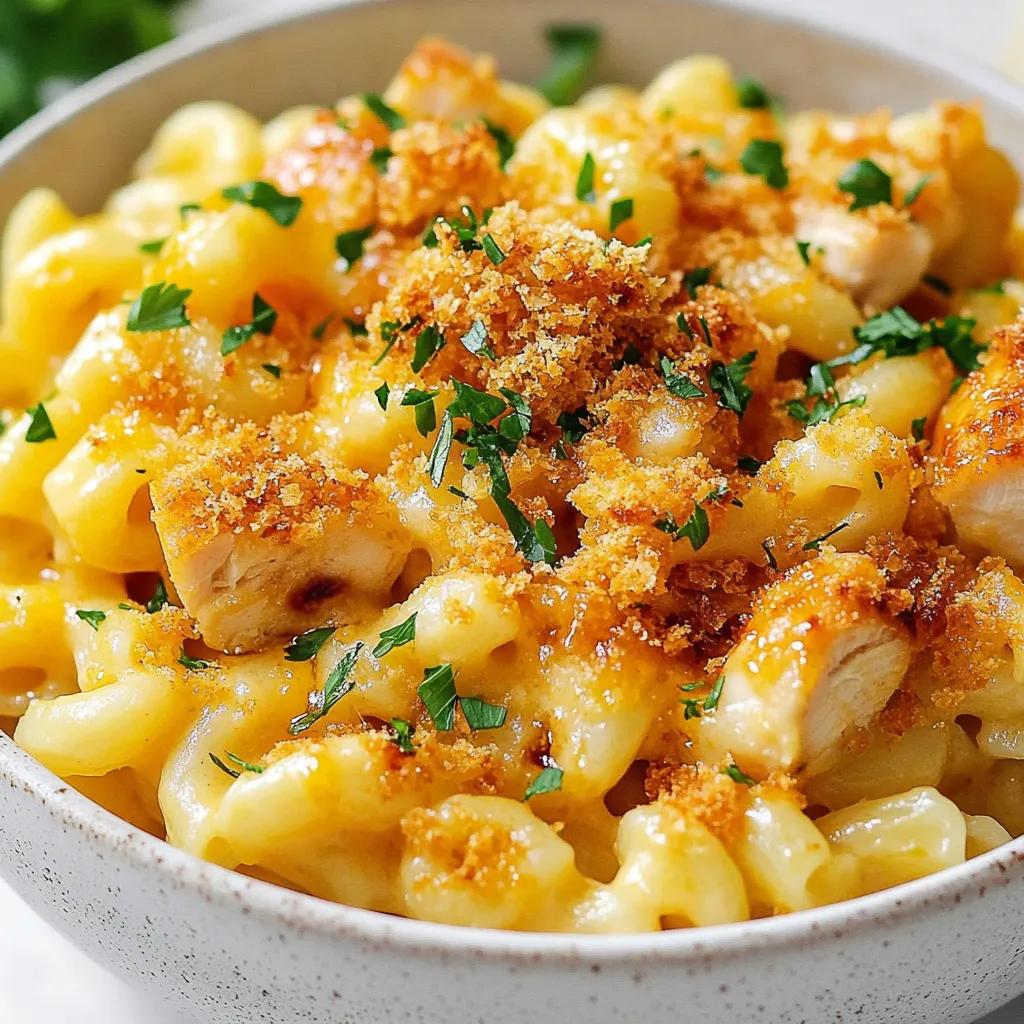
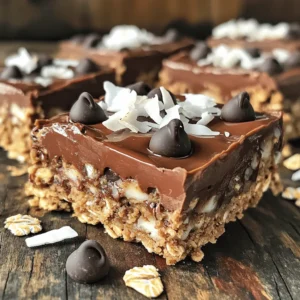
Spicy Honey Chicken Mac and Cheese Flavorful Delight
Are you ready to take your mac and cheese game to a whole new level? This Spicy Honey Chicken Mac and Cheese combines creamy…