


Latest & Greatest
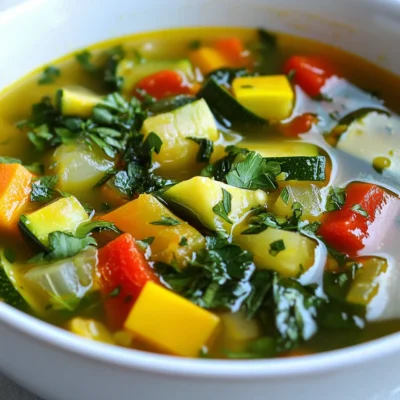
Mediterranean Vegetable Soup Flavorful and Healthy Dish
Looking for a warm, tasty meal that’s both healthy and simple to make? Mediterranean Vegetable Soup is your answer! Packed
Read more…
Easy Strawberry Shortcake Bars Simple and Delicious Treat
If you crave a sweet treat that’s easy to make, you’ve found it! Easy Strawberry Shortcake Bars are simple, delicious,
Read more…
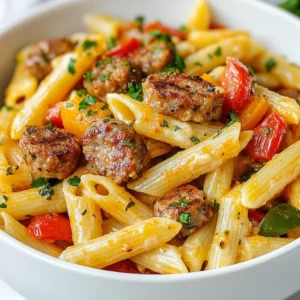
Cajun Sausage Rice Skillet Quick and Tasty Meal
Get ready to spice up your dinner with my Cajun Sausage Rice Skillet! This quick and tasty meal combines the
Read more…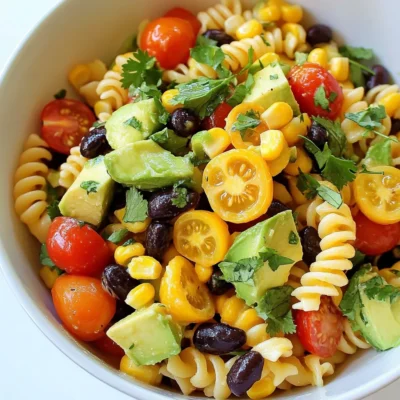
Mexican Cold Pasta Salad Fresh and Flavorful Dish
Looking for a vibrant dish that cools you down? A Mexican Cold Pasta Salad is just what you need! Packed
Read more…
Blackberry Sage Mocktail Refreshing and Simple Recipe
Are you ready to whip up a drink that bursts with flavor? The Blackberry Sage Mocktail is a refreshing option
Read more…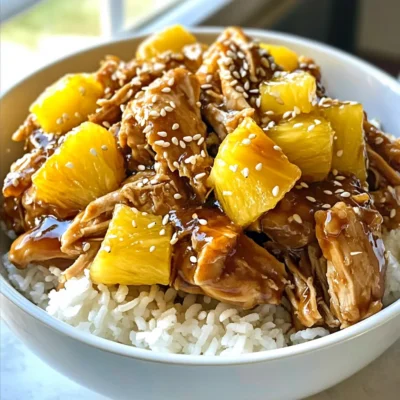
Three Ingredient Crockpot Teriyaki Chicken Delight
Are you ready for a simple and tasty dinner? This Three Ingredient Crockpot Teriyaki Chicken is your answer! With just
Read more…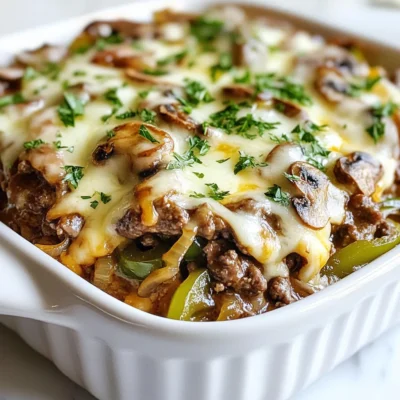
Keto Philly Cheesesteak Casserole Flavorful and Easy
Are you craving something cheesy and savory while sticking to your keto plan? Look no further! My Keto Philly Cheesesteak
Read more…
Chopped Cheese Sliders Easy and Tasty Recipe Guide
Are you ready to make the ultimate comfort food? Chopped cheese sliders are quick, easy, and delicious. In this guide,
Read more…browse recipes


Low Carb Chicken Casserole Quick and Easy Meal
Looking for a tasty meal that won’t derail your low-carb diet? My Low Carb Chicken Casserole combines simple ingredients with easy steps to create…
My Latest Desserts
My Latest Recipes

hey,
i’m !
I’m so happy you’re here!
My kitchen is filled with stories, flavors, and love and I’m so happy to share them with you. Here’s to dishes that feel like home.
![For the perfect sweet and spicy chicken wings, you need: - 2 lbs chicken wings - 1/4 cup honey - 1/4 cup sriracha sauce - 2 tablespoons soy sauce - 1 tablespoon rice vinegar - 2 cloves garlic, minced - 1 teaspoon ginger, grated - 1 teaspoon smoked paprika - Salt and pepper to taste These ingredients create a delicious marinade that makes the wings flavorful and juicy. The honey adds sweetness while the sriracha brings the heat. To take your wings to the next level, consider these toppings: - 2 tablespoons sesame seeds - 2 green onions, sliced Sesame seeds give a nice crunch, and green onions add freshness. You can also mix and match toppings based on what you like. For full details on how to make these wings, check the Full Recipe. Preheating the Oven First, preheat your oven to 400°F (200°C). This temperature helps the wings cook evenly. Line a baking sheet with foil. This makes cleanup easier. Place a wire rack on top of the baking sheet. This allows hot air to circulate around the wings, making them crispy. Mixing the Marinade Next, grab a large bowl. Combine the following ingredients: - 1/4 cup honey - 1/4 cup sriracha sauce - 2 tablespoons soy sauce - 1 tablespoon rice vinegar - 2 cloves garlic, minced - 1 teaspoon ginger, grated - 1 teaspoon smoked paprika - Salt and pepper to taste Mix well until smooth. This marinade gives the wings their sweet and spicy flavor. Add the chicken wings to the bowl. Make sure they are coated evenly. Let them marinate for at least 30 minutes. For best flavor, marinate for up to 2 hours in the fridge. Basting and Baking Place the marinated wings on the wire rack. Space them out evenly for proper cooking. Reserve any leftover marinade for basting. Bake the wings in the preheated oven for 25 minutes. After 25 minutes, take them out and baste with the reserved marinade. This adds more flavor and moisture. Crispiness Adjustment Return the wings to the oven for an extra 10-15 minutes. Watch them closely. You want them golden brown and crispy. For added crispiness, switch the oven to broil. Broil the wings for 2-3 minutes. Keep an eye on them to prevent burning. Once done, your sweet and spicy chicken wings are ready! You can sprinkle sesame seeds and sliced green onions on top before serving from the [Full Recipe]. - Marination Time Recommendations I recommend marinating the wings for at least 30 minutes. If time allows, marinate them for up to 2 hours. This helps the flavors soak in deeply. The longer they marinate, the better they taste. - Adjusting Sweetness and Spice Levels You can easily tweak the sweetness and spice. Add more honey for extra sweetness. To make it spicier, increase the sriracha sauce. Taste your marinade before using it to find your perfect balance. - Baking vs. Deep Frying Baking chicken wings is a healthier option than deep frying. It uses less oil and allows for more even cooking. Baking at 400°F gives you crispy skin without the mess of frying. - Broiling for Extra Crisp For those extra crispy wings, broil them for a few minutes at the end. Keep a close eye on them to avoid burning. Broiling can take your wings from good to great with just a bit of time. Enjoy these tips as you prepare your sweet and spicy chicken wings! For the full recipe, check out the recipe section above. {{image_2}} Alternative Sauces You can switch up the sauces in this recipe. Instead of sriracha, try barbecue sauce or buffalo sauce. Both add their own unique flavors. For a sweet touch, use teriyaki sauce. It pairs well with honey. You can also mix sauces to create your own blend. Experiment with different flavors to find your favorite. Heat Level Adjustments If you want less heat, reduce the sriracha. You can add more honey to balance it out. If you like it hotter, add more sriracha or some cayenne pepper. Just a pinch goes a long way. Always taste as you go to get it just right. Pairings with Sides Sweet and spicy chicken wings go well with many sides. Try serving them with celery and carrot sticks for crunch. A fresh salad can also balance the flavors. For a heartier option, pair them with rice or potato wedges. Consider adding coleslaw for a refreshing crunch. Dipping Sauce Ideas Dipping sauces can enhance the wings even more. Ranch or blue cheese dressing are popular choices. You can also use a creamy garlic sauce for a twist. For extra spice, serve with a hot sauce on the side. Having different dips lets everyone customize their meal. This recipe is versatile, making it fun to switch things up. You can find the full recipe to get started. To keep your sweet and spicy chicken wings fresh, use proper storage methods. First, let the wings cool down after cooking. Then, place them in an airtight container. This keeps moisture out and flavors in. You can also wrap them tightly in plastic wrap. This option works well if you don’t have a container. Aim to eat the wings within three to four days. This timeframe ensures they stay tasty and safe to eat. If you want to store them longer, consider freezing. When it’s time to enjoy leftovers, reheating is key. The best way to reheat wings is in the oven. Preheat your oven to 350°F (175°C). Place the wings on a baking sheet lined with foil for easy cleanup. Heat them for about 10 to 15 minutes. This keeps them warm and helps regain some crispiness. To maintain that crispy texture, avoid microwaving the wings. Microwaving makes them soggy. For extra crunch, finish them under the broiler for a few minutes. Watch them closely to avoid burning. Enjoy your wings just like the first time with these simple reheating tips. For the full recipe, check the earlier section. Can I use frozen chicken wings? Yes, you can use frozen wings. Just thaw them first. This helps them cook evenly. Pat them dry before marinating. This step makes the wings crispier. How to make wings crispy in the oven? To make wings crispy, place them on a wire rack. This allows air to flow around them. Bake at 400°F for 25 minutes, then baste. Broil for 2-3 minutes for extra crispiness. What is the best sauce for chicken wings? The best sauce is one that balances sweet and spicy flavors. The honey and sriracha mix in the Sweet and Spicy Chicken Wings is a great choice. It creates a rich, tasty glaze. How long to bake chicken wings at 400°F? Bake chicken wings for about 25 minutes. After that, baste with your sauce. Then bake for an additional 10-15 minutes. This ensures they are cooked through and golden brown. Are sweet and spicy chicken wings healthy? Sweet and spicy chicken wings can be part of a balanced diet. They have protein from chicken. However, watch the sauce for sugar and sodium levels. How many calories are in a serving of chicken wings? A serving of chicken wings has about 400-500 calories. This depends on the size and amount of sauce. You can check the Full Recipe for more details on nutritional info. You now have a clear guide to making delicious chicken wings. We covered essential ingredients, steps, and variations. Topping them with sesame seeds or green onions can enhance flavor. Adjust marination time for the best taste. Remember to store properly and use the right reheating techniques for crispiness. Whether you bake or fry, enjoy experimenting with flavors and techniques. Your perfect chicken wings await!](https://southerndishes.com/wp-content/uploads/2025/05/4dbb56e4-adae-4fc6-86da-57baae3d95f5-300x300.webp)
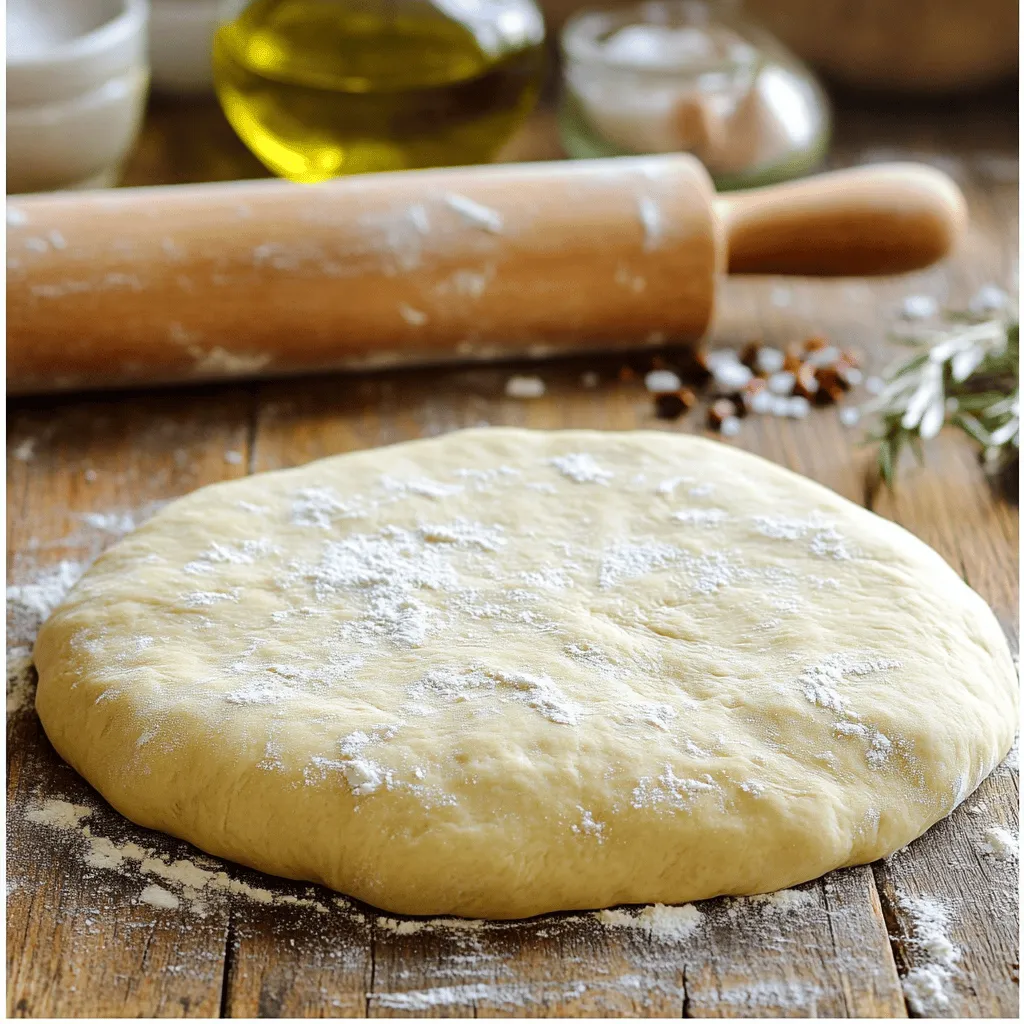
Homemade Pizza Dough Simple and Flavorful Recipe
Looking to make the perfect homemade pizza dough? You’re in the right place! This simple and flavorful recipe guides you through each step, from…