
Latest & Greatest

Zesty Lime Grilled Shrimp Flavorful Summer Delight
Get ready to fire up your grill! My Zesty Lime Grilled Shrimp will put a fun twist on your summer
Read more…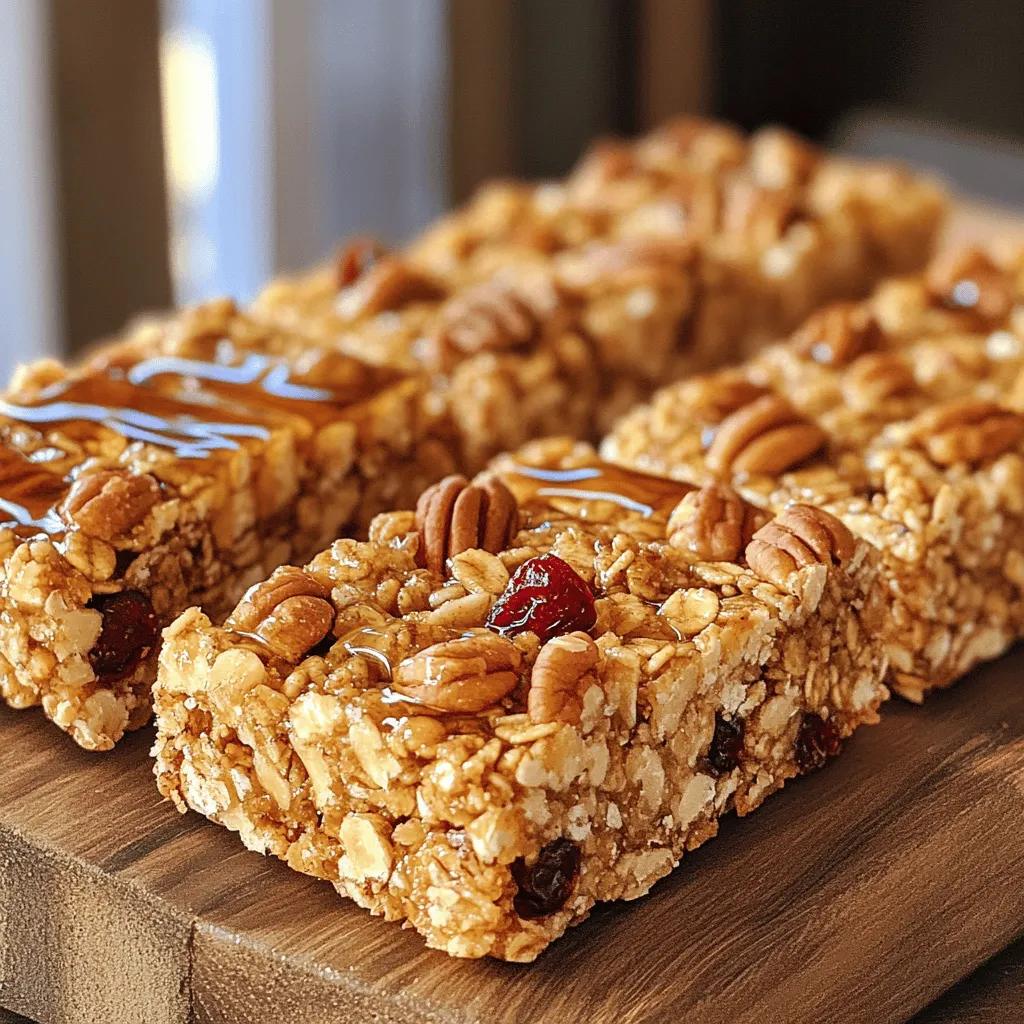
Maple Pecan Granola Bars Easy and Nutritious Treat
Craving a tasty snack that’s easy to make and packed with nutrition? Look no further! My Maple Pecan Granola Bars
Read more…
Egg Muffins with Veggies Nutritious and Easy Recipe
If you’re looking for a quick, healthy breakfast option, you’ve landed in the right place! These Egg Muffins with Veggies
Read more…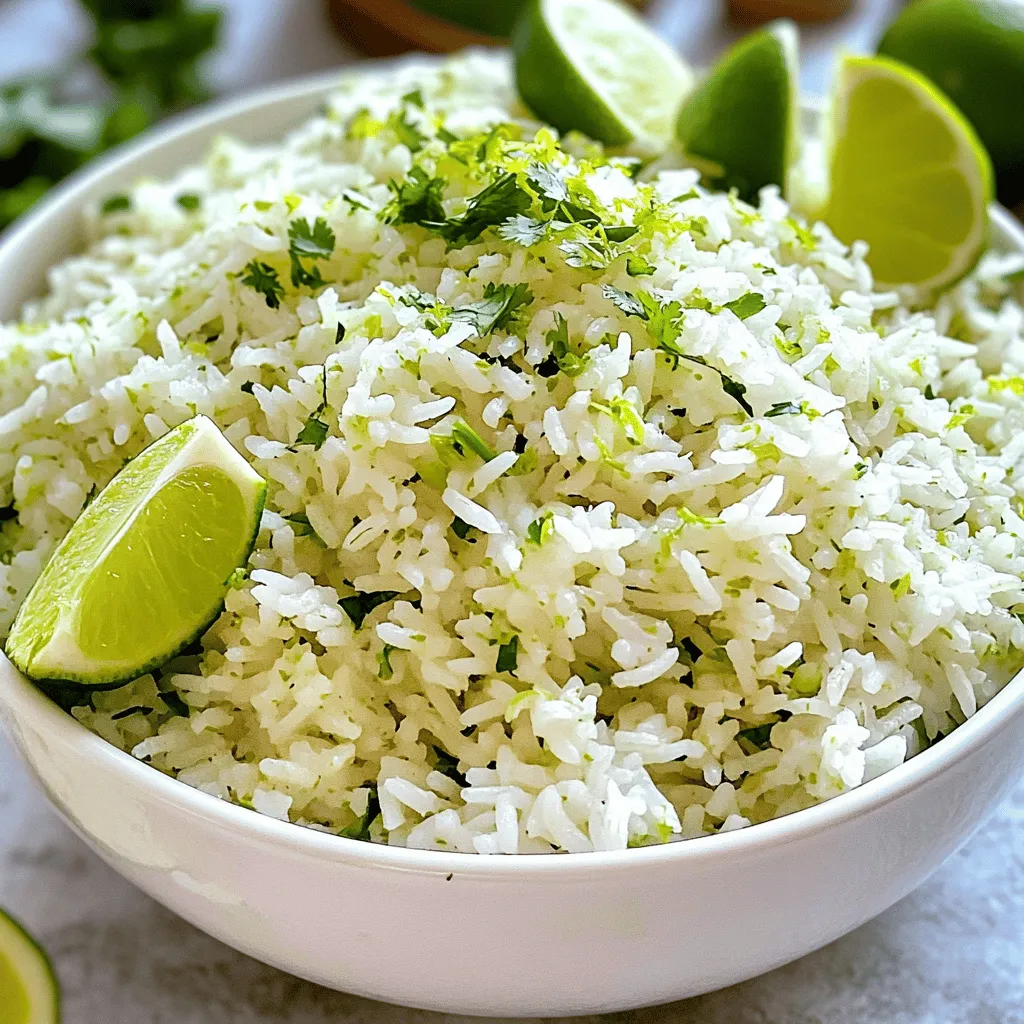
Lime Cilantro Rice Fresh and Flavorful Side Dish
Are you ready to add a burst of flavor to your meals? Lime Cilantro Rice is a fresh and vibrant
Read more…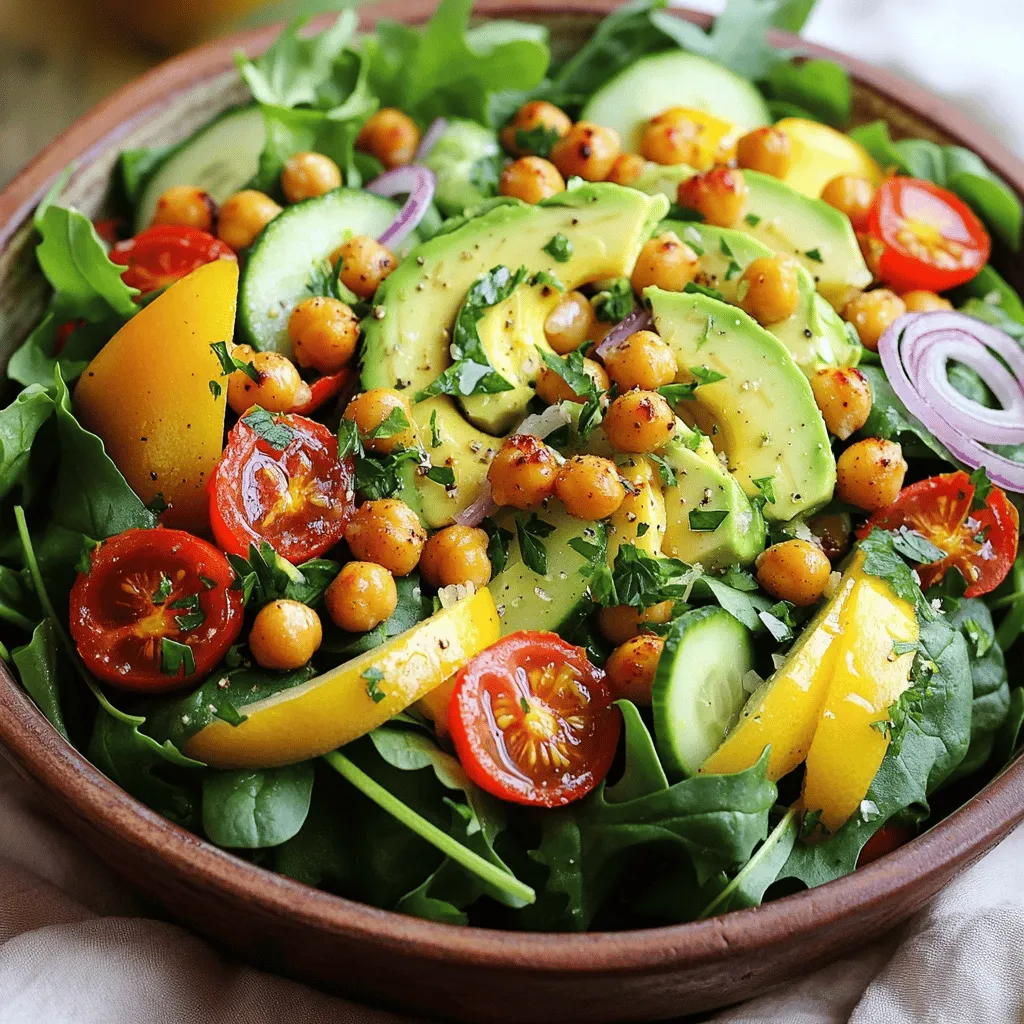
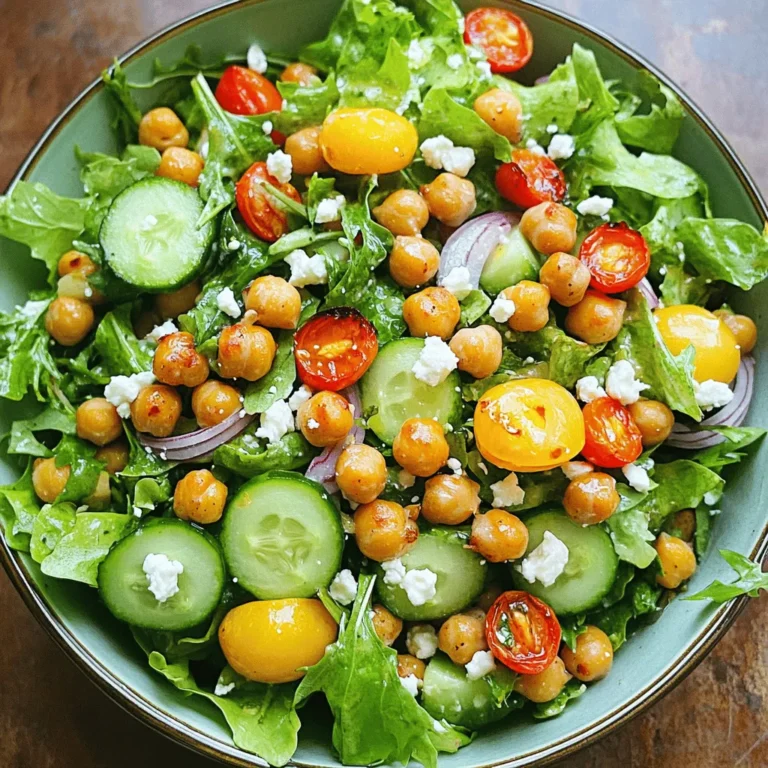
Crispy Chickpea Salad Flavorful and Healthy Dish
If you’re searching for a dish that’s both delicious and healthy, you’ve found it! My Crispy Chickpea Salad combines crunchy
Read more…
Savory Sweet and Spicy Meatball Subs Recipe
Get ready to savor the perfect blend of sweet and spicy in every bite! In this blog post, I’ll show
Read more…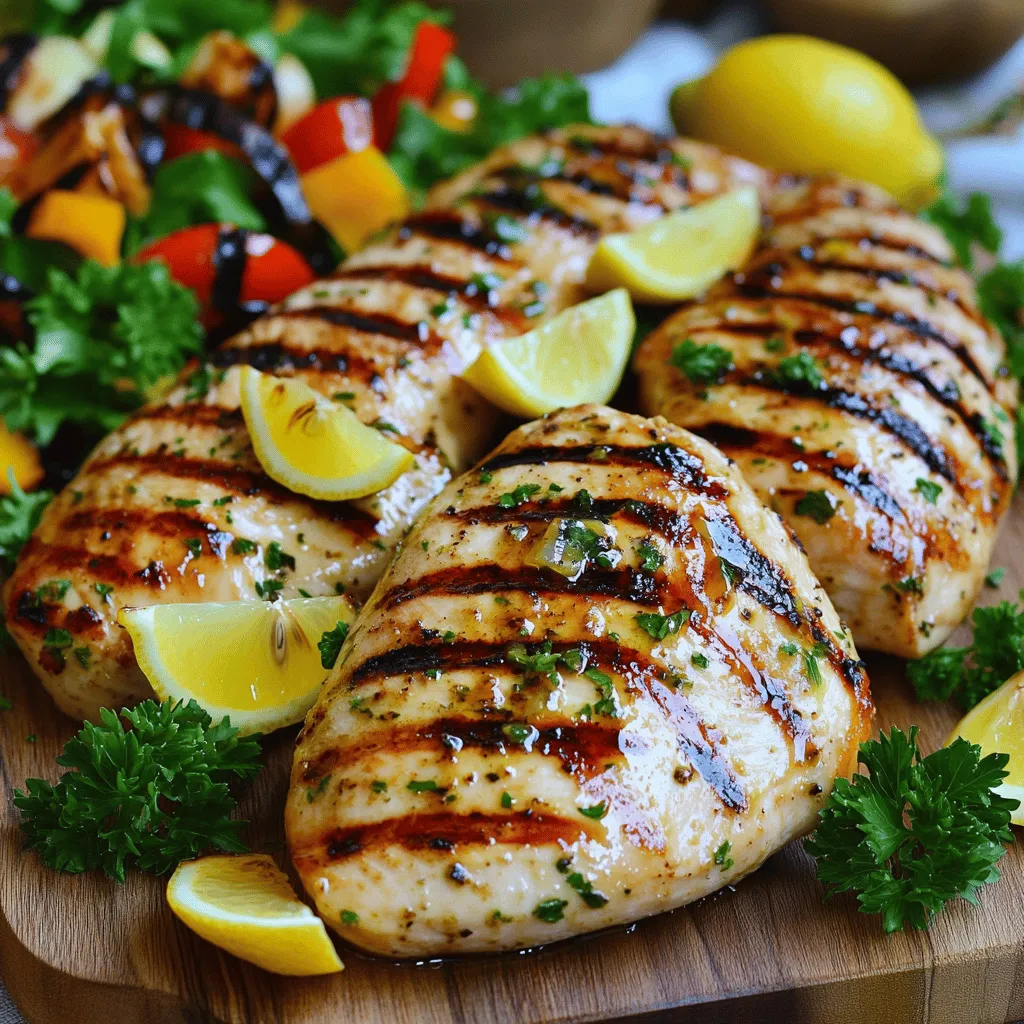
Lemon Herb Grilled Chicken Flavorful Easy Recipe
Get ready to impress at your next cookout with my Lemon Herb Grilled Chicken recipe! This dish is bursting with
Read more…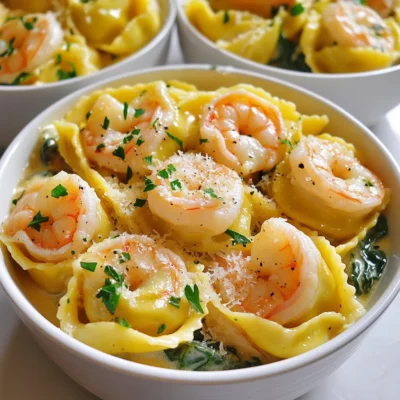
Creamy Shrimp Spinach Tortellini Flavorful Dinner Delight
Craving a delicious, quick dinner? You’re in the right place! My Creamy Shrimp Spinach Tortellini is a delightful dish that
Read more…browse recipes


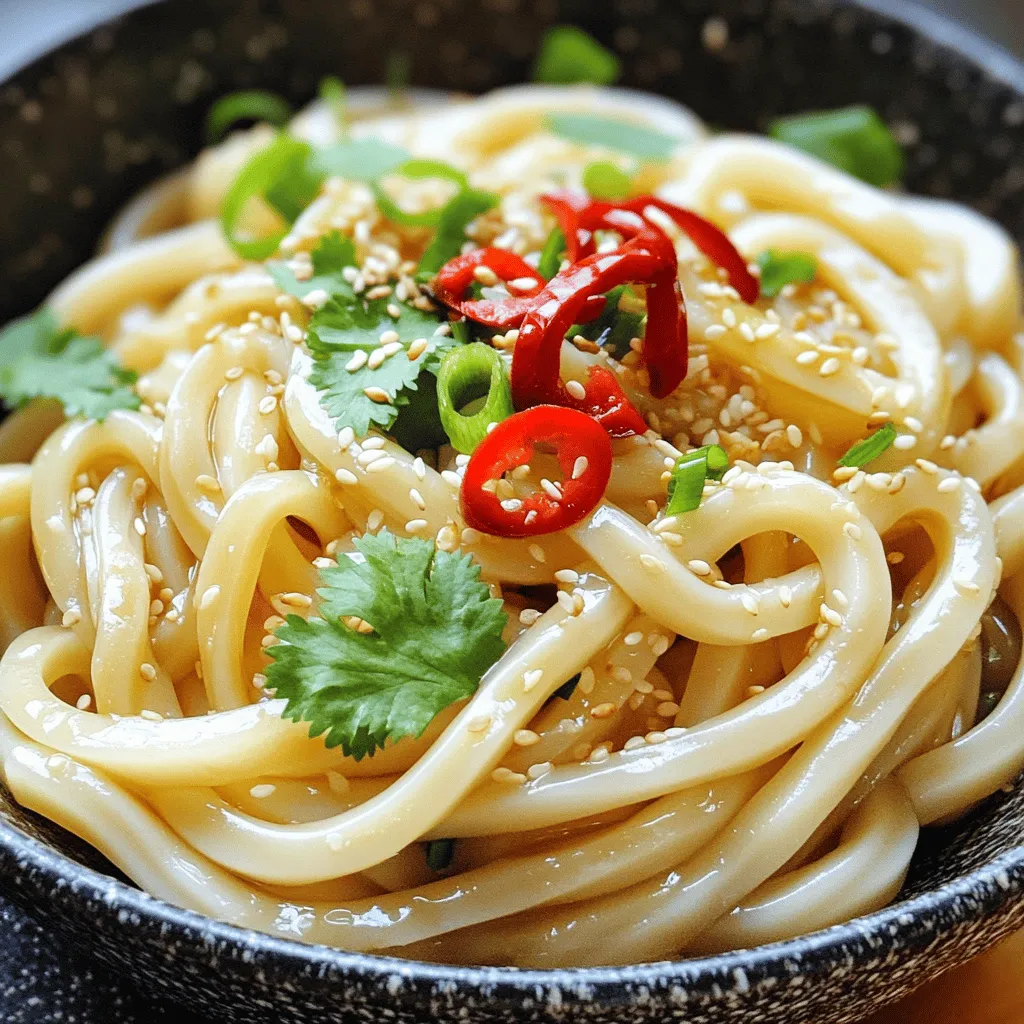
Minute Garlic Chili Udon Flavorful and Quick Meal
Craving a quick meal packed with flavor? Look no further! Minute Garlic Chili Udon is your answer. This dish is not only tasty but…
My Latest Desserts
My Latest Recipes

hey,
i’m !
I’m so happy you’re here!
My kitchen is filled with stories, flavors, and love and I’m so happy to share them with you. Here’s to dishes that feel like home.
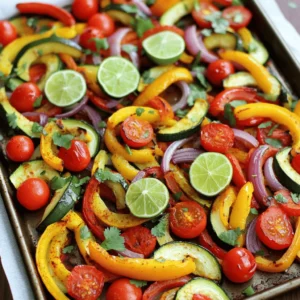


Sheet Pan Honey Garlic Chicken and Veggies Delight
Are you ready to impress your family with a simple, tasty dinner? My Sheet Pan Honey Garlic Chicken and Veggies Delight is just the…
. First, preheat your oven to 400°F (200°C). This makes sure your dish cooks evenly. Next, line a large baking sheet with parchment paper. This helps with cleanup later. Now, let’s make the marinade. In a small bowl, whisk together the honey, soy sauce, minced garlic, grated ginger, and sesame oil. This mix brings a lot of flavor to our chicken. Set aside a few tablespoons for drizzling later. Take the chicken thighs and place them in a large bowl. Coat them thoroughly with the marinade. Make sure every piece gets good coverage. Season with salt and pepper to taste. Let the chicken marinate for at least 15 minutes. If you have more time, an hour is even better. This step helps the chicken soak in all that tasty goodness. While the chicken marinates, it's time to prepare the veggies. Cut the broccoli, bell peppers, and carrots into bite-sized pieces. In another bowl, toss them with olive oil, salt, and pepper. This ensures the veggies are well seasoned. When everything is ready, arrange the marinated chicken thighs on one side of the baking sheet. Put the veggies on the other side. This makes for a colorful and balanced meal. Now, it's time to bake! Place the baking sheet in the preheated oven. Bake for 25-30 minutes. This allows the chicken to cook through and the veggies to become tender. Make sure the internal temperature of the chicken reaches 165°F (74°C) to ensure it's safe to eat. To check doneness, you can use a meat thermometer or cut into the chicken to see if it’s no longer pink inside. Once done, remove the sheet from the oven. Drizzle the reserved marinade over the chicken and veggies for extra flavor before serving. Enjoy your delicious meal! For the complete recipe and measurements, check out the Full Recipe. To keep chicken juicy, do not overcook it. Use a meat thermometer to check. The chicken should reach 165°F. Let the chicken rest for a few minutes after baking. This helps it stay moist. For roasting vegetables, cut them evenly to ensure they cook at the same rate. Toss them in olive oil, salt, and pepper. This adds flavor and helps them caramelize. Broccoli, bell peppers, and carrots work great together. Pair this dish with rice or grains. White rice or brown rice are great choices. Quinoa or farro adds a nice texture and flavor, too. You can also serve it with a simple green salad. A light vinaigrette works well. Use a large sheet pan for even cooking. A rimmed pan helps catch juices and sauce. Parchment paper makes cleanup easy and prevents sticking. It allows the food to roast nicely without burning. You will love how simple it is to use. For best results, choose a high-quality baking sheet. You can find the full recipe to create this delightful meal. {{image_2}} You can change the protein in this dish. Try chicken breasts or shrimp instead of thighs. Both options cook well and soak up the marinade's flavors. If you want to switch up the veggies, use whatever you have on hand. Zucchini, asparagus, or green beans all work nicely. Just cut them into even pieces for uniform cooking. For an extra kick, add spices like red pepper flakes or smoked paprika. These spices give a nice depth to the dish. If you want to sweeten it differently, use maple syrup or agave nectar. Both options provide unique flavors while still balancing the dish. If you need gluten-free options, use tamari instead of soy sauce. This swap keeps the dish safe for those with gluten sensitivities. For low-carb choices, skip the honey and add more spices. You can also use cauliflower rice instead of regular rice for a satisfying meal. For a vegetarian version, replace the chicken with tofu or chickpeas. They absorb the marinade well and give you that hearty feel. To store leftovers, let the dish cool down. Place it in an airtight container. This keeps the flavors fresh. Store it in the fridge. It will stay good for up to 3 days. When reheating, use the oven or microwave. For the oven, set it to 350°F. Bake for about 15 minutes. For the microwave, heat on medium power. Stir halfway to ensure even warming. To freeze the cooked dish, let it cool completely first. Use a freezer-safe container or a zip-top bag. Remove as much air as possible to prevent freezer burn. It can last for up to 3 months in the freezer. To thaw, place it in the fridge overnight. For a quick thaw, use the microwave. After thawing, reheat in the oven at 350°F for best results. Avoid reheating multiple times to keep the chicken juicy. Leftovers will last about 3 days in the fridge. If you see any signs of spoilage, it’s best to discard them. Signs include an off smell, discoloration, or slimy texture. Always trust your senses when it comes to food safety. Yes, you can use boneless chicken breasts. They cook faster than thighs. If you choose breasts, reduce the cooking time by a few minutes. Check for the same internal temperature of 165°F (74°C) to ensure safety. I love using broccoli, bell peppers, and carrots. These veggies add color and flavor. Other good options include zucchini, asparagus, or snap peas. Just make sure they are cut to similar sizes for even cooking. The chicken is done when it reaches 165°F (74°C) internally. Use a meat thermometer for the best results. If you don’t have one, check if the juices run clear. There should be no pink meat. Yes, you can prep this dish ahead of time. Marinate the chicken and cut the veggies a day before. Store them in the fridge. When you’re ready, just bake them. This saves time on busy days. Absolutely! You can add red pepper flakes to the marinade. For more heat, try sriracha or chili paste. Adjust the amount based on your heat preference. It adds a nice kick to the sweet and savory flavors. For a full recipe, check out [Full Recipe]. In this article, we explored how to make sheet pan honey garlic chicken. We covered the key ingredients, from chicken thighs and fresh veggies to a tasty marinade. I shared step-by-step instructions on prepping, marinating, and baking for perfect results. You learned tips to keep the chicken juicy and how to enhance flavors. Variations give you room to customize this dish. Finally, we discussed best practices for storage and reheat. With these simple steps, you can enjoy a delicious and easy meal any night!](https://southerndishes.com/wp-content/uploads/2025/07/f1eeb1f4-e048-478c-a987-8723c33a4d88.webp)
