

Latest & Greatest
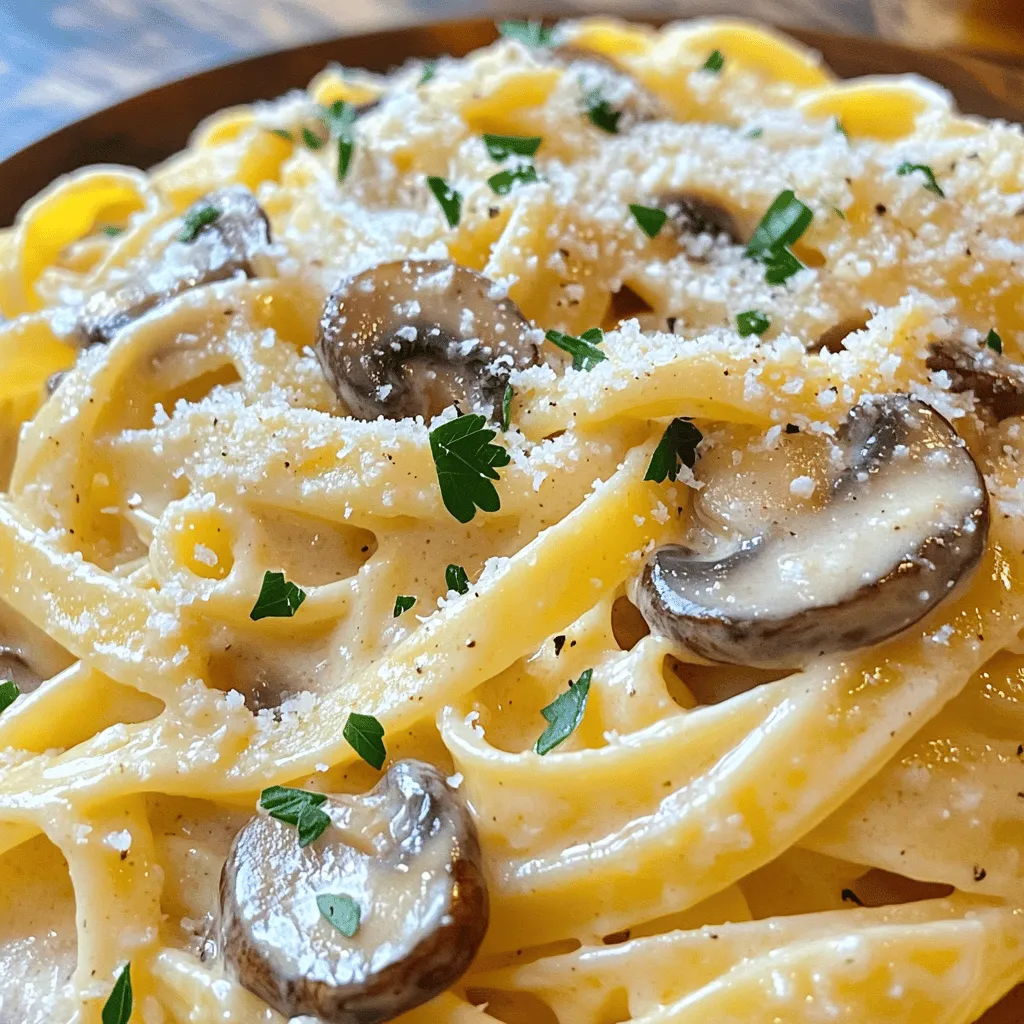
Creamy Garlic Mushroom Pasta Flavorful and Easy Meal
If you’re craving a dish that’s both simple and delicious, look no further! Creamy Garlic Mushroom Pasta is the answer
Read more…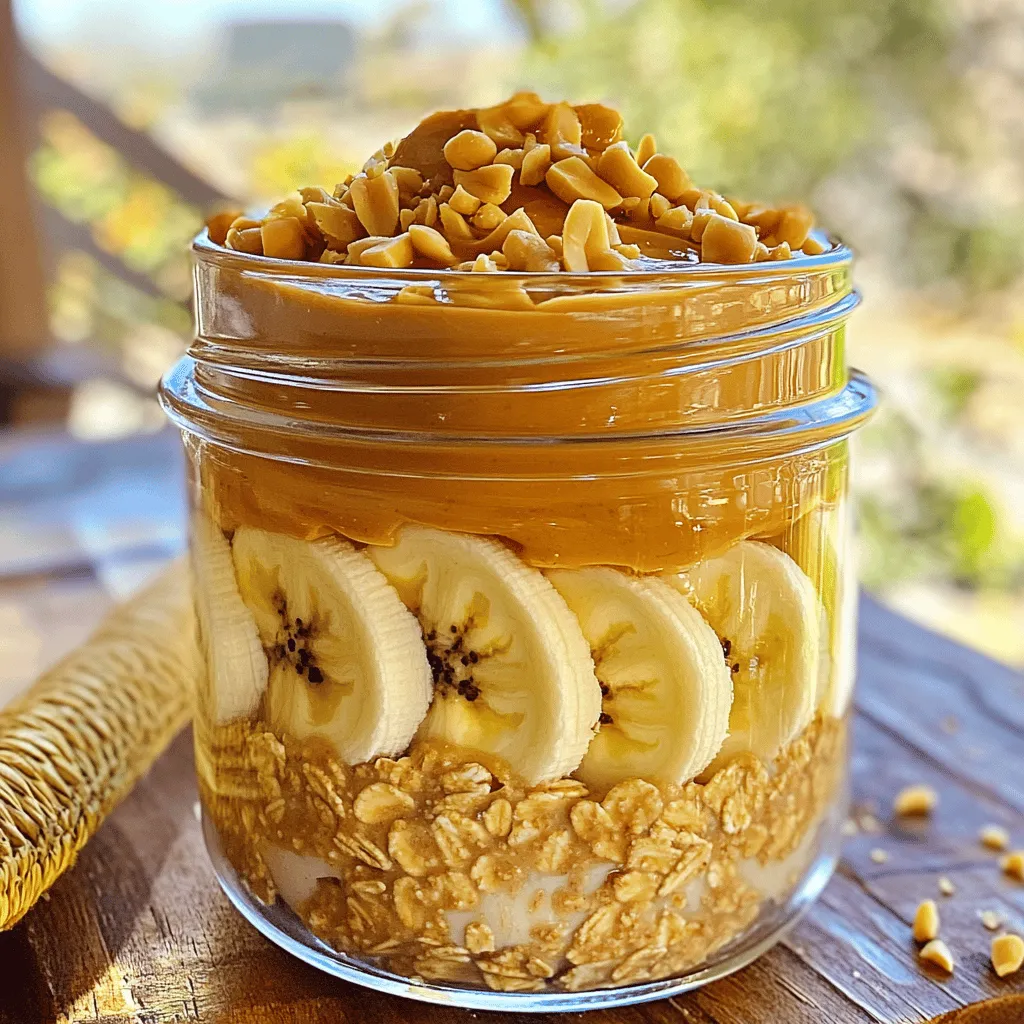
Peanut Butter Banana Overnight Oats Easy and Healthy
If you love a quick, tasty breakfast, Peanut Butter Banana Overnight Oats are perfect for you! They combine creamy peanut
Read more…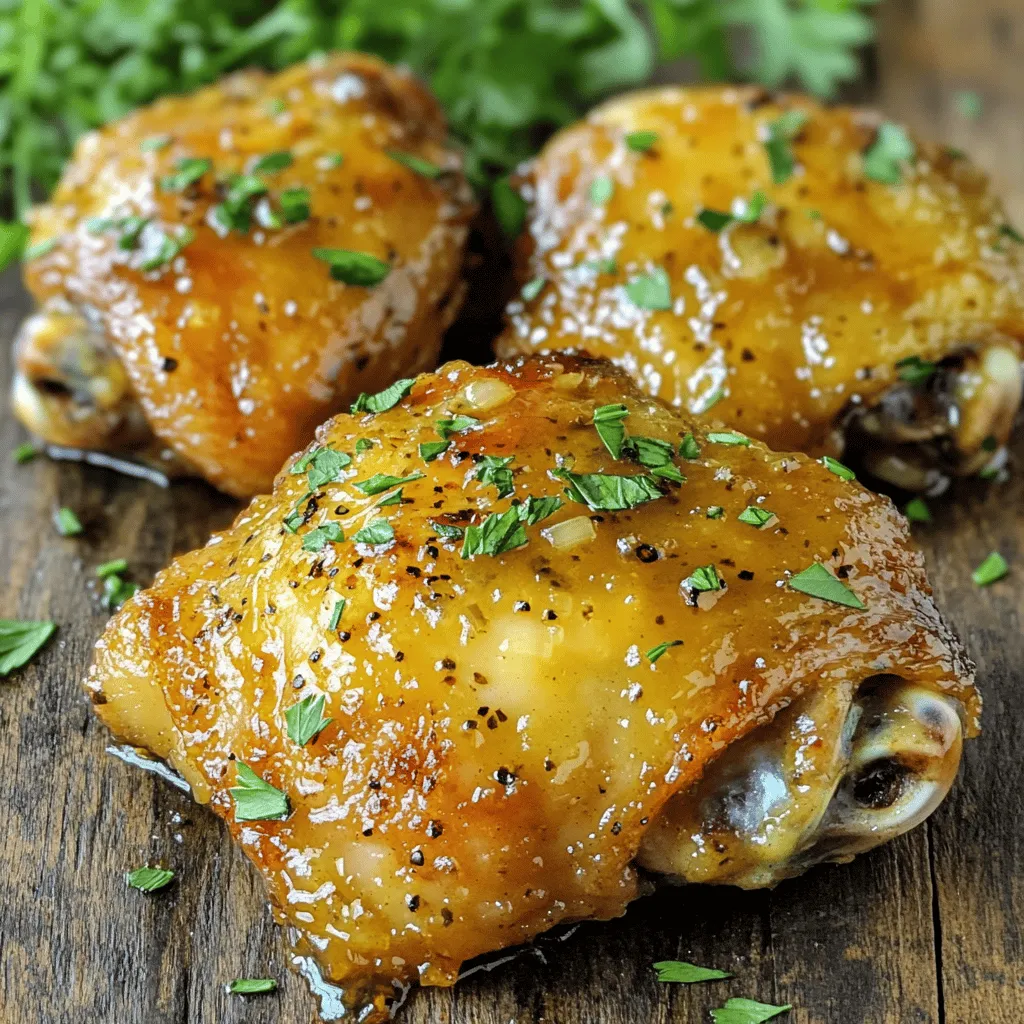
Honey Mustard Chicken Thighs Flavorful Dinner Recipe
Looking to spice up your dinner routine? This Honey Mustard Chicken Thighs recipe is your answer! Juicy chicken thighs coated
Read more…
Grilled Chicken Caesar Wraps Tasty Meal for Everyone
Looking for a simple, tasty meal that everyone will love? I’ve got you covered with Grilled Chicken Caesar Wraps! This
Read more…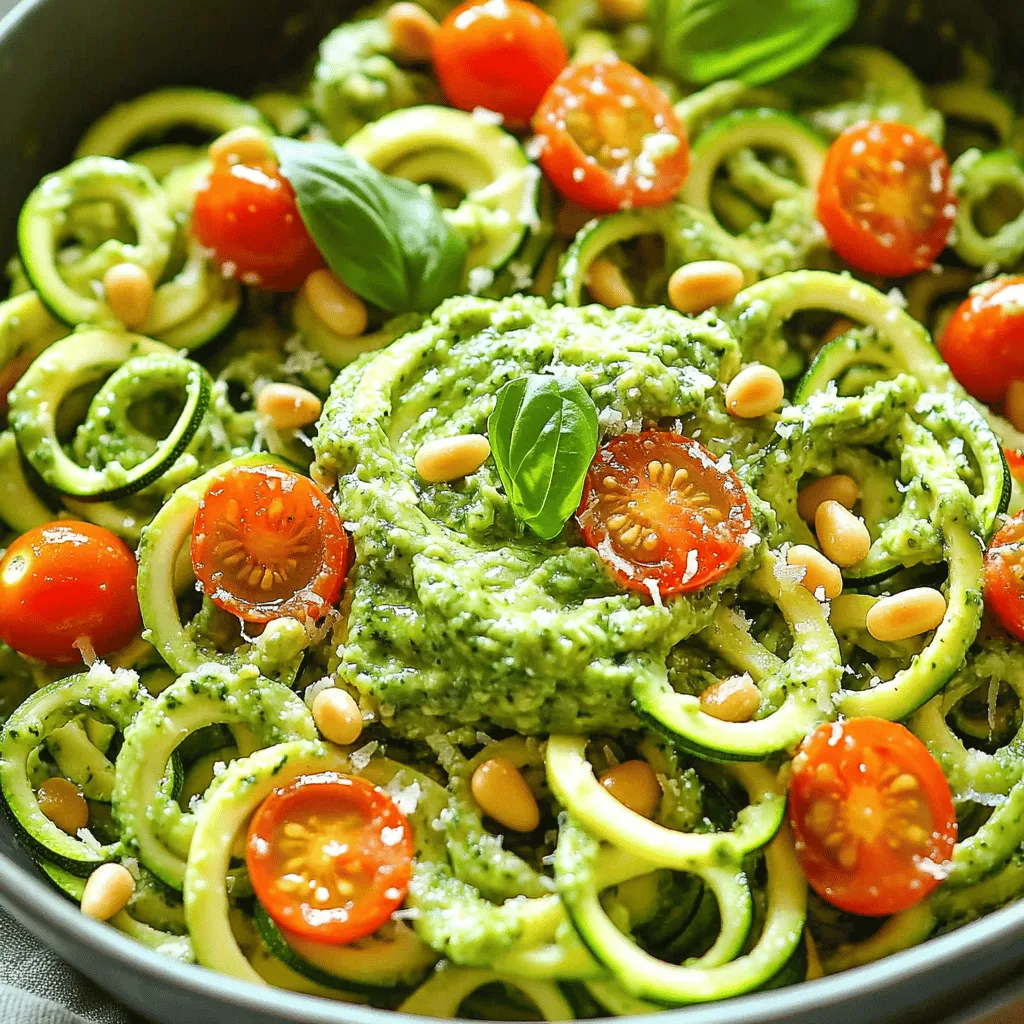
Zucchini Noodles with Pesto Flavorful and Fresh Dish
Looking for a fresh, tasty dish? Zucchini noodles with pesto are your answer! This colorful meal bursts with flavor and
Read more…
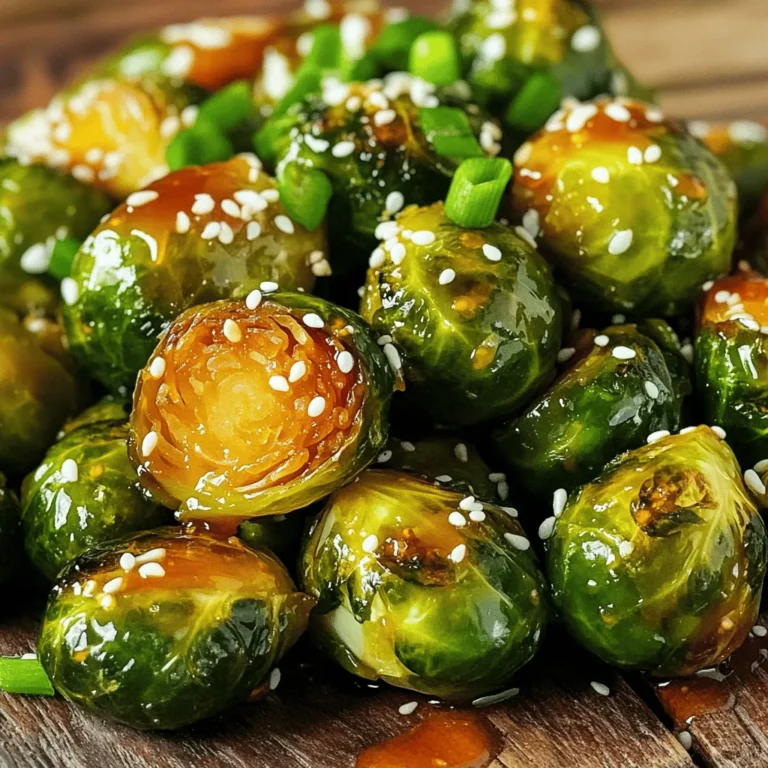
Maple Glazed Brussels Sprouts Savory and Simple Dish
Are you ready to elevate your veggie game with a simple dish that’s packed with flavor? Maple Glazed Brussels Sprouts
Read more…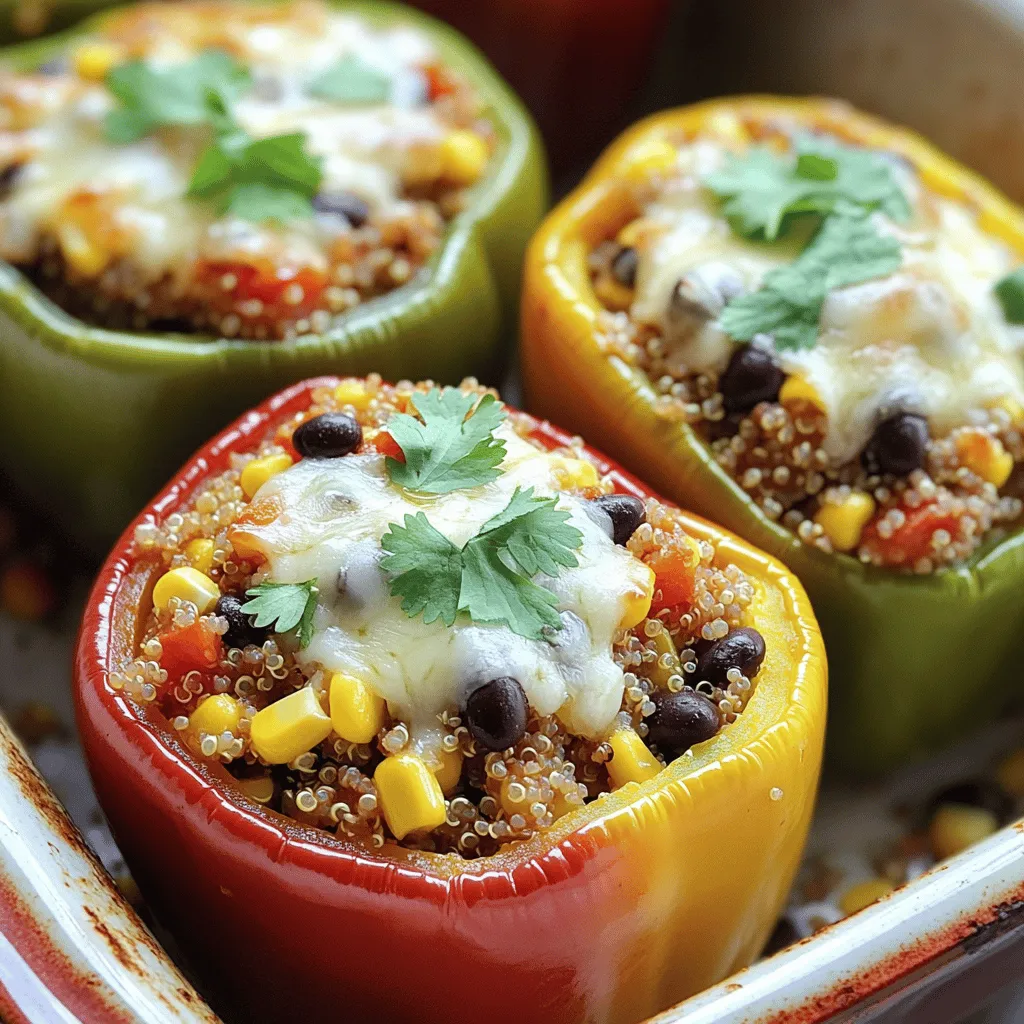
Stuffed Bell Peppers with Quinoa Flavorful Delight
Get ready for a meal that’s both delicious and healthy! In this post, I’ll show you how to make stuffed
Read more…
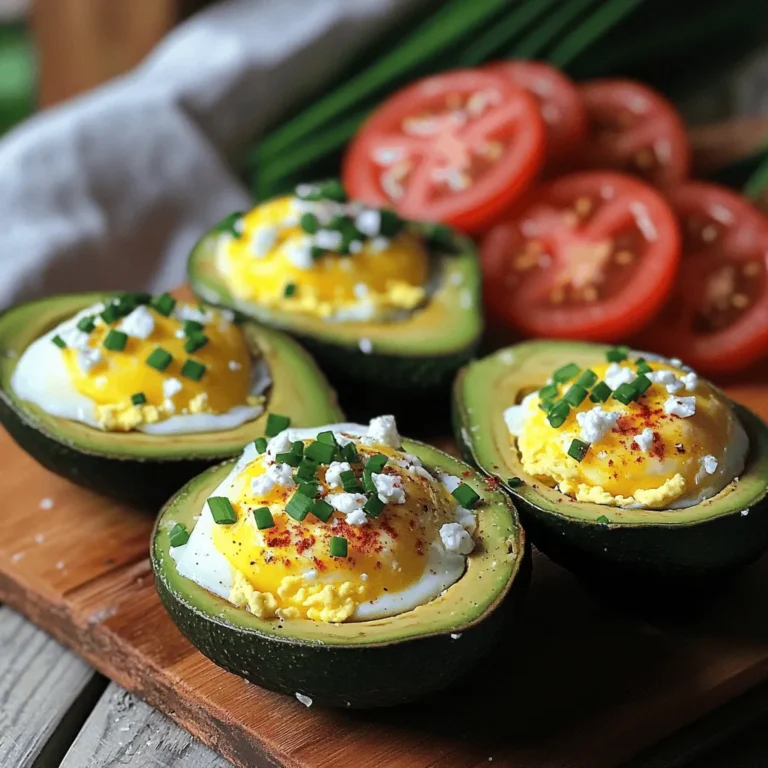
Chocolate Avocado Mousse Rich and Creamy Delight
Are you ready to indulge in a dessert that’s both rich and healthy? Chocolate Avocado Mousse combines creamy avocados with
Read more…browse recipes


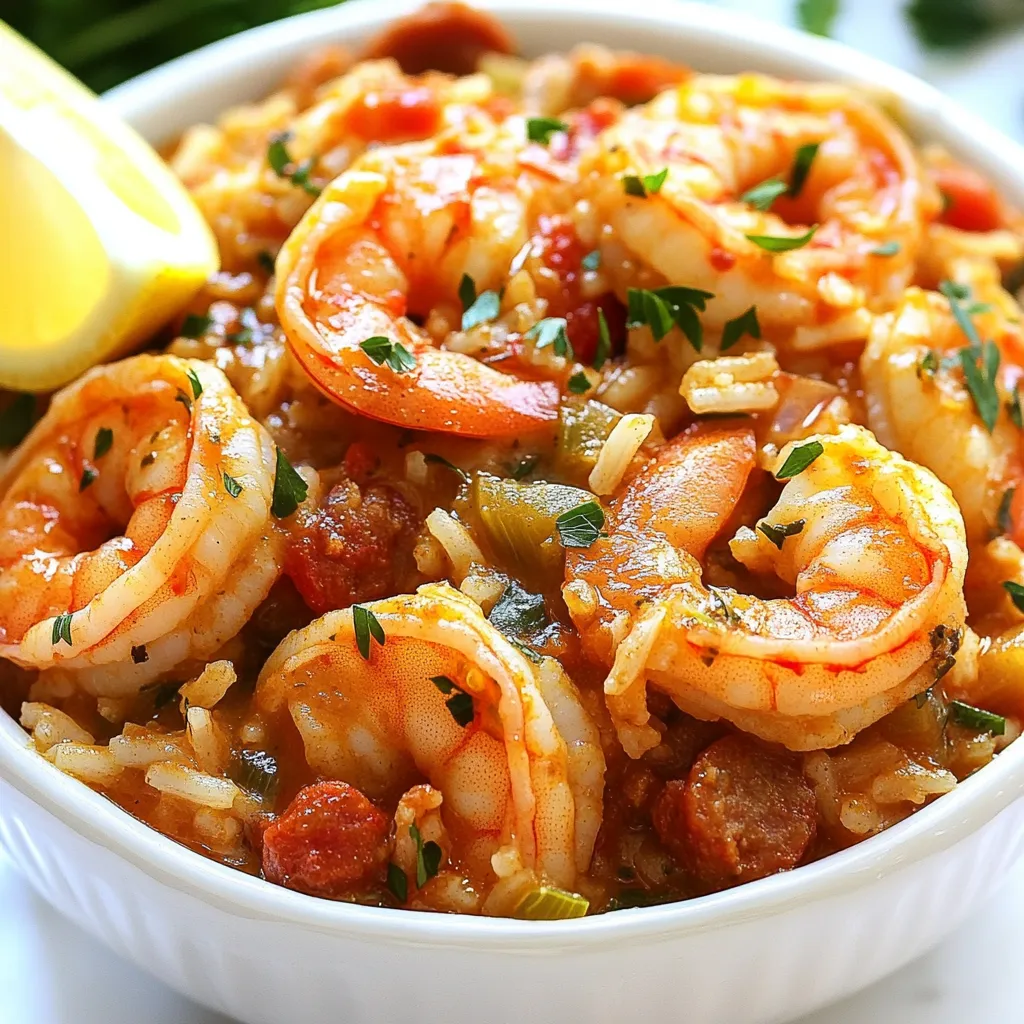
One Pot Shrimp and Sausage Jambalaya Flavor Boost
Are you ready to spice up your dinner routine? My One Pot Shrimp and Sausage Jambalaya will bring the flavors of New Orleans to…
My Latest Desserts
My Latest Recipes

hey,
i’m !
I’m so happy you’re here!
My kitchen is filled with stories, flavors, and love and I’m so happy to share them with you. Here’s to dishes that feel like home.


Garlic Parmesan Chicken Skillet Flavorful Dinner Idea
Looking for a quick and tasty dinner idea? Look no further! My Garlic Parmesan Chicken Skillet is packed with flavor and easy to make.…