
Latest & Greatest
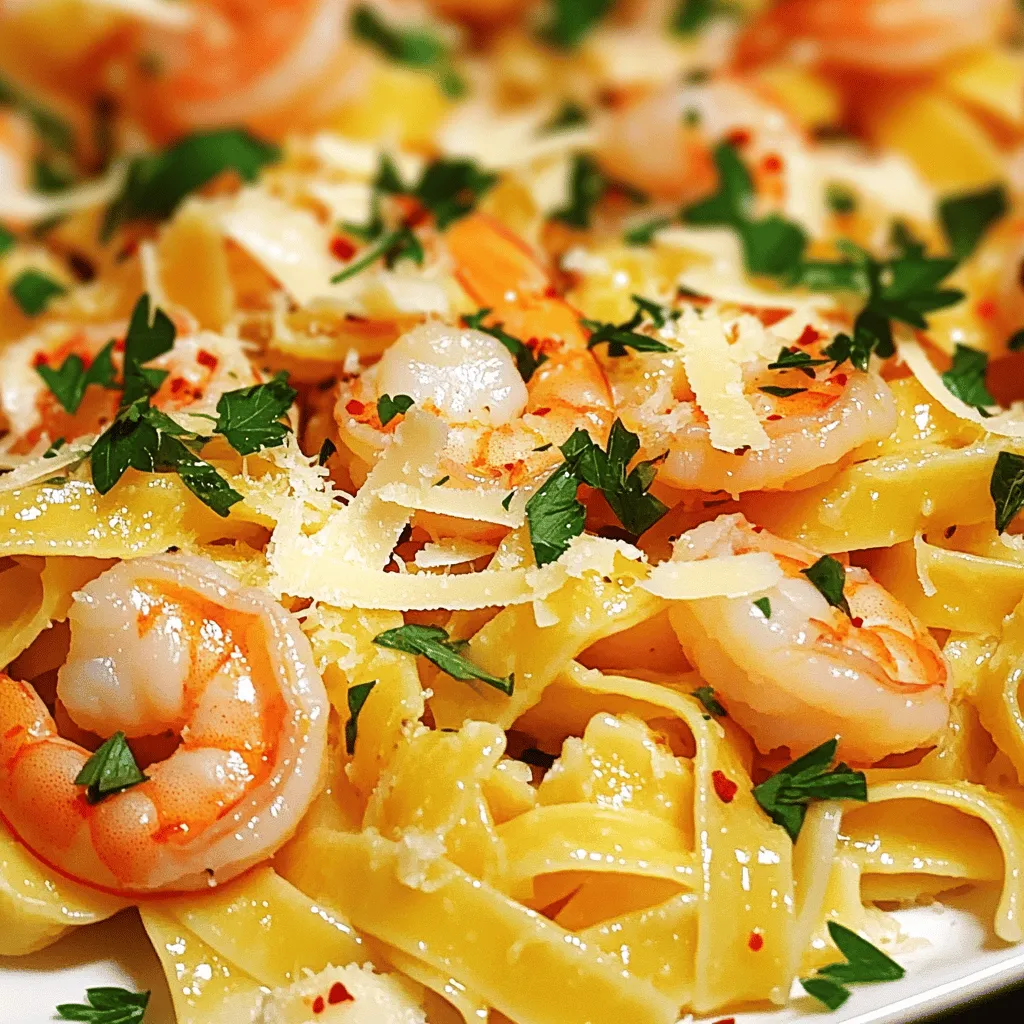
Zesty Lemon Garlic Shrimp Pasta Flavorful Delight
If you’re craving a quick and tasty meal that’s big on flavor, you’re in for a treat! My Zesty Lemon
Read more…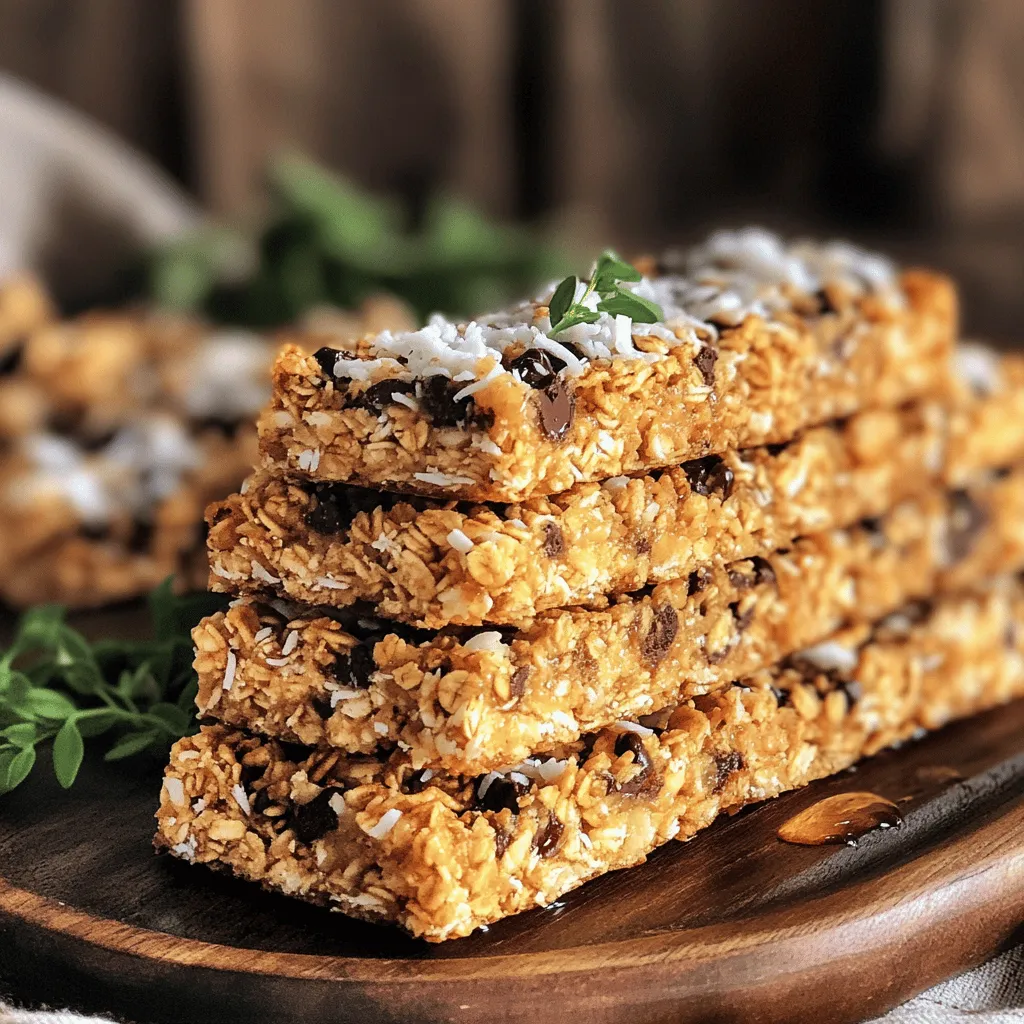
Homemade Granola Bars Healthy and Tasty Snack Idea
Looking for a quick, healthy snack? Homemade granola bars are the perfect answer! You can mix simple ingredients to create
Read more…
Sweet and Spicy Chicken Stir-Fry Flavorful Meal Idea
Get ready to excite your taste buds with my Sweet and Spicy Chicken Stir-Fry! This flavorful dish combines tender chicken
Read more…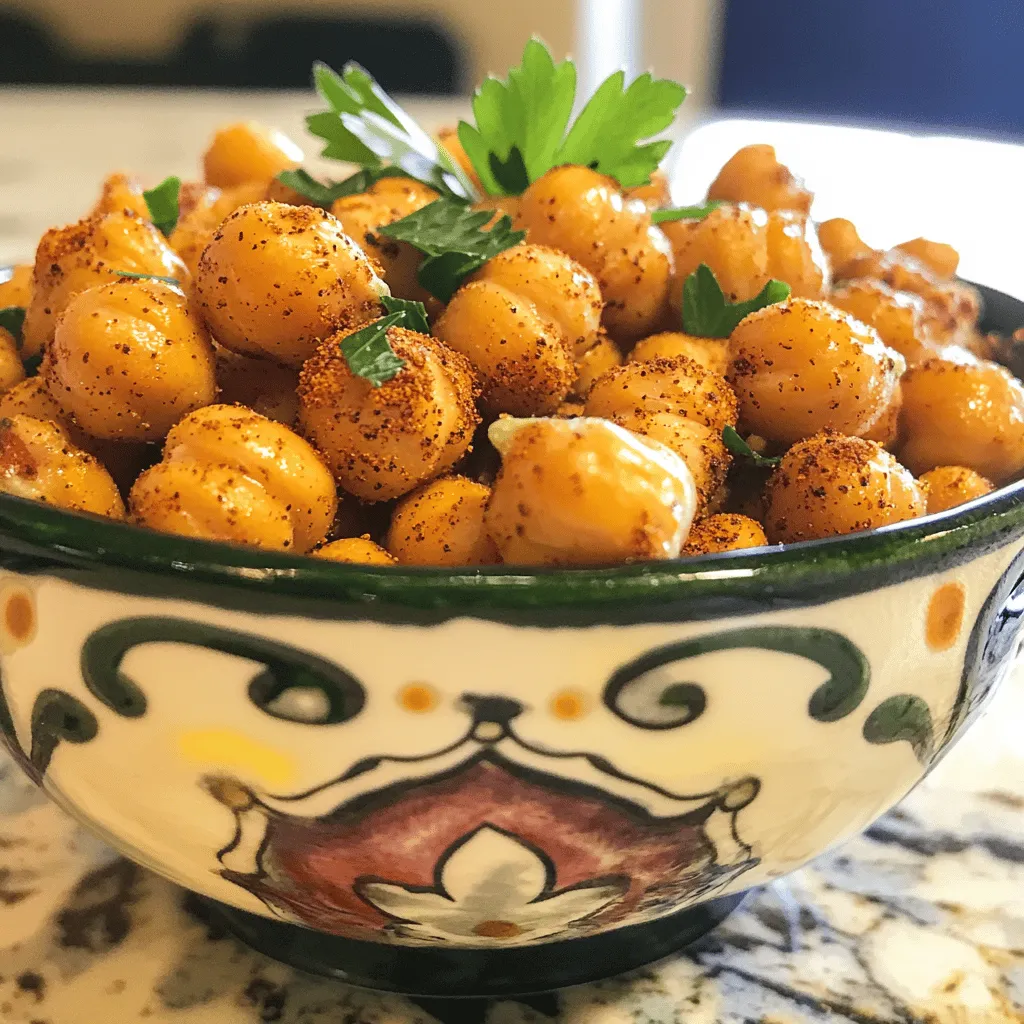
Crispy Roasted Chickpeas Irresistible Flavor Boost
Looking for a tasty snack that’s easy to make? Crispy roasted chickpeas pack a punch with flavor! You can turn
Read more…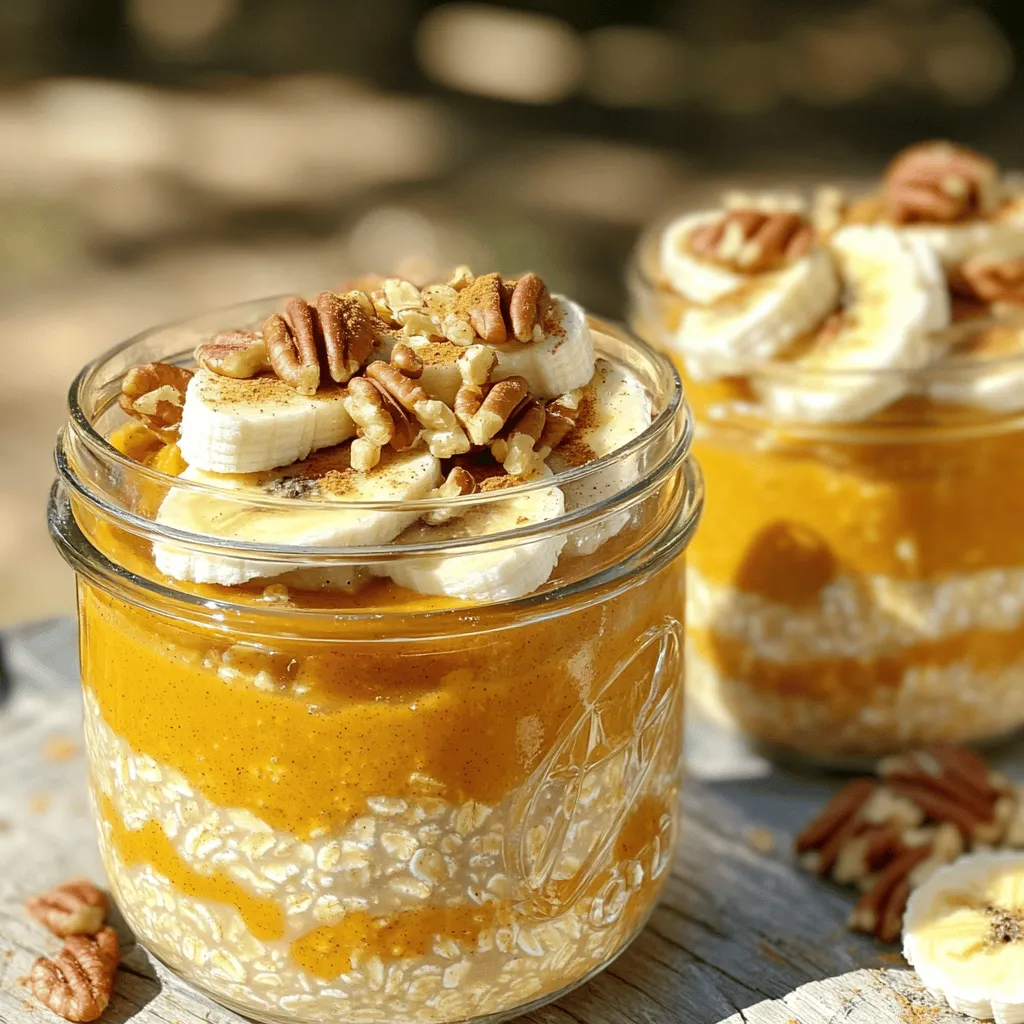
Pumpkin Spice Overnight Oats Delicious and Nutritious
Get ready to elevate your breakfast game with my Pumpkin Spice Overnight Oats! This delightful dish combines warm autumn flavors
Read more…
Chocolate Avocado Mousse Rich and Creamy Delight
Indulging in a rich and creamy dessert doesn’t have to mean guilt. With this Chocolate Avocado Mousse, you get both!
Read more…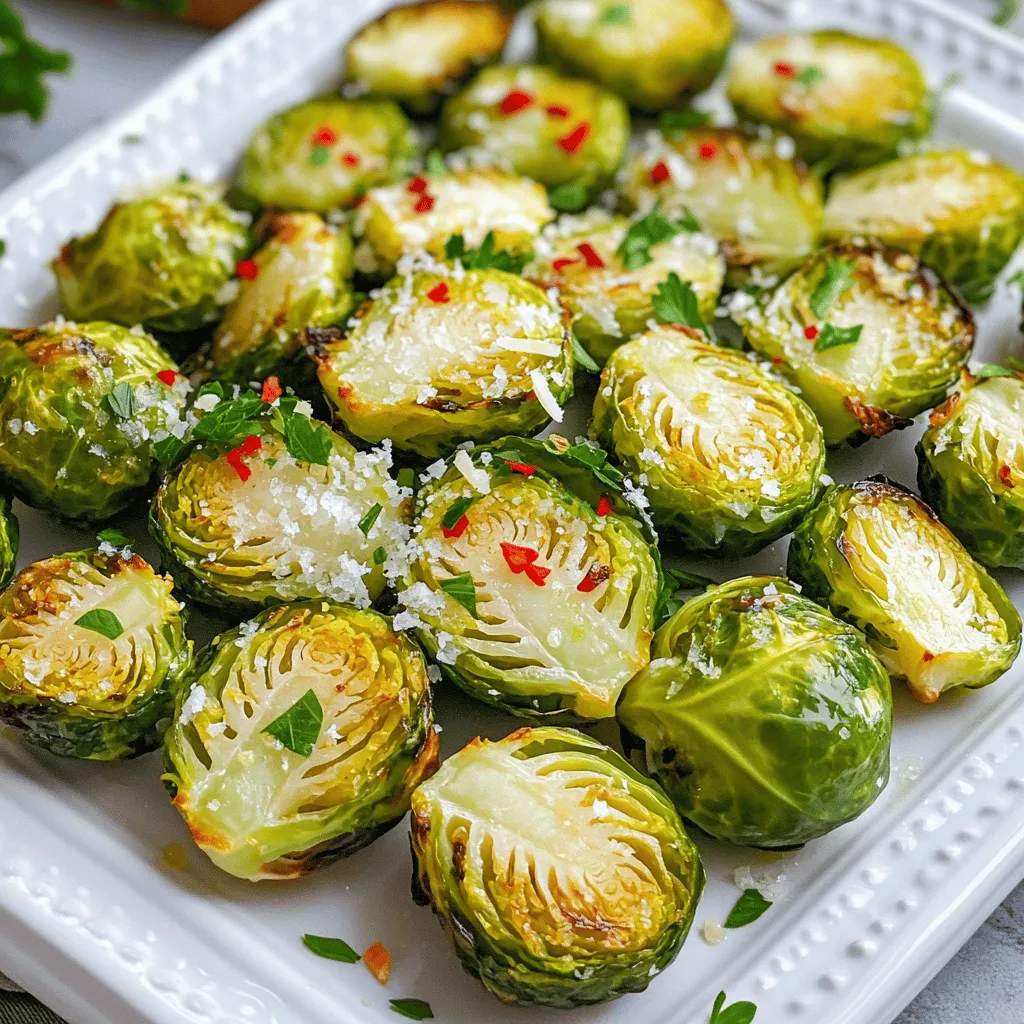
Lemon Garlic Roasted Brussels Sprouts Tasty Side Dish
Are you ready to elevate your dinner table with a vibrant side dish? Lemon Garlic Roasted Brussels Sprouts are the
Read more…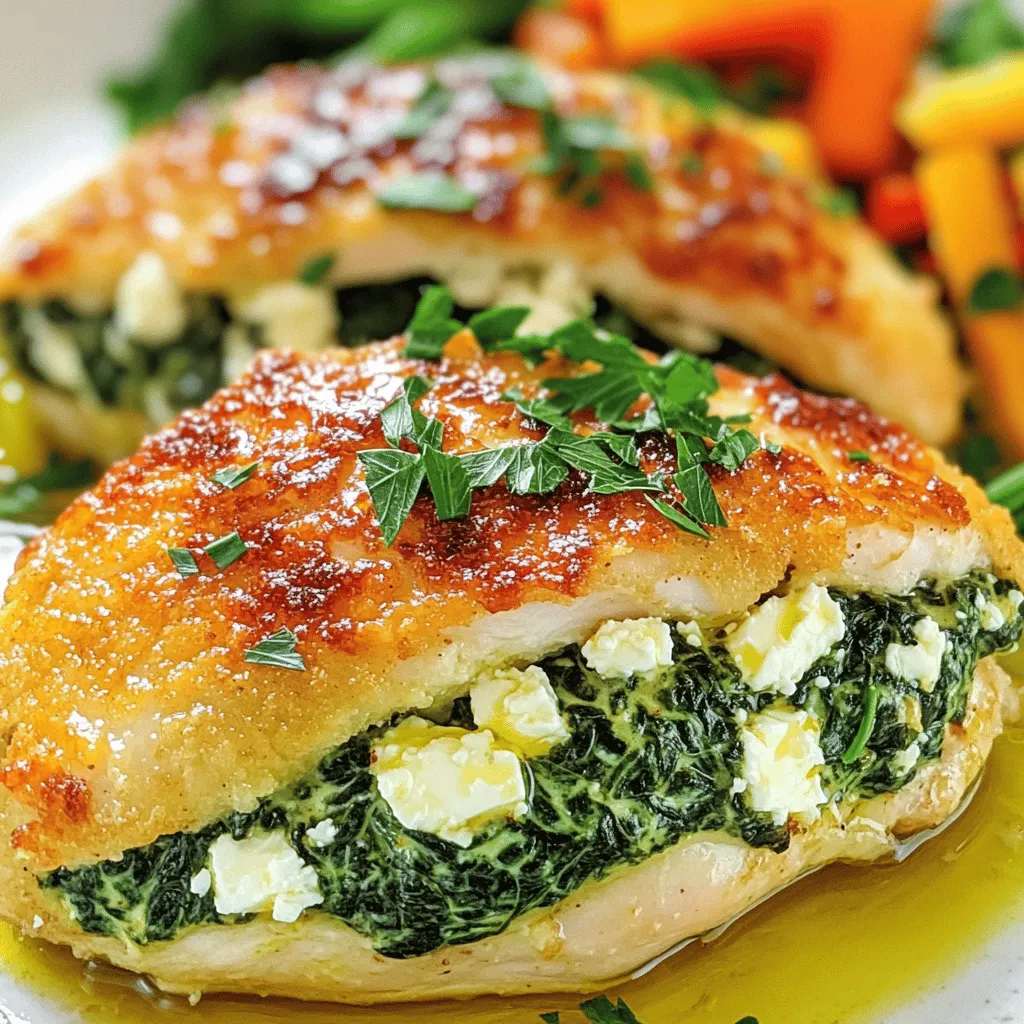
Spinach Feta Stuffed Chicken Breast Simple and Tasty
If you’re craving a meal that combines flavor and nutrition, look no further! My Spinach Feta Stuffed Chicken Breast is
Read more…browse recipes


Cheesy Baja Chicken Pepper Skillet Zesty Weeknight Meal
Looking for a quick and tasty weeknight meal? Let me introduce you to my Cheesy Baja Chicken Pepper Skillet! This dish is packed with…
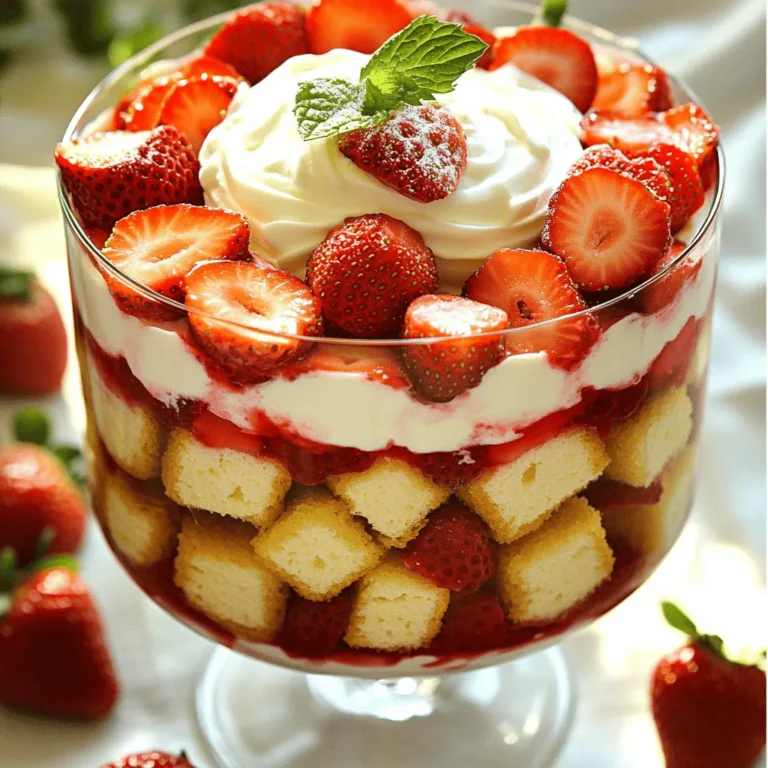
My Latest Desserts
My Latest Recipes

hey,
i’m !
I’m so happy you’re here!
My kitchen is filled with stories, flavors, and love and I’m so happy to share them with you. Here’s to dishes that feel like home.


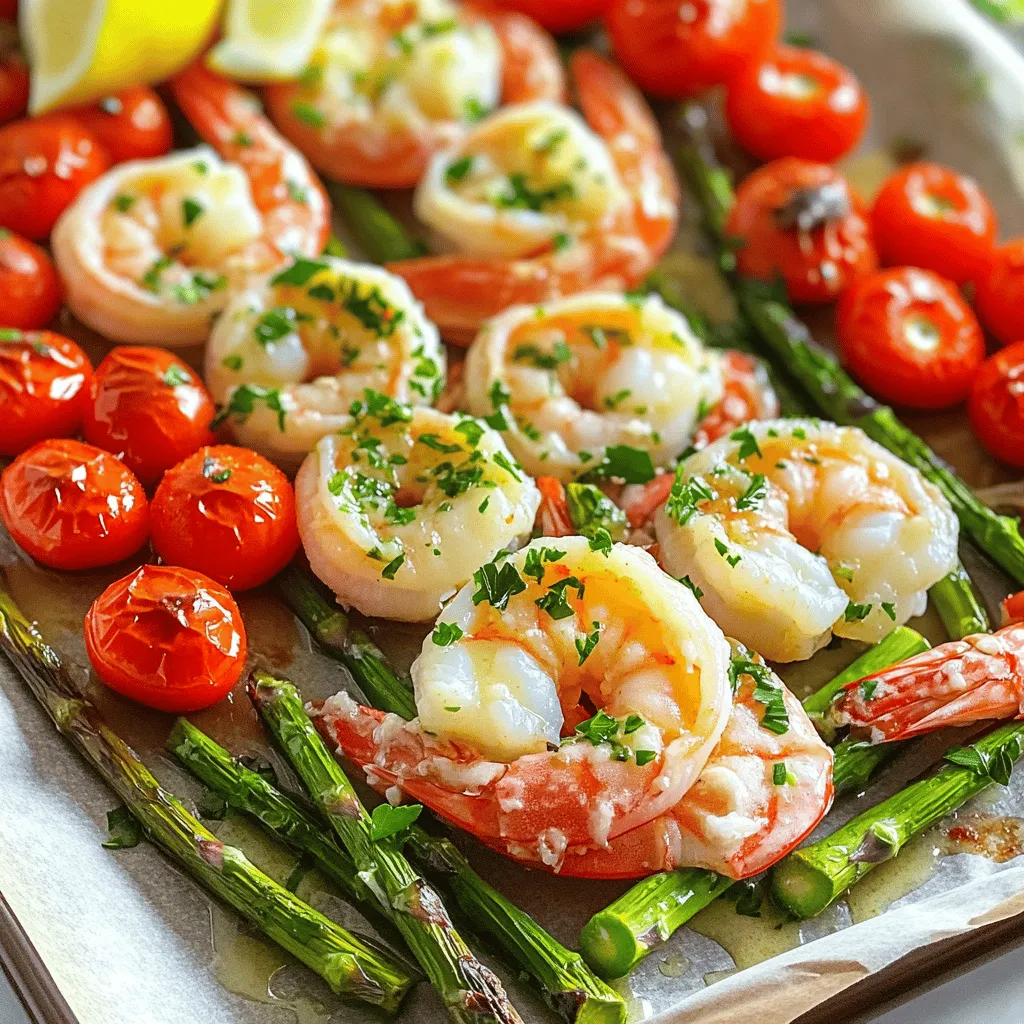
Sheet Pan Garlic Butter Shrimp Flavorful Dinner Delight
Are you ready to impress your family with a quick and tasty meal? This Sheet Pan Garlic Butter Shrimp dish is simple yet full…