

Latest & Greatest
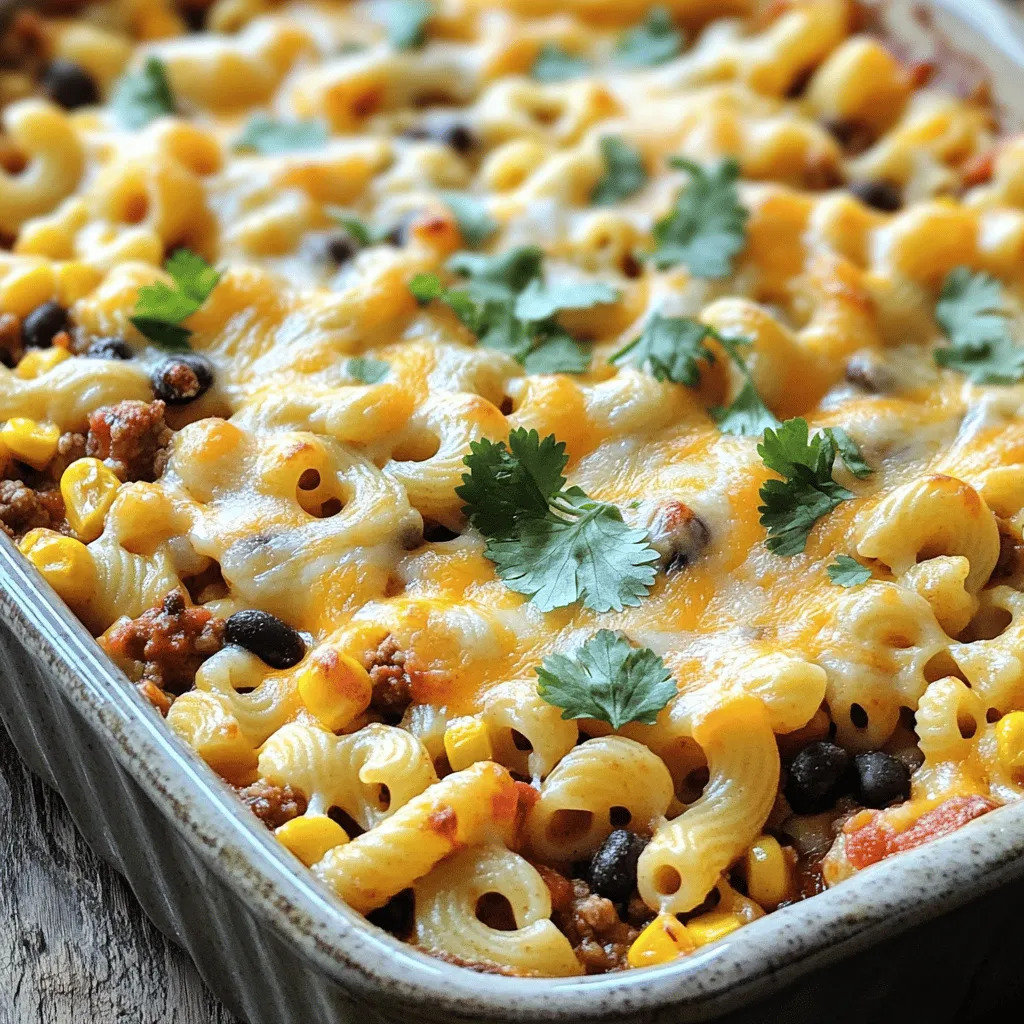
Cheesy Taco Pasta Bake Simple and Tasty Dish
Ready for a dish that’s simple, tasty, and fills you up? Meet the Cheesy Taco Pasta Bake! This recipe combines
Read more…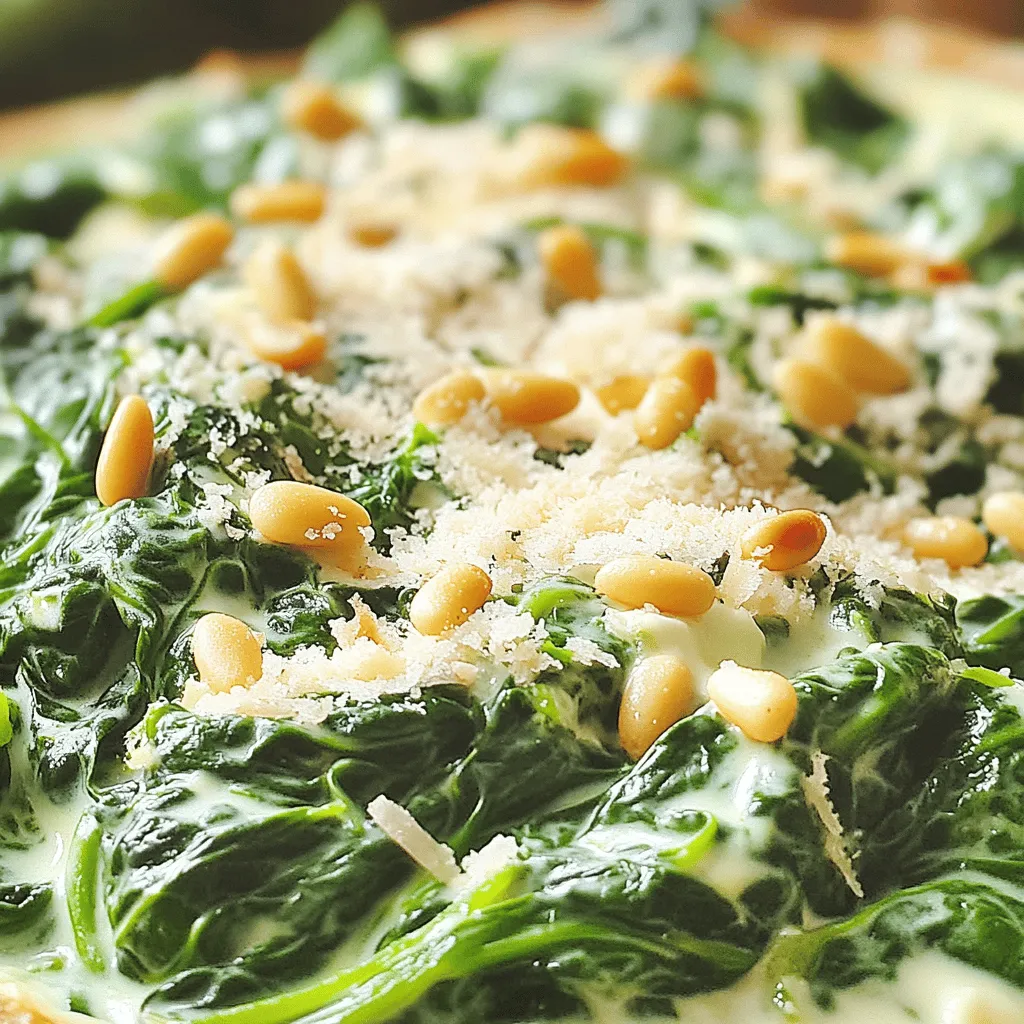
Skillet Creamed Spinach Creamy and Flavorful Delight
Are you ready to elevate your next meal? My Skillet Creamed Spinach recipe combines fresh spinach, rich cream, and savory
Read more…
Sweet and Spicy Chicken Wings Flavorful and Easy Dish
Are you ready to spice up your mealtime? These Sweet and Spicy Chicken Wings are the perfect dish for any
Read more…
Chocolate Peanut Butter Energy Bites Powerful Snack
Are you looking for a quick and tasty snack? These Chocolate Peanut Butter Energy Bites are just what you need!
Read more…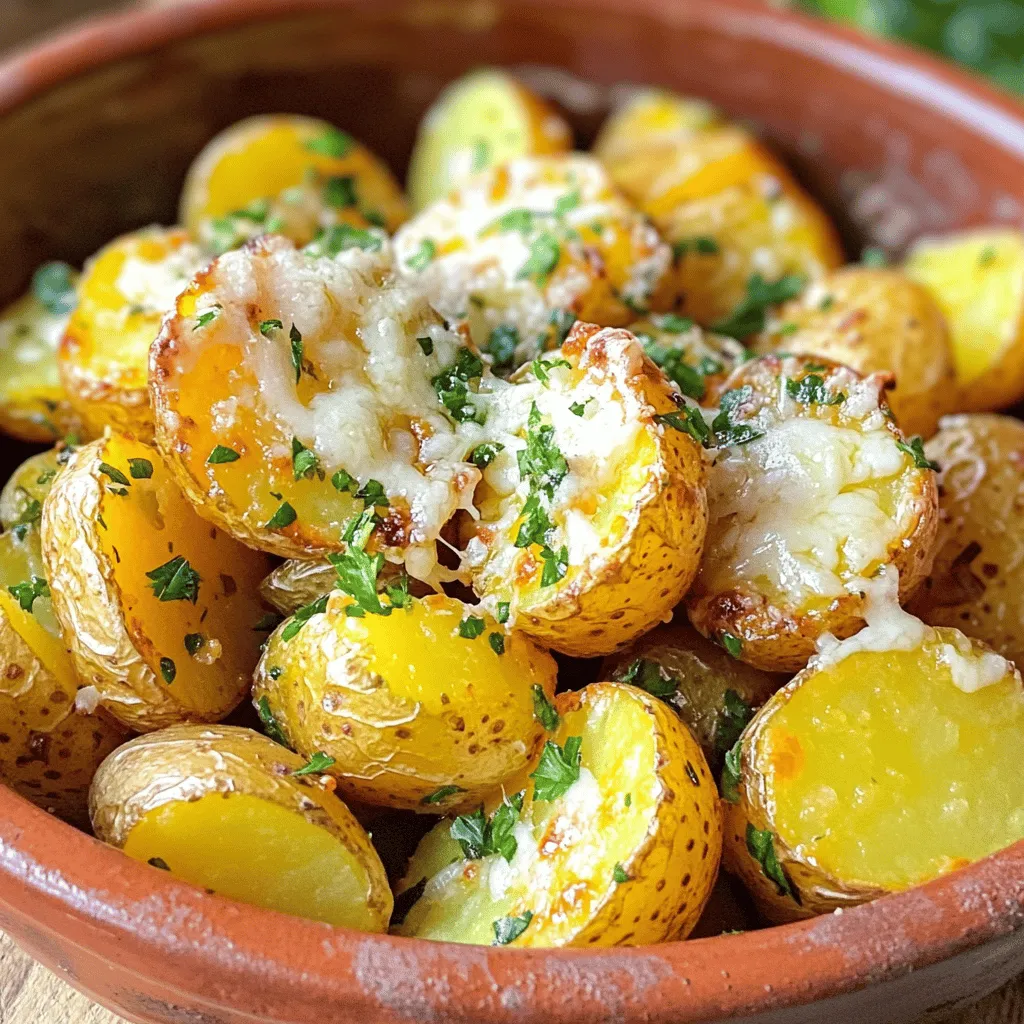
Garlic Parmesan Roasted Potatoes Tasty Side Dish
Are you ready to elevate your dinner table with a delicious side dish? Garlic Parmesan Roasted Potatoes are crispy, cheesy,
Read more…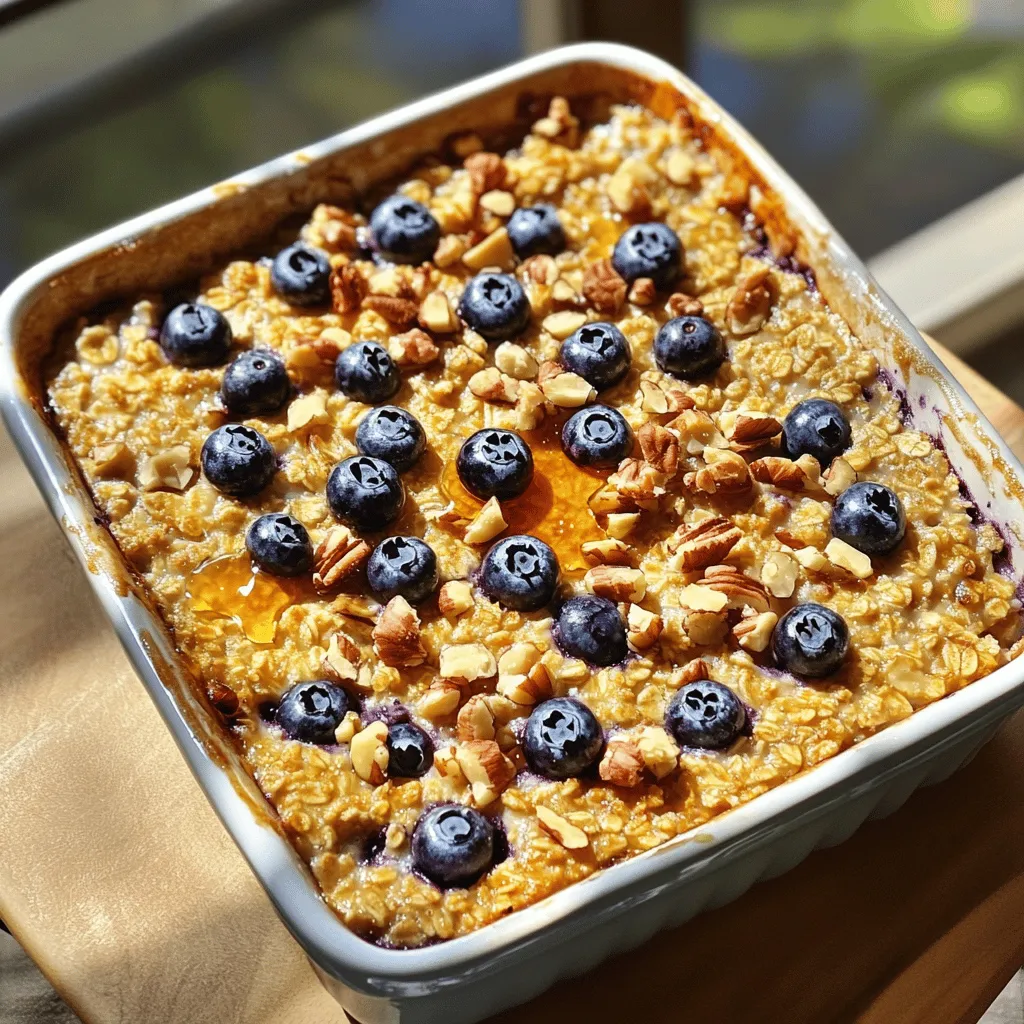
Blueberry Oatmeal Bake Healthy Breakfast Delight
Looking for a delicious and healthy breakfast? You’ll love this Blueberry Oatmeal Bake! It’s sweet, easy to make, and packed
Read more…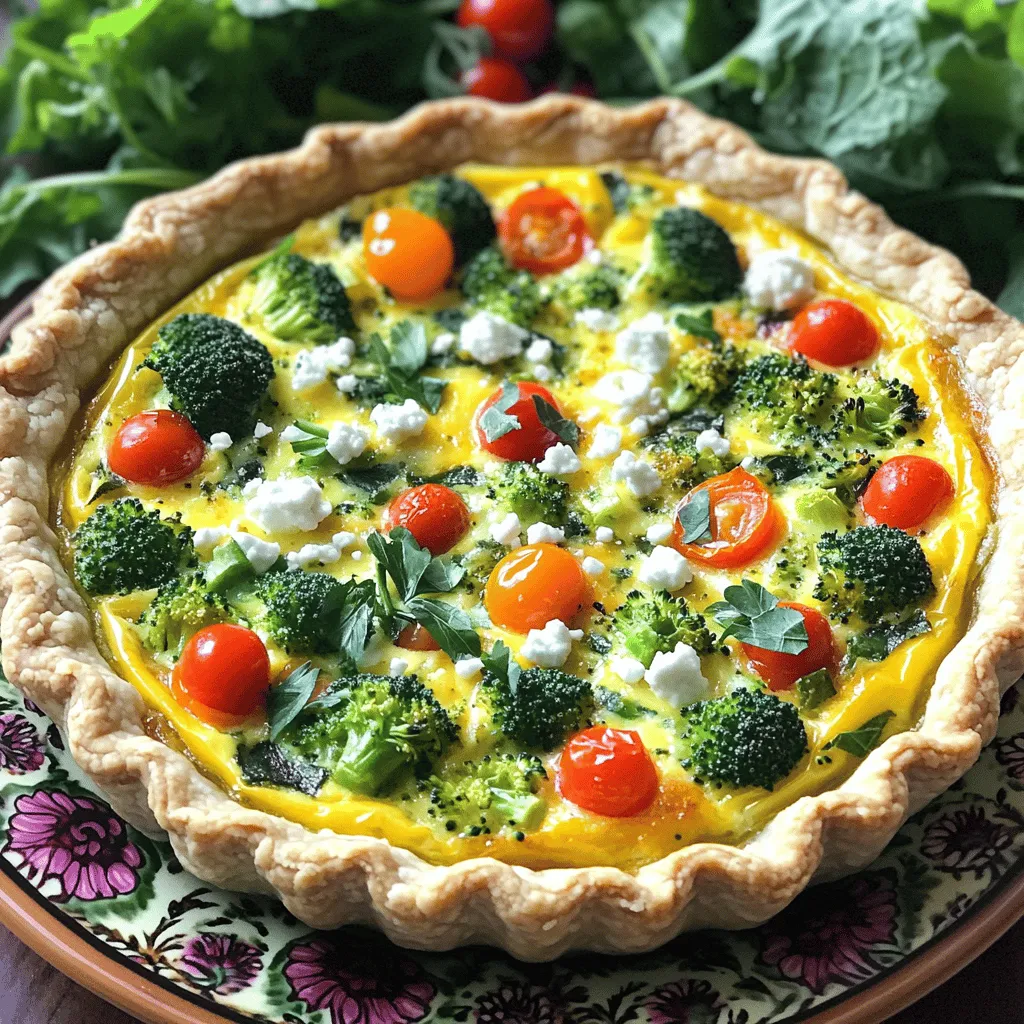
Veggie Loaded Quiche Delicious and Easy Recipe
Craving a delicious and healthy meal? You’ll love this Veggie Loaded Quiche recipe! Packed with fresh veggies and protein, it’s
Read more…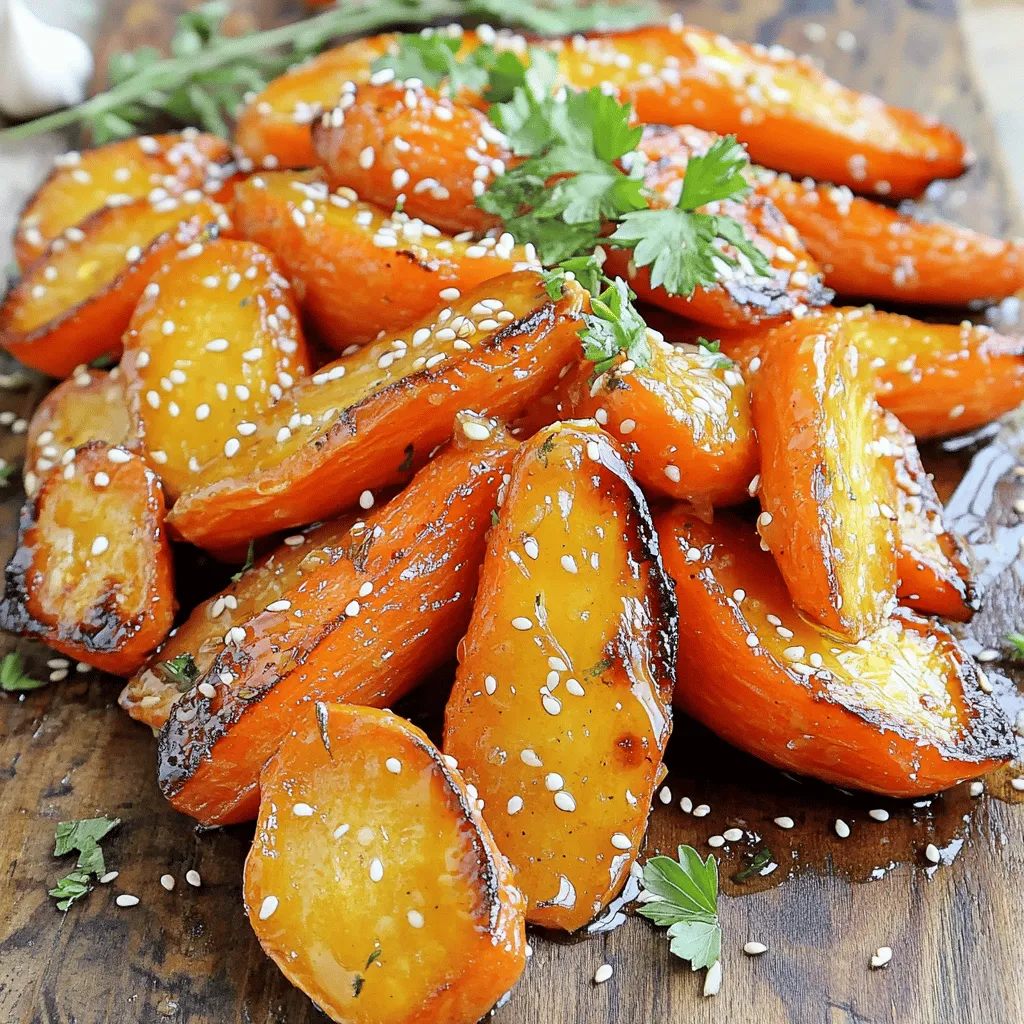
Honey Garlic Roasted Carrots Simple and Flavorful Dish
Looking for a simple and tasty side dish? Honey Garlic Roasted Carrots are the answer! These sweet and savory carrots
Read more…browse recipes

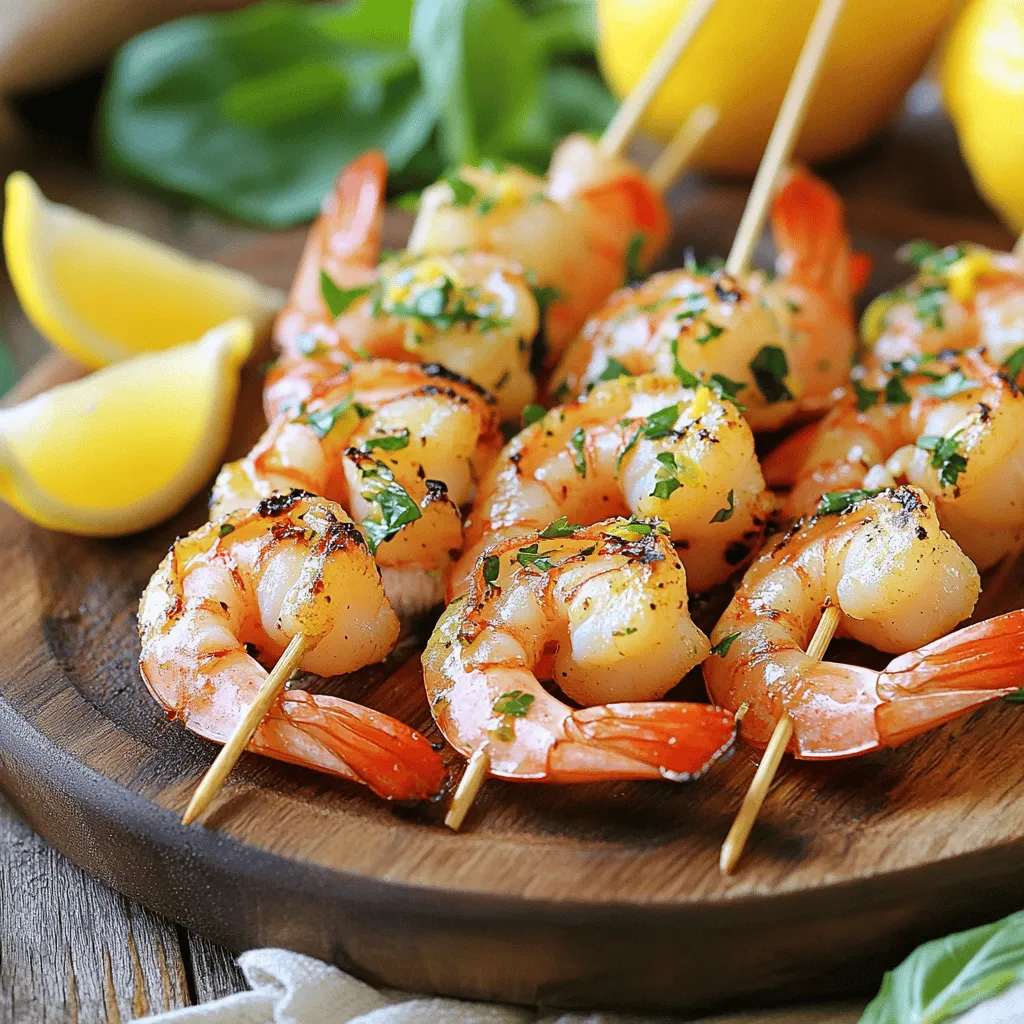
Lemon Garlic Herb Grilled Shrimp Flavorful Summer Dish
Looking for a dish that screams summer? You’ll love this Lemon Garlic Herb Grilled Shrimp! With its zesty lemon flavor and fresh herbs, this…
My Latest Desserts
My Latest Recipes

hey,
i’m !
I’m so happy you’re here!
My kitchen is filled with stories, flavors, and love and I’m so happy to share them with you. Here’s to dishes that feel like home.


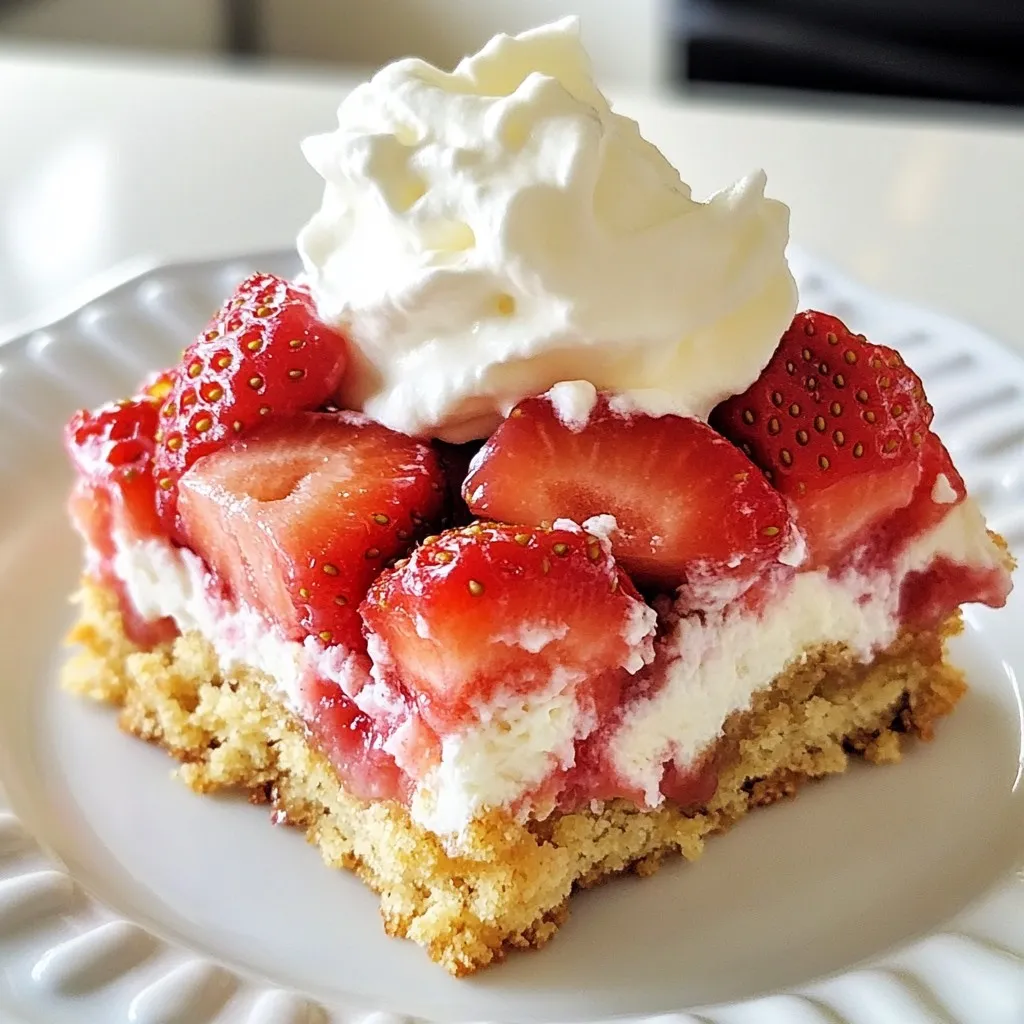
Easy Strawberry Shortcake Bars Simple and Delicious Treat
If you crave a sweet treat that’s easy to make, you’ve found it! Easy Strawberry Shortcake Bars are simple, delicious, and perfect for any…