

Latest & Greatest
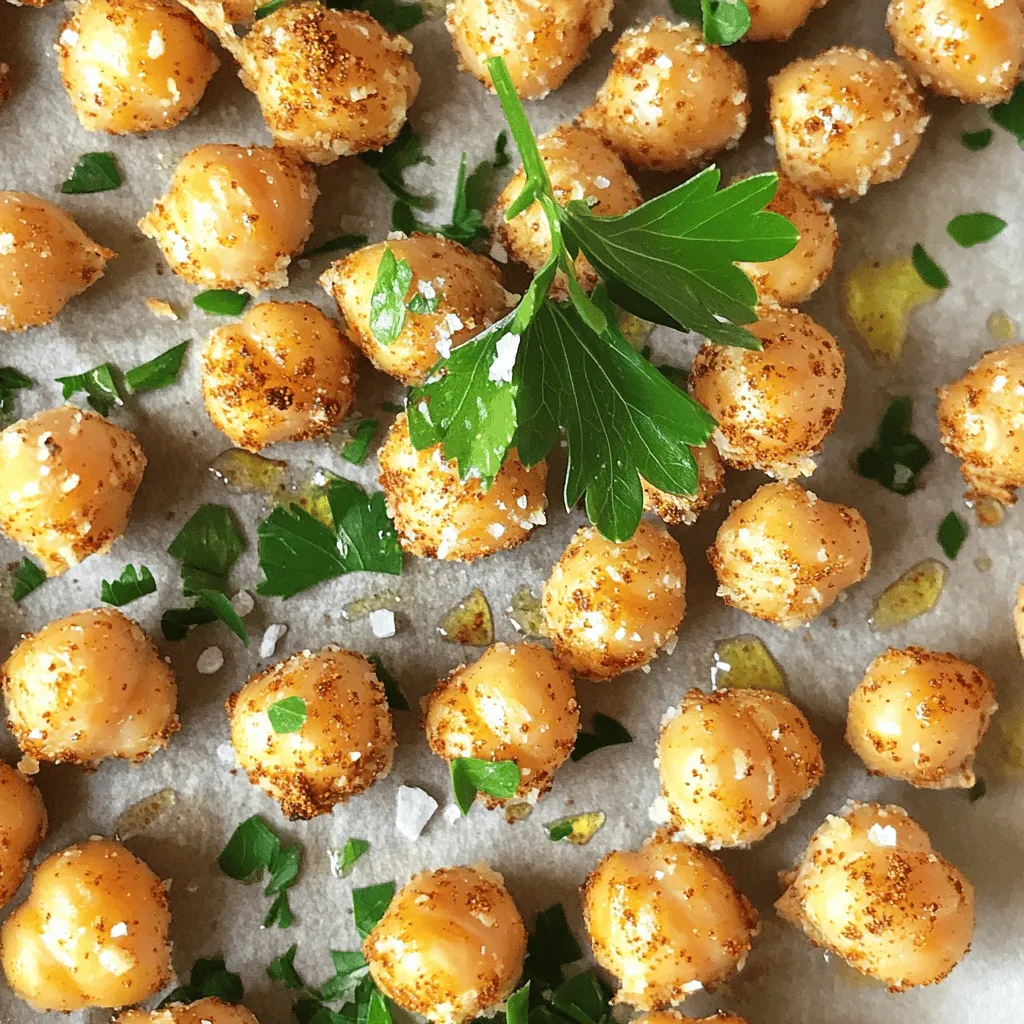
Crispy Baked Chickpeas Simple and Flavorful Snack
Looking for a snack that’s easy and tasty? Crispy baked chickpeas are your answer! With just a few simple ingredients,
Read more…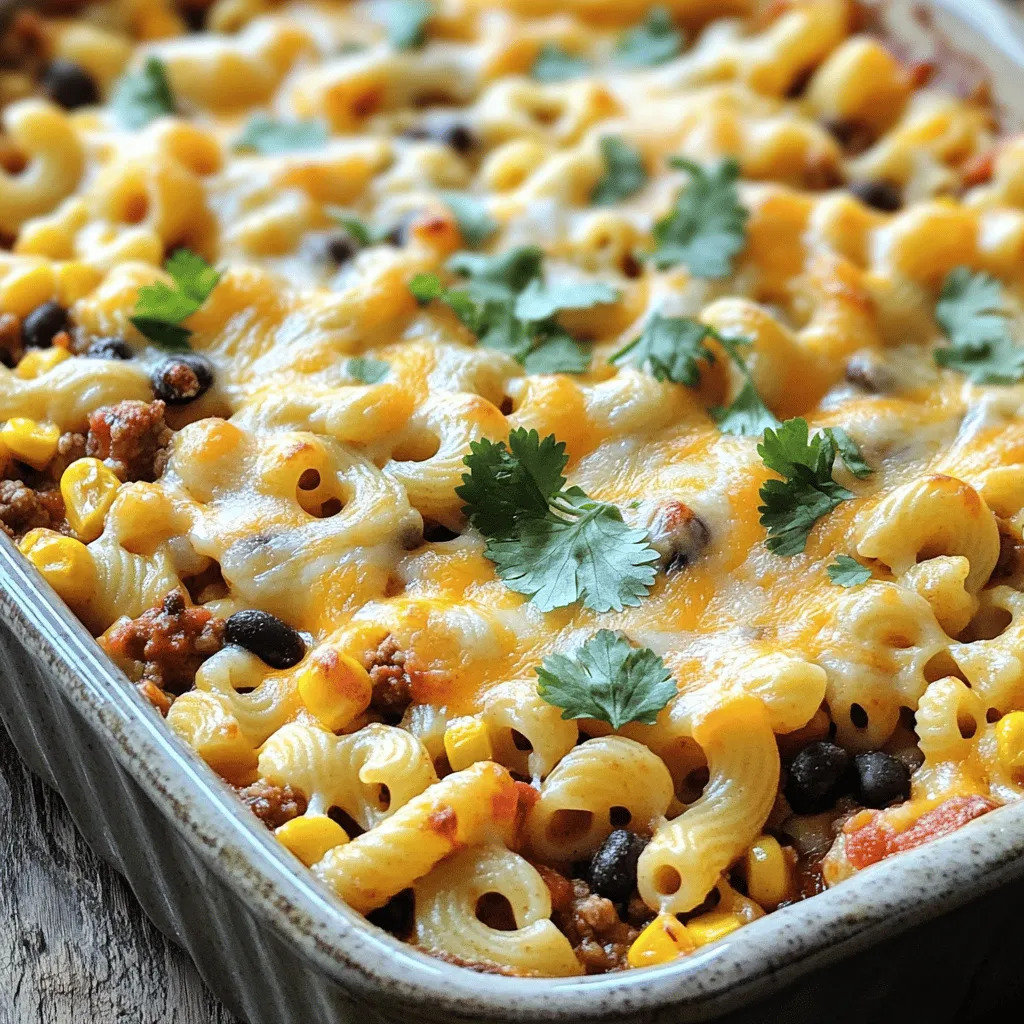
Cheesy Taco Pasta Bake Simple and Tasty Dish
Ready for a dish that’s simple, tasty, and fills you up? Meet the Cheesy Taco Pasta Bake! This recipe combines
Read more…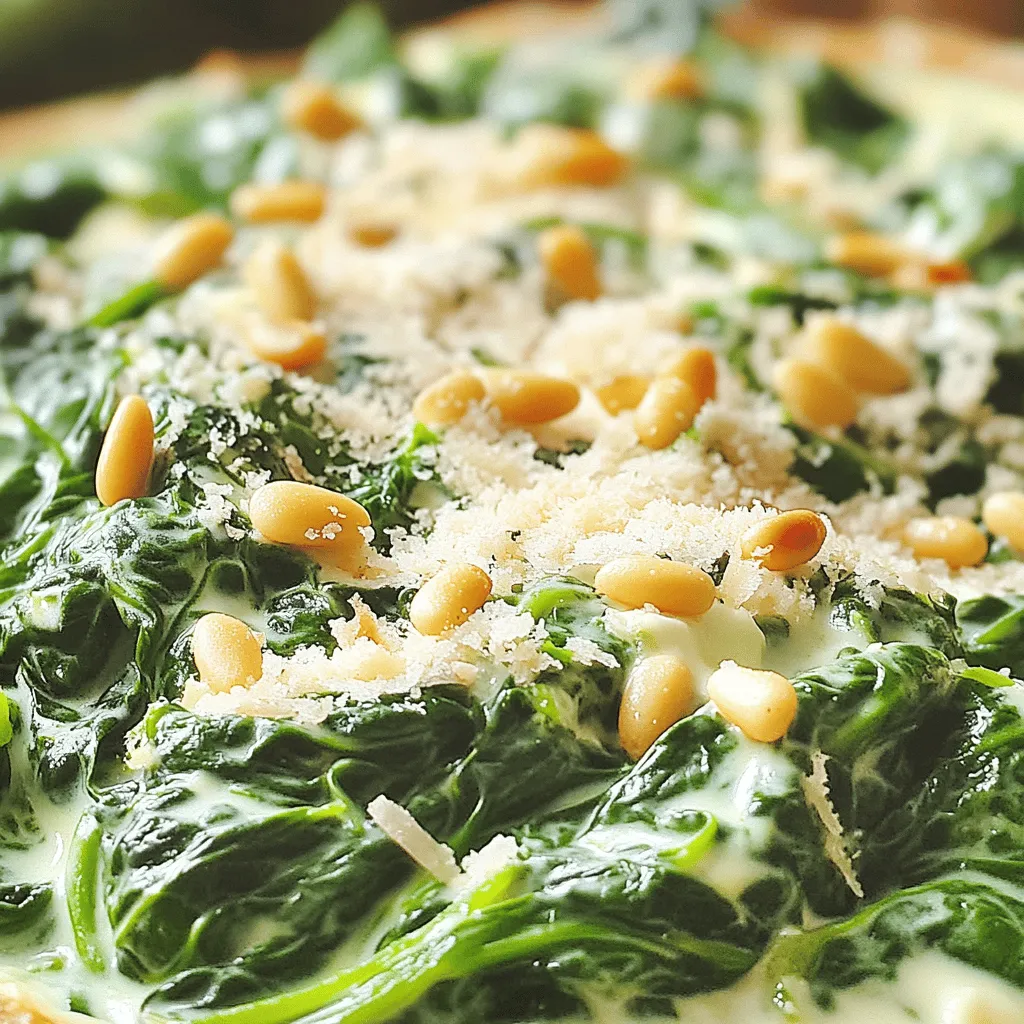
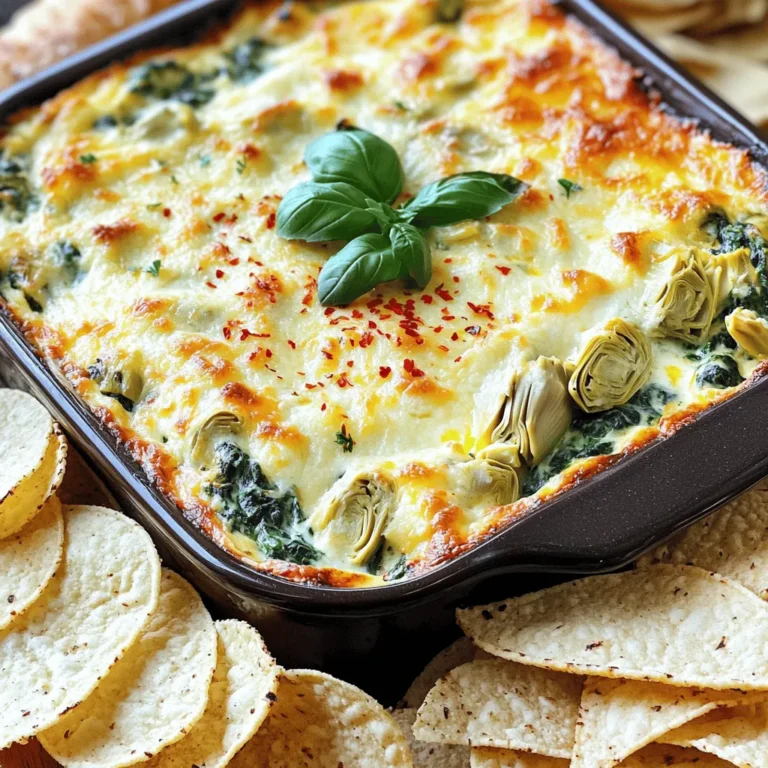
Skillet Creamed Spinach Creamy and Flavorful Delight
Are you ready to elevate your next meal? My Skillet Creamed Spinach recipe combines fresh spinach, rich cream, and savory
Read more…
Sweet and Spicy Chicken Wings Flavorful and Easy Dish
Are you ready to spice up your mealtime? These Sweet and Spicy Chicken Wings are the perfect dish for any
Read more…
Chocolate Peanut Butter Energy Bites Powerful Snack
Are you looking for a quick and tasty snack? These Chocolate Peanut Butter Energy Bites are just what you need!
Read more…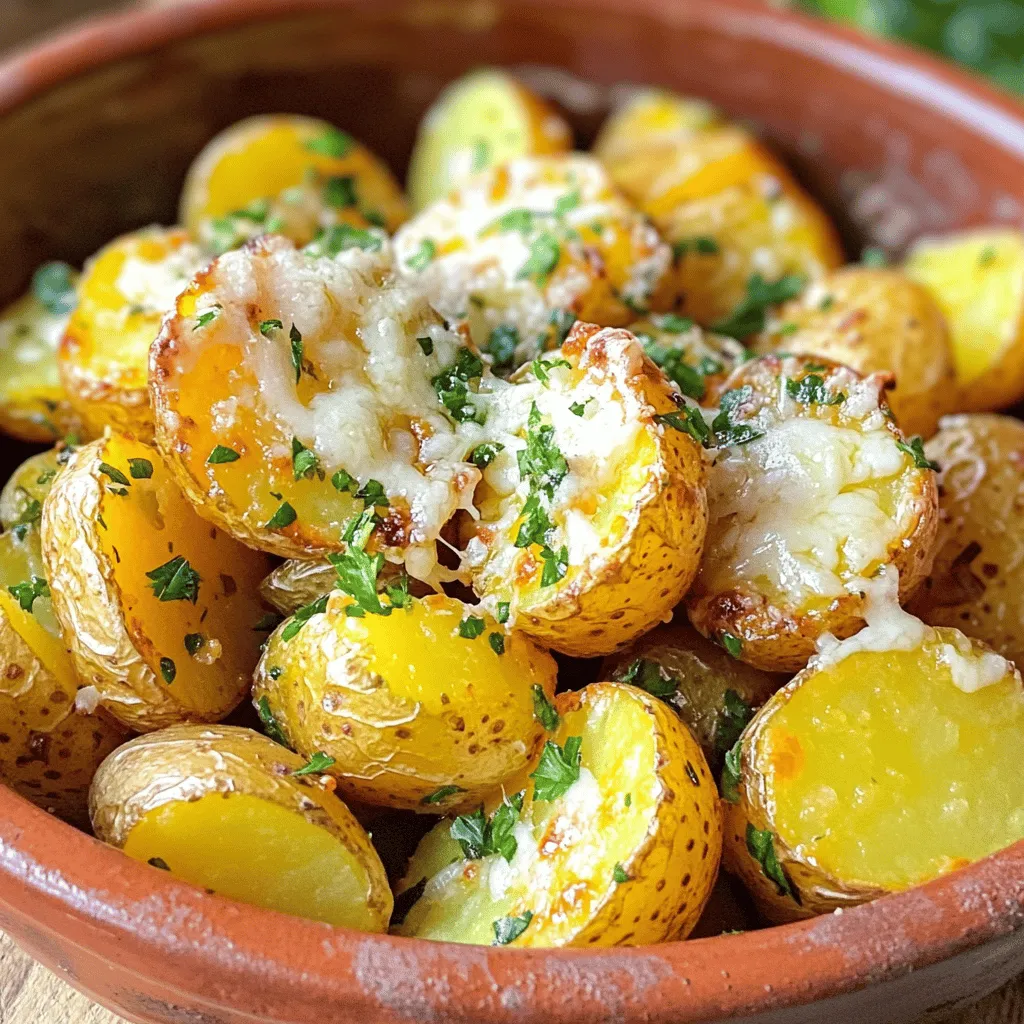
Garlic Parmesan Roasted Potatoes Tasty Side Dish
Are you ready to elevate your dinner table with a delicious side dish? Garlic Parmesan Roasted Potatoes are crispy, cheesy,
Read more…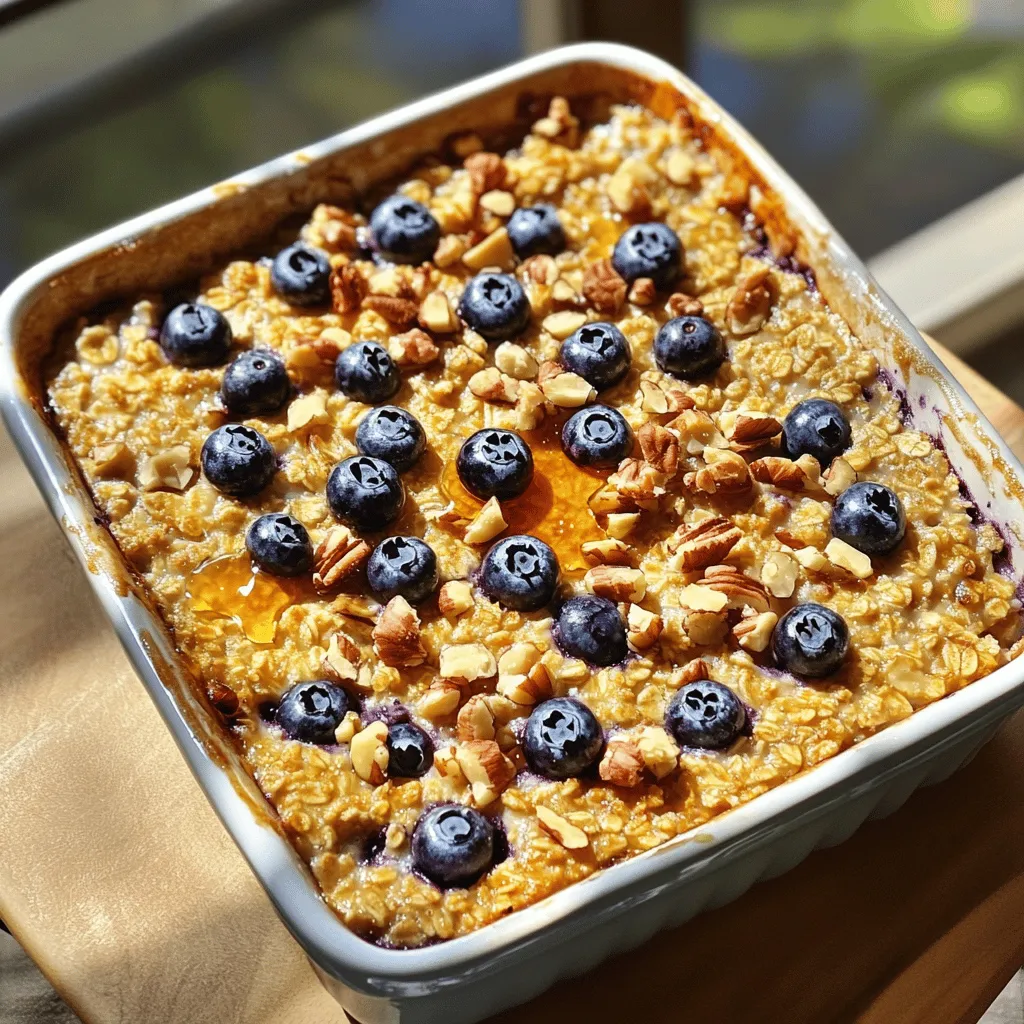
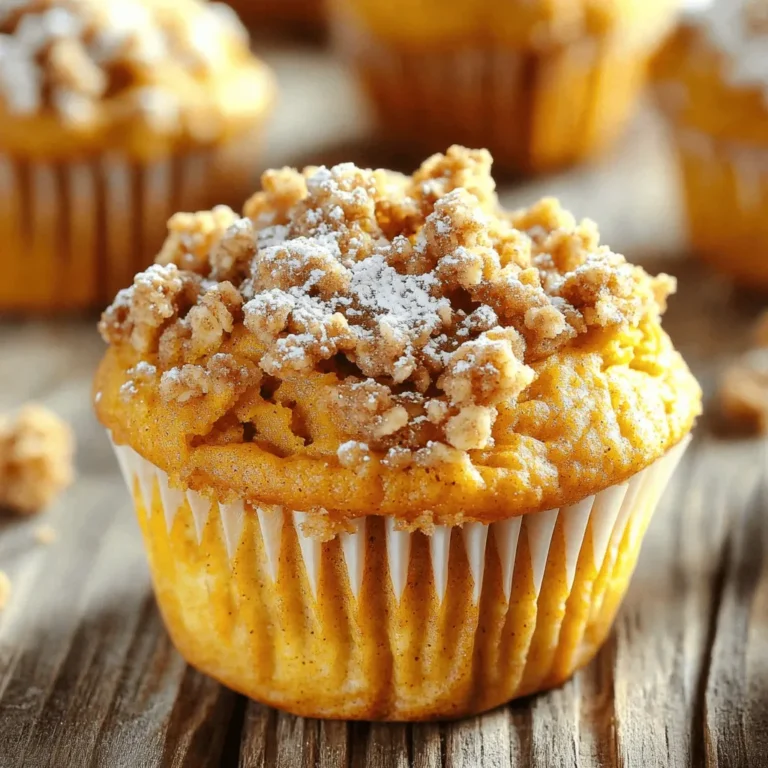
Blueberry Oatmeal Bake Healthy Breakfast Delight
Looking for a delicious and healthy breakfast? You’ll love this Blueberry Oatmeal Bake! It’s sweet, easy to make, and packed
Read more…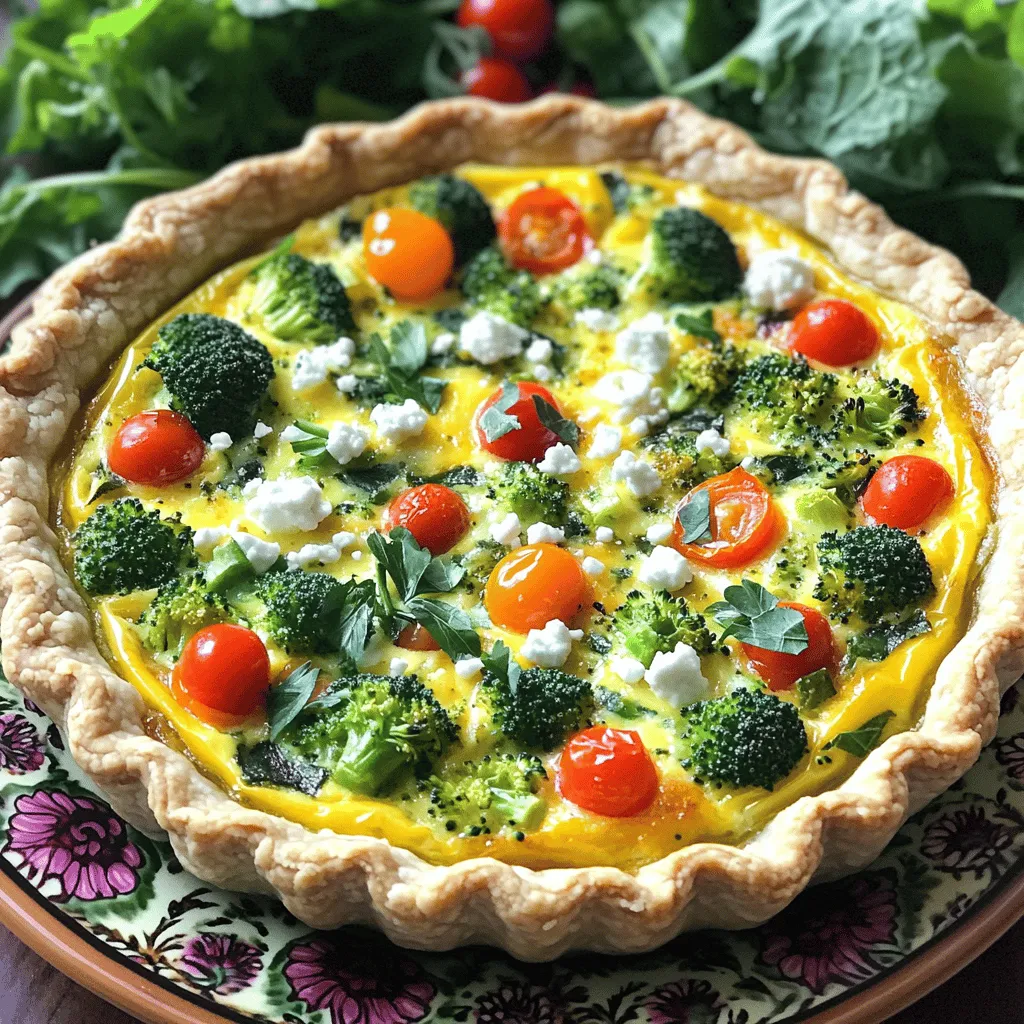
Veggie Loaded Quiche Delicious and Easy Recipe
Craving a delicious and healthy meal? You’ll love this Veggie Loaded Quiche recipe! Packed with fresh veggies and protein, it’s
Read more…browse recipes


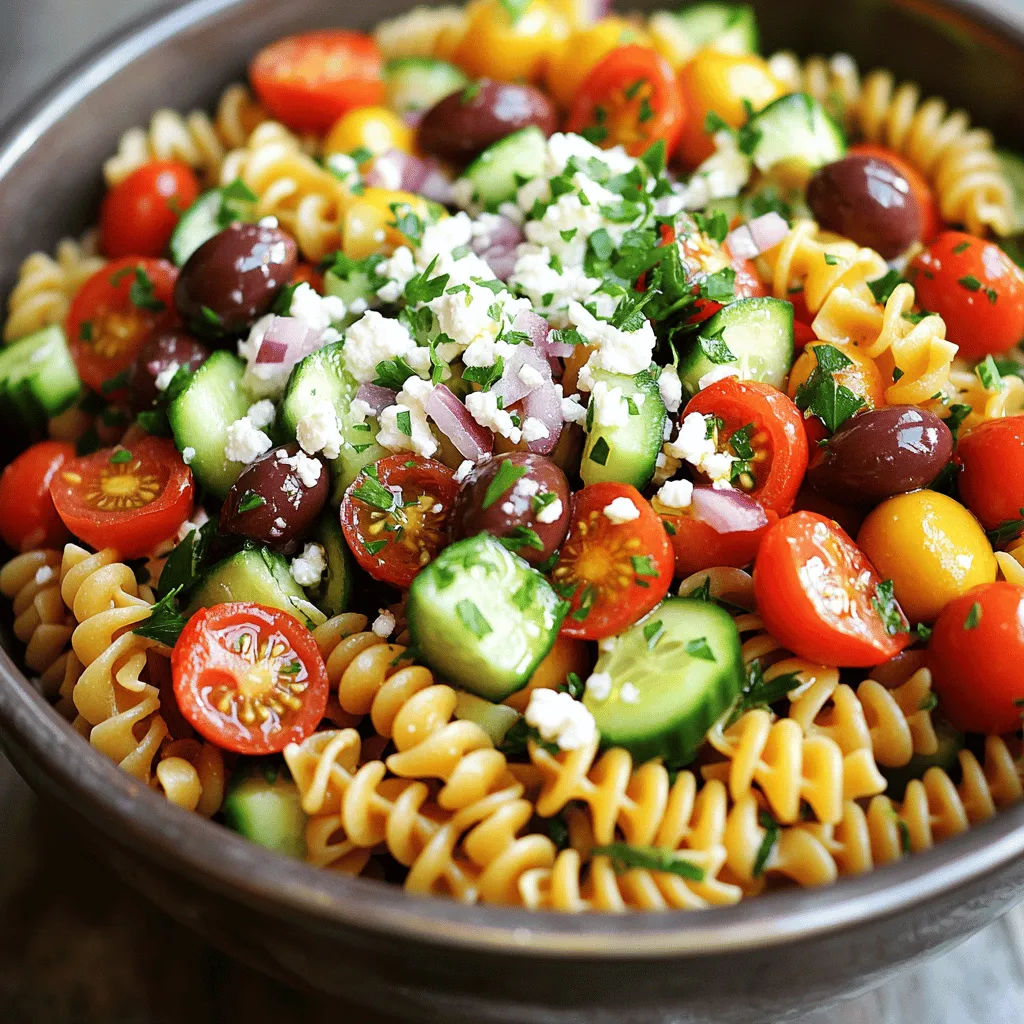
Greek Pasta Salad Fresh and Flavorful Recipe Delight
Greek Pasta Salad is a burst of color and flavor. You’ll learn how to mix fresh veggies, olives, and feta for a healthy meal.…
My Latest Desserts
My Latest Recipes

hey,
i’m !
I’m so happy you’re here!
My kitchen is filled with stories, flavors, and love and I’m so happy to share them with you. Here’s to dishes that feel like home.


Mini Cheesecake Bites Delightful No-Bake Treat Recipe
Are you ready to indulge in a tasty treat that needs no baking? Mini cheesecake bites are delicious, easy to make, and perfect for…
![To make the best mini cheesecake bites, you need the following ingredients: - 8 oz cream cheese, softened - 1/2 cup granulated sugar - 1 tsp vanilla extract - 1 large egg - 1/4 cup sour cream - 1 tbsp lemon juice - 1/2 cup graham cracker crumbs - 2 tbsp melted butter - Fresh berries (optional, for topping) - Whipped cream (optional, for serving) Each ingredient plays a key role in our mini cheesecake bites. The cream cheese gives that rich and creamy texture. Granulated sugar adds sweetness, while vanilla extract gives flavor. The egg helps set the filling, and sour cream adds a nice tang. Lemon juice brightens the taste. For the crust, graham cracker crumbs and melted butter combine for a crunchy base. You can top your cheesecake bites with fresh berries or whipped cream for extra flair. This recipe makes about 24 mini cheesecake bites, perfect for parties or a sweet treat. For the full recipe, check out the details above. Enjoy making these delightful no-bake treats! 1. Preheat the oven and prepare muffin pan Start by preheating your oven to 325°F (160°C). Line a mini muffin pan with paper liners. This makes it easy to remove the bites later. 2. Making the crumb crust In a bowl, combine the graham cracker crumbs and melted butter. Mix until the crumbs look like wet sand. This crust adds a nice crunch to your cheesecake bites. 3. Baking the crust Press about 1 teaspoon of the crumb mixture into each muffin liner. Bake the crusts for 5 minutes. Let them cool slightly before adding the cheesecake filling. 1. Mixing cream cheese and sugar In a larger bowl, beat the softened cream cheese and granulated sugar until the mix is smooth and creamy. This is the base of your filling and needs to be well-blended. 2. Adding flavorings and other ingredients Add the vanilla extract, egg, sour cream, and lemon juice to the cream cheese mix. Keep mixing until everything is combined and smooth. This step gives your cheesecake a rich flavor. 1. Filling the crusts with cheesecake mixture Spoon the cheesecake filling into each cooled crust. Fill each about 3/4 full. This ensures they have room to rise slightly during baking. 2. Baking time and techniques to avoid cracking Bake the mini cheesecakes for 15-18 minutes. The centers should be set but still a bit jiggly. After baking, turn off the oven and leave the bites inside for another 5-10 minutes. This helps avoid cracks on the surface. Enjoy these mini cheesecake bites! They are a fun treat for any occasion. For the complete recipe, check out the [Full Recipe]. Using room temperature ingredients is very important. When cream cheese is soft, it mixes better. This makes your cheesecake smooth and creamy. If it’s cold, you will get lumps. Always take your cream cheese out ahead of time. Let it sit for about 30 minutes before you start. To prevent cracks during baking, keep the oven door closed. This helps keep the heat steady. After baking, turn off the oven but leave the cheesecakes inside. This gradual cooling helps avoid cracks. Remember, a little jiggle in the center is okay! It will firm up in the fridge. You can serve mini cheesecakes in many fun ways. Arrange them on a colorful platter for parties. Use small dessert cups or jars for a unique touch. Top with fresh berries for a pop of color. Whipped cream adds a nice touch too. For pairing ideas, think about flavors that match. A cup of coffee or tea goes well with these bites. You can also try serving them with chocolate sauce or fruit compote. Presentation is key, so get creative and enjoy these treats! {{image_2}} You can easily change the flavor of your mini cheesecakes. For chocolate mini cheesecakes, add 1/4 cup of cocoa powder to the cream cheese mix. This gives a rich and creamy chocolate taste. For fruit-flavored cheesecakes, use pureed fruit. Strawberry and blueberry are great options. Just add 1/2 cup of pureed fruit to the filling. This adds both flavor and color to your treats. You can switch up the crust if you want. A cookie crust is simple and delicious. Crush Oreo cookies and mix them with melted butter. Use this mix instead of graham cracker crumbs for a tasty twist. If you need gluten-free options, use gluten-free graham crackers or ground nuts. Almond flour works well too, giving a nice nutty flavor to the crust. Toppings can make your mini cheesecakes pop. Fresh fruit toppings are always a hit. Try strawberries, blueberries, or raspberries for a fresh touch. Chocolate ganache is another great option. You can make it by melting chocolate with heavy cream. Drizzle this over your cheesecake bites for a rich finish. Caramel sauce is another sweet touch that pairs well with any flavor. For the full recipe, check the details above and enjoy these mini cheesecake bites! To keep your mini cheesecake bites fresh, refrigeration is key. Place them in an airtight container. You can store them in the fridge for up to five days. Make sure they are completely cool before you store them. This helps maintain their texture. If you want to keep them longer, freezing is a great option. Wrap each cheesecake bite in plastic wrap. Then, place them in a freezer bag or container. They can last for up to two months in the freezer. Just remember to label your container with the date! When you are ready to eat your frozen mini cheesecakes, thaw them properly. Take them out of the freezer and let them sit in the fridge overnight. This helps them thaw slowly and stay creamy. For the best taste, serve them cold or at room temperature. If you prefer them slightly warm, pop them in a microwave for a few seconds. Just be careful not to overheat them. Enjoy these delightful no-bake treats straight from the fridge or after a gentle warming! How many mini cheesecake bites does this recipe yield? This recipe makes 24 mini cheesecake bites. They are perfect for sharing at parties or enjoying at home. Can I make mini cheesecake bites in advance? Yes, you can make these bites a day ahead. Just store them in the fridge. They will taste even better after chilling overnight. What can I use as a substitute for sour cream? You can use Greek yogurt or cream cheese instead of sour cream. Both options will keep the bites creamy and delicious. Where can I buy pre-made mini cheesecake bites? You can find pre-made mini cheesecake bites at many grocery stores. Check the frozen dessert aisle or your local bakery. Mini cheesecake bites are easy to make and taste great. You start with simple ingredients like cream cheese, sugar, and lemon juice. After preparing the crust and filling, you bake them to perfection. To avoid cracks, keep your ingredients at room temperature. You can get creative with flavors and toppings to suit any occasion. These bites store well in the fridge or freezer, so they’re perfect for parties. With this guide, you now have the tools to impress anyone with your mini cheesecakes. Enjoy making, sharing, and savoring your delicious treats!](https://southerndishes.com/wp-content/uploads/2025/06/0472174a-2a81-4b68-87e3-e05a388ae935.webp)
