


Latest & Greatest

Savory Homemade Tomato Basil Soup Delight
Craving a warm and comforting bowl of soup? You’re in for a treat with my Savory Homemade Tomato Basil Soup
Read more…
Grilled Vegetable Skewers Flavorful and Easy Recipe
Are you ready to elevate your summer grilling game? Grilled vegetable skewers are not just colorful; they burst with flavor!
Read more…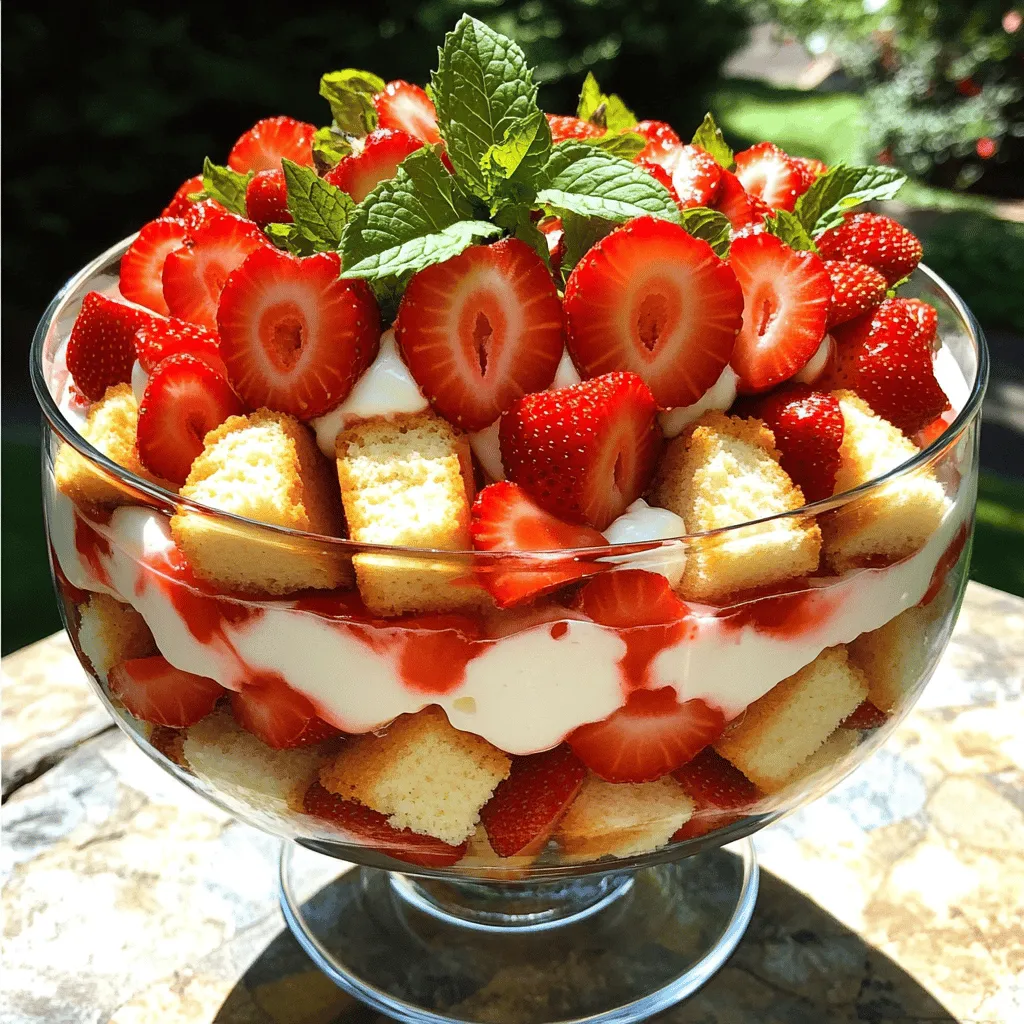
Strawberry Shortcake Trifle Easy and Delicious Treat
If you’re craving a sweet, easy-to-make dessert, look no further than this Strawberry Shortcake Trifle! In this guide, I’ll share
Read more…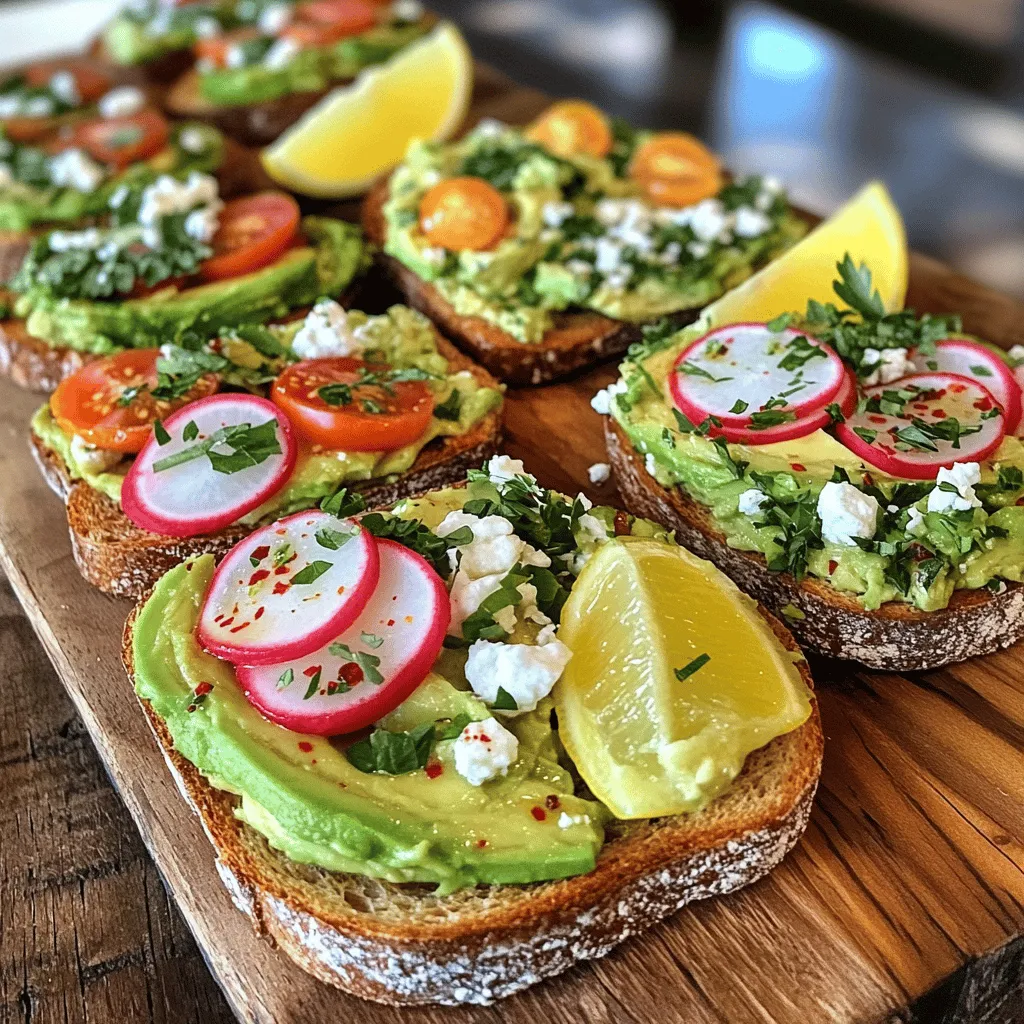
Avocado Toast Variations Simple and Tasty Ideas
Avocado toast is a simple yet tasty way to elevate your meals. Whether you’re searching for a quick breakfast or
Read more…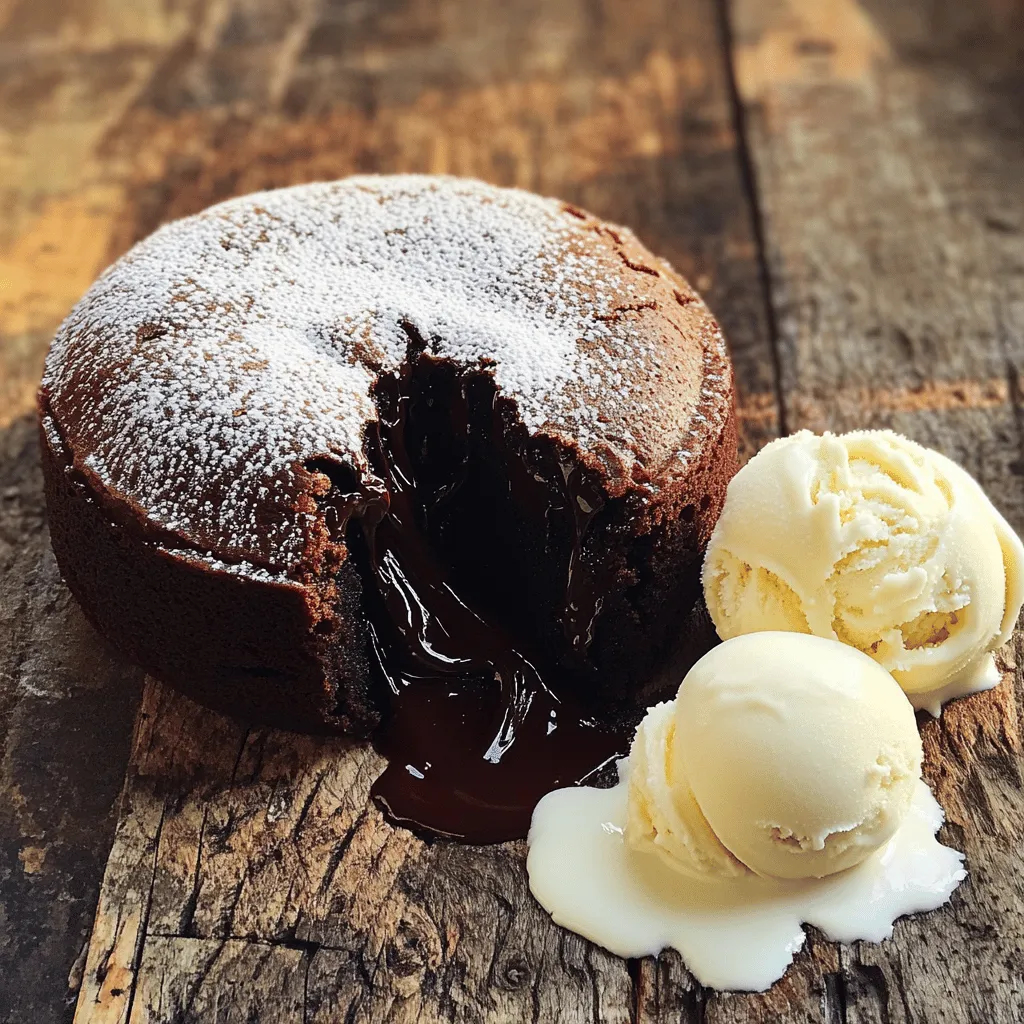
Chocolate Lava Cake Decadent and Indulgent Dessert
Indulge in the rich and molten goodness of Chocolate Lava Cake. This dessert delivers a warm, gooey center that melts
Read more…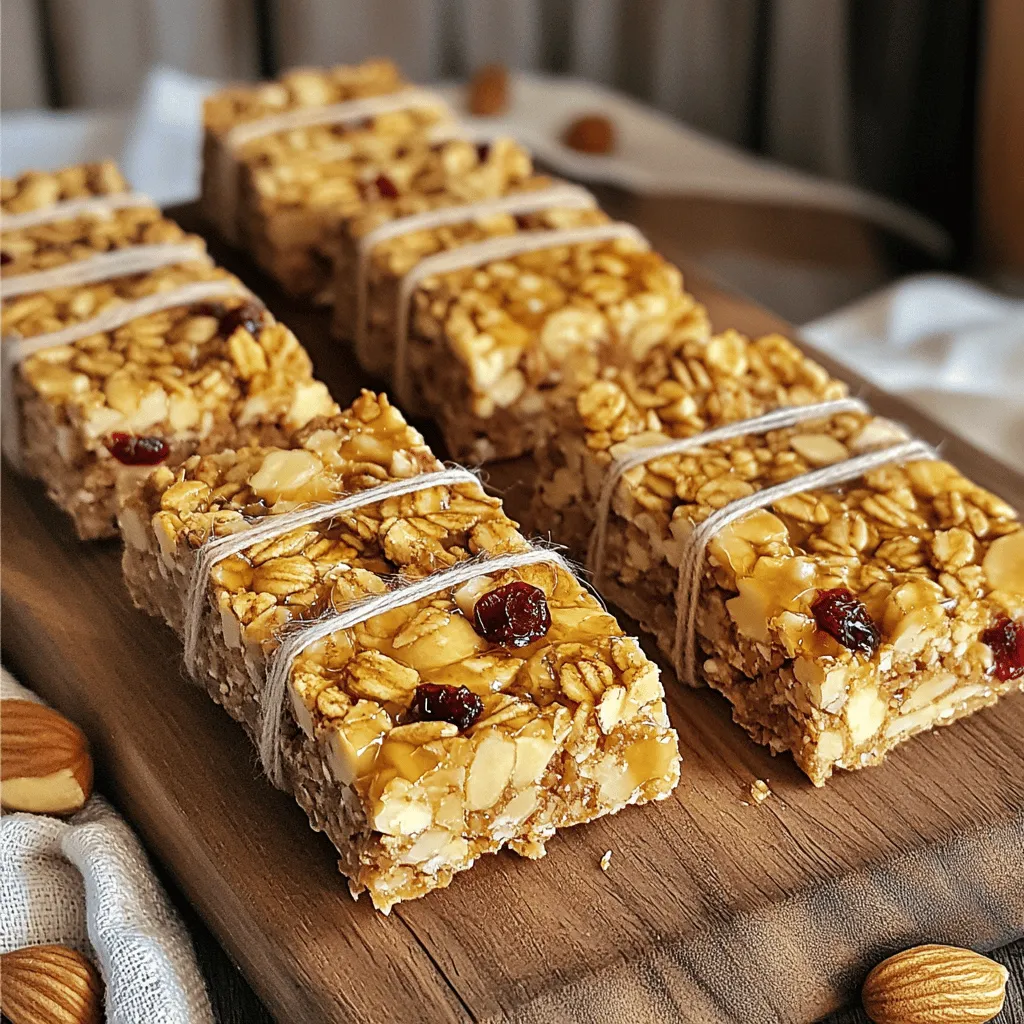
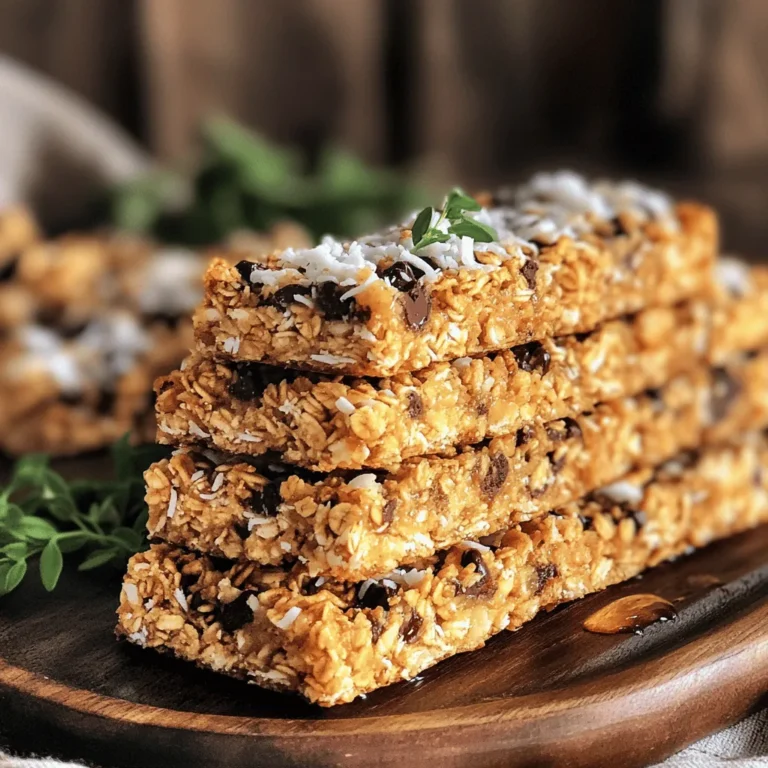
Nutty Granola Bars Easy and Tasty Recipe Guide
Are you ready to whip up a tasty treat that’s both easy and healthy? In this guide, I’ll show you
Read more…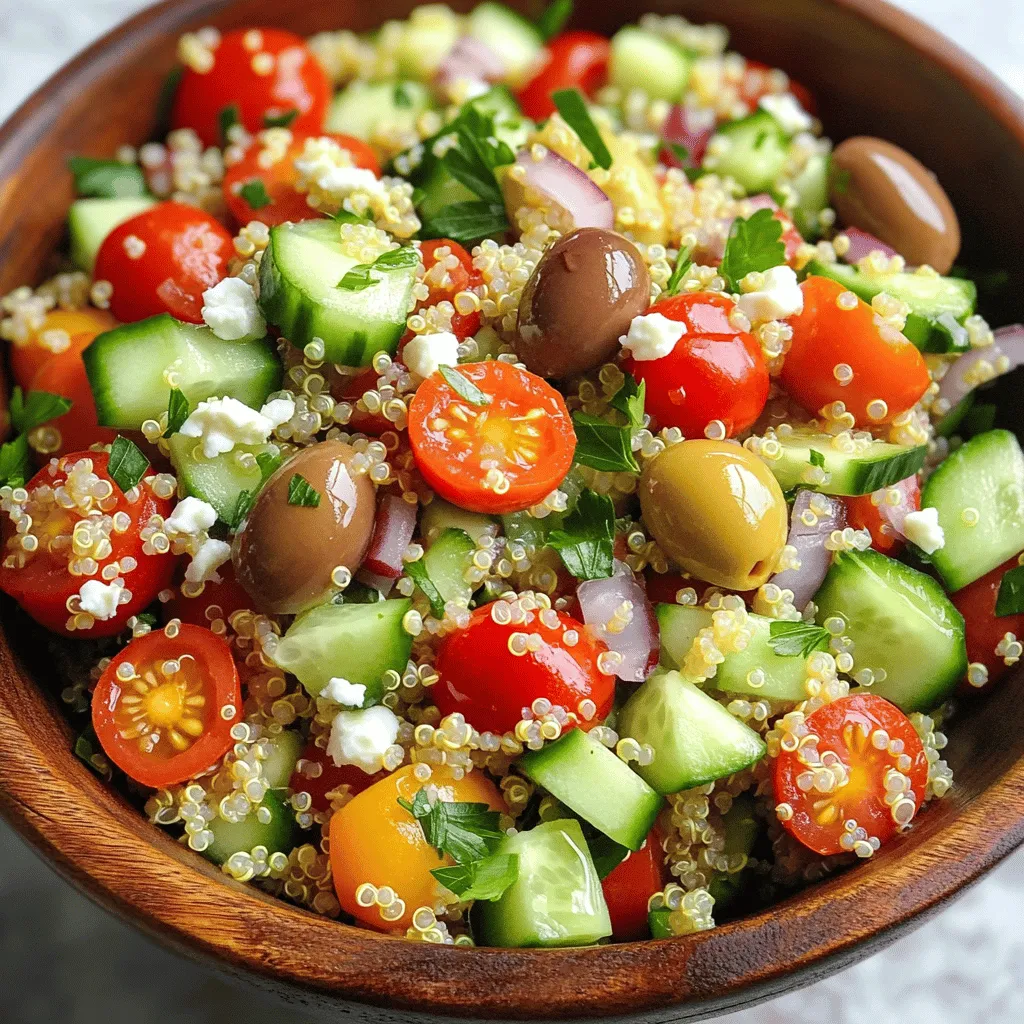
Savory Quinoa Salad with Feta Quick and Healthy Dish
Looking for a quick and healthy dish that packs big flavor? My Savory Quinoa Salad with Feta is the answer!
Read more…
S’mores Dip Irresistible Dessert for Any Occasion
Are you ready to indulge in a treat that blends nostalgia and ease? This S’mores Dip is the perfect dessert
Read more…browse recipes


![To whip up a delightful Zucchini Noodle Pad Thai, you will need the following ingredients: - 3 medium zucchinis, spiralized - 1 cup bean sprouts - 1 red bell pepper, thinly sliced - 1 large carrot, julienned - 3 green onions, chopped - 1/4 cup roasted peanuts, roughly chopped - 2 tablespoons vegetable oil - 3 cloves garlic, minced - 2 eggs, lightly beaten - 4 tablespoons soy sauce (or tamari) - 1 tablespoon lime juice - 1 teaspoon brown sugar - 1/2 teaspoon red chili flakes - Fresh cilantro leaves for garnish Each ingredient plays a role in creating a tasty and colorful dish. Zucchinis serve as the base, replacing traditional noodles. They add a fresh crunch and a lovely green color. The bean sprouts contribute a crisp texture, while the bell pepper and carrot bring sweetness and color. The peanuts add a satisfying crunch and nutty flavor. Oil and garlic form the flavor foundation, enhancing all other ingredients. The eggs add protein, making this meal balanced. Finally, the sauce, made from soy sauce, lime juice, brown sugar, and chili flakes, ties everything together with a sweet and tangy kick. For a complete guide on preparing this dish, check out the Full Recipe. To start, you need to spiralize the zucchinis. Use a spiralizer, which is a handy tool for this. Place a zucchini in the spiralizer and turn it. Keep going until you reach the core. You should end up with long noodles. After spiralizing, place the noodles on a paper towel. This step is key. Zucchinis have a lot of water. The paper towel helps soak up the extra moisture. This way, your dish won’t be soggy. Now it’s time to make the sauce. Gather these ingredients: - 4 tablespoons soy sauce (or tamari) - 1 tablespoon lime juice - 1 teaspoon brown sugar - 1/2 teaspoon red chili flakes In a small bowl, whisk all these together. Mix until the sugar dissolves. This sauce adds a great flavor to your dish. Set it aside for later. Next, heat the vegetable oil in a skillet over medium heat. Add 3 cloves of minced garlic and stir-fry for about 30 seconds. You want it fragrant but not burnt. Then, add the sliced red bell pepper and julienned carrot. Stir-fry these for about 3-4 minutes. You want them tender-crisp, which means they should still have a bit of crunch. This brings a nice texture to your meal. Push the veggies to one side of the skillet. Pour the 2 beaten eggs into the cleared area. Scramble them for about 1 minute until just set. Then mix the eggs into the veggies. Now, add the zucchini noodles to the skillet. Pour the sauce over everything. Toss well to combine. Cook for 3-4 minutes until the noodles soften a bit but still have some crunch. Finally, stir in the cup of bean sprouts and chopped green onions. Cook for another minute to warm them through. Your Zucchini Noodle Pad Thai is almost ready! Enjoy this flavorful and healthy meal. For the full recipe, check the earlier section. Pick medium zucchinis for the best taste. They should feel firm and heavy. Look for bright colors with no soft spots. Fresh zucchinis have a sweet, mild flavor. For spiralizing, use a good spiralizer. I suggest a handheld model or a countertop style for ease. Both work well to create long, thin noodles. For a gluten-free option, use tamari instead of soy sauce. This swap keeps the flavor while making it safe for gluten-sensitive diets. You can also adjust the spice level. Add more red chili flakes for heat or skip them for a milder dish. Taste the sauce before adding it to the noodles. This way, you can find your perfect balance. Stir-frying is key to a great Pad Thai. Use high heat to cook the veggies quickly. This helps them stay crunchy and bright. Start with garlic, as it adds a lovely aroma. Keep the veggies moving in the pan to avoid burning. Don’t overcrowd the pan; this can trap steam and make them soggy. Follow these tips, and you'll create a delicious Zucchini Noodle Pad Thai! For the complete recipe, check out the [Full Recipe]. {{image_2}} For a vegan version of zucchini noodle Pad Thai, you can skip the eggs. Instead of eggs, use tofu or chickpea flour. Tofu adds protein and a nice texture. You can scramble it just like the eggs. For chickpea flour, mix it with water to create a batter and cook it in the pan. Protein alternatives can include tempeh or seitan. Both give a hearty bite. They soak up flavors well, making your dish rich and filling. You can also add edamame for extra protein. To make this dish low-carb, you can swap out the sugar. Use a sugar substitute like stevia or erythritol. This keeps it sweet without the carbs. You can also reduce the amount of soy sauce. Use a low-sodium version to keep the salt level in check. For keto followers, focus on adding more fats. You can add avocado slices or a sprinkle of sesame seeds. They boost flavors and give healthy fats. Adding more veggies can enhance the dish's flavor and health benefits. Try adding bell peppers, snap peas, or mushrooms. Each adds a different texture and taste. You can also balance flavors by adding fresh herbs. Fresh basil or mint can brighten the dish. They add a refreshing taste that pairs well with the noodles. For the full recipe, check out the details above. To store your Zucchini Noodle Pad Thai, let it cool first. Place it in an airtight container. This helps keep the dish fresh. You can refrigerate it for up to three days. For longer storage, consider freezing it. However, note that texture may change when thawed. To reheat, you have two good options: microwave or stove. If you use the microwave, heat in short bursts. This helps keep the zucchini noodles from getting mushy. Stir in between to ensure even heating. If you choose the stove, warm it on low heat. Add a splash of water if needed to maintain moisture. This way, you keep the texture nice and tasty. For the best flavor, enjoy it warm! Yes, you can prepare Zucchini Noodle Pad Thai ahead of time. To store it, follow these steps: - Cook the dish but leave out the zucchini noodles. - Store the noodles separately in an airtight container. - Store the cooked sauce and veggies in another container. Keep both in the fridge for up to three days. When ready to eat, sauté the noodles briefly with the veggies and sauce. This keeps the noodles fresh and prevents them from becoming mushy. Making zucchini noodles is easy and fun. You can use a spiralizer or a vegetable peeler. Here’s how: - Spiralizing: Cut off both ends of the zucchini. Secure it in the spiralizer and twist to create noodles. - Peeler Method: Using a vegetable peeler, shave long strips off the zucchini. Continue until you reach the core. After making the noodles, place them on a paper towel to absorb excess moisture. This step is key to avoid sogginess in your dish. Zucchini Noodle Pad Thai can stand alone, but pairing it can enhance your meal. Here are some ideas: - Complete Meal Ideas: Serve with grilled chicken or shrimp for extra protein. Tofu is a great plant-based option, too. - Side Dish Recommendations: Consider a light salad or fresh spring rolls. These add crunch and freshness to your meal. For a fun twist, serve it with lime wedges and extra peanuts on the side. This adds a burst of flavor and texture. For the full recipe of Zucchini Noodle Pad Thai, check out the Full Recipe section. You now have a tasty and healthy Zucchini Noodle Pad Thai recipe. We covered the key ingredients, step-by-step cooking methods, and helpful tips. Remember, you can customize this dish with different sauces and veggies to fit your taste. Storing and reheating leftovers is simple, making this meal convenient. Enjoy your cooking journey and create delicious options for you and your family!](https://southerndishes.com/wp-content/uploads/2025/05/78e7a995-1680-4ce3-926e-f047a69768f9.webp)
Zucchini Noodle Pad Thai Flavorful and Healthy Meal
If you’re looking for a healthy, flavorful twist on a classic favorite, you’ve come to the right place! Zucchini Noodle Pad Thai is a…
My Latest Desserts
My Latest Recipes

hey,
i’m !
I’m so happy you’re here!
My kitchen is filled with stories, flavors, and love and I’m so happy to share them with you. Here’s to dishes that feel like home.


Matcha Green Tea Muffins Nourishing and Flavorful Treat
Are you ready to brighten your mornings? These Matcha Green Tea Muffins are not only nourishing but also packed with flavor! I’ll show you…
![To make matcha green tea muffins, gather these ingredients: - 1 cup all-purpose flour - 1/2 cup almond flour - 2 tablespoons matcha green tea powder - 1 teaspoon baking powder - 1/2 teaspoon baking soda - 1/4 teaspoon salt - 1/2 cup granulated sugar - 1/4 cup honey or maple syrup - 1/2 cup unsweetened applesauce - 1/4 cup vegetable oil or melted coconut oil - 2 large eggs - 1 teaspoon vanilla extract - 1/2 cup white chocolate chips or dark chocolate chips (optional) For this recipe, I use standard measurement units. It’s important to measure accurately. This ensures each muffin has the right texture and flavor. - Use cups for dry ingredients like flour and sugar. - Use tablespoons for smaller amounts like matcha powder and baking powder. - Use teaspoons for baking soda and vanilla extract. - Use cups for wet ingredients like applesauce and oil. Matcha green tea powder is the star of this recipe. It has many health benefits: - Rich in Antioxidants: Matcha contains catechins. These help fight free radicals in your body. - Boosts Metabolism: Matcha may help increase your metabolism, aiding weight management. - Enhances Mood: It can improve focus and calmness due to L-theanine. Almond flour is another key ingredient: - Low in Carbs: Almond flour is lower in carbs than regular flour. - High in Protein: It provides more protein and healthy fats. Using applesauce instead of oil adds moisture and fiber. It also cuts down on calories. These ingredients together make a tasty, nourishing treat. For the full recipe, check the detailed instructions. Start by gathering all your ingredients. You will need flour, matcha powder, sugar, and eggs. Preheat your oven to 350°F (175°C). Line your muffin tin with paper liners or grease it lightly. In a medium bowl, mix the all-purpose flour, almond flour, matcha green tea powder, baking powder, baking soda, and salt. Whisk these dry ingredients until they are well combined. In a large bowl, mix the granulated sugar, honey or maple syrup, applesauce, vegetable oil, eggs, and vanilla extract. Stir until smooth. Now, slowly add the dry mix to the wet mix. Use a spatula to fold them together gently. It is important not to overmix. If you want some sweetness, fold in chocolate chips at this point. Once your batter is ready, divide it evenly into the muffin cups. Fill each cup about two-thirds full. This allows room for the muffins to rise. Place the muffin tin in the preheated oven. Bake for 18 to 20 minutes. To check if they are done, insert a toothpick into the center of a muffin. If it comes out clean, your muffins are ready. If not, give them a few more minutes. After baking, remove the muffins from the oven. Let them cool in the pan for about five minutes. Then, transfer them to a wire rack to cool completely. For a fun touch, serve them warm or at room temperature. You can dust them with powdered sugar for a sweet look. Adding fresh mint leaves or edible flowers can make the presentation pop. You can find the full recipe for these delightful muffins and impress your friends and family with your baking skills! If your muffins are too dry, you may have overbaked them. Always check for doneness with a toothpick. If it comes out clean, they are ready. If your muffins are too dense, try not to overmix the batter. Gentle folding is key to keeping them light and fluffy. For a soft and moist texture, use applesauce. It adds moisture without extra fat. Mixing the dry and wet ingredients separately helps maintain the right texture. Make sure to fold the batter just until combined. This keeps air in and gives you that perfect rise. To boost the flavor, add extra matcha or a splash of vanilla. You can also mix in nuts or fruits for added texture. For a lovely look, dust the muffins with powdered sugar. Fresh mint leaves or edible flowers will make them pop. Serve them warm for the best taste experience. For the complete recipe, check the [Full Recipe]. {{image_2}} You can swap flours easily in this recipe. If you want a nutty taste, use whole wheat flour instead of all-purpose flour. If you prefer gluten-free options, try almond flour or coconut flour. Each flour brings its flavor and texture, so test different combinations. This adds a fun twist to your muffins. Feel free to get creative with mix-ins! You can add chopped nuts, like walnuts or pecans, for a crunchy bite. Dried fruits, such as cranberries or blueberries, bring sweetness and chew. For chocolate lovers, toss in chocolate chips. You can add spices, like cinnamon or ginger, for extra warmth. Each add-in helps personalize your muffins. Making your muffins gluten-free is simple. Just use only gluten-free flour blends. For a vegan version, replace eggs with flaxseed meal or chia seeds mixed with water. Use plant-based milk instead of regular milk. Swap honey for maple syrup to keep it vegan-friendly. These modifications keep the muffins tasty while meeting dietary needs. Enjoy making them your way! To keep your matcha green tea muffins fresh, store them in an airtight container. This helps prevent moisture loss. Place the muffins at room temperature for up to three days. If you want them to last longer, consider refrigeration. Just remember, refrigeration can change their texture. Freezing muffins is a great way to enjoy them later. First, let the muffins cool completely. Then, wrap each muffin tightly in plastic wrap. Place the wrapped muffins in a freezer-safe bag or container. Label and date the bag. These muffins can stay fresh in the freezer for up to three months. When you're ready to enjoy a muffin, take one out of the freezer. Unwrap it and place it on a microwave-safe plate. Heat it for about 20-30 seconds. If you want a warm muffin without the microwave, preheat your oven to 350°F (175°C). Place the muffin on a baking sheet for about 5-7 minutes. This keeps the muffin soft and tasty! Enjoy your matcha muffins as a delightful treat any time of day! For the complete recipe, check out the Full Recipe section. Yes, you can use different sweeteners. Instead of granulated sugar, try coconut sugar. It has a nice flavor. You can also use agave syrup in place of honey or maple syrup. Each sweetener gives a unique taste. Adjust the amount to match your taste. To check if the muffins are done, use a toothpick. Insert it into the center of a muffin. If it comes out clean, the muffins are ready. If there’s batter on the toothpick, bake them a few more minutes. Keep an eye on them to avoid overbaking. You can easily replace eggs. Use 1/4 cup of unsweetened applesauce for each egg. This works well in most recipes. You can also use flaxseed meal mixed with water. Combine one tablespoon of flaxseed meal with two and a half tablespoons of water. Let it sit for a few minutes until it thickens. These substitutes keep your muffins moist and fluffy. You learned how to make matcha green tea muffins with healthful ingredients. We discussed step-by-step instructions for perfect muffins. I shared tips to avoid common problems and enhance flavor. You can even try different flours or dietary swaps. With proper storage, your muffins will stay fresh longer. Enjoy your baking journey and explore the world of matcha. Each bite can boost your day with taste and health!](https://southerndishes.com/wp-content/uploads/2025/05/ed8d7823-6aaf-45c7-a722-a1ff7c217bb6.webp)
