
Latest & Greatest
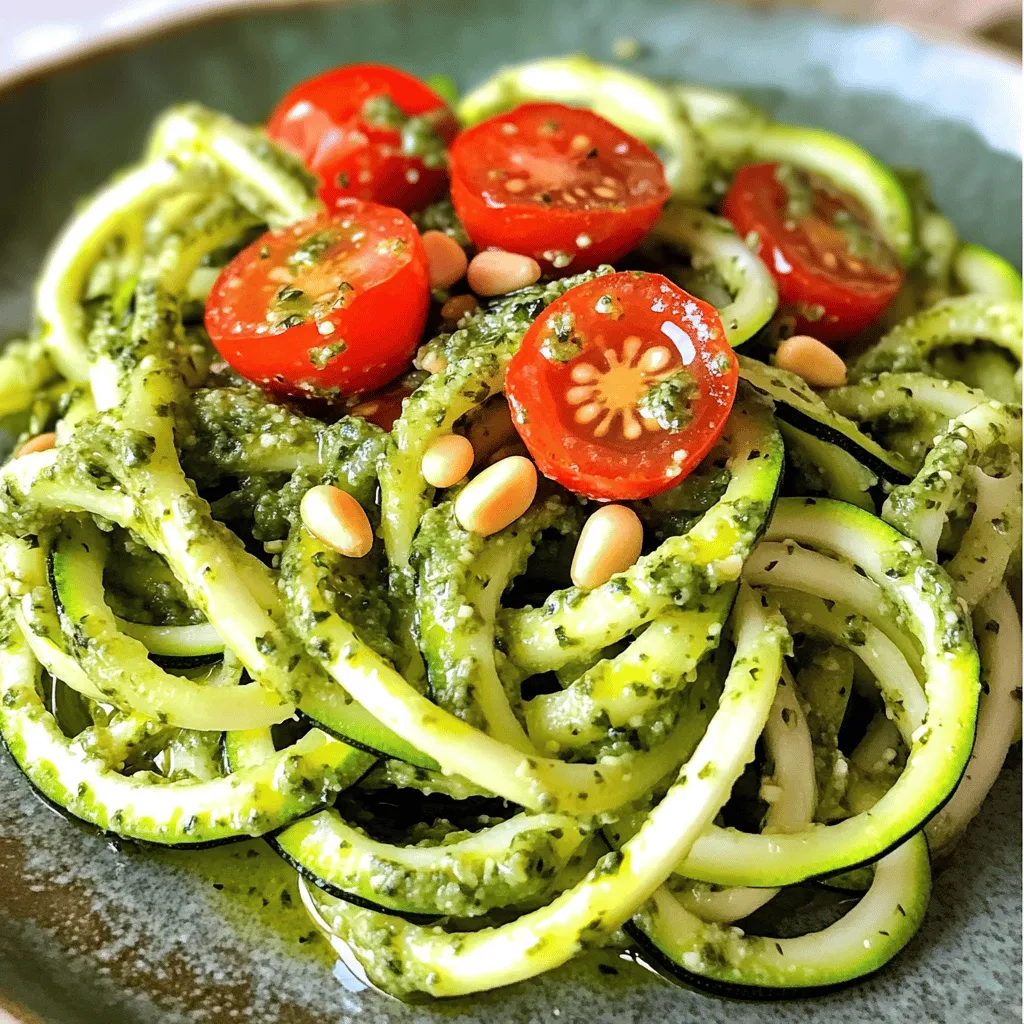
Zucchini Noodles with Pesto Simple Flavor Boost
Are you looking for a fresh and tasty meal? Zucchini noodles with pesto offer a simple flavor boost that can
Read more…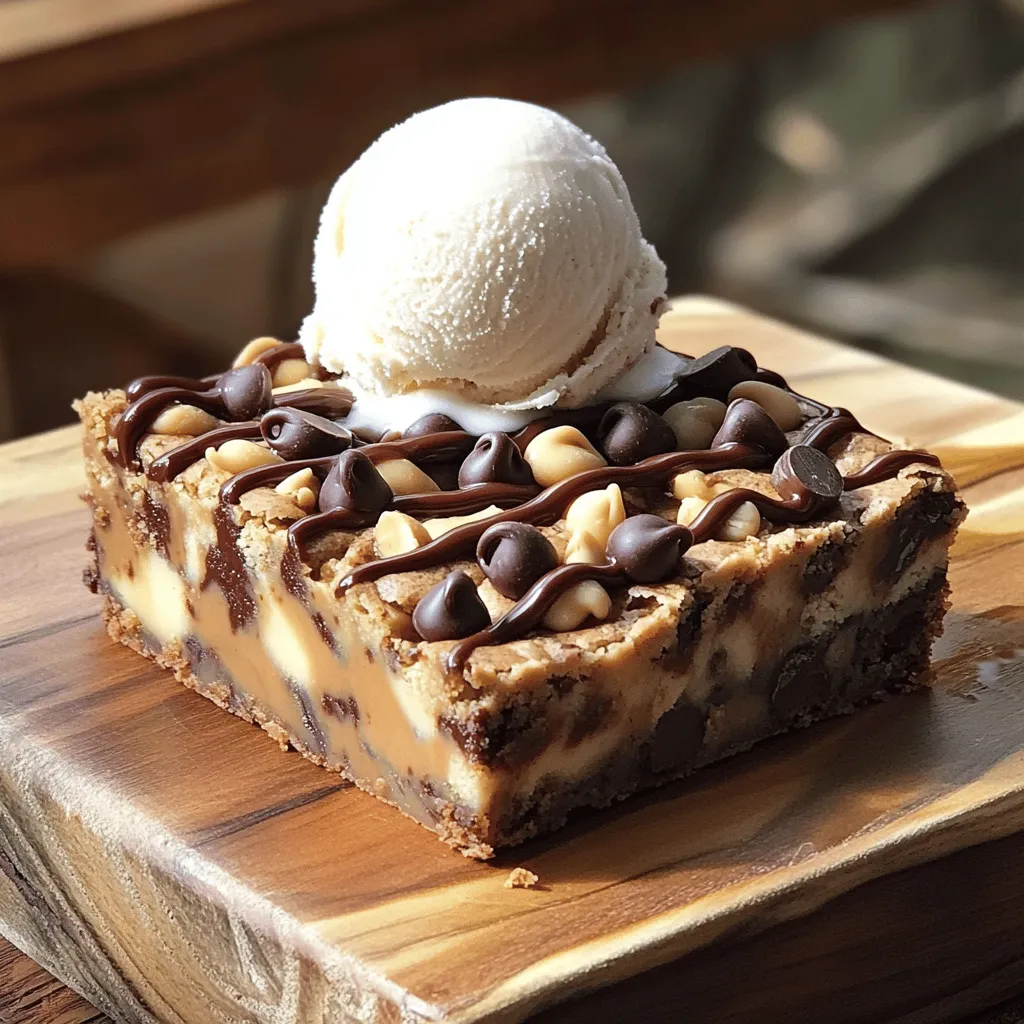
Peanut Butter Chocolate Chip Blondies Easy and Delicious
Are you ready to savor a sweet treat that’s easy to make? Peanut butter chocolate chip blondies are a simple
Read more…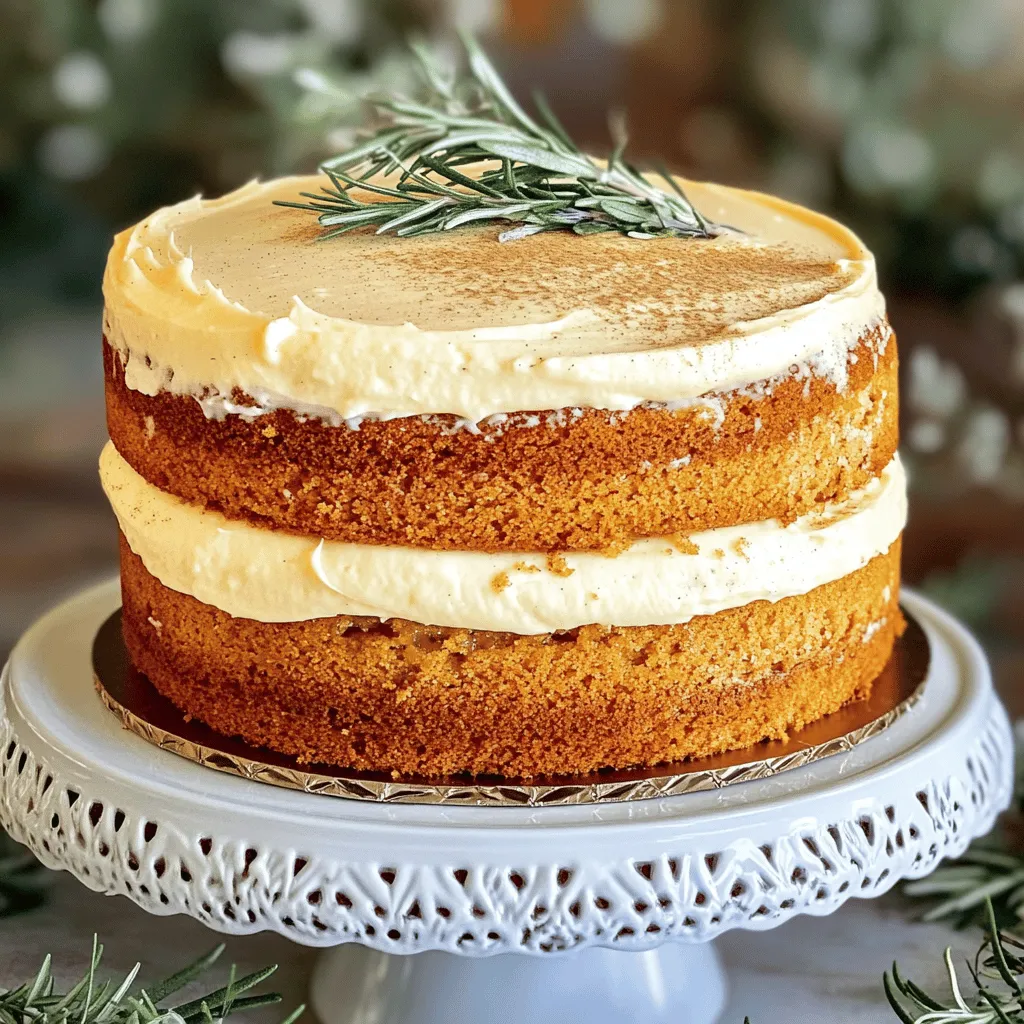
Eggnog Cake Delightful Holiday Dessert Recipe
Looking for the perfect holiday dessert? This Eggnog Cake is a delightful treat that captures the warmth of the season.
Read more…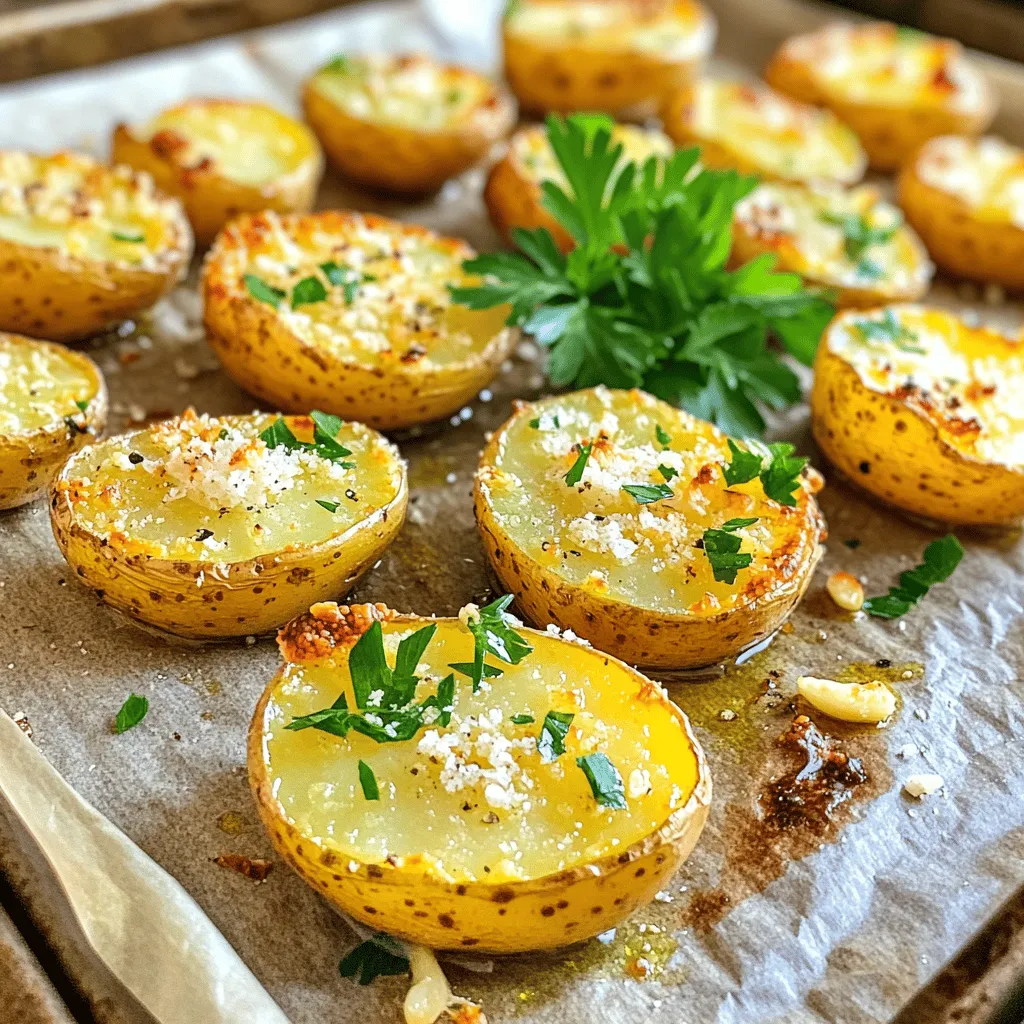
Crispy Garlic Parmesan Potatoes Simple and Flavorful Dish
Looking for a tasty side dish that packs a punch? You’ve found it! Crispy Garlic Parmesan Potatoes are simple to
Read more…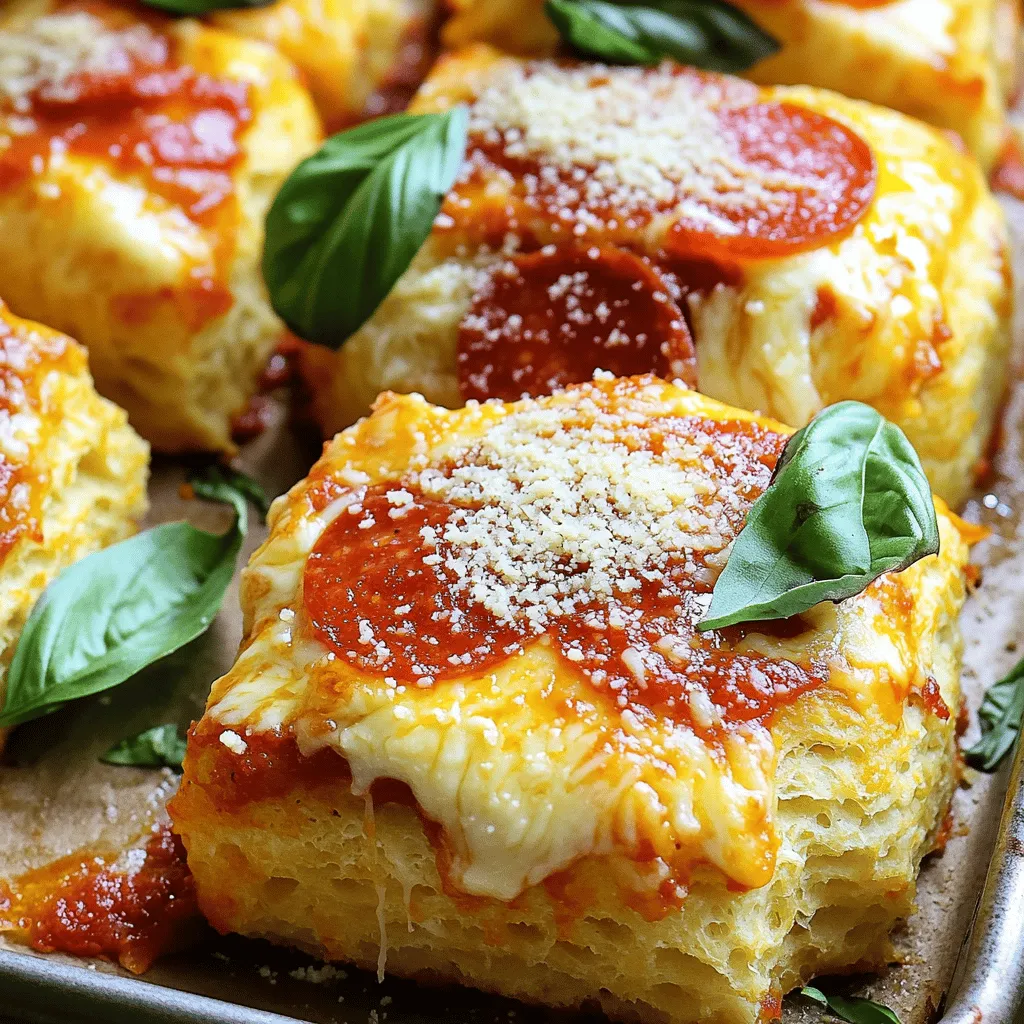
Cheese Pizza Monkey Bread Tasty and Fun Recipe
Are you ready to take your pizza night to a whole new level? Dive into this fun recipe for Cheese
Read more…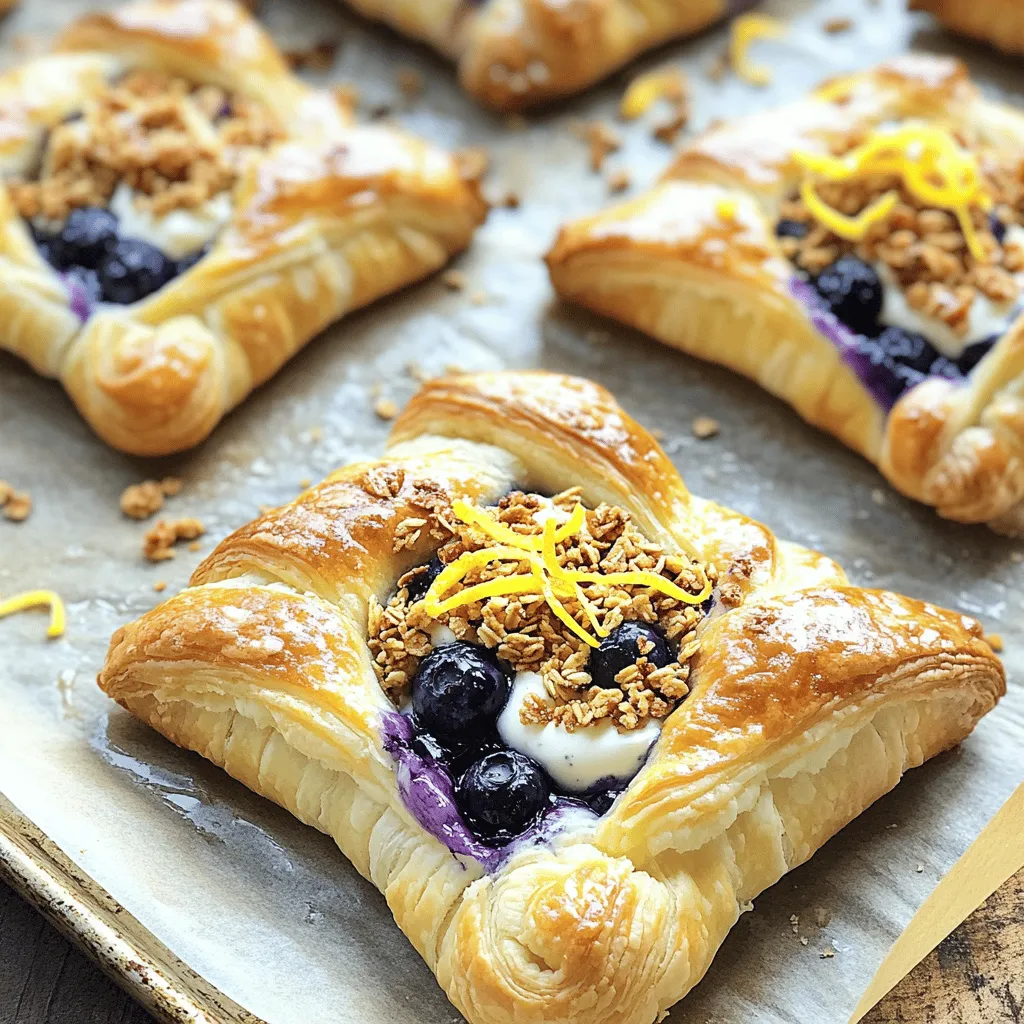
Wild Blueberry Coffee Cake Danishes Delightful Treat
If you love the sweet taste of wild blueberries and the flaky goodness of puff pastry, you’re in for a
Read more…
Pistachio Filled Croissants Delightful and Simple Recipe
Indulge in the delightful world of pistachio filled croissants! This simple recipe transforms flaky dough into a sweet, nutty treat.
Read more…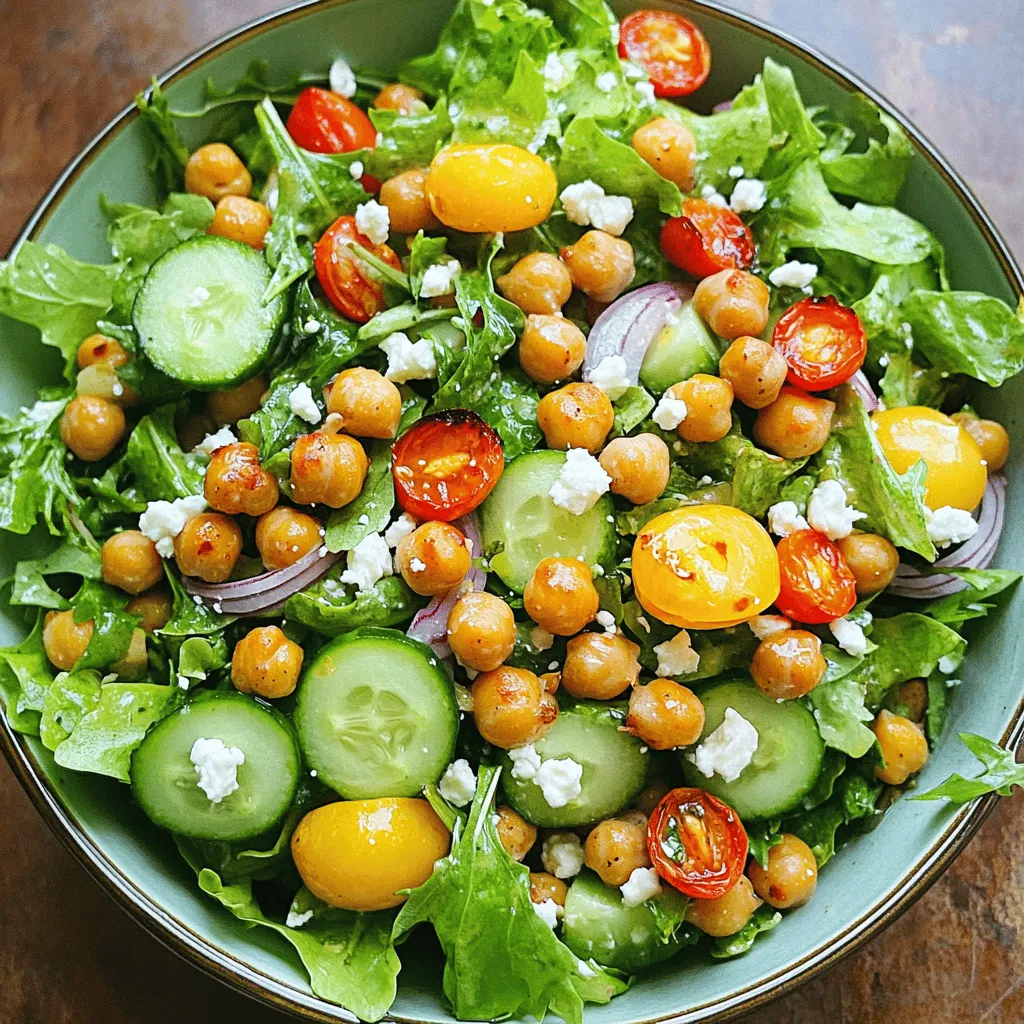
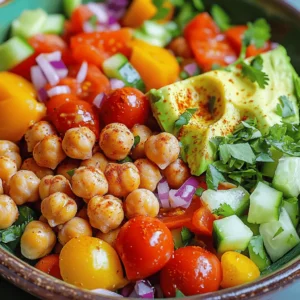
Crispy Chickpea Salad Tasty and Healthy Meal Option
Looking for a tasty and healthy meal option? You’ll love this Crispy Chickpea Salad! Packed with nutrients and flavor, it
Read more…browse recipes


Classic Peach Streusel Muffins Delightful and Easy Recipe
Are you ready to bake something delicious? My Classic Peach Streusel Muffins are soft, fruity, and easy to make. With ripe peaches and a…
My Latest Desserts
My Latest Recipes

hey,
i’m !
I’m so happy you’re here!
My kitchen is filled with stories, flavors, and love and I’m so happy to share them with you. Here’s to dishes that feel like home.


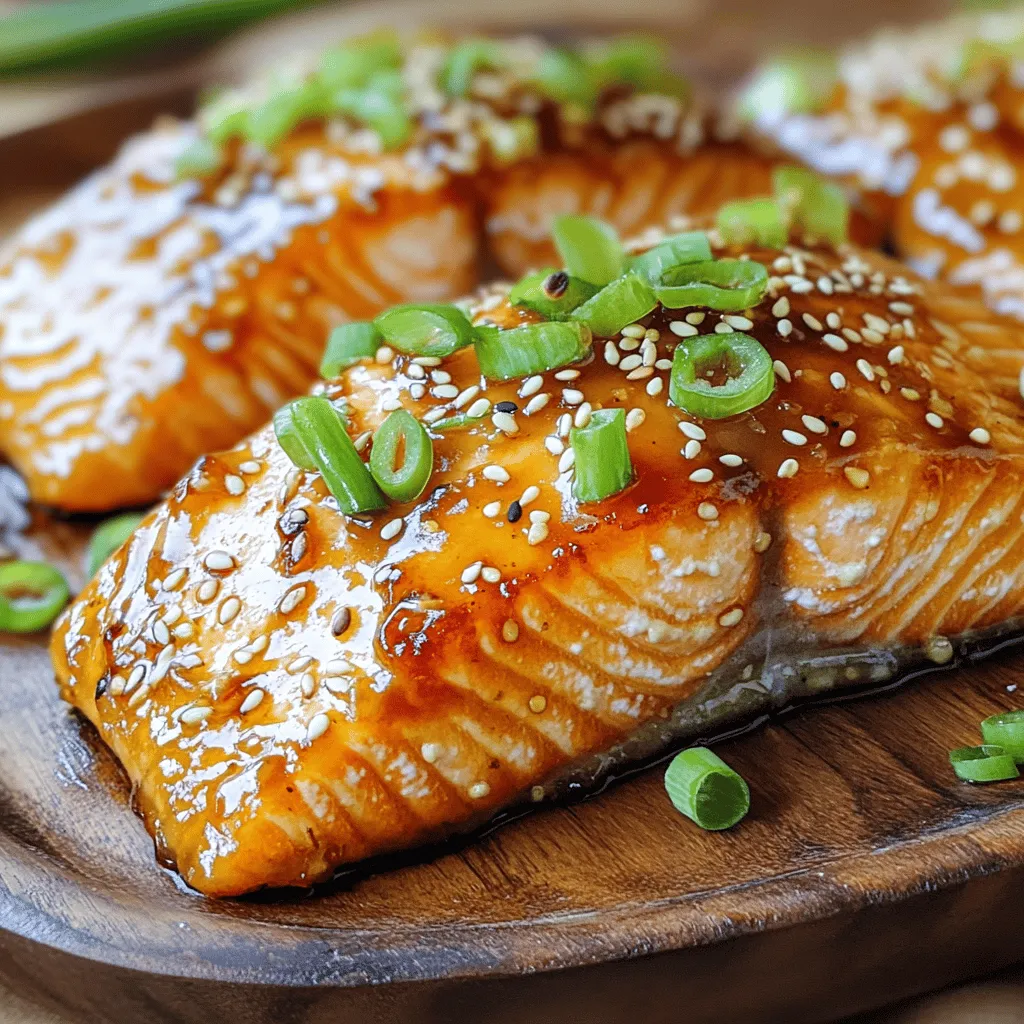
Honey Garlic Glazed Salmon Tasty and Simple Dish
Looking for a dish that’s both tasty and easy to make? Try honey garlic glazed salmon! It’s a perfect blend of sweet and savory…