
Latest & Greatest
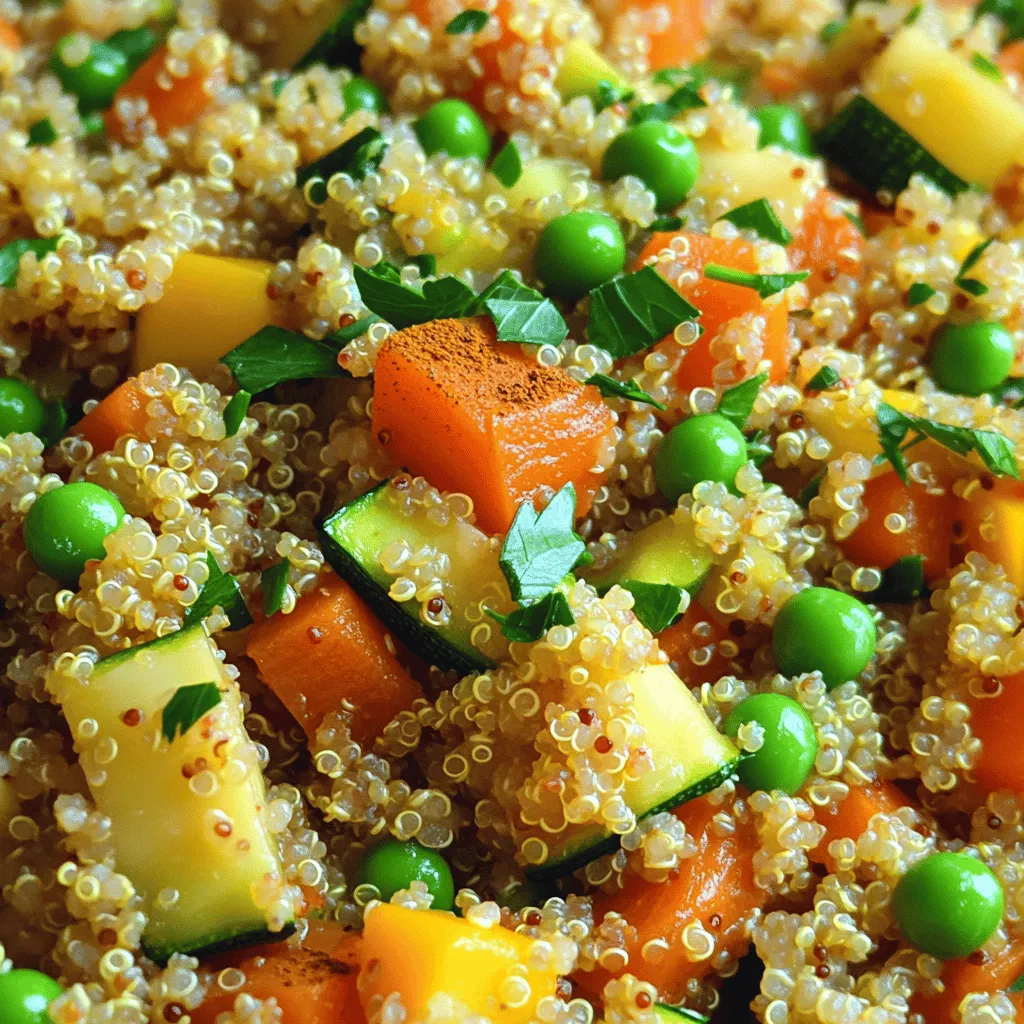
Quinoa Vegetable Pilaf Simple and Flavorful Recipe
Looking for a quick, tasty, and healthy meal? You’re in the right place! This Quinoa Vegetable Pilaf packs a punch
Read more…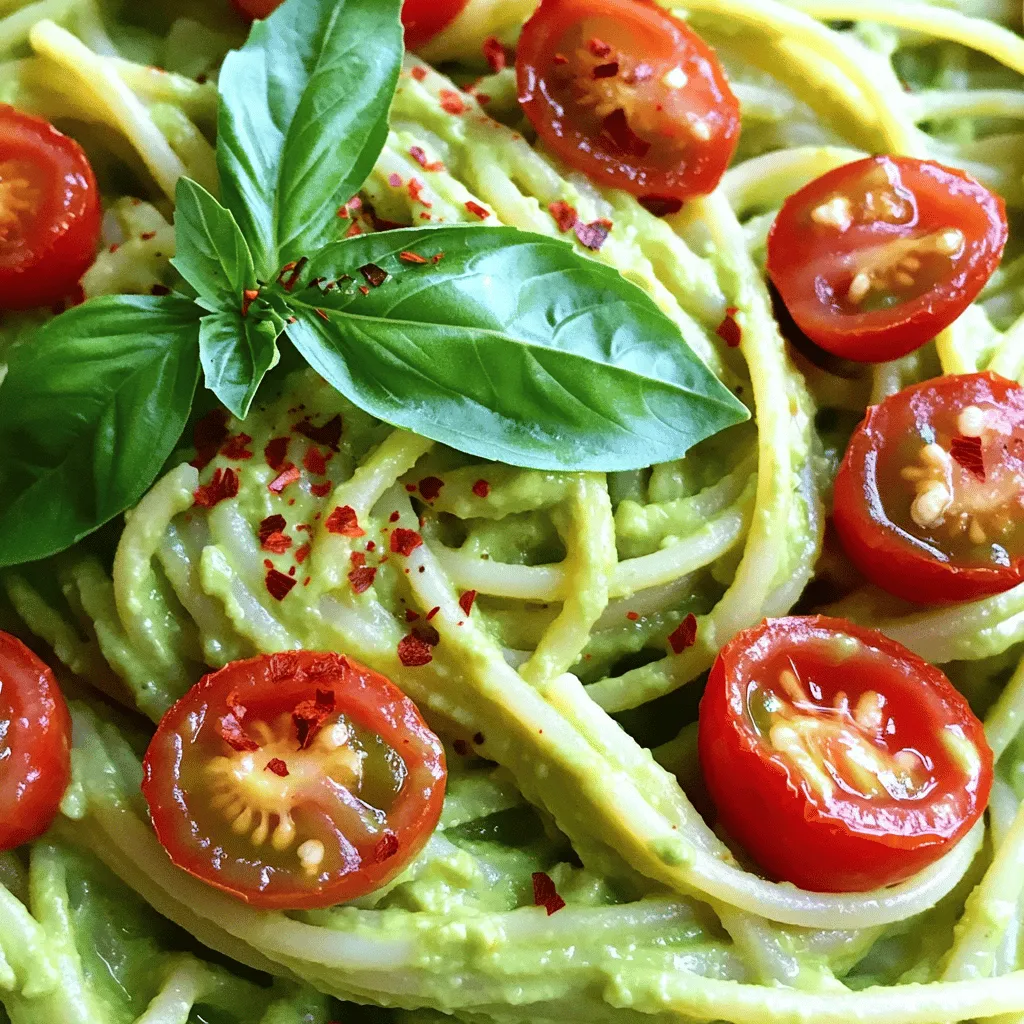
Creamy Avocado Pasta Quick and Flavorful Recipe
Are you ready to treat yourself to a deliciously creamy avocado pasta? This quick and flavorful recipe is perfect for
Read more…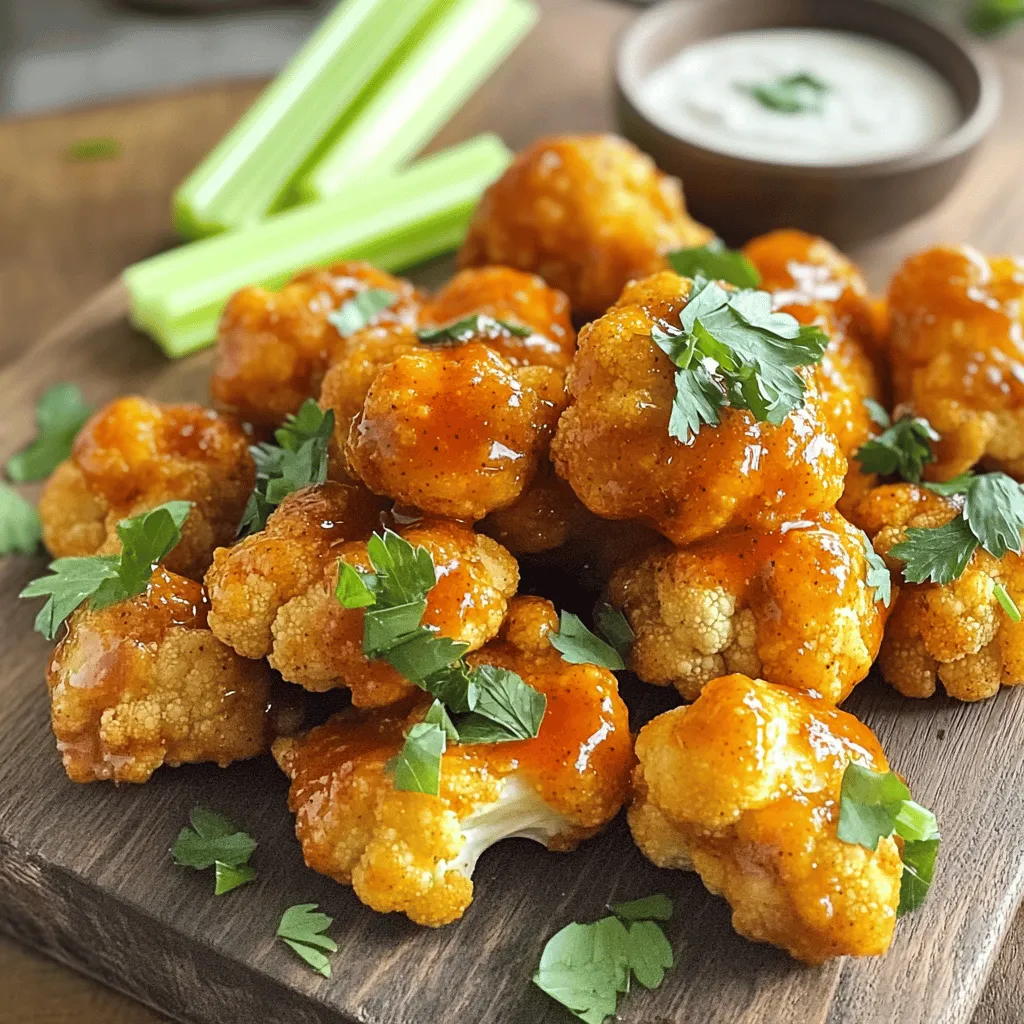
Vegan Cauliflower Buffalo Wings for Crispy Delight
If you crave a spicy, crispy snack, you’ll love these Vegan Cauliflower Buffalo Wings! This fun twist on a classic
Read more…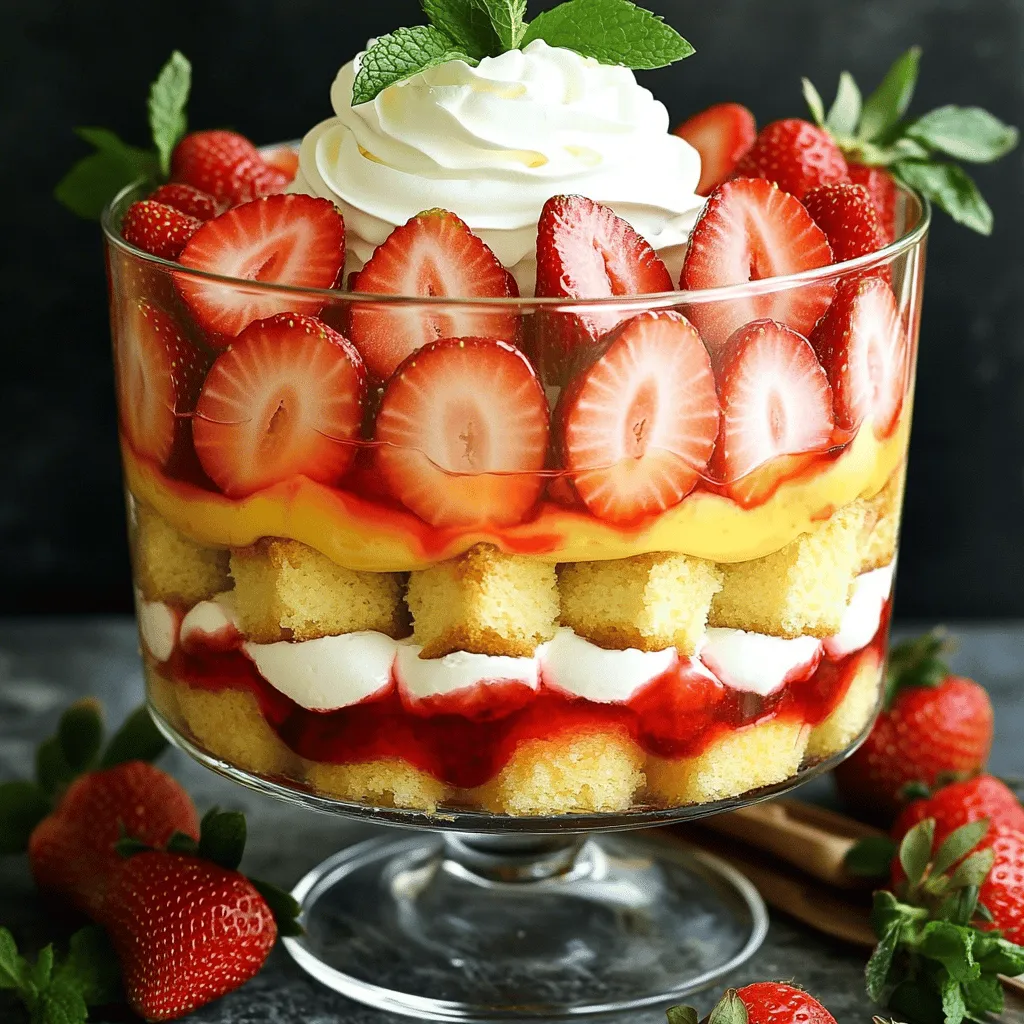
Strawberry Shortcake Trifle Delightful Summer Dessert
Looking for a refreshing dessert that screams summer? Let me introduce you to the Strawberry Shortcake Trifle, a delightful treat
Read more…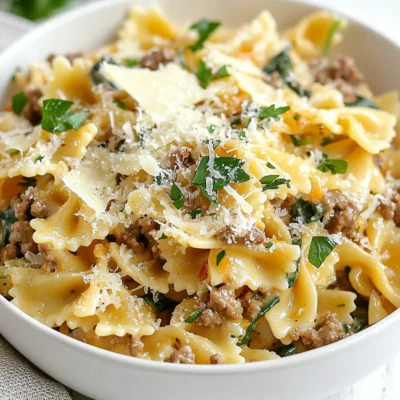
Creamy Parmesan Beef Bowtie Pasta Easy Dinner Recipe
Looking for a simple yet delicious dinner? My Creamy Parmesan Beef Bowtie Pasta checks all the boxes! This tasty dish
Read more…
Savory Spinach and Feta Puff Pastry Delightful Treat
Looking for a delightful treat that’s both easy to make and packed with flavor? My Savory Spinach and Feta Puff
Read more…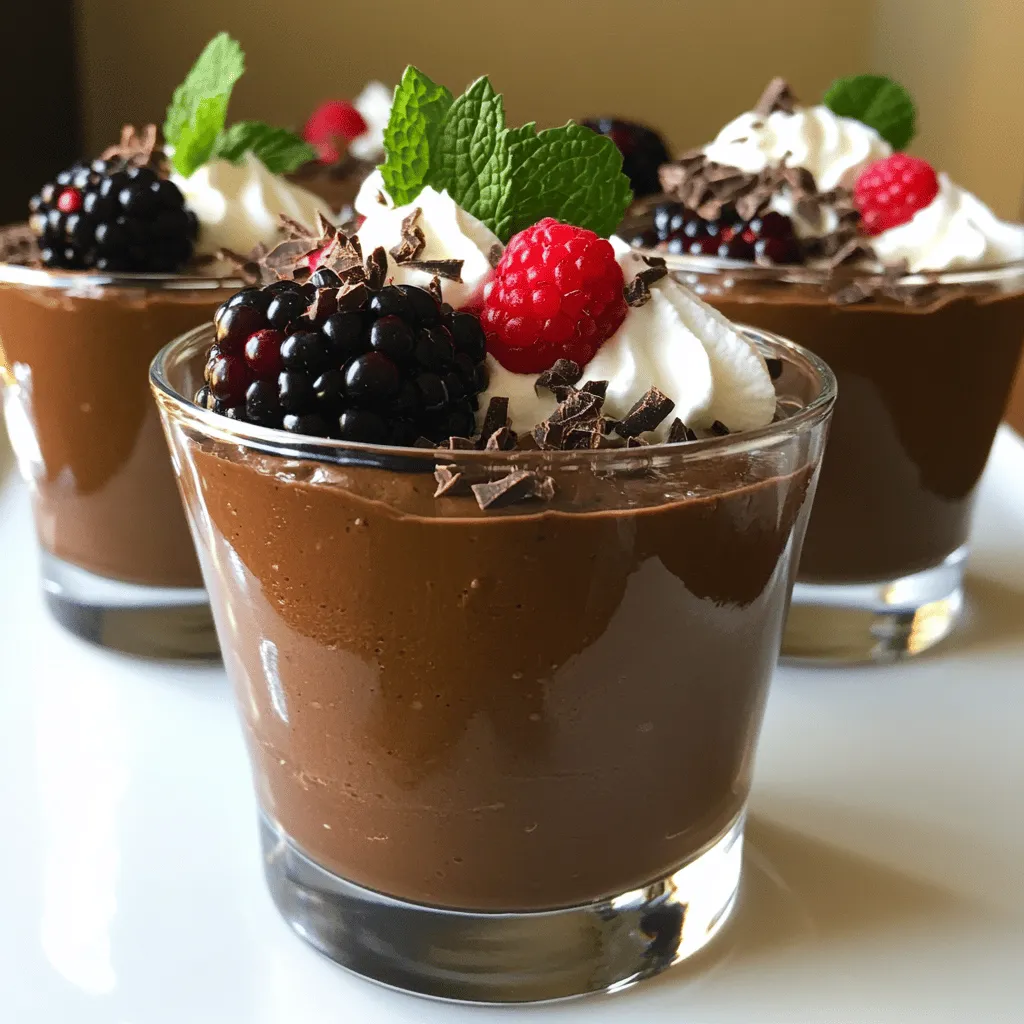
Dairy-Free Chocolate Avocado Mousse Rich and Decadent
Are you ready to indulge in a rich dessert without dairy? I’m excited to share my recipe for Dairy-Free Chocolate
Read more…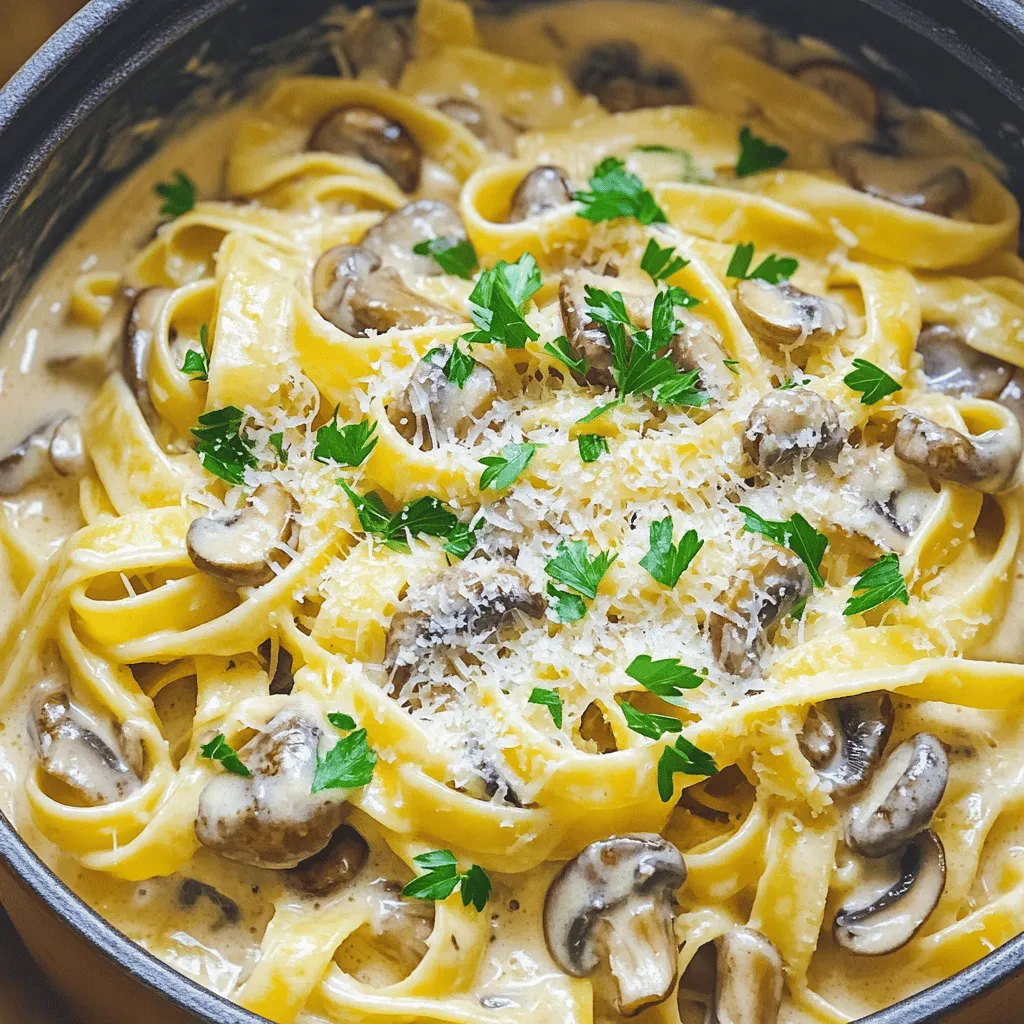
One-Pot Creamy Mushroom Pasta Delicious Comfort Meal
Are you in the mood for a warm, creamy comfort meal? This One-Pot Creamy Mushroom Pasta is the answer! With
Read more…browse recipes


Loaded Veggie Nacho Skillet Flavorful and Fun Dish
If you’re looking for a fun and tasty dish, Loaded Veggie Nacho Skillet is it! This colorful meal is packed with fresh veggies and…
My Latest Desserts
My Latest Recipes

hey,
i’m !
I’m so happy you’re here!
My kitchen is filled with stories, flavors, and love and I’m so happy to share them with you. Here’s to dishes that feel like home.

![To make Greek Yogurt Chicken Salad, you will need the following: - 2 cups cooked chicken breast, shredded - 1 cup Greek yogurt - 1/4 cup mayonnaise - 1 tablespoon Dijon mustard - 1/2 cup celery, finely chopped - 1/2 cup red grapes, halved - 1/4 cup walnuts, chopped - 1/4 cup red onion, finely diced - 1 tablespoon fresh dill, chopped (or 1 teaspoon dried dill) - Juice of 1 lemon - Salt and pepper to taste If you do not have some ingredients, here are some great substitutes: - Instead of chicken, you can use canned tuna or chickpeas for a twist. - Swap out Greek yogurt for sour cream if you want a creamier texture. - Use plain yogurt if you want a lighter option, but it won't be as thick. - Instead of walnuts, try pecans or almonds for a different crunch. - You can leave out mayonnaise for a healthier option, or use a vegan version. Each serving of Greek Yogurt Chicken Salad has about: - Calories: 280 - Protein: 24g - Carbohydrates: 10g - Dietary Fiber: 2g - Sugars: 3g - Fat: 16g This dish is a great source of protein and healthy fats, making it a balanced meal. To make Greek yogurt chicken salad, start by gathering your ingredients. You will need 2 cups of cooked chicken breast, shredded. In a large bowl, mix the Greek yogurt, mayonnaise, and Dijon mustard. Stir this until it is smooth and well combined. Next, add the shredded chicken to the bowl. Make sure to coat the chicken well in the yogurt mix. Now, fold in the chopped celery, halved grapes, chopped walnuts, diced red onion, and dill. These ingredients add great flavor and texture. Squeeze in the juice of one lemon. Finally, season with salt and pepper to your taste. Mix gently, so you do not break the grapes. Cover the bowl with plastic wrap. Place it in the fridge for at least 30 minutes. This lets the flavors blend nicely. When mixing, be careful not to over-stir. Gently fold ingredients to keep the grapes whole. This keeps the salad looking nice and fresh. If you prefer a creamier salad, add a bit more Greek yogurt or mayonnaise. Taste as you go. Adjust the salt and pepper for your liking. You can also add a bit of lemon juice for extra zing. For this salad, use cooked chicken breast. You can grill, bake, or poach it. Each method adds a different flavor. Grilling gives a smoky taste. Baking keeps it tender and juicy. Poaching is easy and keeps the chicken moist. Make sure the chicken is fully cooked. Use a meat thermometer to check the temperature. It should reach 165°F (75°C). After cooking, let it cool before shredding. This makes it easier to handle and incorporates into the salad. For the best results, shred the chicken by hand. This keeps the pieces chunky and adds to the salad's texture. For the complete recipe, check the Full Recipe. To make the best Greek yogurt chicken salad, start with cooked chicken. I prefer using shredded chicken for a soft texture. You can use rotisserie chicken for ease. Choose a high-quality Greek yogurt for creaminess. Mix it well with mayonnaise for a rich taste. To get the right consistency, avoid over-mixing. After adding your ingredients, gently fold them together. This keeps the grapes whole and adds a nice crunch. If the salad feels too thick, add a splash of lemon juice. This not only thins it but brightens the flavor too. You can enhance your chicken salad with various flavors. Fresh herbs like dill or parsley add freshness. Try adding a dash of hot sauce for heat. You can also mix in spices like garlic powder or smoked paprika. For sweetness, consider adding chopped apples or dried cranberries. For the complete recipe, check out the [Full Recipe]. {{image_2}} You can make Greek yogurt chicken salad low-carb with simple swaps. Use only Greek yogurt and skip the mayonnaise. Choose grilled chicken or rotisserie chicken for added flavor. Instead of grapes, use diced cucumbers for crunch. This keeps the salad light and fresh while cutting down on carbs. To make a tasty vegetarian version, replace chicken with chickpeas or tofu. Both options add protein and texture. You can also add shredded carrots for a sweet touch. Use plain Greek yogurt along with mustard for a creamy base. This gives the salad a rich flavor without meat. Want to add more texture? Try adding chopped bell peppers or diced apples. They bring a nice crunch and sweetness to the dish. You can also mix in sunflower seeds or pumpkin seeds for a nutty flavor. Fresh herbs like parsley or cilantro can brighten up the salad. Experiment with flavors to find your perfect mix! For a complete guide to making this dish, check the [Full Recipe]. To store your Greek Yogurt Chicken Salad, use an airtight container. Spoon the salad into the container and seal it tightly. This helps keep the flavors fresh and prevents spills. Always make sure to refrigerate it right after serving. Greek Yogurt Chicken Salad lasts about 3 to 5 days in the fridge. Check for any signs of spoilage, like changes in color or smell. If it looks or smells off, it's best to throw it away. I do not recommend freezing Greek Yogurt Chicken Salad. The yogurt and mayonnaise may separate when thawed, changing its texture. If you want to prepare ahead, make the chicken salad without the yogurt. You can freeze the chicken mix. Add yogurt and other fresh ingredients when you're ready to serve. Greek yogurt is a thick, creamy yogurt made from strained milk. It has a rich taste and packs a protein punch. I love using Greek yogurt in salads because it adds creaminess without too much fat. It replaces heavier dressings, making dishes lighter and healthier. Plus, it helps keep the salad fresh and tasty! Yes, you can make Greek Yogurt Chicken Salad ahead of time. In fact, doing this can boost the flavors. If you let it sit in the fridge for a few hours or overnight, the taste improves. Just cover it well to keep it fresh. Enjoy it the next day for a quick meal! I like to serve this salad on a bed of mixed greens. It looks pretty and adds more flavor. You can also use lettuce wraps for a fun twist. For a pop of color, garnish with extra dill or a sprinkle of paprika. This makes the dish even more appealing! Greek Yogurt Chicken Salad is simple to make and healthy to eat. We covered the needed ingredients, options for substitutes, and key nutritional info. I shared step-by-step instructions, mixing tips, and cooking methods for chicken. You learned best practices for achieving a creamy texture and flavorful twists. We also explored variations, storage tips, and answered common questions. Try this salad for a tasty meal. It's easy to adjust for your taste and needs. Enjoy making it often!](https://southerndishes.com/wp-content/uploads/2025/07/9b11d171-21a8-493c-95d2-ac2c4076c447-300x300.webp)

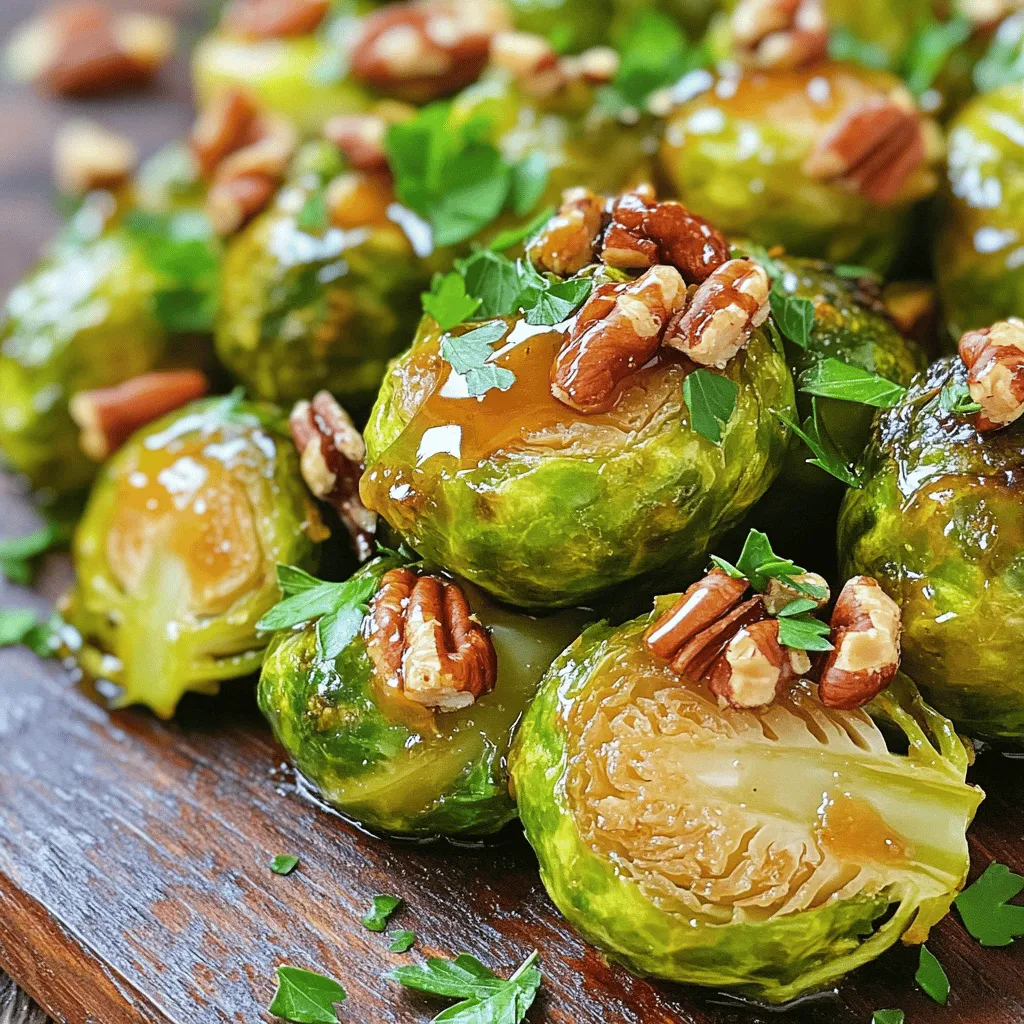
Maple Roasted Brussels Sprouts Sheet Pan Delight
Looking for a tasty side dish that impresses? Try my Maple Roasted Brussels Sprouts. This sheet pan recipe is not only easy to make,…