

Latest & Greatest
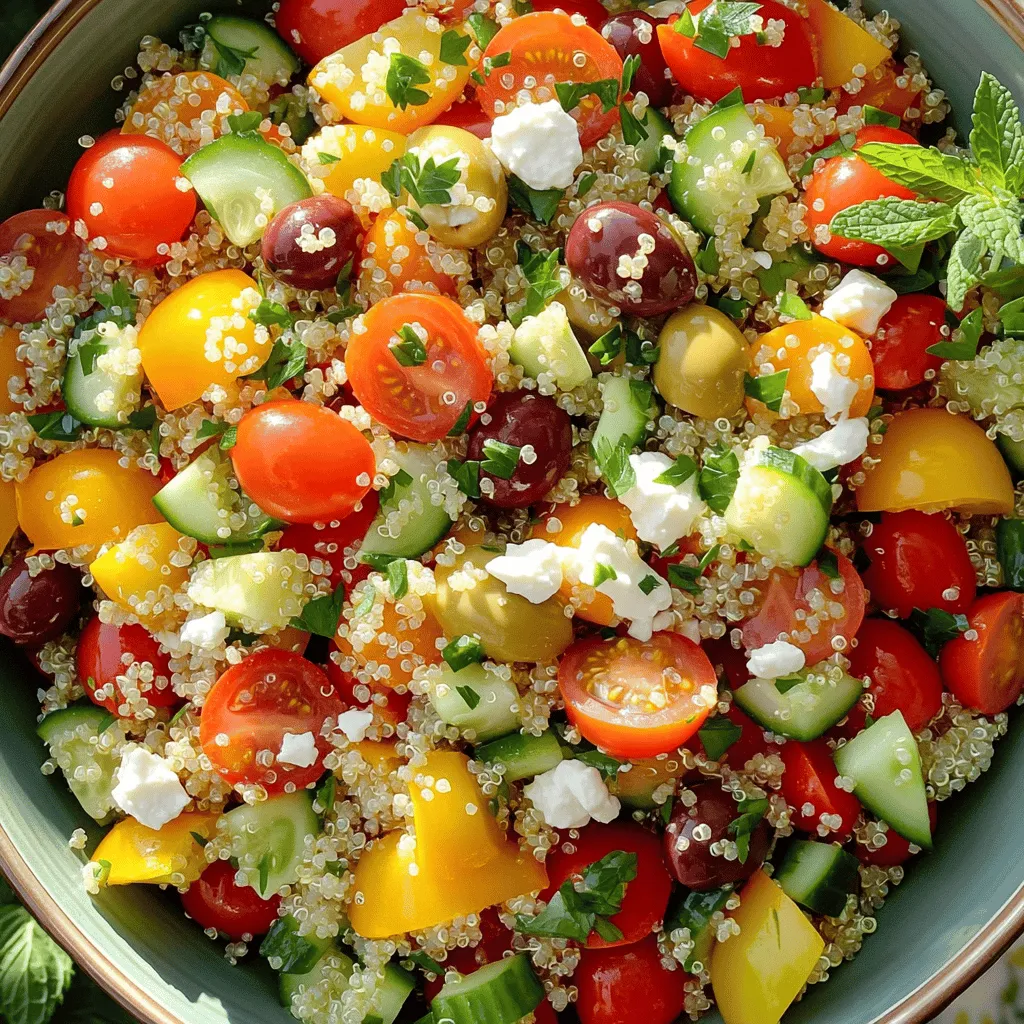
Mediterranean Quinoa Salad Fresh and Flavorful Boost
Looking for a fresh and tasty dish? This Mediterranean Quinoa Salad is just what you need! Packed with bright veggies,
Read more…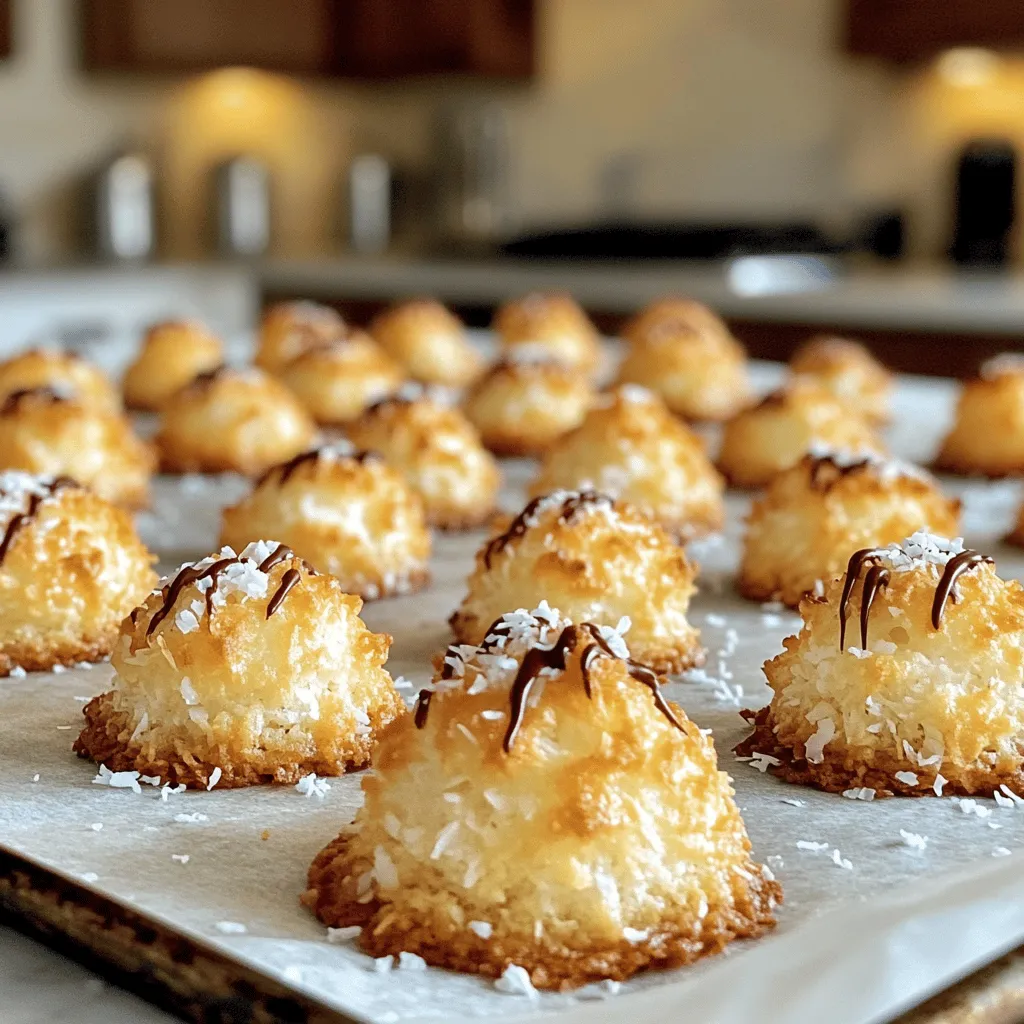
Coconut Macaroon Cookies Delicious and Simple Treat
Are you ready to whip up a sweet treat that’s easy and delicious? Coconut macaroon cookies combine simple ingredients to
Read more…
Pumpkin Spice Latte Cupcakes Delicious Fall Treat
Fall is here, and it’s time to indulge in the cozy flavors of the season! Imagine sinking your teeth into
Read more…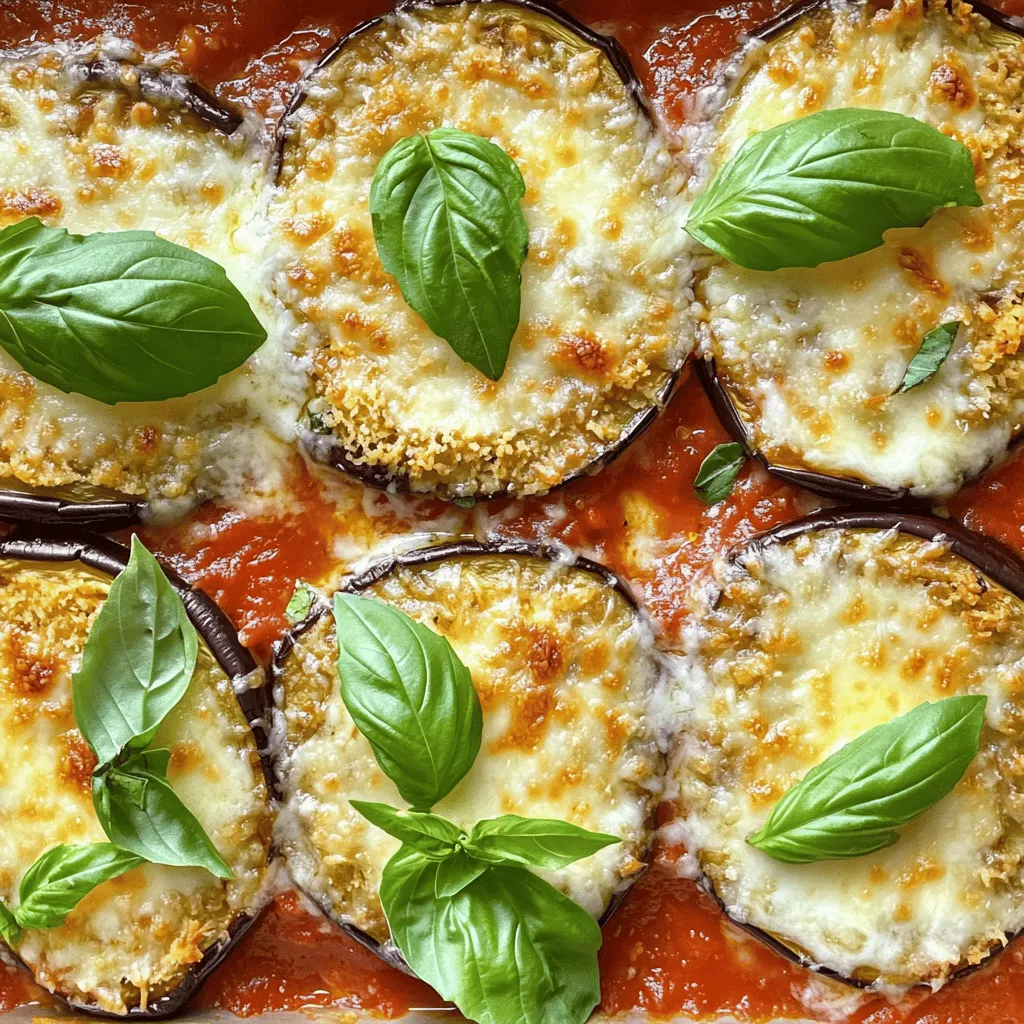
Baked Eggplant Parmesan Delicious and Simple Dish
Craving a tasty, healthy meal? Baked Eggplant Parmesan is your answer! This simple dish packs flavor and comfort in every
Read more…
Classic Margherita Pizza Simple and Flavorful Recipe
Are you ready to make the perfect Margherita pizza? This simple and tasty recipe will guide you step-by-step. Fresh ingredients
Read more…
Meringue Cookies with Fruit Easy and Colorful Treat
If you’re looking for a fun and colorful treat, meringue cookies topped with fresh fruit are the answer! These light
Read more…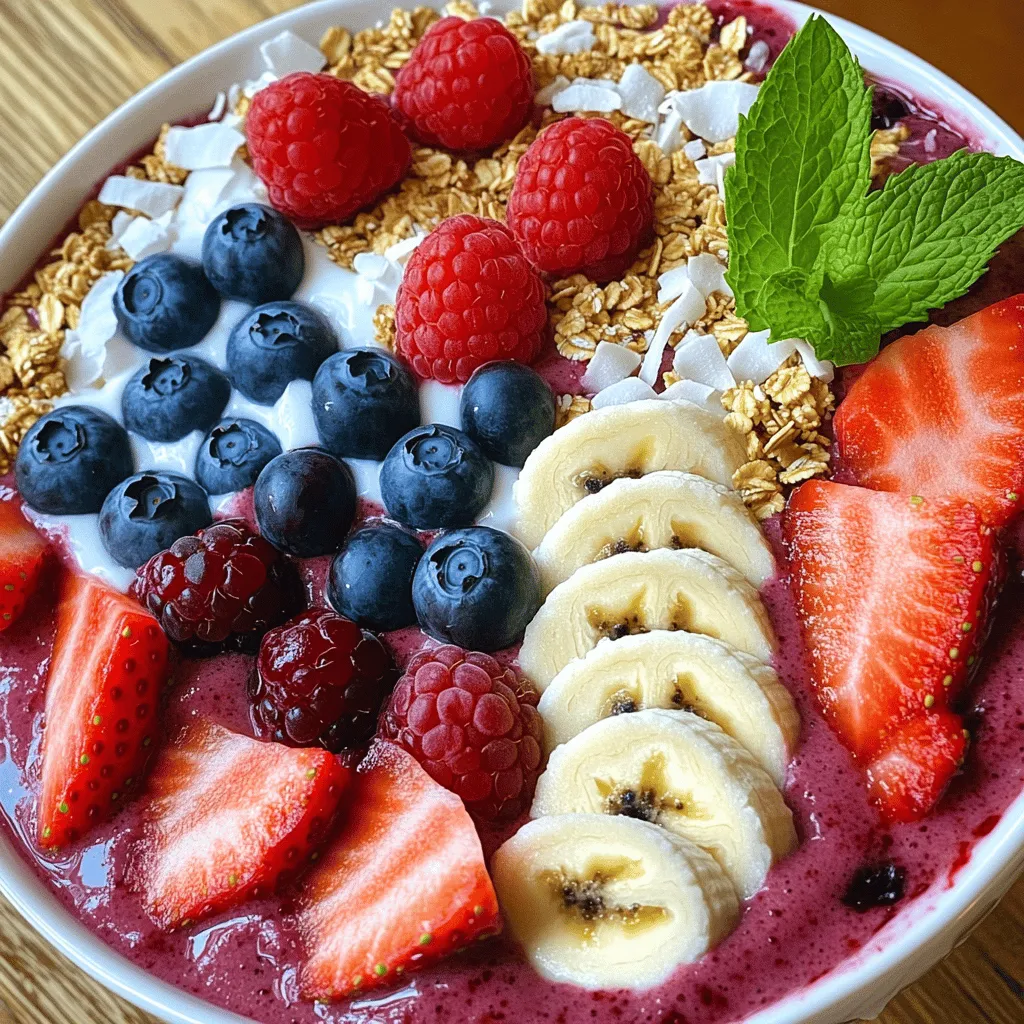
Berry Smoothie Bowl Flavorful and Nutritious Delight
Are you ready to whip up a berry smoothie bowl that’s both tasty and good for you? I’m excited to
Read more…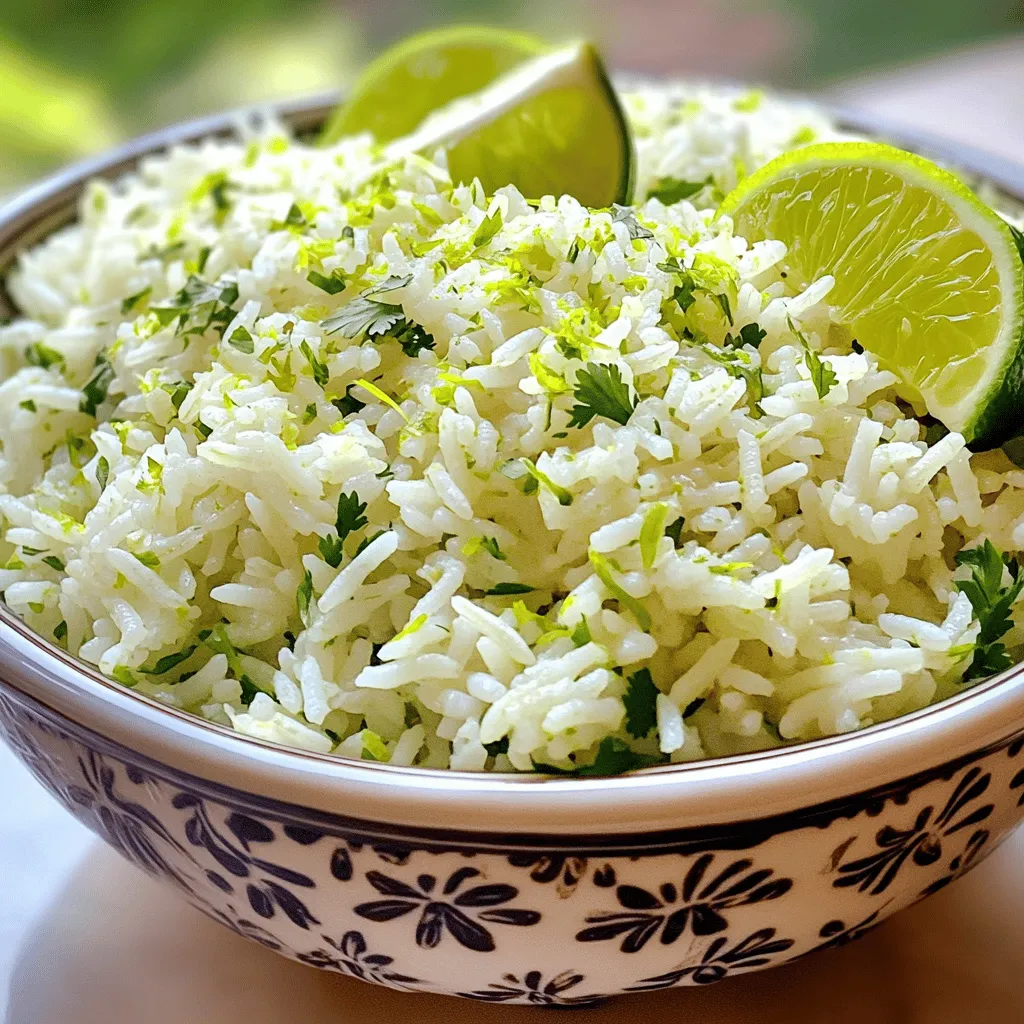
Zesty Cilantro Lime Rice Flavorful Side Dish Recipe
Ready to add a burst of flavor to your meals? This Zesty Cilantro Lime Rice is the perfect side dish.
Read more…browse recipes


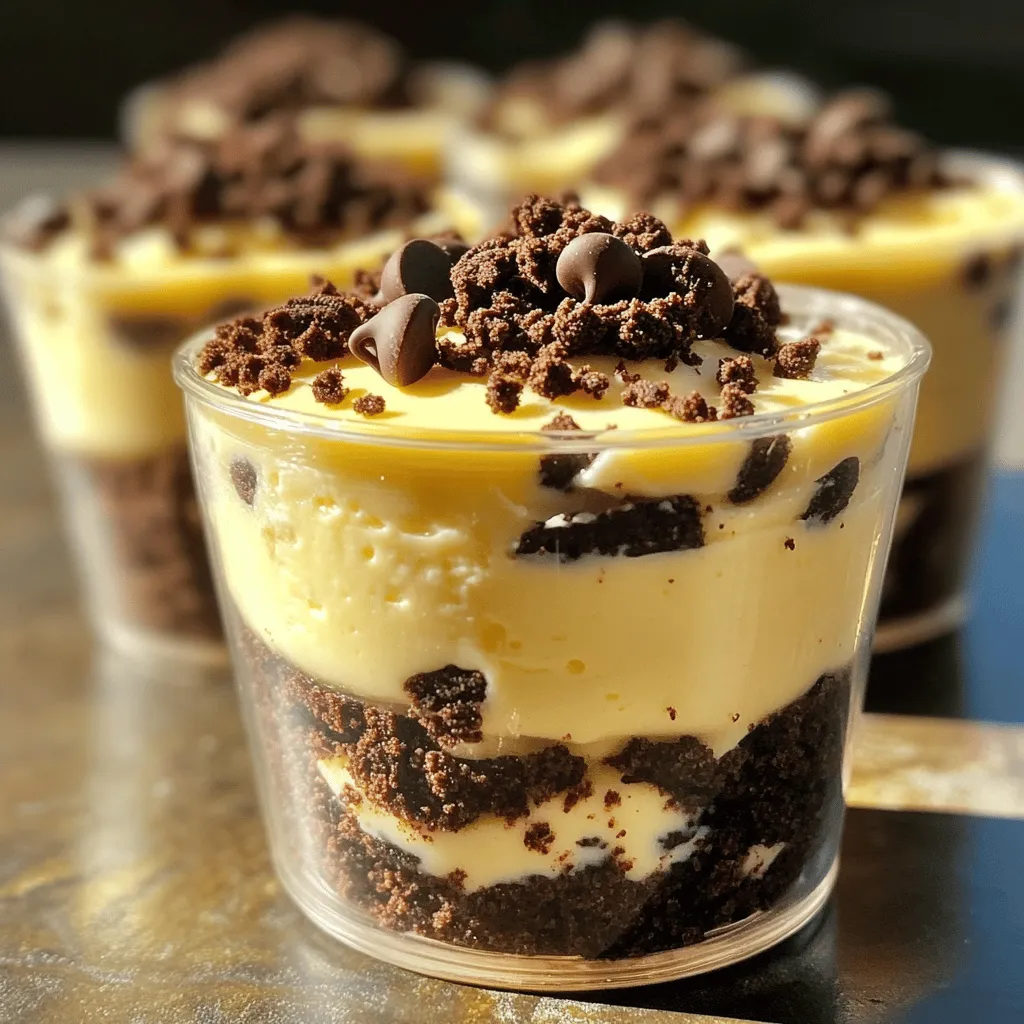
No Bake Oreo Cheesecake Cups Easy and Delicious Treat
Love desserts but short on time? You’re in for a treat! This No Bake Oreo Cheesecake Cups recipe is simple, quick, and tastes amazing!…
My Latest Desserts
My Latest Recipes

hey,
i’m !
I’m so happy you’re here!
My kitchen is filled with stories, flavors, and love and I’m so happy to share them with you. Here’s to dishes that feel like home.


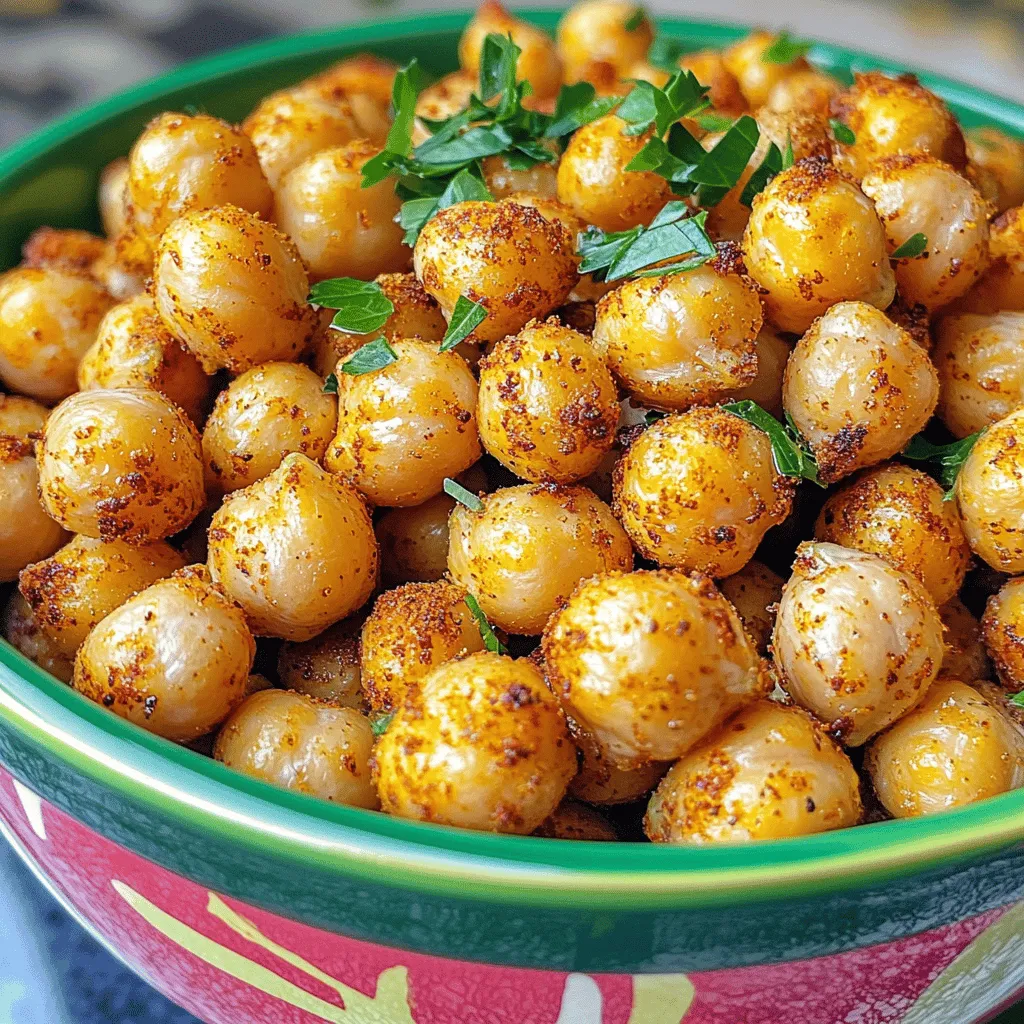
Crispy Air Fryer Chickpeas Flavorful Snack Delight
Craving a tasty, healthy snack? Crispy air fryer chickpeas are your answer! This easy recipe transforms simple canned chickpeas into a flavor-packed treat. With…