

Latest & Greatest
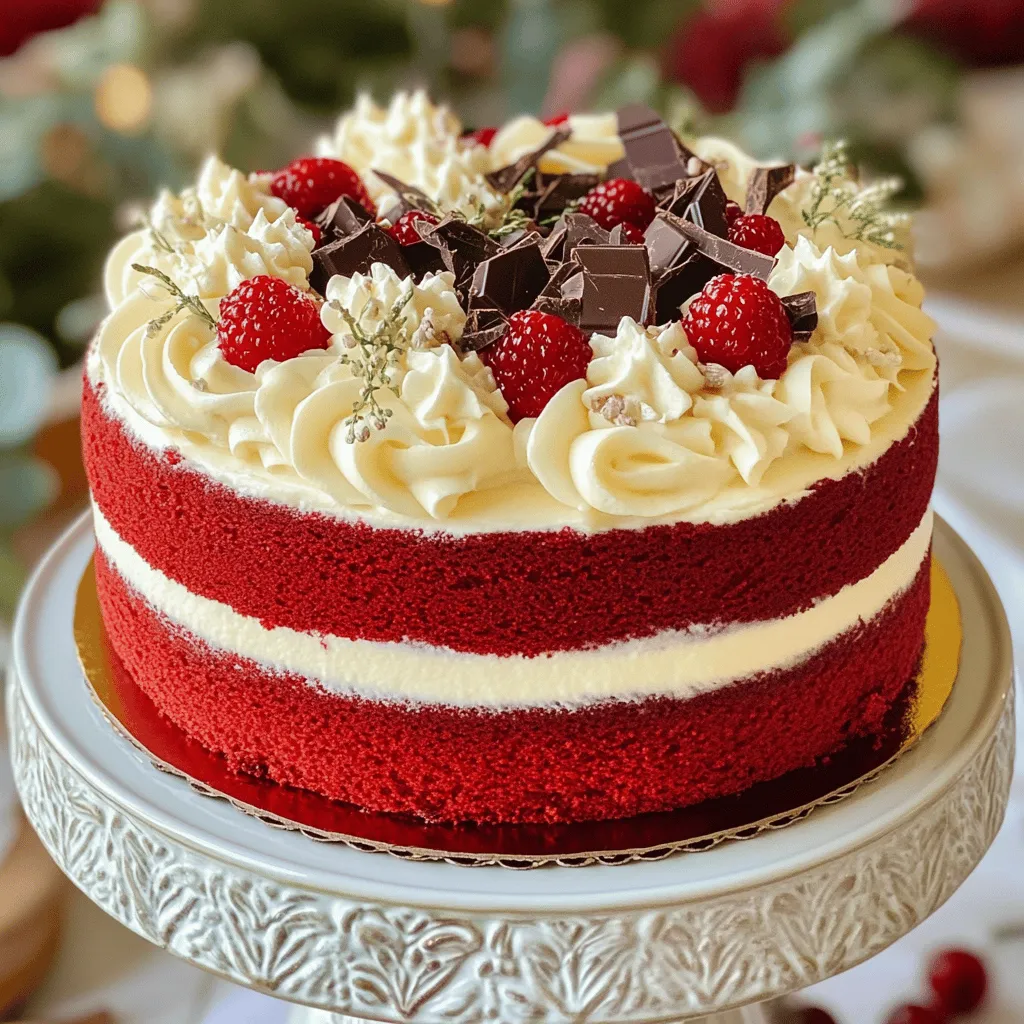
Red Velvet Cake Delight Simple and Tasty Recipe
Red Velvet Cake is a timeless favorite that never fails to impress. This deep red treat is not just beautiful;
Read more…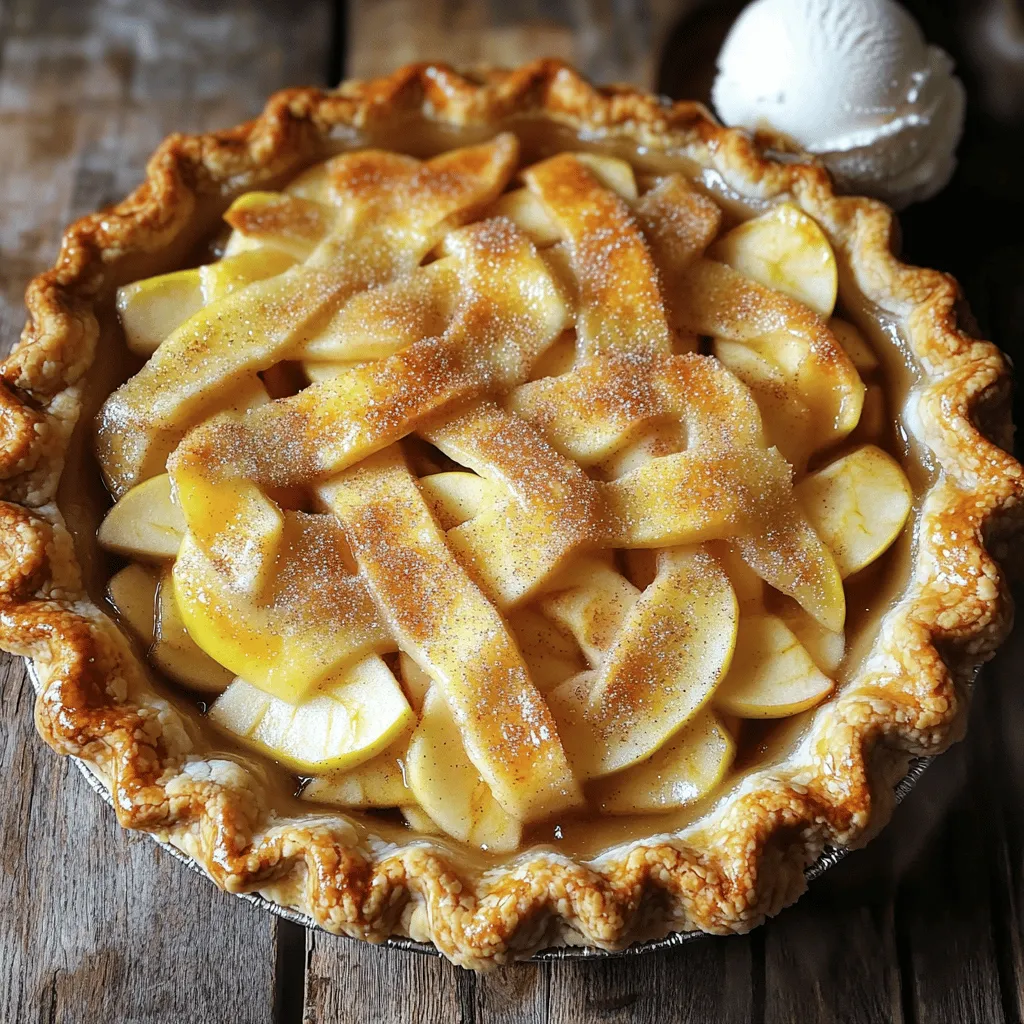
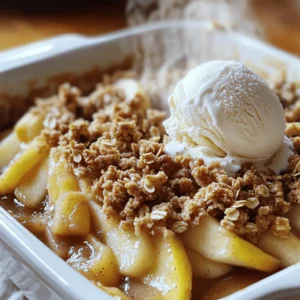
Apple Pie Delight Simple Steps for Perfect Recipe
Are you ready to bake the perfect apple pie? In “Apple Pie Delight: Simple Steps for Perfect Recipe,” I will
Read more…
Crockpot Mexican Chicken Flavorful and Simple Recipe
Looking for a simple, tasty meal? You’re in the right place! This Crockpot Mexican Chicken is packed with bold flavors
Read more…
Spring Hash Brown Crust Quiche Delightful and Easy Recipe
Looking for a quick, tasty dish for spring? Try my Spring Hash Brown Crust Quiche! This recipe combines crispy hash
Read more…browse recipes


Lemon Garlic Herb Grilled Chicken Simple and Tasty
When you’re craving a juicy, flavorful meal, my Lemon Garlic Herb Grilled Chicken hits the spot. This simple recipe brings together fresh ingredients, zesty…
My Latest Desserts
My Latest Recipes

hey,
i’m !
I’m so happy you’re here!
My kitchen is filled with stories, flavors, and love and I’m so happy to share them with you. Here’s to dishes that feel like home.

![To make these tasty chocolate hazelnut spread cookies, gather the following items: - 1 cup all-purpose flour - 1/4 cup unsweetened cocoa powder - 1/2 teaspoon baking soda - 1/4 teaspoon salt - 1/2 cup unsalted butter, softened - 1/2 cup brown sugar, packed - 1/4 cup granulated sugar - 1 large egg - 1 teaspoon vanilla extract - 1/2 cup chocolate hazelnut spread (like Nutella) - 1/2 cup chopped hazelnuts (toasted optional) - Sea salt flakes for topping You can swap some ingredients for different flavors or diets. Use whole wheat flour if you want more fiber. For a gluten-free version, try almond flour or a gluten-free blend. If you prefer less sugar, reduce the brown or granulated sugars. You can also use coconut sugar for a different taste. If you have nut allergies, use sun butter instead of hazelnuts. Always choose fresh ingredients for the best taste. Look for flour that is finely ground and cocoa powder that is rich and dark. When buying butter, choose unsalted for better control over your salt levels. For hazelnuts, go for whole, raw nuts if you can. Toast them lightly before adding them to enhance their flavor. Lastly, pick a high-quality chocolate hazelnut spread. This will make your cookies taste even better. For the full recipe, check out the detailed instructions above. Start by gathering your ingredients. You will need flour, cocoa powder, baking soda, and salt. In a medium bowl, whisk these dry ingredients together. This step helps mix everything evenly. Next, take a large bowl. Cream the softened butter, brown sugar, and granulated sugar together. Use an electric mixer for about two to three minutes. The mixture should become light and fluffy. Now, beat in one large egg and a teaspoon of vanilla extract. Mix well until everything is combined. Gradually add the dry mix to the wet mix. Keep the mixer on low speed until just combined. Finally, gently fold in the chocolate hazelnut spread and chopped hazelnuts. Make sure the spread is well distributed throughout the dough. Preheat your oven to 350°F (175°C). While it heats, line a baking sheet with parchment paper. Using a cookie scoop or a tablespoon, drop heaping spoonfuls of dough onto the sheet. Leave about two inches between each cookie. This space helps them bake evenly. Before you bake, sprinkle a pinch of sea salt flakes on top of each cookie. This small touch adds a nice flavor contrast. Bake in the oven for 10 to 12 minutes. The edges should be set, but the centers will still be soft. This helps the cookies stay chewy. Once baked, remove the cookies from the oven. Let them cool on the baking sheet for about five minutes. This step helps them firm up a bit. After that, transfer the cookies to a wire rack. Let them cool completely there. For a lovely presentation, serve the cookies on a rustic wooden board. Drizzle extra chocolate hazelnut spread over the top. Dust with powdered sugar for an elegant touch. These steps make your cookies look as good as they taste. Enjoy every bite! To make the best cookies, start with room temperature butter. Cold butter makes it hard to mix. Use a mixer to blend the butter and sugars. This step adds air, giving your cookies a nice rise. Use a cookie scoop for even dough balls. It helps cookies bake evenly. For soft centers, do not overbake your cookies. They should look set around the edges but soft in the middle. Check them at the 10-minute mark. Remove them while they still look a bit underbaked. They will continue to cook on the baking sheet. Accurate measurements are key for great cookies. Use a kitchen scale for precision. If you don’t have one, use dry measuring cups. Spoon flour into the cup without packing it down, then level it off. This method keeps your cookies from being too dense. Follow the [Full Recipe] closely for the best results. {{image_2}} You can switch up the nuts in these cookies. Try using walnuts or pecans for a new taste. You can even add chocolate chips. The mix of hazelnuts and chocolate chips adds more texture. Use dark, milk, or white chocolate for fun. This keeps every bite exciting and full of surprises! Want to make these cookies gluten-free? It’s easy! Swap the all-purpose flour for a gluten-free blend. Look for a blend that has a good mix of flours. This way, you still get a soft cookie. Check that the chocolate hazelnut spread is gluten-free too. It’s simple and still delicious! You can boost the flavor in these cookies! Add a pinch of cinnamon or espresso powder to the dough. These spices mix well with chocolate and hazelnuts. You can also try adding orange zest for a citrus kick. These little changes can make a big difference in taste. Don't be afraid to experiment and find your favorite flavor! To keep your cookies fresh, place them in an airtight container. This helps them stay soft. You can also add a slice of bread inside the container. The bread keeps the cookies moist. Store the container at room temperature. Avoid exposure to heat and sunlight. Freezing cookies extends their life. First, let the cookies cool completely. Then, place them in a single layer on a baking sheet. Freeze for about an hour. Once firm, move them to a freezer-safe bag. Label the bag with the date. You can freeze cookies for up to three months. When you want a warm cookie, preheat your oven to 350°F (175°C). Place the frozen or chilled cookie on a baking sheet. Heat for about 5-8 minutes. For extra gooeyness, add a small scoop of chocolate hazelnut spread on top before warming. Enjoy your cookie, fresh and warm! Yes, you can use other chocolate spreads. Brands like peanut butter or almond butter work great too. Each spread will give a unique taste to the cookies. Experiment and find your favorite! Look for a set edge and a soft center. The cookies should look slightly puffy. They will firm up as they cool. Trust your eyes; every oven is different! If you need a nut substitute, try walnuts or pecans. You can also skip nuts altogether. To add crunch, use chocolate chips instead. Yes, you can make the dough ahead. Chill it in the fridge for up to 3 days. Just scoop and bake when you’re ready! If the dough is sticky, add a little more flour. Mix in small amounts until you reach the right texture. The dough should be soft but not overly sticky. Store cookies in an airtight container. They will stay fresh for up to a week. For longer storage, freeze them. Whole wheat flour can be used but may change the texture. The cookies might be denser, so use a blend of all-purpose and whole wheat for a lighter result. If you don’t have baking soda, you can use baking powder. Use three times the amount of baking powder as baking soda. The cookies may rise more but will still taste good. Yes, these cookies are safe for kids. They are a fun treat and kids love the chocolate hazelnut flavor. Just watch out for any nut allergies! You can find the full recipe for Chocolate Hazelnut Delight Cookies in the recipe section above. It will guide you through every step to bake these delicious treats. This blog post covered all you need to make great cookies. We looked at key ingredients, how to prep and bake your dough, and tips for perfect texture. I shared fun variations to try and how to store your cookies for the best taste. Remember, measuring helps with baking success. Enjoy creating your cookies and don’t hesitate to experiment. They will taste even better with your personal touch! Happy baking!](https://southerndishes.com/wp-content/uploads/2025/06/ad11d4f6-390a-4344-8e3c-7988994973a1-300x300.webp)

Buffalo Cauliflower Bites Crispy and Flavorful Snack
If you crave a snack that’s both crispy and packed with flavor, look no further! Buffalo cauliflower bites are the perfect choice for game…