Latest & Greatest

Maple Glazed Brussels Sprouts Savory and Simple Dish
Are you ready to elevate your veggie game with a simple dish that’s packed with flavor? Maple Glazed Brussels Sprouts
Read more…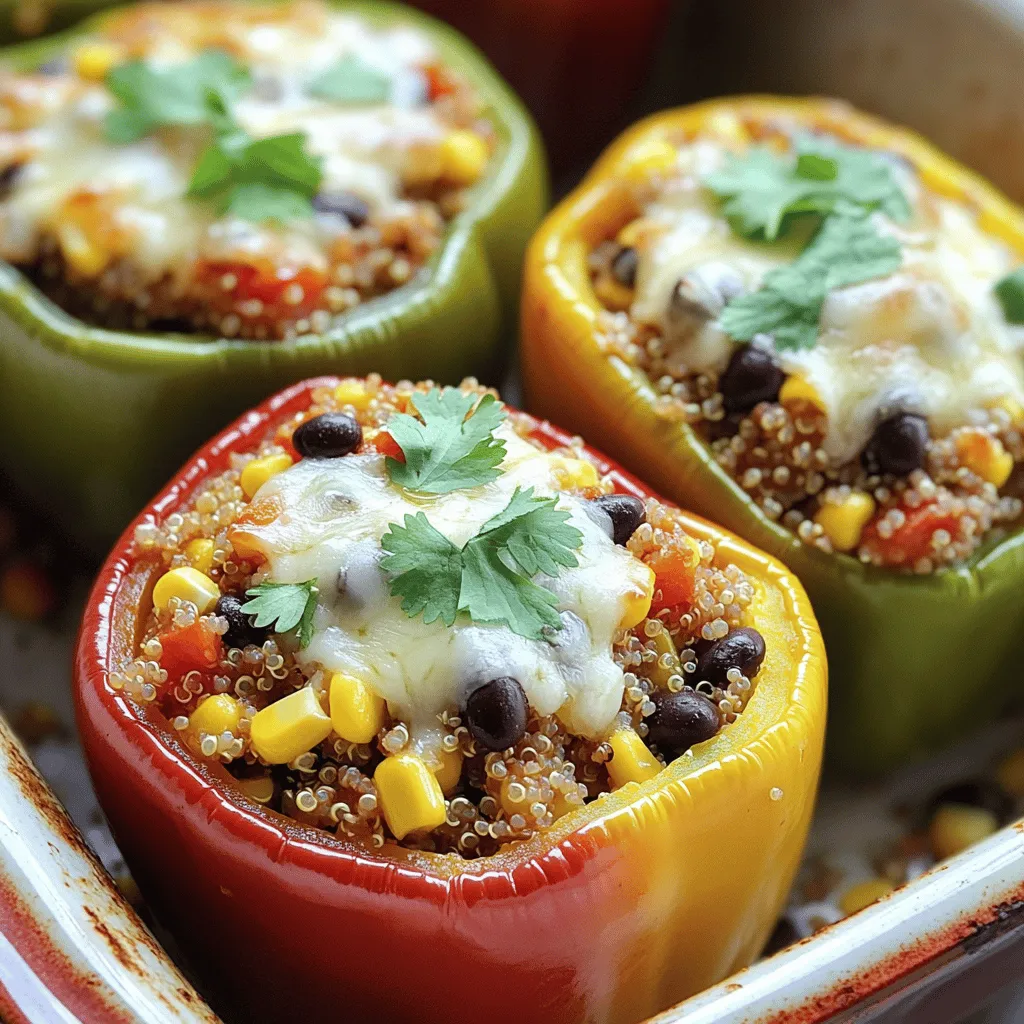
Stuffed Bell Peppers with Quinoa Flavorful Delight
Get ready for a meal that’s both delicious and healthy! In this post, I’ll show you how to make stuffed
Read more…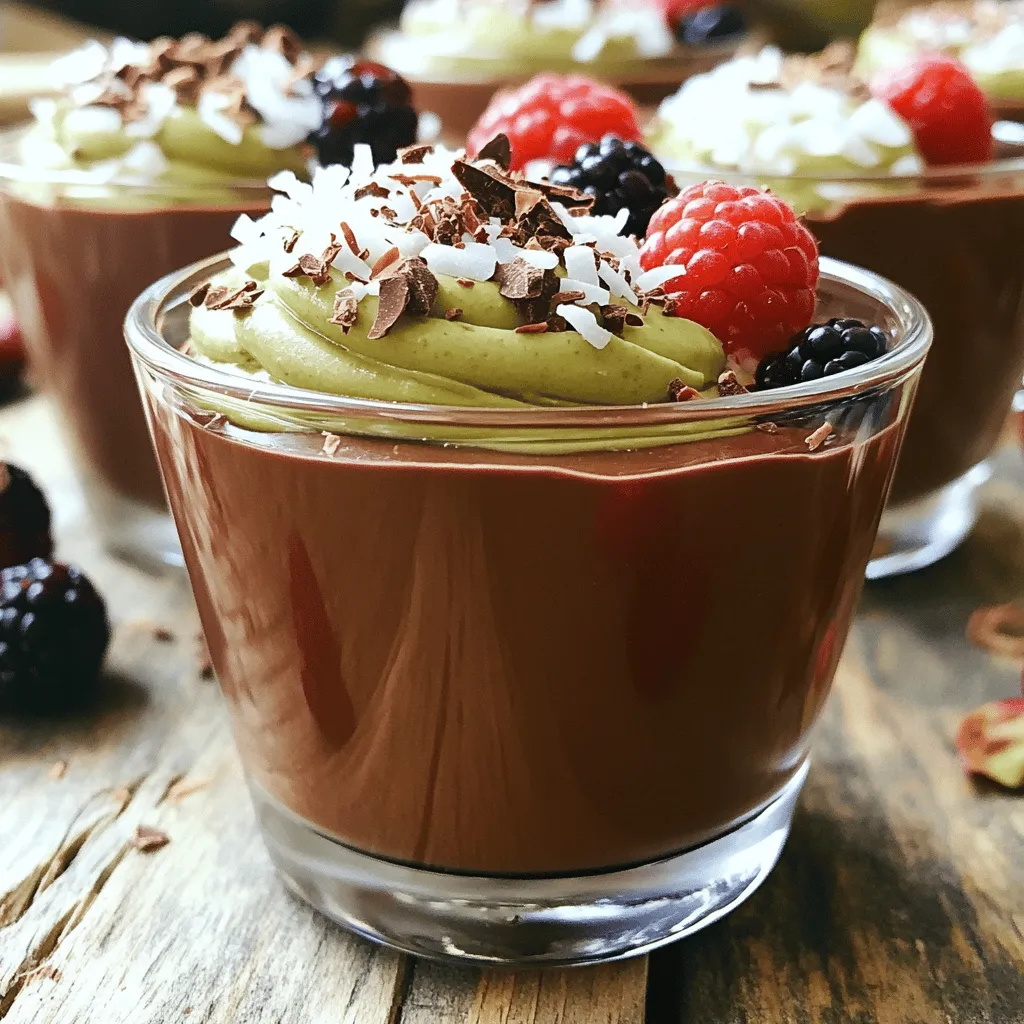
Chocolate Avocado Mousse Rich and Creamy Delight
Are you ready to indulge in a dessert that’s both rich and healthy? Chocolate Avocado Mousse combines creamy avocados with
Read more…
Sriracha Honey Cauliflower Bites Flavorful Snack Idea
If you’re craving a snack that’s bold and tasty, Sriracha Honey Cauliflower Bites are a perfect choice. These crunchy bites
Read more…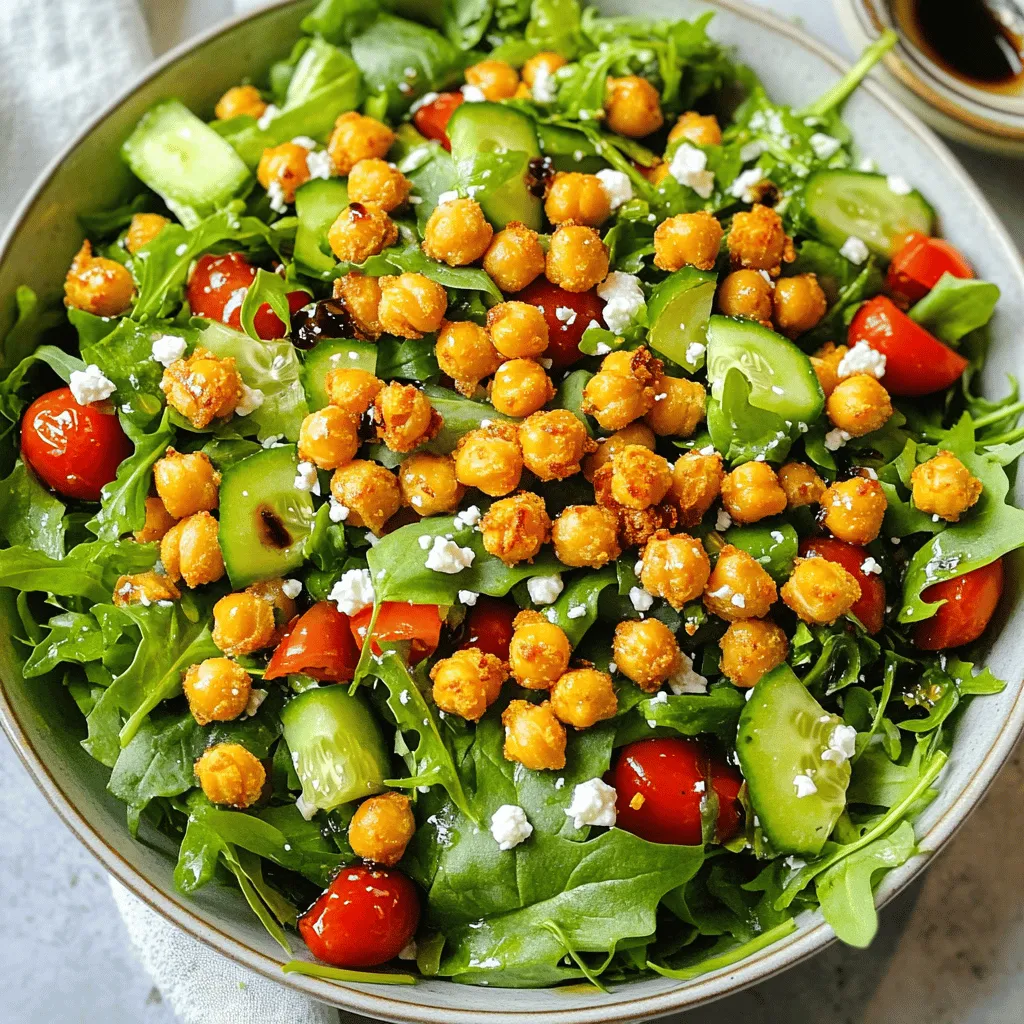
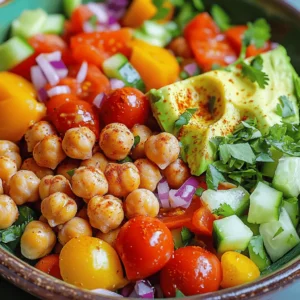
Crispy Chickpea Salad Fresh and Flavorful Delight
If you’re craving a salad that’s fresh, flavorful, and packed with crunch, look no further! My Crispy Chickpea Salad combines
Read more…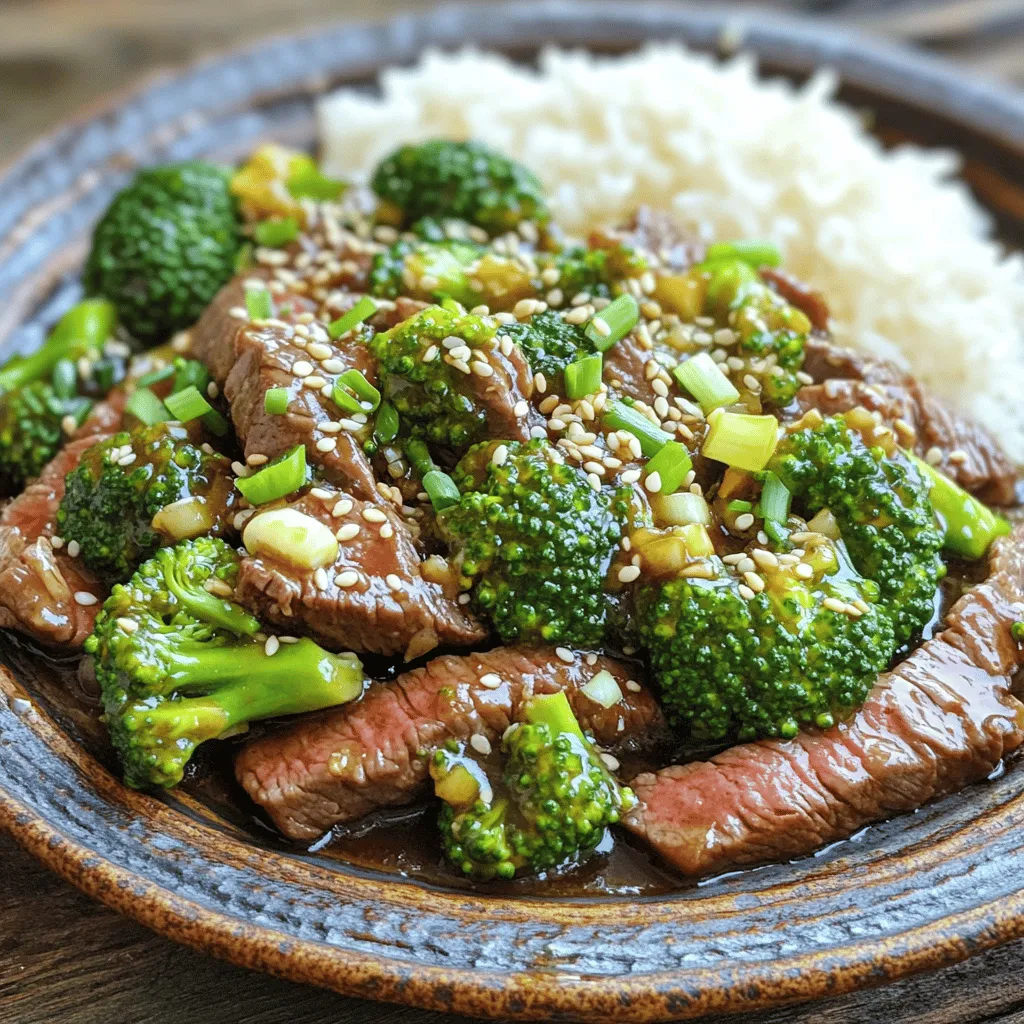
Easy Beef and Broccoli Quick and Flavorful Recipe
Are you ready for a quick and tasty meal? My Easy Beef and Broccoli recipe is here to save your
Read more…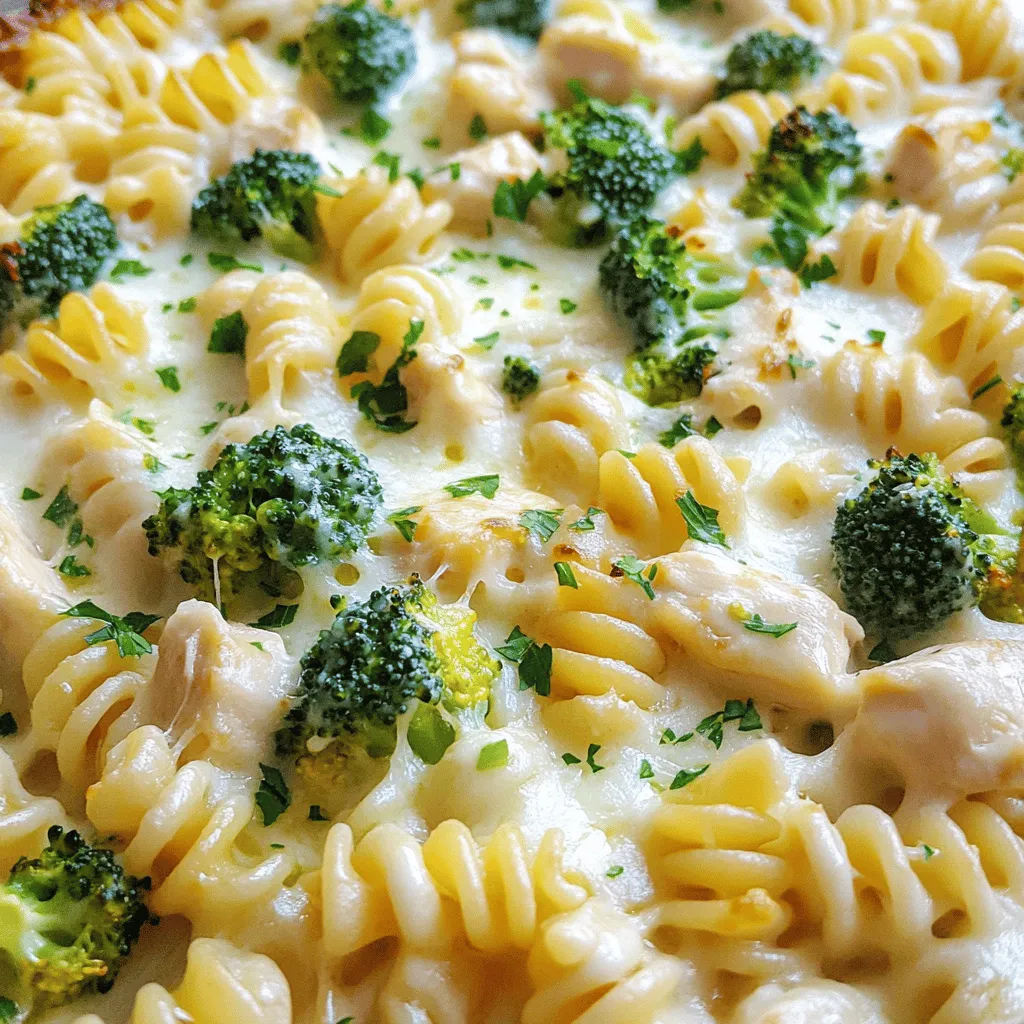
Creamy Chicken Alfredo Bake Simple and Tasty Recipe
Are you ready to elevate your dinner game? My Creamy Chicken Alfredo Bake hits all the right notes. This easy
Read more…
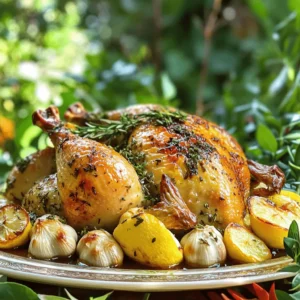
Coconut Curry Chicken Flavorful and Simple Recipe
Craving a warm, comforting dish? My Coconut Curry Chicken recipe is both flavorful and simple! With juicy chicken thighs, creamy
Read more…browse recipes

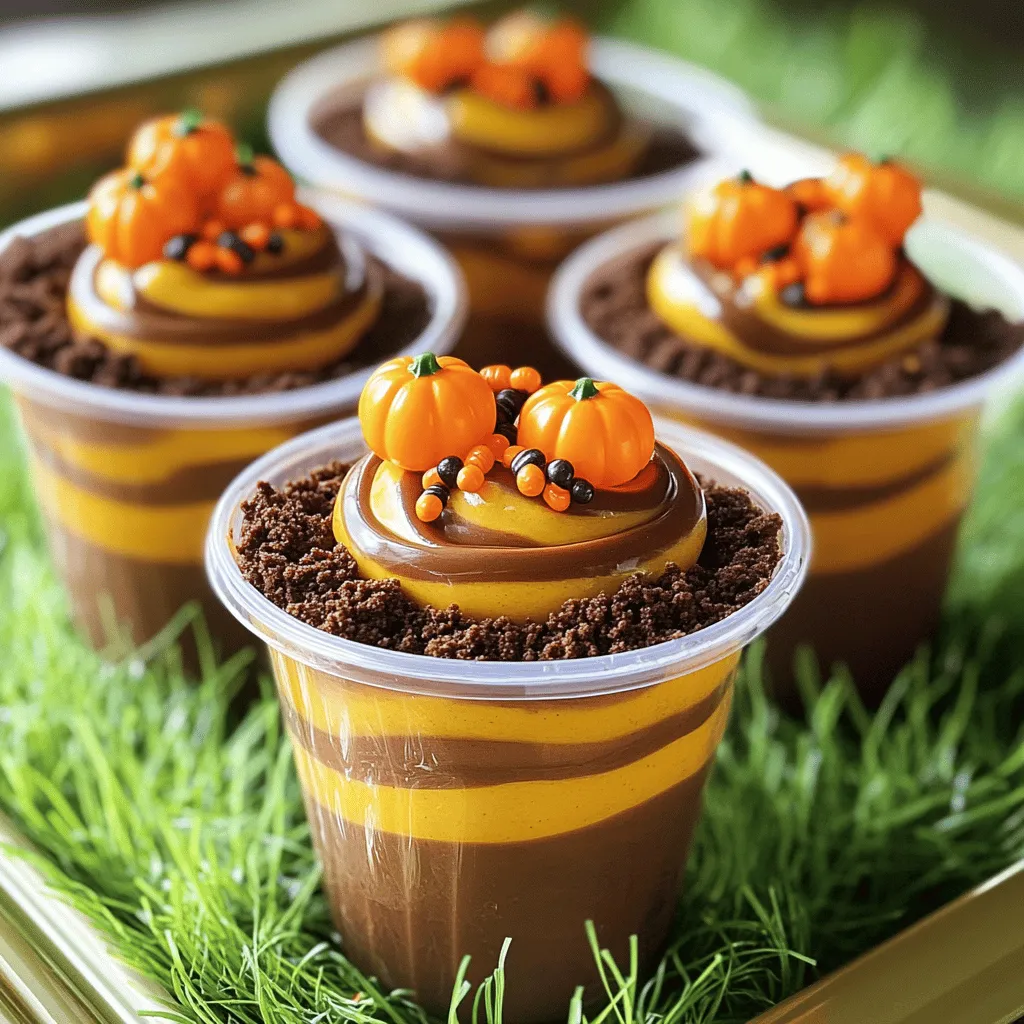
Pumpkin Patch Dirt Cups Tasty Treat for Fall Fun
Fall is here, and it’s time to whip up a fun treat! Pumpkin Patch Dirt Cups are easy to make and taste amazing. Imagine…
My Latest Desserts
My Latest Recipes

hey,
i’m !
I’m so happy you’re here!
My kitchen is filled with stories, flavors, and love and I’m so happy to share them with you. Here’s to dishes that feel like home.

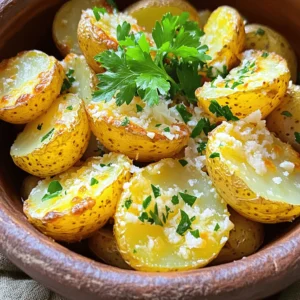
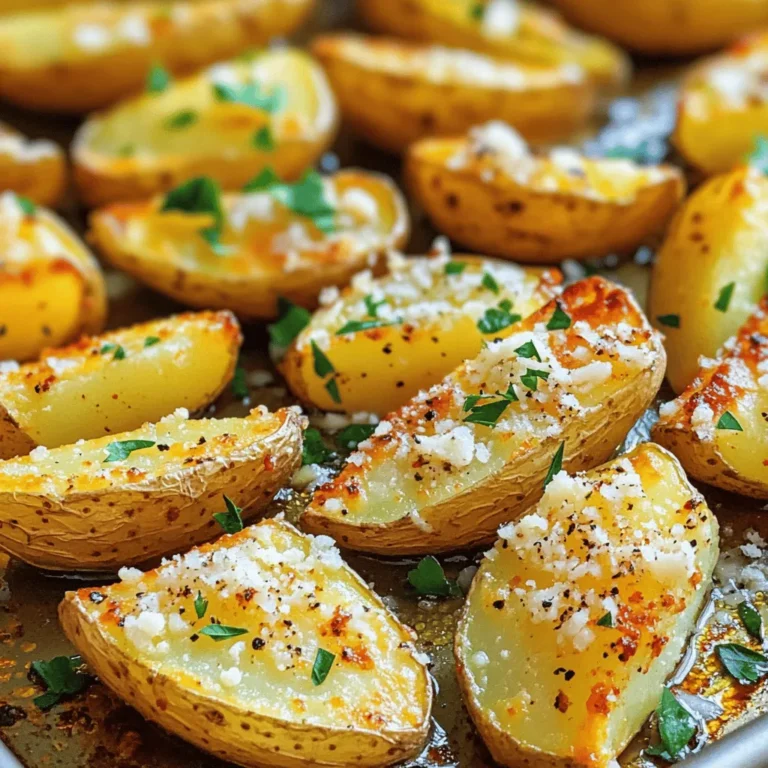
Creamy Garlic Mashed Potatoes Simple and Velvety Dish
Creamy garlic mashed potatoes are a must-have for any meal. They’re simple, velvety, and bursting with flavor. With just a few easy steps, you…
![- 2 pounds Yukon Gold potatoes - 4 cloves garlic - 1 cup whole milk or heavy cream - 1/2 cup unsalted butter - 1/4 cup sour cream - Salt and pepper - Fresh chives - Additional butter When making creamy garlic mashed potatoes, I always choose Yukon Gold potatoes. They have a natural buttery flavor that makes the dish rich and smooth. You will need about 2 pounds. Next, garlic adds a punch of flavor. Four cloves, minced, will give your mash that lovely garlic taste. For the creaminess, I like to use 1 cup of whole milk or heavy cream. The heavy cream gives a richer texture, so use that if you want it extra creamy. Butter is key for the velvety feel, so I add 1/2 cup of unsalted butter. It should be softened to mix easily. Sour cream brings a nice tang, so include 1/4 cup in your mix. Lastly, you'll want to season with salt and pepper to taste. If you want to make your dish pop, you can add optional garnishes. Fresh chives not only add color but also a mild onion flavor. A little extra butter on top makes it look and taste even better. These ingredients come together to create a simple yet luxurious side dish. For the full recipe, check out the detailed instructions later in this article. Start with cold salted water. Place the cubed Yukon Gold potatoes in a large pot and cover them with water. This helps them cook evenly. Bring the pot to a boil over medium-high heat. Cook the potatoes for about 15 to 20 minutes. You can check doneness by poking them with a fork. They should feel soft and tender when done. While the potatoes cook, prepare the garlic mixture. In a small saucepan, combine the minced garlic and milk or cream. Heat this over medium heat. You want it warm, not boiling. This step blends the garlic flavor into the milk. Stir this gently for about 3 to 5 minutes, until the garlic smells good and is fragrant. Once the potatoes are ready, drain them well. Return them to the pot to keep them warm. Add the softened butter, warm garlic milk mixture, and sour cream to the potatoes. For mashing, you can use a potato masher or an electric mixer. I prefer a masher for a rustic feel. Mash until you reach your desired creaminess. Taste and adjust salt and pepper as needed. This creamy garlic mashed potato recipe brings comfort and flavor to any meal. Feel free to check out the Full Recipe for more details! To get that smooth and creamy texture, always choose Yukon Gold potatoes. They are naturally buttery and mash beautifully. When you cook them, they soak up flavors well. After mashing, you can adjust the creaminess with milk or cream. If you want it richer, use heavy cream. Roasted garlic adds a deep, sweet flavor. To do this, roast garlic cloves in olive oil until soft. Add this to your mashed potatoes for a twist. For seasoning, remember to taste as you go. Adjust salt and pepper based on your preference. You might want to add a pinch of garlic powder for extra kick. Make your dish look appealing with simple garnishes. Fresh chives add a pop of color and flavor. When plating, serve in a large bowl or on individual plates. Create a small well in the center of the mash. Place a pat of butter there or sprinkle more chives for a nice touch. This makes your creamy garlic mashed potatoes look and taste gourmet. Want the full recipe? Check out the [Full Recipe]. {{image_2}} Adding cheese to your mashed potatoes brings a new level of flavor. You can choose from many types of cheese. Some good options are cheddar, Parmesan, or cream cheese. Each one adds a unique taste. For a richer flavor, try a combination of cheeses. Mix in about a cup of shredded cheese while mashing the potatoes. This will help the cheese melt and mix well. If you want a vegan version, you can easily swap out the dairy. Use almond milk or oat milk instead of whole milk. For butter, try coconut oil or vegan butter. To keep the creamy texture, add plant-based sour cream. It gives a nice tang and richness. You will still enjoy creamy garlic mashed potatoes without any animal products. Herbs and spices can brighten up your mashed potatoes. Fresh herbs like rosemary or thyme add a lovely aroma and taste. Just chop a few sprigs and mix them in before serving. You can also experiment with spices like paprika or garlic powder. These can add warmth and depth to the flavor. Don't be afraid to get creative with your seasonings! Store your leftover creamy garlic mashed potatoes in an airtight container. Make sure the container is sealed well to keep out air and moisture. They can stay fresh in the fridge for about 3 to 5 days. If you want to enjoy them later, it’s best to cool them first before putting them away. To reheat your mashed potatoes, use a microwave or a stovetop. If using the microwave, place them in a bowl and cover with a damp paper towel. This helps keep them moist. If using the stovetop, put them in a pot over low heat. Add a splash of milk or cream as you heat them. This will help bring back their creaminess. Yes, you can freeze creamy mashed potatoes! To freeze them, scoop the mashed potatoes into a freezer-safe container. Leave some space at the top for expansion. They can last up to 2 months in the freezer. When you’re ready to eat them, thaw them in the fridge overnight. Reheat them the next day, adding a bit of milk or cream for the best texture. For the full recipe, check out the Creamy Garlic Mashed Potatoes section. Yukon Gold potatoes are my top choice. They are creamy and smooth. Their natural sweetness adds great flavor. Russet potatoes are another option. They are fluffy but can be drier. Mixing both types can give you a nice texture. Avoid waxy potatoes like red or new potatoes. They become gluey when mashed. Yes, you can make them ahead. Cook and mash the potatoes, then cool them. Store in an airtight container in the fridge. They can last up to three days. When you’re ready to serve, reheat them gently. Add a splash of milk for creaminess. You can also cover them and bake in the oven. If your mashed potatoes are runny, don’t worry. You can fix them! Try adding more potatoes. Cook and mash a few extra. Another option is to stir in more sour cream or butter. You can also cook them on low heat. This helps evaporate some liquid. Just stir gently to avoid lumps. In this post, I shared essential recipes and techniques for perfect mashed potatoes. We discussed the key ingredients, cooking tips, and variations to suit your taste. Remember to choose Yukon Gold potatoes for the best flavor and texture. Don't hesitate to get creative with add-ins and garnishes. With practice, you'll master this classic dish. Enjoy impressing your family and friends with creamy, delicious mashed potatoes that are sure to be a hit!](https://southerndishes.com/wp-content/uploads/2025/07/9e7aa845-61be-4ced-a70a-4db1d36a99aa.webp)
