Latest & Greatest

Spicy Lentil Soup Hearty and Flavorful Delight
Welcome to the world of Spicy Lentil Soup! This hearty dish packs a punch with robust flavors and fits any
Read more…
Garlic Herb Grilled Shrimp Flavorful Skewers Recipe
Welcome to your new favorite summer dish: Garlic Herb Grilled Shrimp! This easy recipe combines fresh shrimp with garlic, herbs,
Read more…
Cranberry Orange Muffins Fresh and Tasty Delight
Welcome to a delicious adventure with my Cranberry Orange Muffins! These muffins burst with fresh flavors that brighten any day.
Read more…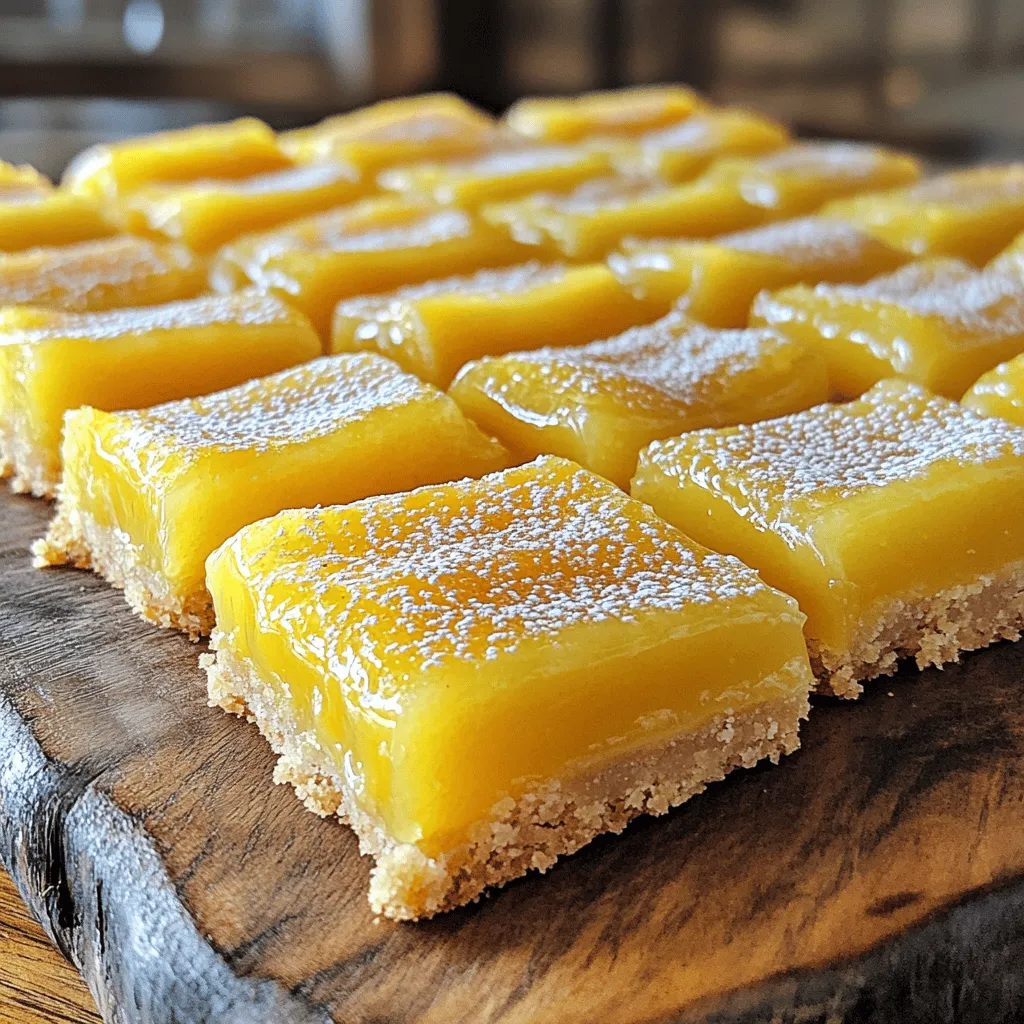
Zesty Lemon Bars Tangy and Refreshing Dessert Treat
Are you ready to brighten your day with a sweet and tangy treat? Zesty Lemon Bars are the perfect dessert
Read more…
Matcha Green Tea Muffins Nourishing and Flavorful Treat
Are you ready to brighten your mornings? These Matcha Green Tea Muffins are not only nourishing but also packed with
Read more…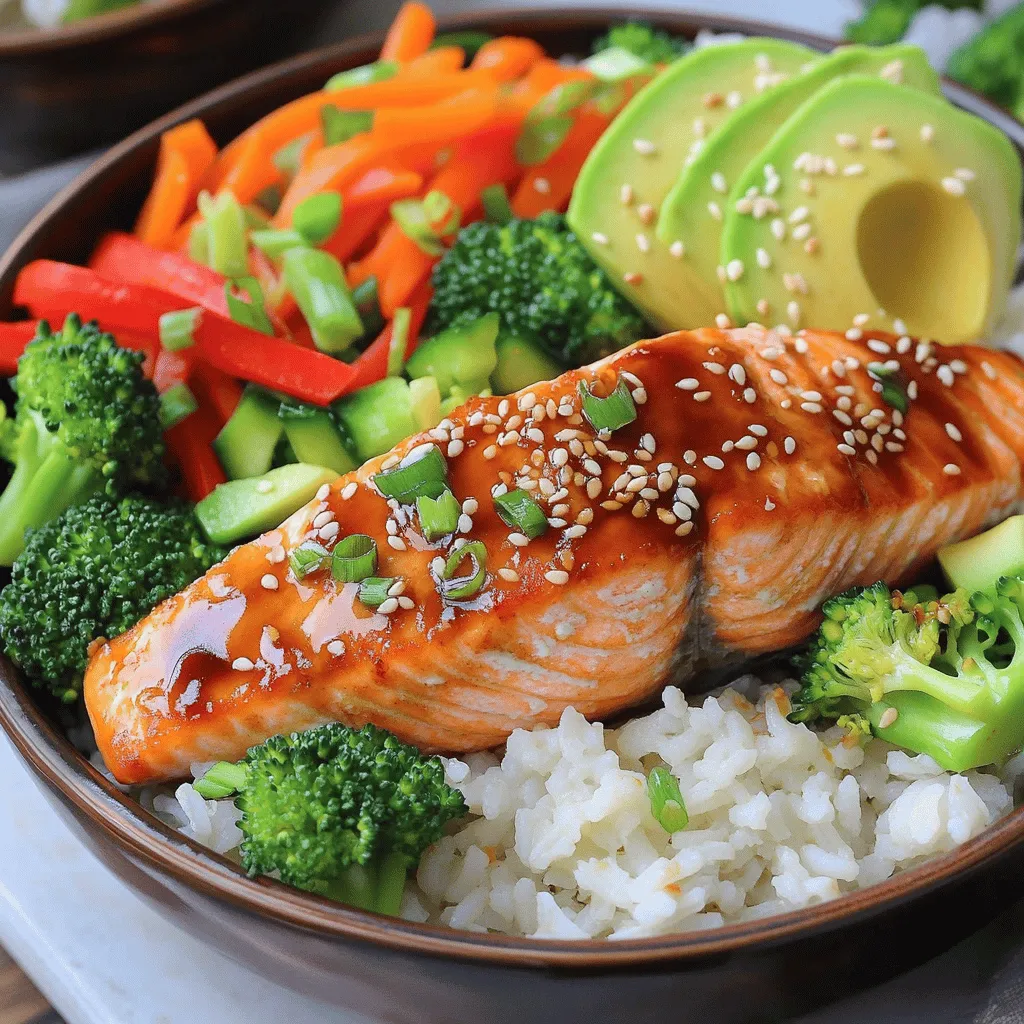
Teriyaki Salmon Bowls Scrumptious and Easy Meal Prep
If you crave a quick, tasty meal that’s healthy and satisfying, teriyaki salmon bowls are your answer. You can whip
Read more…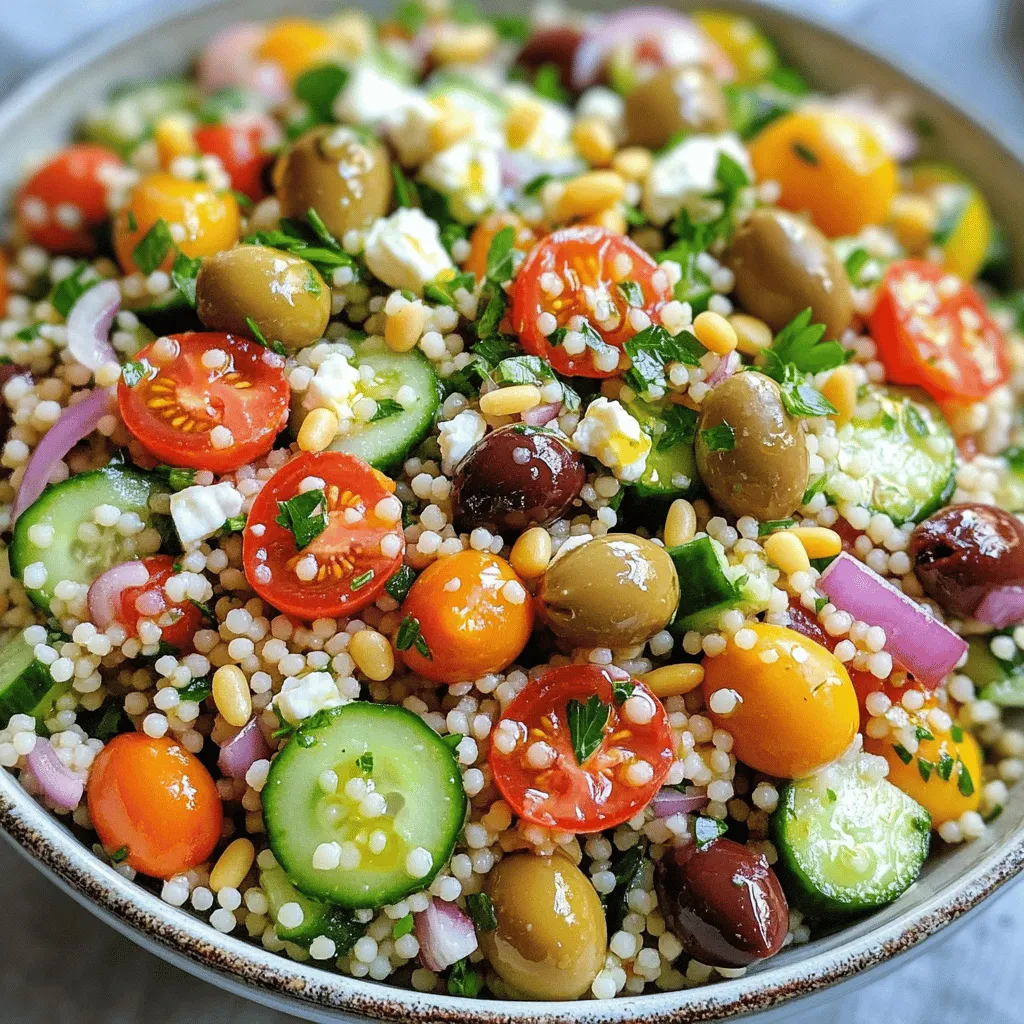
Mediterranean Couscous Salad Fresh and Flavorful Choice
Looking for a fresh, flavorful dish that impresses without the fuss? Mediterranean Couscous Salad is your answer. Bursting with vibrant
Read more…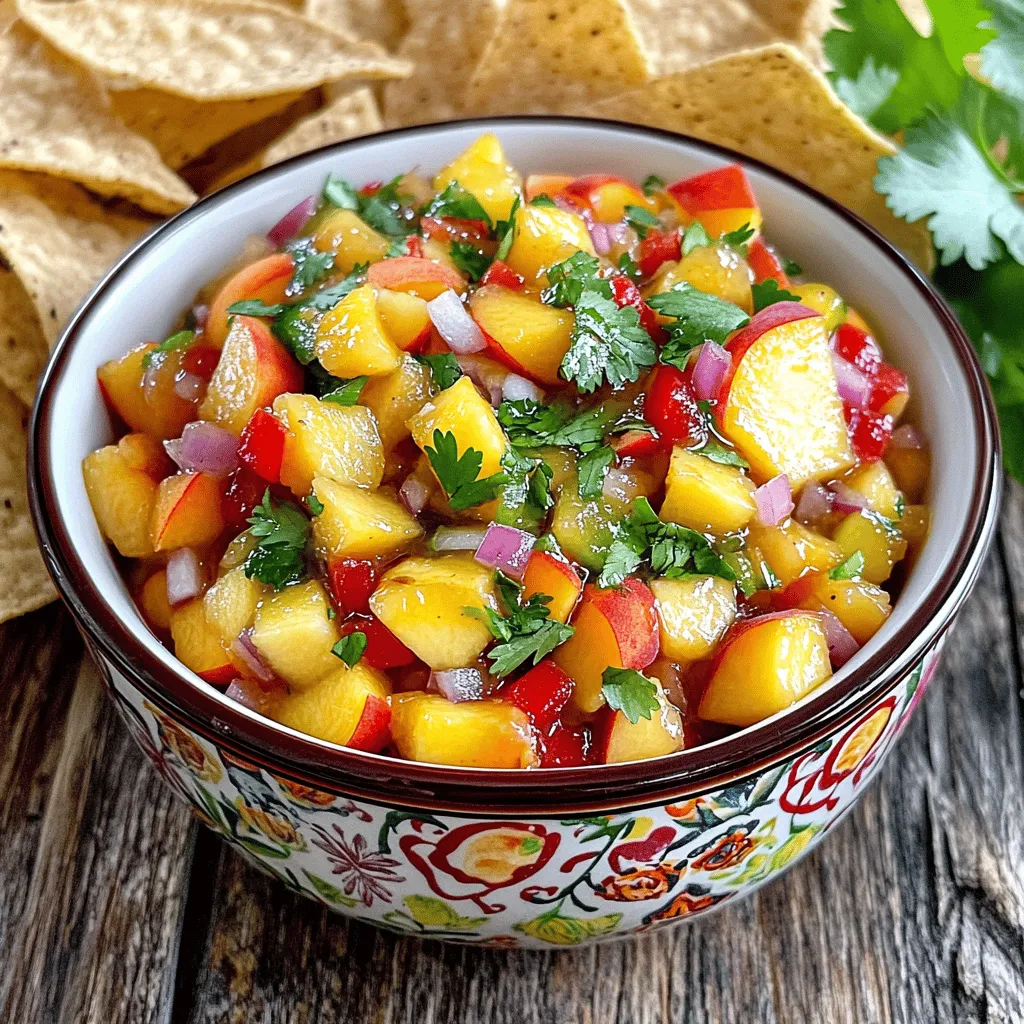
Peach Salsa Fresh and Flavorful Summer Treat
Get ready to savor summer with my fresh and flavorful peach salsa! This sweet and zesty dish makes the perfect
Read more…browse recipes
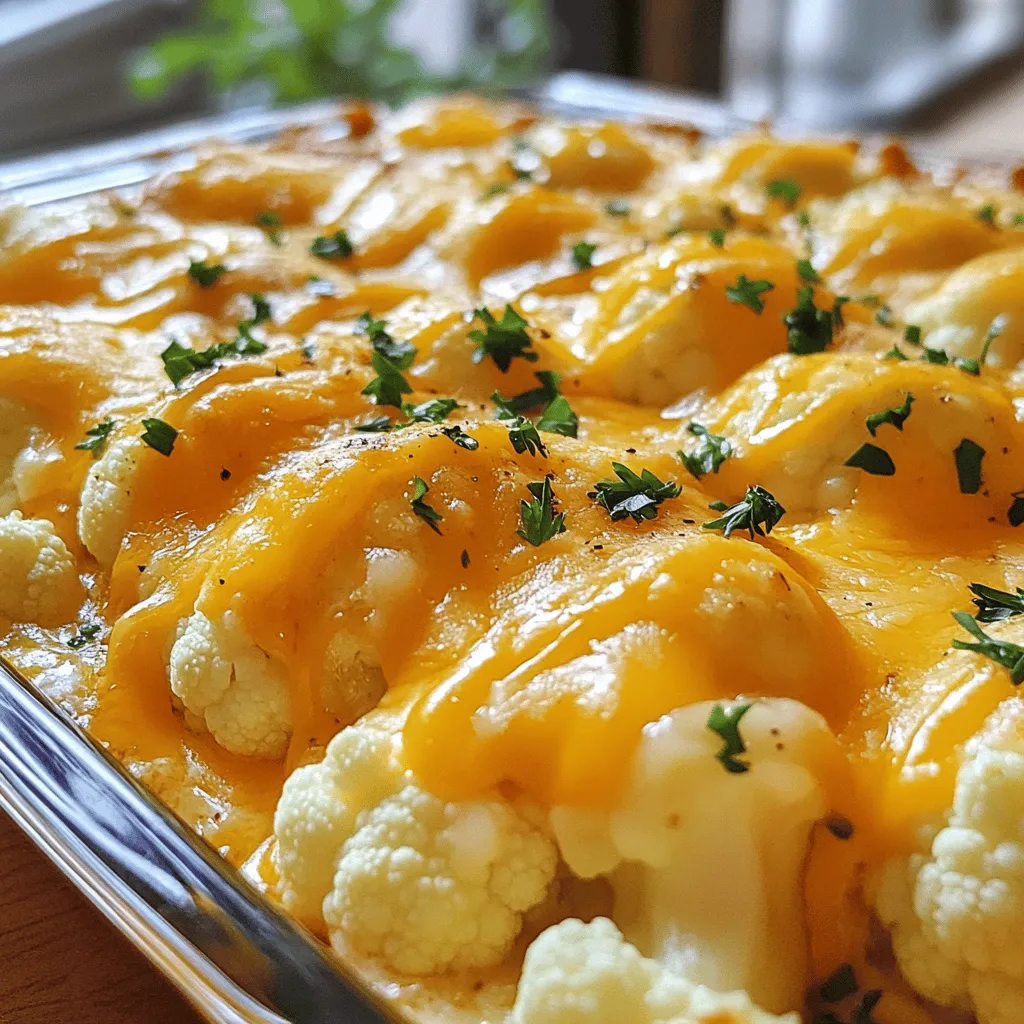
Cheesy Cauliflower Bake Deliciously Easy Comfort Dish
Are you ready to discover a dish that brings comfort and cheesy joy? My Cheesy Cauliflower Bake is a quick and easy solution for…
My Latest Desserts
My Latest Recipes
hey,
i’m !
I’m so happy you’re here!
My kitchen is filled with stories, flavors, and love and I’m so happy to share them with you. Here’s to dishes that feel like home.
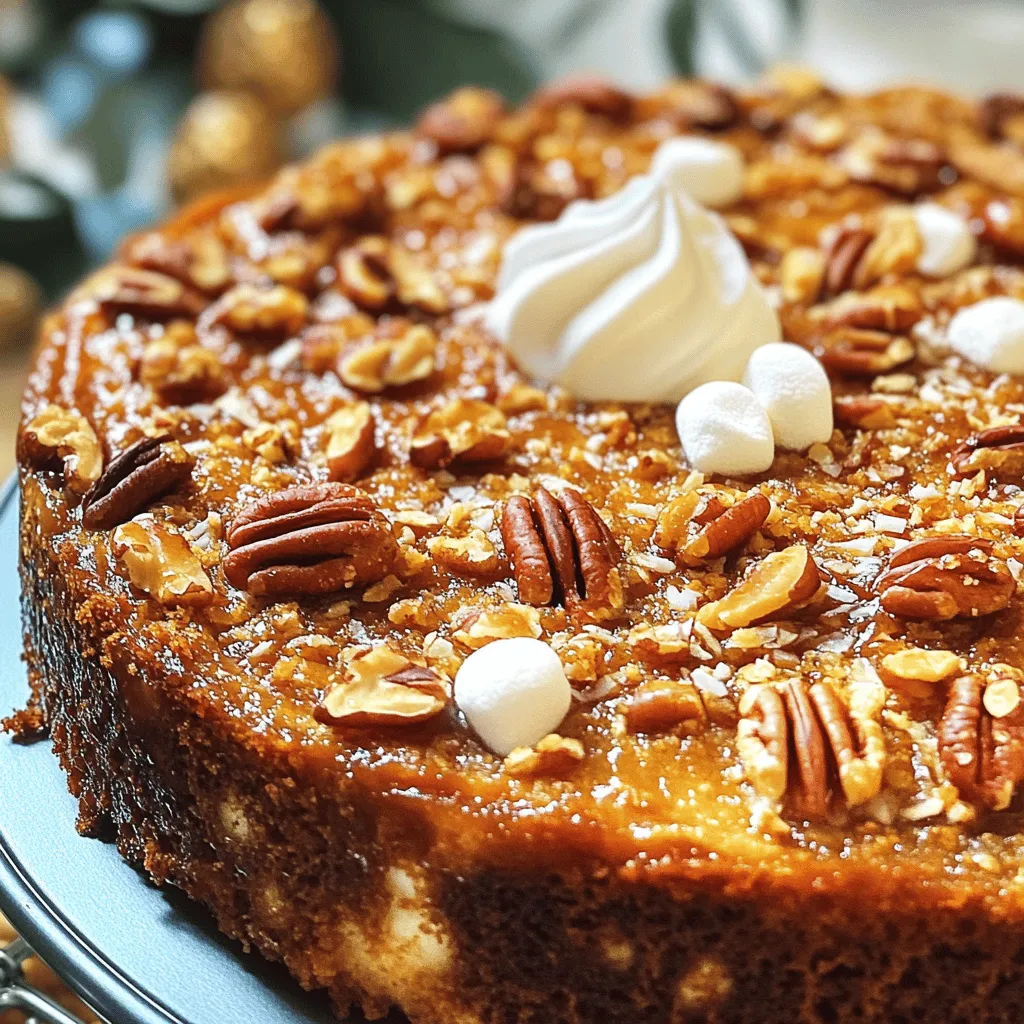
Pecan Praline Dump Cake Irresistible Easy Dessert
Are you ready to impress your friends and family with a simple yet delicious dessert? Let me introduce you to the Pecan Praline Dump…


. To start, gather your ingredients. You need honey, soy sauce, garlic, and ginger. In a small bowl, whisk together these items. Mix until they blend well. This marinade gives the salmon its sweet and savory taste. Next, take the salmon fillets. Place them in a resealable bag or a shallow dish. Pour the marinade over the salmon. Make sure each piece is coated well. Seal the bag or cover the dish. Let it sit in the fridge for at least 30 minutes. If you have more time, marinate for up to 2 hours. This helps the flavors soak in better. Now, preheat your oven to 400°F (200°C). Line a baking sheet with parchment paper or grease it lightly. Remove the salmon from the marinade and put it skin-side down on the baking sheet. Drizzle with olive oil and sesame oil. Sprinkle some salt and pepper on top. You will bake the salmon for 12-15 minutes. It’s done when it flakes easily with a fork. While it bakes, take the leftover marinade and pour it into a small saucepan. Bring it to a boil over medium heat. Let it simmer for about 5 minutes to thicken. Once the salmon is out of the oven, brush it with the thickened marinade. You can garnish it with sesame seeds and sliced green onions for extra flair. For the full recipe, check out the detailed instructions. Enjoy your delicious honey garlic glazed salmon! To get the best salmon, timing is key. Bake the salmon for 12-15 minutes at 400°F (200°C). The fish should flake easily with a fork when it's done. If you want it juicier, take it out right at 12 minutes. For a firmer texture, go closer to 15 minutes. Keep an eye on it. Every oven is a bit different. For crispy skin, start with dry salmon. Pat it with paper towels before cooking. Use a hot oven, around 400°F (200°C). Drizzle some olive oil on the skin side. This helps it crisp up nicely. When you bake, don’t cover the salmon. Let the heat do its magic. If you want extra crispiness, broil it for the last minute. Serve your honey garlic glazed salmon with fresh sides. Steamed rice or quinoa pairs well. You can add some sautéed veggies for color and crunch. Try broccoli, snap peas, or carrots. For a fresh twist, top with a squeeze of lemon. It brightens the dish and adds a nice zing. Check out the full recipe for more ideas on how to enjoy this dish! {{image_2}} You can add vegetables to your honey garlic salmon for a complete meal. Choose veggies like broccoli, bell peppers, or zucchini. Just chop them into bite-sized pieces. Toss the veggies in a little olive oil and salt. Place them on the baking sheet with your salmon. Bake everything together for about 12-15 minutes. This way, your meal has color, taste, and nutrition. For a fun twist, try salmon bowls. Cook rice or quinoa as your base. Once the salmon is done, flake it into pieces. Place the salmon on top of the rice. Add colorful toppings like sliced cucumbers, shredded carrots, and avocado. Drizzle with extra honey garlic sauce for more flavor. This dish is filling and looks great on a plate. Grilling gives salmon a smoky flavor. Preheat your grill to medium heat. Use the same marinade from the recipe. After marinating, place the salmon on the grill, skin-side down. Grill for about 6-8 minutes per side. Keep an eye on it to avoid overcooking. Brush with the reserved marinade while grilling for extra taste. This method adds crispiness and a nice char to the fish. These variations keep things fresh and exciting. You can change the flavors and styles based on your mood and what you have at home. Try them out for a delightful dining experience! For the full recipe, refer to the Honey Garlic Glazed Salmon section. If you have leftover salmon, cool it to room temperature. Wrap the salmon tightly in plastic wrap or place it in an airtight container. Store it in the fridge. It will last for up to three days. Make sure to label it with the date. This helps you remember when you cooked it. To reheat your salmon, preheat your oven to 350°F (175°C). Place the salmon on a baking sheet. Cover it loosely with foil to keep it moist. Heat for about 10 to 15 minutes. You can also use a microwave. Place the salmon on a microwave-safe plate. Heat for about 30 seconds to one minute. Check it often to avoid overcooking. If you want to freeze the salmon, wrap it well in plastic wrap. Use a freezer bag to keep out the air. It can last for up to three months in the freezer. When you're ready to use it, thaw it in the fridge overnight. This helps maintain the best texture. After thawing, reheat it as mentioned above. You can enjoy your honey garlic salmon later without losing flavor. You can find the full recipe for honey garlic glazed salmon above. You can serve honey garlic glazed salmon with many sides. Some great choices are: - Steamed broccoli - Rice or quinoa - Mashed potatoes - Mixed green salad - Roasted vegetables These sides add color and flavor. They also balance the sweet and savory taste of the salmon. To check if your salmon is cooked, look for a few signs. The flesh should be opaque and flake easily with a fork. You can also use a meat thermometer. The center should reach 145°F (63°C). If it’s not done, return it to the oven for a few more minutes. Yes, you can use frozen salmon. Just make sure to thaw it first. Place the salmon in the fridge overnight or run it under cold water. Once thawed, you can follow the same steps in the full recipe. This will keep your dish tasty and fresh. This guide covered essential ingredients, step-by-step instructions, and tips for honey garlic glazed salmon. I shared variations to keep meals fun and offered storage tips to save food. Remember, cooking should be easy and enjoyable. With the right ingredients and techniques, you can create delicious meals. Try this recipe, explore variations, and enjoy every bite. Happy cooking!](https://southerndishes.com/wp-content/uploads/2025/06/7be97edb-b20b-4ed3-b373-e41f8d0dc571-300x300.webp)
. To make a great pizza, you need the right heat. Preheat your oven to 475°F (245°C). This hot oven creates a crispy crust. If you have a pizza stone, place it inside as the oven heats. It helps the bottom cook evenly. If you don’t have a stone, a baking sheet works well too, but the crust may be softer. Want to add more taste? Try these toppings: - Sliced jalapeños for heat - Pineapple chunks for sweetness - Bacon bits for crunch If you like your BBQ sauce spicy, mix in some hot sauce. This gives your pizza an extra kick. Taste your sauce first, then adjust it to your liking. How you serve your pizza matters! Serve it on a wooden cutting board for a rustic look. For an eye-catching touch, drizzle extra BBQ sauce around the pizza. It adds flavor and color. You can also sprinkle fresh cilantro on top for a pop of green. These little details make your BBQ chicken pizza look even more inviting. Enjoy every bite! {{image_2}} You can swap chicken for pulled pork or tofu. Both options bring unique tastes. Pulled pork adds a smoky flavor, while tofu provides a great plant-based choice. For a veggie option, consider a mix of beans or roasted veggies. These choices keep your pizza fun and fresh! Don’t just stick to mozzarella! Try using cheddar or gouda for a richer taste. They melt well and add depth to your pizza. If you need a dairy-free option, many stores sell good dairy-free cheese. These can work just as well and taste amazing! Seasonal produce can add a twist to your BBQ chicken pizza. In summer, use fresh zucchini or bell peppers. These veggies add great crunch and color. Using what's in season makes your pizza taste even better and supports local farms. Look for fresh ingredients at your market for the best flavors. To keep your BBQ chicken pizza fresh, place it in an airtight container. You can also wrap it in plastic wrap or aluminum foil. This method keeps the moisture in and stops the pizza from drying out. Store it in the fridge for up to four days. After that, the taste and texture may change. When it’s time to eat your leftovers, you want them hot and crispy. The oven is the best choice for reheating. Preheat it to 375°F (190°C). Place the pizza on a baking sheet and heat for about 10 minutes. This method keeps the crust nice and crunchy. You can use the microwave, but the pizza may get soggy. If you choose this method, heat it in 30-second bursts until warm. This way, you avoid overcooking it. Freezing pizza is easy. You can freeze it before or after baking. To freeze before baking, wrap the assembled pizza tightly in plastic wrap. Then, place it in a freezer bag. It can last up to three months this way. If you want to freeze leftovers, wait for them to cool first. Wrap each slice in plastic wrap and place them in a freezer-safe container. When you’re ready to eat, thaw the pizza in the fridge overnight. Then, reheat it in the oven for the best texture. For the full recipe, check out the details above! Yes, you can make your own pizza dough. It gives you fresh taste and control. Here are some tips: - Use all-purpose flour for a nice texture. - Mix flour, water, yeast, and salt in a bowl. - Knead the dough for about 5-10 minutes until smooth. - Let it rise for at least an hour in a warm place. - Roll it out to your preferred thickness. Homemade dough is fun and adds a personal touch to your BBQ chicken pizza. The BBQ sauce you choose matters. It adds a lot of flavor to your pizza. Here are some recommendations: - Sweet BBQ sauce pairs well with chicken. - Spicy BBQ sauce gives a kick if you like heat. - Tangy sauces add a nice zing. - Try a smoky BBQ sauce for a deeper flavor. Pick a sauce that matches your taste. You can even mix two types for fun. Absolutely! You can make your BBQ chicken pizza your own. Here are some fun topping ideas: - Add bell peppers for crunch and color. - Use jalapeños for extra spice. - Try pineapples for a sweet contrast. - Experiment with different cheeses like cheddar or gouda. Get creative! Make it just how you like it. Each topping changes the flavor and makes it special. This blog post covers everything you need for delicious BBQ chicken pizza. We explored the key ingredients and shared step-by-step instructions, ensuring your pizza turns out perfect. I also included helpful tips for the best crust and ideas for fun variations. Remember, you can easily adjust flavors and toppings to suit your taste. Enjoy your cooking journey and impress your friends with your pizza-making skills. Happy pizza baking!](https://southerndishes.com/wp-content/uploads/2025/06/f156a4d2-cf10-47f2-b697-198eb22075fb-300x300.webp)
