
Latest & Greatest

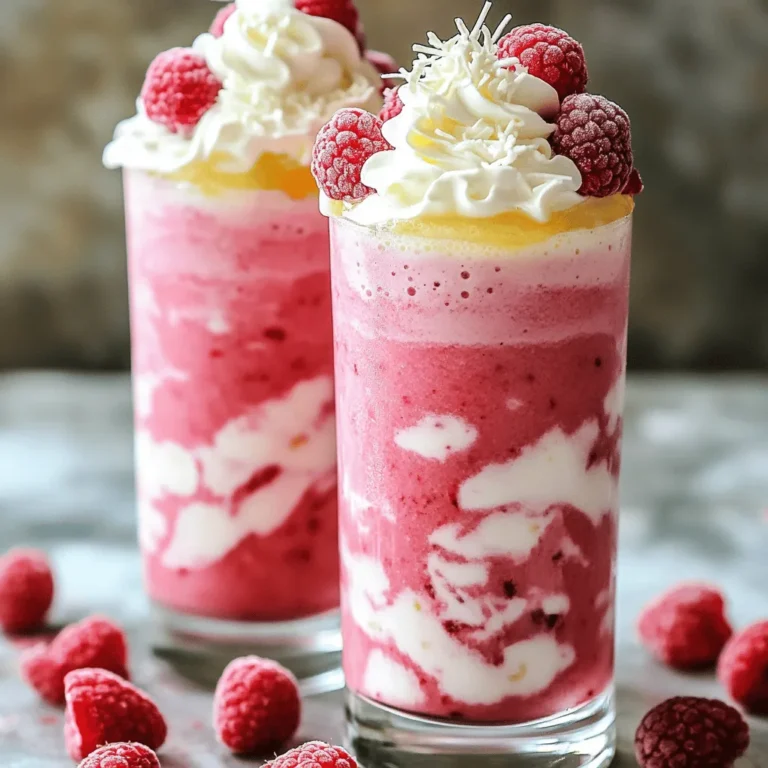
Raspberry Almond Scones Bakery Style Delicious Treat
Welcome to the world of baking where your kitchen transforms into a cozy bakery! Today, I’m excited to share my
Read more…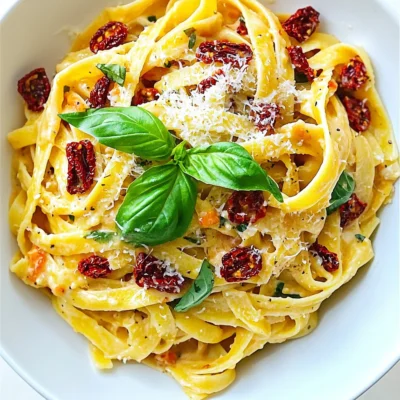
Creamy Sun Dried Tomato Pasta One Pot Delight
Looking for a simple yet delicious pasta dish? My Creamy Sun Dried Tomato Pasta One Pot Delight will impress your
Read more…
Buffalo Cauliflower Air Fryer Crispy Delight Recipe
Want to enjoy a tasty snack that’s both healthy and fun to make? Look no further! In this Buffalo Cauliflower
Read more…
Loaded Baked Potato Soup Slow Cooker Comfort Food
Are you ready to warm up with a bowl of creamy, comforting goodness? This Loaded Baked Potato Soup made in
Read more…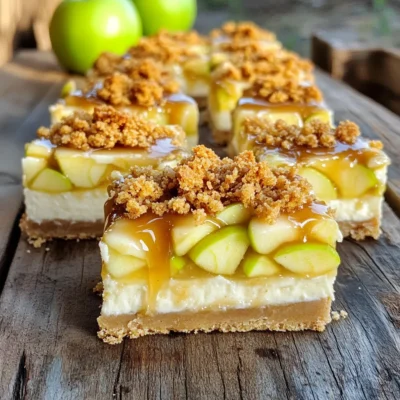
Caramel Apple Crumble Cheesecake Squares Delight
Craving a fall treat that blends sweetness, creaminess, and crunch? Dive into my Caramel Apple Crumble Cheesecake Squares Delight! This
Read more…
Spicy Buffalo Cauliflower Bites Flavorful Game Changer
Are you ready to spice up your snack game? These Spicy Buffalo Cauliflower Bites are a crispy, flavor-packed treat perfect
Read more…
No-Bake Mocha Espresso Cheesecake Bars Delight
Are you ready to treat yourself to something decadent and delicious? No-Bake Mocha Espresso Cheesecake Bars are the perfect mix
Read more…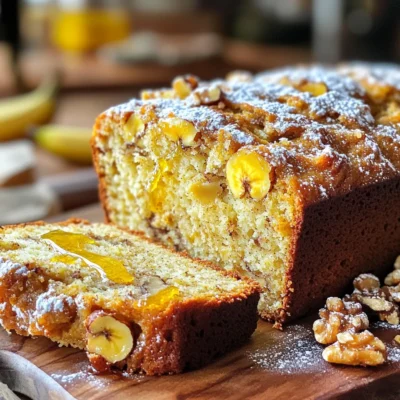
High-Protein Cottage Cheese Banana Bread Delight
If you love banana bread but want a protein boost, you’re in for a treat! This High-Protein Cottage Cheese Banana
Read more…browse recipes
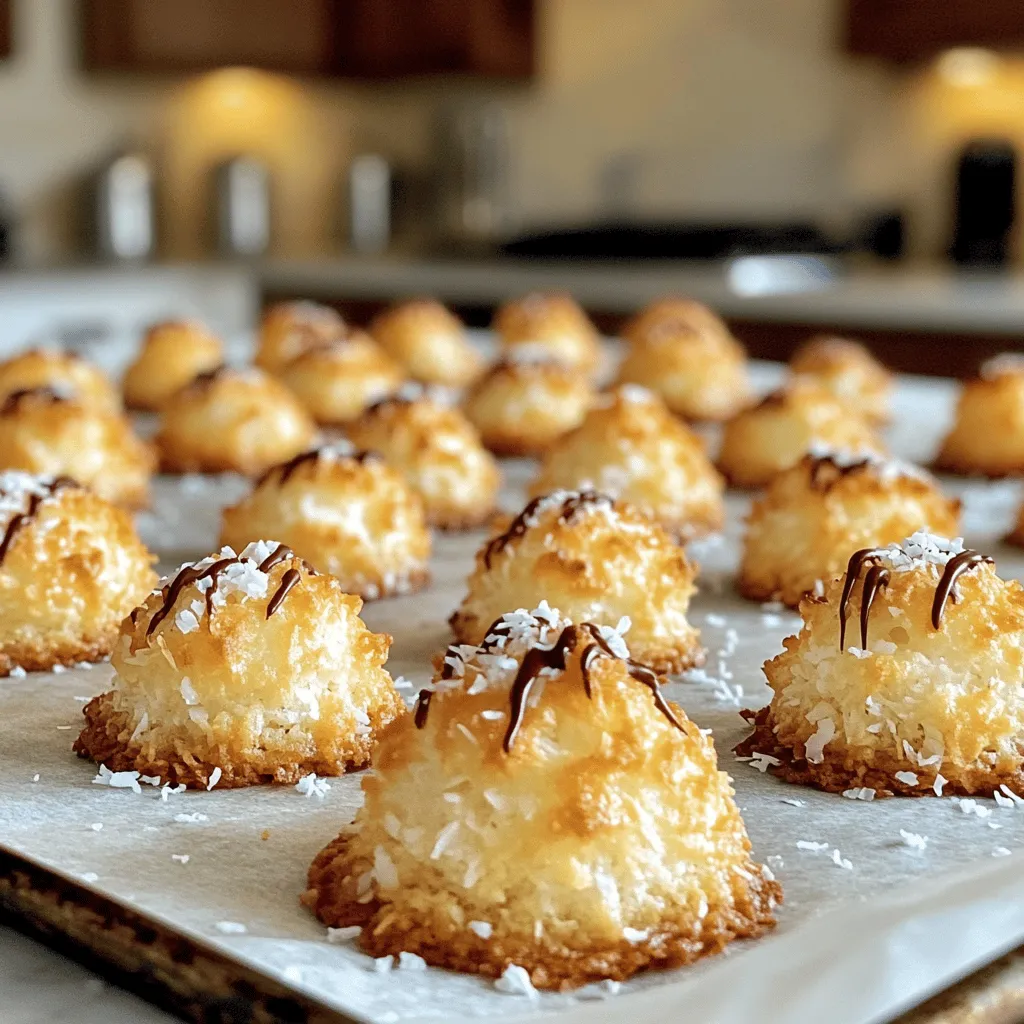
Coconut Macaroon Cookies Delicious and Simple Treat
Are you ready to whip up a sweet treat that’s easy and delicious? Coconut macaroon cookies combine simple ingredients to create a chewy, tasty…
My Latest Desserts
My Latest Recipes

hey,
i’m !
I’m so happy you’re here!
My kitchen is filled with stories, flavors, and love and I’m so happy to share them with you. Here’s to dishes that feel like home.

![To whip up a delightful Zucchini Noodle Pad Thai, you will need the following ingredients: - 3 medium zucchinis, spiralized - 1 cup bean sprouts - 1 red bell pepper, thinly sliced - 1 large carrot, julienned - 3 green onions, chopped - 1/4 cup roasted peanuts, roughly chopped - 2 tablespoons vegetable oil - 3 cloves garlic, minced - 2 eggs, lightly beaten - 4 tablespoons soy sauce (or tamari) - 1 tablespoon lime juice - 1 teaspoon brown sugar - 1/2 teaspoon red chili flakes - Fresh cilantro leaves for garnish Each ingredient plays a role in creating a tasty and colorful dish. Zucchinis serve as the base, replacing traditional noodles. They add a fresh crunch and a lovely green color. The bean sprouts contribute a crisp texture, while the bell pepper and carrot bring sweetness and color. The peanuts add a satisfying crunch and nutty flavor. Oil and garlic form the flavor foundation, enhancing all other ingredients. The eggs add protein, making this meal balanced. Finally, the sauce, made from soy sauce, lime juice, brown sugar, and chili flakes, ties everything together with a sweet and tangy kick. For a complete guide on preparing this dish, check out the Full Recipe. To start, you need to spiralize the zucchinis. Use a spiralizer, which is a handy tool for this. Place a zucchini in the spiralizer and turn it. Keep going until you reach the core. You should end up with long noodles. After spiralizing, place the noodles on a paper towel. This step is key. Zucchinis have a lot of water. The paper towel helps soak up the extra moisture. This way, your dish won’t be soggy. Now it’s time to make the sauce. Gather these ingredients: - 4 tablespoons soy sauce (or tamari) - 1 tablespoon lime juice - 1 teaspoon brown sugar - 1/2 teaspoon red chili flakes In a small bowl, whisk all these together. Mix until the sugar dissolves. This sauce adds a great flavor to your dish. Set it aside for later. Next, heat the vegetable oil in a skillet over medium heat. Add 3 cloves of minced garlic and stir-fry for about 30 seconds. You want it fragrant but not burnt. Then, add the sliced red bell pepper and julienned carrot. Stir-fry these for about 3-4 minutes. You want them tender-crisp, which means they should still have a bit of crunch. This brings a nice texture to your meal. Push the veggies to one side of the skillet. Pour the 2 beaten eggs into the cleared area. Scramble them for about 1 minute until just set. Then mix the eggs into the veggies. Now, add the zucchini noodles to the skillet. Pour the sauce over everything. Toss well to combine. Cook for 3-4 minutes until the noodles soften a bit but still have some crunch. Finally, stir in the cup of bean sprouts and chopped green onions. Cook for another minute to warm them through. Your Zucchini Noodle Pad Thai is almost ready! Enjoy this flavorful and healthy meal. For the full recipe, check the earlier section. Pick medium zucchinis for the best taste. They should feel firm and heavy. Look for bright colors with no soft spots. Fresh zucchinis have a sweet, mild flavor. For spiralizing, use a good spiralizer. I suggest a handheld model or a countertop style for ease. Both work well to create long, thin noodles. For a gluten-free option, use tamari instead of soy sauce. This swap keeps the flavor while making it safe for gluten-sensitive diets. You can also adjust the spice level. Add more red chili flakes for heat or skip them for a milder dish. Taste the sauce before adding it to the noodles. This way, you can find your perfect balance. Stir-frying is key to a great Pad Thai. Use high heat to cook the veggies quickly. This helps them stay crunchy and bright. Start with garlic, as it adds a lovely aroma. Keep the veggies moving in the pan to avoid burning. Don’t overcrowd the pan; this can trap steam and make them soggy. Follow these tips, and you'll create a delicious Zucchini Noodle Pad Thai! For the complete recipe, check out the [Full Recipe]. {{image_2}} For a vegan version of zucchini noodle Pad Thai, you can skip the eggs. Instead of eggs, use tofu or chickpea flour. Tofu adds protein and a nice texture. You can scramble it just like the eggs. For chickpea flour, mix it with water to create a batter and cook it in the pan. Protein alternatives can include tempeh or seitan. Both give a hearty bite. They soak up flavors well, making your dish rich and filling. You can also add edamame for extra protein. To make this dish low-carb, you can swap out the sugar. Use a sugar substitute like stevia or erythritol. This keeps it sweet without the carbs. You can also reduce the amount of soy sauce. Use a low-sodium version to keep the salt level in check. For keto followers, focus on adding more fats. You can add avocado slices or a sprinkle of sesame seeds. They boost flavors and give healthy fats. Adding more veggies can enhance the dish's flavor and health benefits. Try adding bell peppers, snap peas, or mushrooms. Each adds a different texture and taste. You can also balance flavors by adding fresh herbs. Fresh basil or mint can brighten the dish. They add a refreshing taste that pairs well with the noodles. For the full recipe, check out the details above. To store your Zucchini Noodle Pad Thai, let it cool first. Place it in an airtight container. This helps keep the dish fresh. You can refrigerate it for up to three days. For longer storage, consider freezing it. However, note that texture may change when thawed. To reheat, you have two good options: microwave or stove. If you use the microwave, heat in short bursts. This helps keep the zucchini noodles from getting mushy. Stir in between to ensure even heating. If you choose the stove, warm it on low heat. Add a splash of water if needed to maintain moisture. This way, you keep the texture nice and tasty. For the best flavor, enjoy it warm! Yes, you can prepare Zucchini Noodle Pad Thai ahead of time. To store it, follow these steps: - Cook the dish but leave out the zucchini noodles. - Store the noodles separately in an airtight container. - Store the cooked sauce and veggies in another container. Keep both in the fridge for up to three days. When ready to eat, sauté the noodles briefly with the veggies and sauce. This keeps the noodles fresh and prevents them from becoming mushy. Making zucchini noodles is easy and fun. You can use a spiralizer or a vegetable peeler. Here’s how: - Spiralizing: Cut off both ends of the zucchini. Secure it in the spiralizer and twist to create noodles. - Peeler Method: Using a vegetable peeler, shave long strips off the zucchini. Continue until you reach the core. After making the noodles, place them on a paper towel to absorb excess moisture. This step is key to avoid sogginess in your dish. Zucchini Noodle Pad Thai can stand alone, but pairing it can enhance your meal. Here are some ideas: - Complete Meal Ideas: Serve with grilled chicken or shrimp for extra protein. Tofu is a great plant-based option, too. - Side Dish Recommendations: Consider a light salad or fresh spring rolls. These add crunch and freshness to your meal. For a fun twist, serve it with lime wedges and extra peanuts on the side. This adds a burst of flavor and texture. For the full recipe of Zucchini Noodle Pad Thai, check out the Full Recipe section. You now have a tasty and healthy Zucchini Noodle Pad Thai recipe. We covered the key ingredients, step-by-step cooking methods, and helpful tips. Remember, you can customize this dish with different sauces and veggies to fit your taste. Storing and reheating leftovers is simple, making this meal convenient. Enjoy your cooking journey and create delicious options for you and your family!](https://southerndishes.com/wp-content/uploads/2025/05/78e7a995-1680-4ce3-926e-f047a69768f9-300x300.webp)

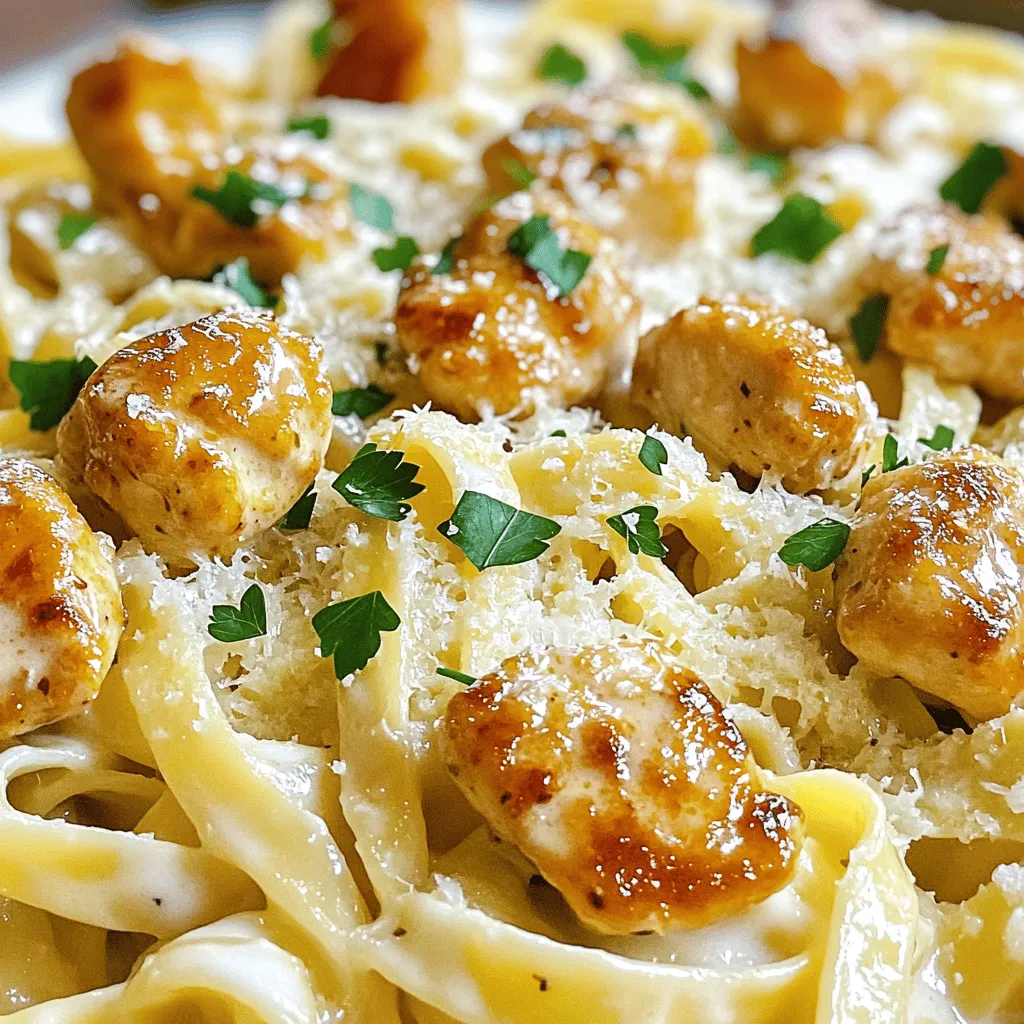
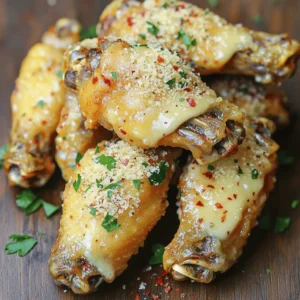
Garlic Butter Chicken Bites with Creamy Pasta Delight
Are you ready to impress your family with a dish that’s packed with flavor? In this blog post, I’ll guide you through making Garlic…