No Bake Lemon Icebox Pie Easy and Fun Dessert Recipe

Do you want a simple and tasty dessert? Look no further than this No Bake Lemon Icebox Pie! It’s a fun and easy recipe that you can whip up in no time. With zesty lemon flavor and a creamy texture, this pie is great for any occasion. Let’s get started so you can impress your friends and family with this delightful treat!

Ingredients

Complete Ingredient List

To make No Bake Lemon Icebox Pie, you need these ingredients:

– 1 cup graham cracker crumbs

– 1/2 cup unsalted butter, melted

– 1/2 cup granulated sugar

– 1 can (14 oz) sweetened condensed milk

– 1/2 cup fresh lemon juice (about 3-4 lemons)

– Zest of 1 lemon

– 1/4 teaspoon salt

– 1 cup heavy whipping cream

– 2 tablespoons powdered sugar

– Extra lemon zest for garnish (optional)

Ingredient Substitutions

You can swap some ingredients if needed. For graham cracker crumbs, use crushed cookies or oats. If you want a lighter pie, use low-fat cream cheese instead of heavy cream. For sweetness, try honey or maple syrup in place of granulated sugar. You can also use dairy-free options like coconut cream for a vegan version.

Fresh vs. Store-Bought Options

Using fresh ingredients always gives the best flavor. Fresh lemons make the pie bright and zesty. However, if you are short on time, store-bought lemon juice works too. Just check for a pure product without added sugars. For the crust, store-bought graham cracker crusts are convenient but may lack the homemade touch. Making your crust from scratch allows you to control the taste.

By following these tips, you can make this pie your own while keeping it delicious. For the full recipe, check out the complete instructions to create this easy dessert.

Step-by-Step Instructions

Detailed Preparation Steps

1. Make the crust: In a medium bowl, mix graham cracker crumbs and melted butter. Stir until well combined. Press this mixture into a 9-inch pie dish. Make sure it is firm and even. Place the crust in the fridge for 15 minutes to set.

2. Prepare the filling: In a clean bowl, whisk together sweetened condensed milk, lemon juice, lemon zest, granulated sugar, and salt. Mix until smooth. The acidity from the lemon will thicken it a bit.

3. Whip the cream: Take another bowl and add heavy whipping cream and powdered sugar. Use an electric mixer to beat it until you see stiff peaks. This gives the pie a light texture.

4. Combine mixtures: Gently fold the whipped cream into the lemon mixture. Be careful not to lose the fluffiness of the whipped cream. You want a creamy, light filling.

5. Fill the crust: Pour the lemon filling into your chilled graham cracker crust. Use a spatula to smooth the top.

6. Chill the pie: Cover the pie with plastic wrap and place it in the fridge. Let it chill for at least 4 hours or overnight if you can. This helps the pie set perfectly.

7. Serve: Once set, take it out of the fridge. If you want, sprinkle some extra lemon zest on top for a bright touch.

Visuals and Video for Clarity

I recommend checking out video tutorials online. Watching someone make the pie can really help. You can see how the mixture looks at each step. This adds a fun layer to learning. Look for videos that show the folding technique too. It’s a key part to keep the filling light.

Common Mistakes to Avoid

Not chilling the crust: Skipping this step can make the crust fall apart when you cut the pie. Always chill it!

Overmixing the whipped cream: Be gentle when folding. Overmixing can turn it into butter, and we want it fluffy.

Using old lemons: Fresh lemons give the best flavor. Check for firmness and scent before using them.

Skipping the chill time: Patience is key! Don’t rush the chilling. It helps the pie set well, ensuring a great texture.

This No Bake Lemon Icebox Pie is easy and fun to make! Follow these steps, and you will impress everyone with your skills. For more details, check out the Full Recipe.

Tips & Tricks

Achieving the Perfect Texture

To get the best texture, use cold heavy cream. Chill your mixing bowl too. This helps the cream whip up nicely. When folding the whipped cream into the lemon mix, do it gently. You want to keep that airy lightness. If you mix too hard, your filling can become flat.

Flavor Enhancements

Lemon is bright, but you can add more! Try mixing in some lime juice for a twist. You can also add a bit of vanilla extract to the lemon mix. For a sweeter pie, add a touch more sugar. Fresh herbs like mint can also brighten the flavor. Experiment and find your favorite!

Serving Suggestions

Serve this pie straight from the fridge. It’s cool and refreshing. For fun, use chilled plates to keep it extra cold. You can add a sprig of mint or extra lemon zest on top for style. Present each slice with a dollop of whipped cream for a treat. Explore different garnishes to make it your own.

Variations

Alternative Crust Options

You can change the crust for your No Bake Lemon Icebox Pie. Instead of graham crackers, use crushed cookies like Oreos or vanilla wafers. You can also try a nut crust made from almonds or pecans for a gluten-free option. Each crust gives a different flavor and texture. Experiment to find your favorite!

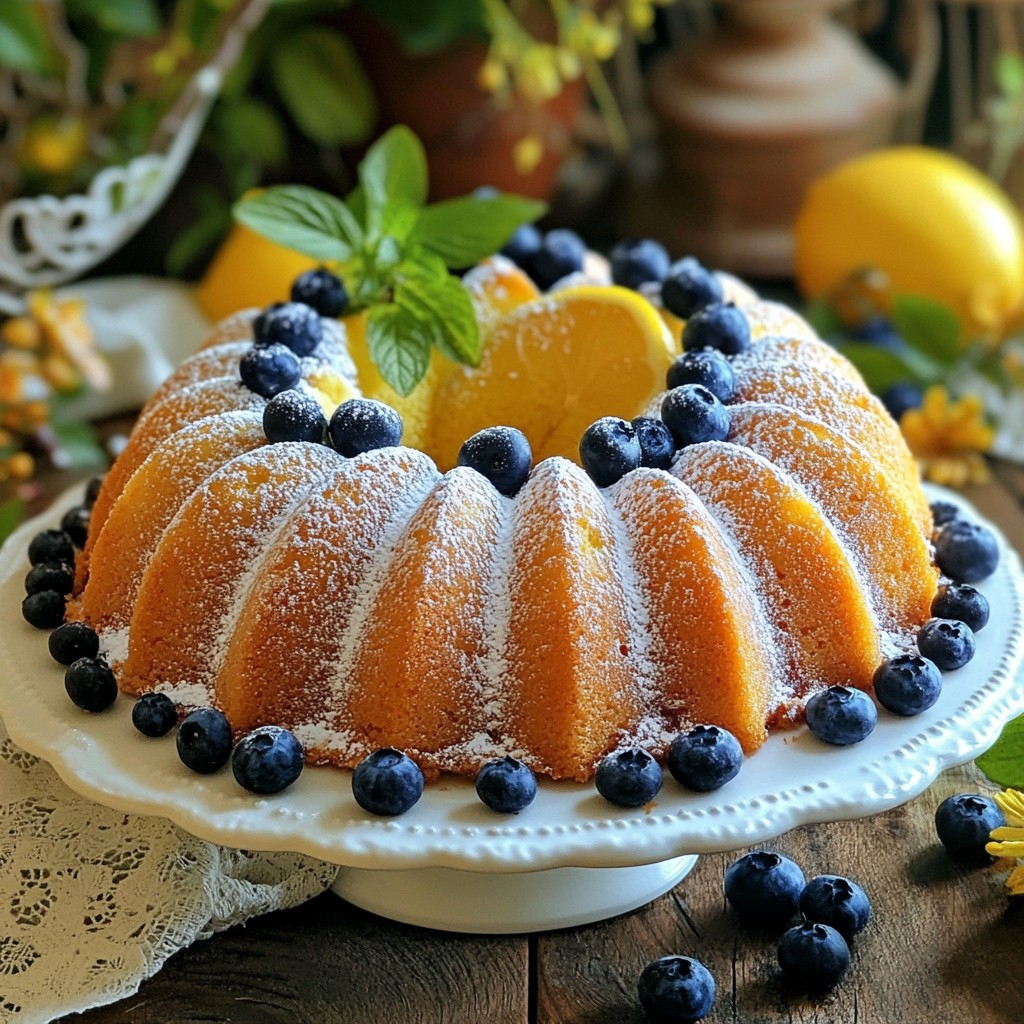
Flavor Additions (Berry, Coconut, etc.)

Want to add more fun to your pie? Mix in fresh berries like blueberries or raspberries. You can also add shredded coconut for a tropical twist. Just fold them in gently with the lemon mix. This not only makes the pie colorful but adds a burst of flavor too!

Dietary Modifications (Vegan, Gluten-Free)

You can make this pie fit your dietary needs. For a vegan version, use coconut cream instead of heavy cream. Swap sweetened condensed milk with coconut milk and a thickener like cornstarch. For gluten-free, use a gluten-free cookie for the crust. These swaps keep the taste delicious while fitting your diet. Check out the Full Recipe for more ideas!

Storage Information

Best Practices for Storing

To keep your No Bake Lemon Icebox Pie fresh, store it in the fridge. Cover it well with plastic wrap. This helps prevent it from absorbing other flavors in the fridge. For best taste, eat it within three days.

Reheating Tips

You don’t need to reheat this pie. It tastes best cold. Just slice and serve straight from the fridge. If you want it softer, let it sit at room temperature for a few minutes before serving.

Freezing Instructions

You can freeze this pie if you want to save some for later. Wrap it tightly in plastic wrap and then in aluminum foil. This keeps it safe from freezer burn. It can last up to two months in the freezer. When ready to eat, thaw it in the fridge overnight. Do not refreeze after thawing. Enjoy the refreshing taste! For the full recipe, check out the steps above.

FAQs

How long does No Bake Lemon Icebox Pie last?

No Bake Lemon Icebox Pie lasts about 3 to 5 days in the fridge. Keep it covered to stay fresh. The pie tastes best within the first few days. After that, the crust might get soggy.

Can I use bottled lemon juice instead of fresh?

Yes, you can use bottled lemon juice. However, fresh juice has a better taste. Fresh lemons give the pie a bright flavor. If you use bottled juice, pick a brand that is 100% lemon juice.

What can I substitute for graham cracker crumbs?

You can use crushed cookies or even vanilla wafers instead of graham crackers. You could also try crushed pretzels for a salty twist. Just make sure to adjust the butter and sugar as needed.

How to tell if the pie is set properly?

The pie should feel firm when you gently shake it. The top will look slightly jiggly, but not too much. If it holds its shape when you slice it, it’s set. Chill it longer if it seems too soft.

Can I make this pie ahead of time?

Absolutely! This pie is great for making ahead. You can prepare it a day or two in advance. Just make sure to cover it well in the fridge. This allows the flavors to blend nicely. For the best texture, serve it chilled after it has set.

For the full recipe, check out the No Bake Lemon Icebox Pie instructions above.

We’ve covered the essential ingredients for your No Bake Lemon Icebox Pie, from lists to swaps. I shared step-by-step instructions, so you can avoid common mistakes. Additionally, I offered tips for the best texture, flavor, and fun variations. Finally, I provided storage tips to keep your pie fresh.

With this knowledge, you can make a delicious pie that everyone will love. Enjoy your baking adventure!

To make No Bake Lemon Icebox Pie, you need these ingredients: - 1 cup graham cracker crumbs - 1/2 cup unsalted butter, melted - 1/2 cup granulated sugar - 1 can (14 oz) sweetened condensed milk - 1/2 cup fresh lemon juice (about 3-4 lemons) - Zest of 1 lemon - 1/4 teaspoon salt - 1 cup heavy whipping cream - 2 tablespoons powdered sugar - Extra lemon zest for garnish (optional) You can swap some ingredients if needed. For graham cracker crumbs, use crushed cookies or oats. If you want a lighter pie, use low-fat cream cheese instead of heavy cream. For sweetness, try honey or maple syrup in place of granulated sugar. You can also use dairy-free options like coconut cream for a vegan version. Using fresh ingredients always gives the best flavor. Fresh lemons make the pie bright and zesty. However, if you are short on time, store-bought lemon juice works too. Just check for a pure product without added sugars. For the crust, store-bought graham cracker crusts are convenient but may lack the homemade touch. Making your crust from scratch allows you to control the taste. By following these tips, you can make this pie your own while keeping it delicious. For the full recipe, check out the complete instructions to create this easy dessert. 1. Make the crust: In a medium bowl, mix graham cracker crumbs and melted butter. Stir until well combined. Press this mixture into a 9-inch pie dish. Make sure it is firm and even. Place the crust in the fridge for 15 minutes to set. 2. Prepare the filling: In a clean bowl, whisk together sweetened condensed milk, lemon juice, lemon zest, granulated sugar, and salt. Mix until smooth. The acidity from the lemon will thicken it a bit. 3. Whip the cream: Take another bowl and add heavy whipping cream and powdered sugar. Use an electric mixer to beat it until you see stiff peaks. This gives the pie a light texture. 4. Combine mixtures: Gently fold the whipped cream into the lemon mixture. Be careful not to lose the fluffiness of the whipped cream. You want a creamy, light filling. 5. Fill the crust: Pour the lemon filling into your chilled graham cracker crust. Use a spatula to smooth the top. 6. Chill the pie: Cover the pie with plastic wrap and place it in the fridge. Let it chill for at least 4 hours or overnight if you can. This helps the pie set perfectly. 7. Serve: Once set, take it out of the fridge. If you want, sprinkle some extra lemon zest on top for a bright touch. I recommend checking out video tutorials online. Watching someone make the pie can really help. You can see how the mixture looks at each step. This adds a fun layer to learning. Look for videos that show the folding technique too. It’s a key part to keep the filling light. - Not chilling the crust: Skipping this step can make the crust fall apart when you cut the pie. Always chill it! - Overmixing the whipped cream: Be gentle when folding. Overmixing can turn it into butter, and we want it fluffy. - Using old lemons: Fresh lemons give the best flavor. Check for firmness and scent before using them. - Skipping the chill time: Patience is key! Don’t rush the chilling. It helps the pie set well, ensuring a great texture. This No Bake Lemon Icebox Pie is easy and fun to make! Follow these steps, and you will impress everyone with your skills. For more details, check out the Full Recipe. To get the best texture, use cold heavy cream. Chill your mixing bowl too. This helps the cream whip up nicely. When folding the whipped cream into the lemon mix, do it gently. You want to keep that airy lightness. If you mix too hard, your filling can become flat. Lemon is bright, but you can add more! Try mixing in some lime juice for a twist. You can also add a bit of vanilla extract to the lemon mix. For a sweeter pie, add a touch more sugar. Fresh herbs like mint can also brighten the flavor. Experiment and find your favorite! Serve this pie straight from the fridge. It’s cool and refreshing. For fun, use chilled plates to keep it extra cold. You can add a sprig of mint or extra lemon zest on top for style. Present each slice with a dollop of whipped cream for a treat. Explore different garnishes to make it your own. {{image_2}} You can change the crust for your No Bake Lemon Icebox Pie. Instead of graham crackers, use crushed cookies like Oreos or vanilla wafers. You can also try a nut crust made from almonds or pecans for a gluten-free option. Each crust gives a different flavor and texture. Experiment to find your favorite! Want to add more fun to your pie? Mix in fresh berries like blueberries or raspberries. You can also add shredded coconut for a tropical twist. Just fold them in gently with the lemon mix. This not only makes the pie colorful but adds a burst of flavor too! You can make this pie fit your dietary needs. For a vegan version, use coconut cream instead of heavy cream. Swap sweetened condensed milk with coconut milk and a thickener like cornstarch. For gluten-free, use a gluten-free cookie for the crust. These swaps keep the taste delicious while fitting your diet. Check out the Full Recipe for more ideas! To keep your No Bake Lemon Icebox Pie fresh, store it in the fridge. Cover it well with plastic wrap. This helps prevent it from absorbing other flavors in the fridge. For best taste, eat it within three days. You don’t need to reheat this pie. It tastes best cold. Just slice and serve straight from the fridge. If you want it softer, let it sit at room temperature for a few minutes before serving. You can freeze this pie if you want to save some for later. Wrap it tightly in plastic wrap and then in aluminum foil. This keeps it safe from freezer burn. It can last up to two months in the freezer. When ready to eat, thaw it in the fridge overnight. Do not refreeze after thawing. Enjoy the refreshing taste! For the full recipe, check out the steps above. No Bake Lemon Icebox Pie lasts about 3 to 5 days in the fridge. Keep it covered to stay fresh. The pie tastes best within the first few days. After that, the crust might get soggy. Yes, you can use bottled lemon juice. However, fresh juice has a better taste. Fresh lemons give the pie a bright flavor. If you use bottled juice, pick a brand that is 100% lemon juice. You can use crushed cookies or even vanilla wafers instead of graham crackers. You could also try crushed pretzels for a salty twist. Just make sure to adjust the butter and sugar as needed. The pie should feel firm when you gently shake it. The top will look slightly jiggly, but not too much. If it holds its shape when you slice it, it’s set. Chill it longer if it seems too soft. Absolutely! This pie is great for making ahead. You can prepare it a day or two in advance. Just make sure to cover it well in the fridge. This allows the flavors to blend nicely. For the best texture, serve it chilled after it has set. For the full recipe, check out the No Bake Lemon Icebox Pie instructions above. We've covered the essential ingredients for your No Bake Lemon Icebox Pie, from lists to swaps. I shared step-by-step instructions, so you can avoid common mistakes. Additionally, I offered tips for the best texture, flavor, and fun variations. Finally, I provided storage tips to keep your pie fresh. With this knowledge, you can make a delicious pie that everyone will love. Enjoy your baking adventure!

No Bake Lemon Icebox Pie

Discover the delightful No Bake Lemon Icebox Pie recipe that's perfect for any occasion! This refreshing dessert features a creamy lemon filling paired with a buttery graham cracker crust, all made effortlessly without baking. With just a handful of ingredients, you can whip up a sweet treat that’s sure to impress. Click through to explore this easy recipe and indulge in a taste of summer anytime!

Ingredients
  

1 cup graham cracker crumbs

1/2 cup unsalted butter, melted

1/2 cup granulated sugar

1 can (14 oz) sweetened condensed milk

1/2 cup fresh lemon juice (about 3-4 lemons)

Zest of 1 lemon

1/4 teaspoon salt

1 cup heavy whipping cream

2 tablespoons powdered sugar

Extra lemon zest for garnish (optional)

Instructions
 

In a medium mixing bowl, combine graham cracker crumbs and melted butter until well incorporated. Press the mixture firmly into the bottom of a 9-inch pie dish to form a crust. Set aside in the refrigerator to firm up for about 15 minutes.

    In another bowl, whisk together the sweetened condensed milk, fresh lemon juice, lemon zest, granulated sugar, and salt until smooth. The mixture will slightly thicken due to the acid in the lemon juice.

      In a separate mixing bowl, beat the heavy whipping cream and powdered sugar together with an electric mixer until stiff peaks form. This will create a light and fluffy texture.

        Gently fold the whipped cream into the lemon mixture until fully combined, being careful not to deflate the whipped cream.

          Pour the lemon filling into the chilled graham cracker crust, smoothing the top with a spatula.

            Cover the pie with plastic wrap and let it chill in the refrigerator for at least 4 hours or overnight for best results.

              Once set, remove from the refrigerator, and garnish with extra lemon zest if desired.

                Prep Time: 20 mins | Total Time: 4 hrs 20 mins | Servings: 8

                  - Presentation Tips: Slice into even portions and serve on chilled plates for a refreshing treat. Consider adding a sprig of mint on top for a pop of color.

                    Leave a Comment

                    Recipe Rating