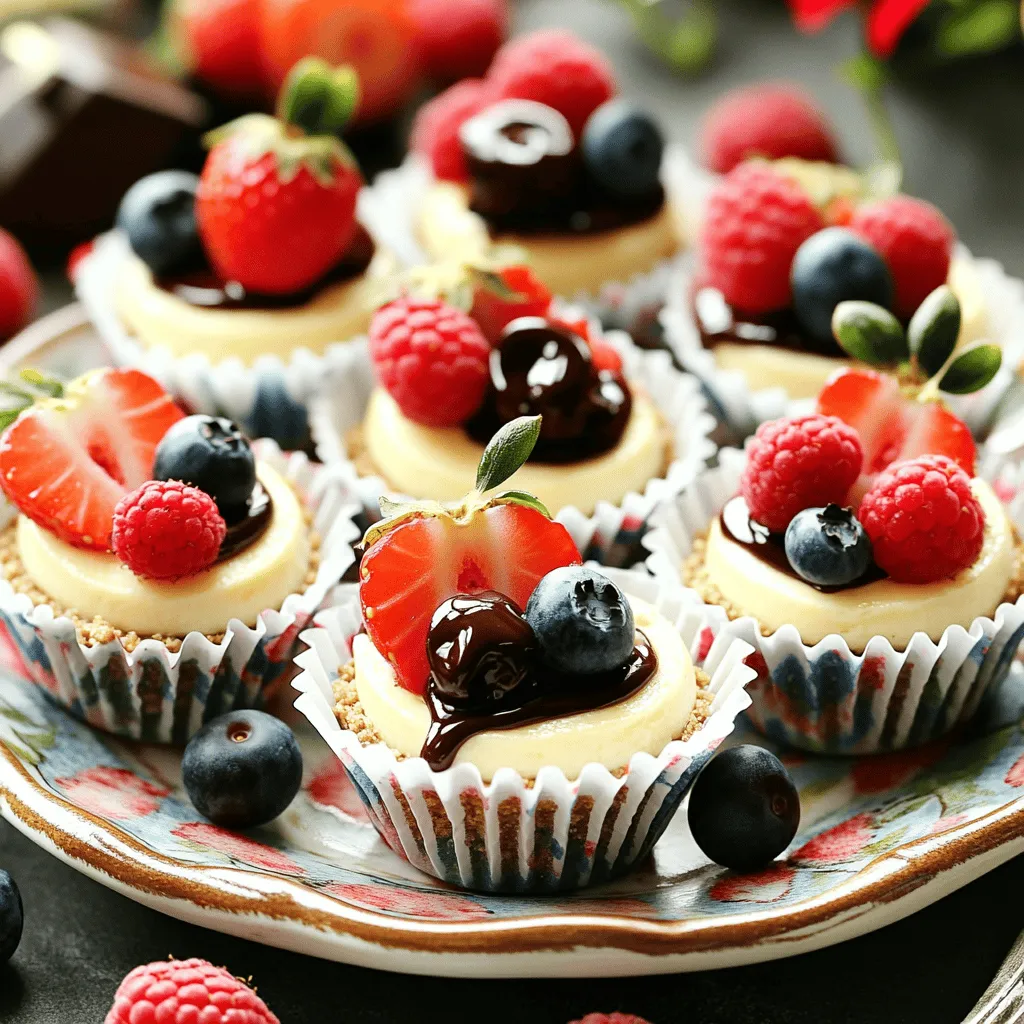
Looking for a sweet treat that’s quick and easy? No-Bake Cheesecake Bites are the answer! With just a few simple ingredients, you can whip up these tasty delights in minutes. Perfect for parties or just a cozy night in, these bites are sure to impress. Join me as I share the step-by-step guide to making these creamy, dreamy treats that everyone will love!
Ingredients
Gathering your ingredients is the first step to making no-bake cheesecake bites. Here’s what you need:
– 1 cup cream cheese, softened
– 1/2 cup Greek yogurt
– 1/4 cup powdered sugar
– 1 teaspoon vanilla extract
– 1 cup graham cracker crumbs
– 4 tablespoons unsalted butter, melted
– Fresh berries for topping
– Optional toppings: chocolate or caramel sauce
These ingredients create a creamy, rich filling and a sweet crust. The cream cheese and Greek yogurt give your bites a smooth texture. The powdered sugar adds just the right amount of sweetness.
The graham cracker crumbs, mixed with melted butter, form a tasty crust. It’s the perfect base for the cheesecake filling. Fresh berries on top add a pop of color and flavor.
Feel free to get creative with the toppings! You can drizzle chocolate or caramel sauce for a fun twist. Each ingredient plays a key role in making these treats easy and delicious.Enjoy the process!
Step-by-Step Instructions
To make no-bake cheesecake bites, follow these simple steps.
1. Combine cream cheese, Greek yogurt, powdered sugar, and vanilla extract. In a mixing bowl, add 1 cup of softened cream cheese, 1/2 cup of Greek yogurt, 1/4 cup of powdered sugar, and 1 teaspoon of vanilla extract. Use an electric mixer to blend until smooth and creamy. This should take about 2-3 minutes.
2. Mix graham cracker crumbs with melted butter. In another bowl, combine 1 cup of graham cracker crumbs with 4 tablespoons of melted unsalted butter. Stir until the mixture looks like wet sand.
3. Line muffin tin and press crust mixture into liners. Take a mini muffin tin and line it with mini cupcake liners. Scoop about a tablespoon of the graham cracker mix into each liner. Press it down firmly to form a crust at the bottom.
4. Fill liners with cheesecake mixture. Spoon the cheesecake filling over the crusts in each muffin liner. Fill them until they are nearly full. Use a spatula to smooth the tops.
5. Refrigerate and set. Cover the muffin tin with plastic wrap. Place it in the fridge for at least 2 hours, or until the bites are set.
Once they are ready, you can enjoy these tasty treats.
Tips & Tricks
Best Practices for Success
To make the best no-bake cheesecake bites, start with cream cheese at room temperature. This step helps it mix smoothly. An electric mixer works wonders here. It gives you a creamy and smooth texture. Adjust the sweetness to your taste. Some like it sweeter, while others prefer a mild flavor.
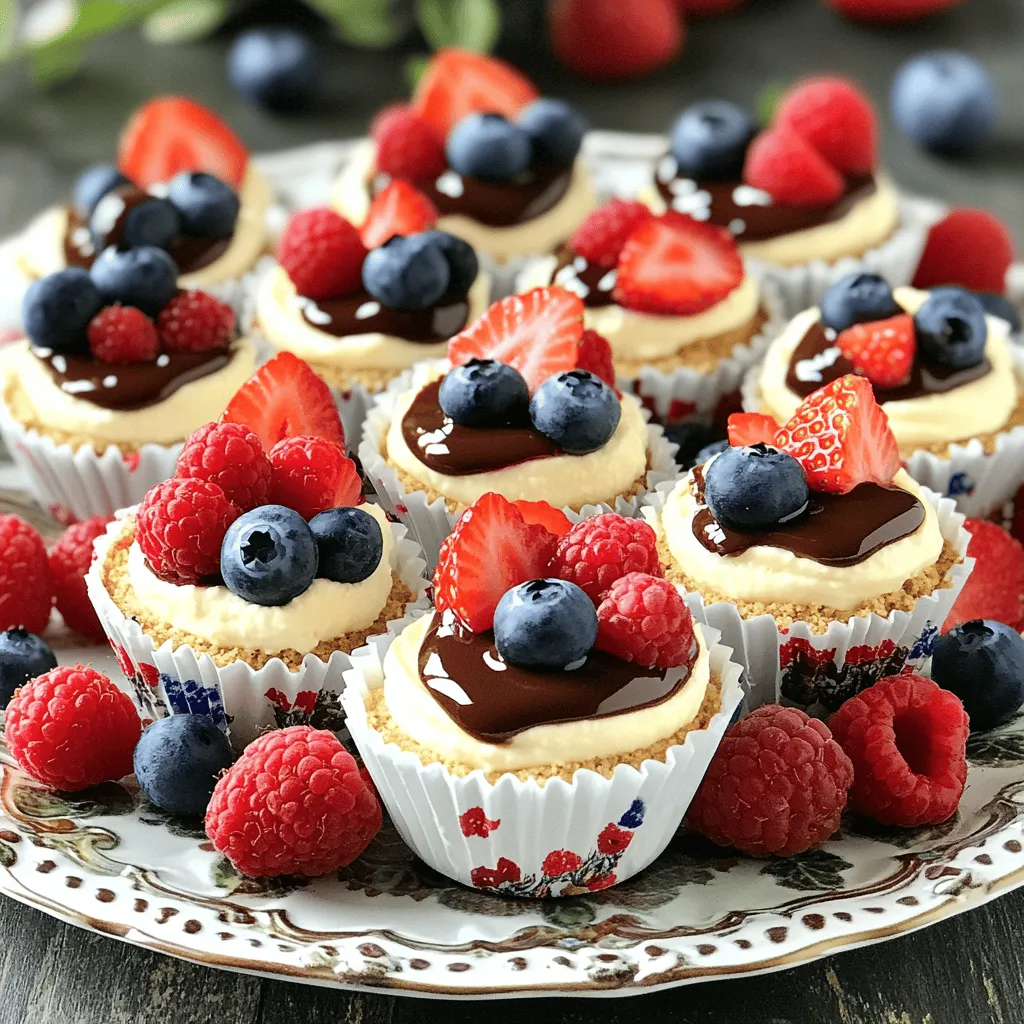
Presentation Tips
For a stunning look, arrange your cheesecake bites on a decorative platter. This makes them pop! Add fresh berries on top for extra color and freshness. They not only taste great but also look amazing. You can drizzle chocolate or caramel sauce for a sweet touch. These little details make your treats shine at any gathering.
Variations
Flavor Customizations
You can change up the flavor of your no-bake cheesecake bites easily. Here are some fun ideas:
– Add lemon zest for a citrus twist: This brightens up the flavor and adds a fresh taste.
– Incorporate chocolate chips or fruit puree: These additions make each bite exciting. You can use raspberries, strawberries, or even mango for a fruity flavor.
– Try different crust options: Instead of graham crackers, use crushed Oreos or nuts for a unique crust.
Serving Suggestions
No-bake cheesecake bites are great for many occasions. They work well for:
– Parties, picnics, or dessert tables: These bites make a lovely treat that everyone will enjoy.
– Pair with coffee or a refreshing beverage: They taste great with a warm drink or a chilled drink on a hot day.
Feel free to explore these options and make the bites your own!
Storage Info
How to Store No-Bake Cheesecake Bites
Store your no-bake cheesecake bites in an airtight container. Place them in the fridge. They will stay fresh for about five days. If you want to keep them longer, you can freeze them. To freeze, wrap each bite in plastic wrap and place them in a freezer-safe bag. They can last up to three months in the freezer. Just remember to let them thaw in the fridge before serving.
Reheating and Serving Tips
You do not need to reheat these bites. Serve them chilled for the best taste. Just take them out of the fridge and enjoy! They make a great treat for parties or family gatherings. For added flair, you can drizzle chocolate or caramel sauce on top before serving. This adds extra sweetness and makes them look pretty.
FAQs
Common Questions
How long do no-bake cheesecake bites last in the fridge?
No-bake cheesecake bites last about 5 days in the fridge. Keep them in an airtight container. They taste great even after a few days, but they are best when fresh.
Can I make these bites ahead of time?
Yes, you can make these bites a day or two ahead. Just store them in the fridge. This makes them a great option for parties or gatherings.
What are the best toppings for no-bake cheesecake bites?
Fresh berries, like strawberries and blueberries, are perfect toppings. You can also drizzle chocolate or caramel sauce for extra flavor. Nuts or crushed cookies work well too.
Troubleshooting
Why are my cheesecake bites not setting?
If your cheesecake bites are not setting, it may be due to warm ingredients. Make sure cream cheese is softened, not hot. Also, allow enough time in the fridge to chill.
How can I fix a runny cheesecake mixture?
If your mixture is runny, add more cream cheese or a bit of powdered sugar. Blend it well, then chill again. This will help thicken it up for better bites.
You learned how to make delicious no-bake cheesecake bites using simple ingredients. The steps are easy, and with a few tips, you can ensure success. Personalize these bites with your favorite toppings and flavors. This dessert is great for any event. Store them properly to keep them fresh. Enjoy making and sharing these treats that anyone can love!