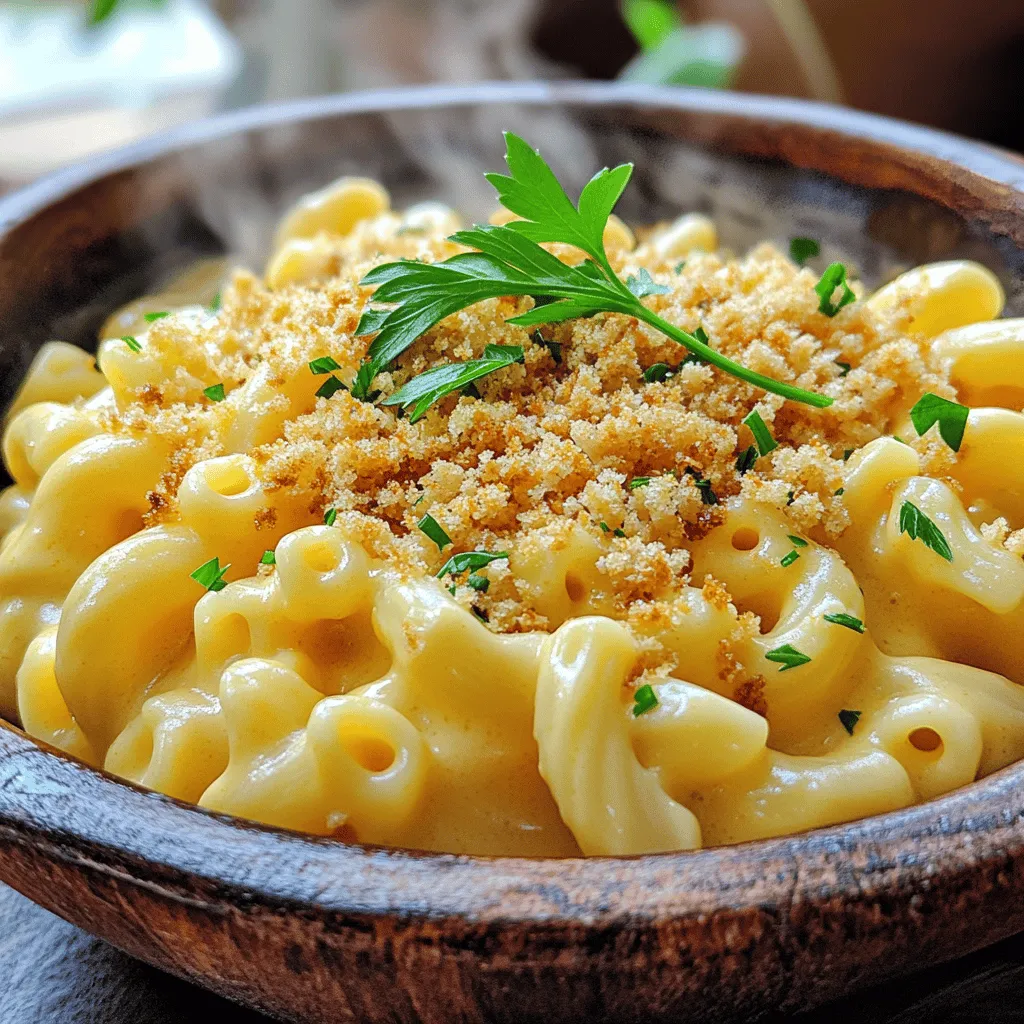
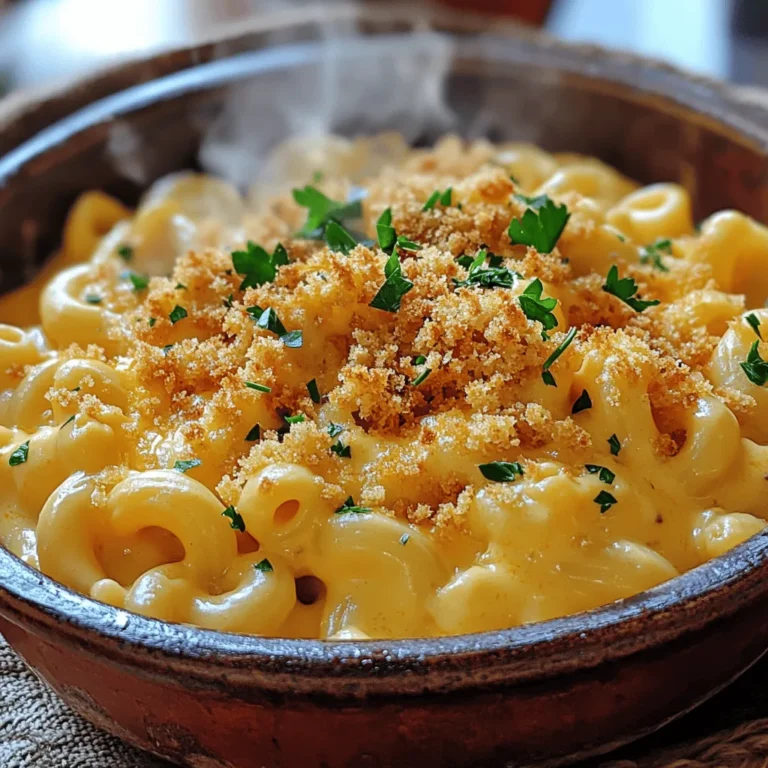
Are you ready to dive into the creamy, cheesy world of homemade mac and cheese? This classic dish is perfect for any meal and comfort food at its finest. With just a handful of ingredients, you can whip up a comforting plate of mac and cheese that will impress family and friends. Let’s get started on this indulgent journey to create your own creamy comfort dish!
Ingredients
Main Ingredients
– 8 ounces elbow macaroni
– 2 cups sharp cheddar cheese, shredded
– 1 cup mozzarella cheese, shredded
Additional Ingredients
– 1 tablespoon butter
– 1 tablespoon all-purpose flour
– 2 cups milk (whole or 2%)
Seasoning and Topping
– 1/2 teaspoon garlic powder
– 1/2 teaspoon onion powder
– 1/4 teaspoon cayenne pepper (optional for heat)
– Salt and pepper to taste
– 1/2 cup breadcrumbs (for topping)
– 1 tablespoon olive oil (for toasting breadcrumbs)
Gathering the right ingredients is key for a great mac and cheese. I love using elbow macaroni because it holds the cheese sauce well. Sharp cheddar gives a rich flavor, while mozzarella adds creaminess.
For the sauce, butter and flour make a tasty roux. The milk is crucial for the creamy base. I usually use whole milk for the best results, but 2% works too.
To season, I add garlic and onion powder for extra taste. A touch of cayenne pepper can spice things up, but it’s not needed if you prefer mild flavors.
For the topping, breadcrumbs give a nice crunch. Toasting them in olive oil adds depth and flavor. The perfect mac and cheese needs a mix of creamy, cheesy goodness and a crispy topping.Happy cooking!
Step-by-Step Instructions
Cooking the Pasta
– Boil and cook the elbow macaroni until al dente.
– Drain and set aside.
To cook the pasta, bring salted water to a rolling boil. I use a large pot for this. Add the elbow macaroni and stir it gently. Follow the package instructions for timing. You want the pasta to be firm but not hard. This is called al dente. After cooking, pour the pasta into a colander to drain all the water. Set the pasta aside, and let it rest for a moment.
Preparing the Cheese Sauce
– Melt butter and create a roux with flour.
– Gradually whisk in milk until thickened.
Now, let’s make the cheese sauce. Start by melting a tablespoon of butter in a medium saucepan over medium heat. Once the butter is melted, add the flour. Stir it constantly for about a minute. This mix is called a roux. It helps to thicken the sauce. Next, slowly add the milk, whisking well to avoid lumps. Keep stirring until the sauce is smooth and thickens, which takes about 5 to 7 minutes.
Final Assembly
– Add shredded cheeses and seasonings to the sauce.
– Mix the cooked pasta into the cheese sauce.
– Optional: Toast breadcrumbs for topping.
Lower the heat and add the shredded cheddar and mozzarella cheese to the sauce. Stir until the cheese melts and blends in. I like to add garlic powder and onion powder for extra flavor. Don’t forget to season with salt and pepper to taste. Now, mix the cooked pasta into the cheese sauce. Make sure every piece of macaroni is coated well. If you want a crunchy topping, toast your breadcrumbs in a skillet with olive oil until golden brown. This adds a nice texture to your dish.
Tips & Tricks
Achieving Creamy Texture
To get that creamy texture, add milk slowly. If you pour it in fast, the sauce can become lumpy. Whisk the milk in small amounts. This helps the sauce thicken without any bumps.
Choosing the right cheese is key too. I love using sharp cheddar for its bold flavor. Mixing in mozzarella makes it stretchy and creamy. A blend of cheeses gives depth and taste.
Flavor Enhancements
For extra flavor, think about adding spices. A dash of paprika or a sprinkle of mustard powder can really brighten your dish. You can also try nutmeg for a warm touch.
Using different cheeses can change the whole dish. Try gouda for a smoky taste or pepper jack for some heat. Mixing cheeses keeps things interesting and adds layers of flavor.
Cooking Techniques
When cooking mac and cheese, you can choose stovetop or baked. Stovetop is quicker and keeps it creamy. For baked, you get a crispy top that’s delicious. If you go baked, make sure to cover it with foil first. This keeps it moist while baking.
To avoid a grainy cheese sauce, don’t rush. Stir the cheese in slowly and keep the heat low. If the sauce gets too hot, the cheese can break down. That’s not what you want. Patience is the key to a smooth sauce.Enjoy cooking this classic dish!

Variations
Ingredient Substitutions
You can switch out some ingredients for different needs. Here are a few options:
– Gluten-free pasta options: Use gluten-free elbow macaroni or any gluten-free pasta you like. They work just as well.
– Dairy-free cheese alternatives: Try plant-based cheese. Brands like Daiya and Violife melt nicely.
Flavor Variations
Want to spice up your mac and cheese? Here are some tasty ideas:
– Adding cooked bacon or sausage: Crispy bacon adds a salty crunch. Sausage gives it a hearty flavor. Just cook them first, then mix them in.
– Incorporating vegetables like spinach or peas: Add some green! Spinach wilts down nicely. Peas add a sweet pop. They’re great for adding nutrition.
Dish Variants
You can also change how you prepare mac and cheese. Consider these fun twists:
– One-pot mac and cheese for easy cleanup: Cook the pasta and sauce in one pot. Just add everything together. It saves time and mess.
– Mac and cheese with a crunchy topping: For a little crunch, toast some breadcrumbs. Sprinkle them on top before baking. It adds texture and flavor.
Storage Info
Refrigeration
To store leftover mac and cheese, let it cool first. Place it in a tight container. This helps keep it fresh. I recommend using glass or BPA-free plastic containers. These keep the taste better than metal ones. You can store it in the fridge for up to three days.
Freezing
If you want to freeze mac and cheese, use a freezer-safe container. Make sure to leave some space at the top. The cheese will expand when it freezes. It can last for up to three months in the freezer.
To reheat frozen mac and cheese, you can use the oven or microwave. If using the oven, preheat it to 350°F (175°C). Transfer the mac and cheese to a baking dish. Add a splash of milk to keep it creamy. Cover it with foil and bake for 20-30 minutes. For the microwave, place a portion in a bowl. Add a little milk and cover it. Heat in short bursts, stirring in between, until hot. Enjoy your creamy comfort dish!
FAQs
What is the best cheese for macaroni and cheese?
The best cheese for mac and cheese is sharp cheddar. It gives a great flavor. I also like to mix in mozzarella for creaminess. Gruyère adds a nice taste, too. You can try gouda or pepper jack for a twist. Experiment to find your favorite blend!
Can I make mac and cheese ahead of time?
Yes, you can make mac and cheese ahead of time! Cook the pasta and sauce, then mix them. Store it in a dish and cover it well. You can keep it in the fridge for up to two days. When ready, bake it straight from the fridge. Add a little milk to keep it creamy.
How do I make mac and cheese without flour?
You can make mac and cheese without flour by using cornstarch. Mix cornstarch with cold milk before adding it to heat. This will help thicken the sauce. Another option is to use pureed cauliflower or potato. They add creaminess without flour. You can also skip the roux and just melt cheese in warm milk.It has all you need for this creamy comfort dish!
This post covered how to make delicious mac and cheese. We discussed main ingredients, cooking methods, and expert tips to enhance flavor. Remember, you can personalize your dish with different cheeses or toppings. Experiment with spices and veggies for new twists. Whether you prefer stovetop or baked, you can create a creamy, cheesy delight. Don’t forget about storage tips to keep leftovers fresh. Enjoy making this comforting dish your own!


