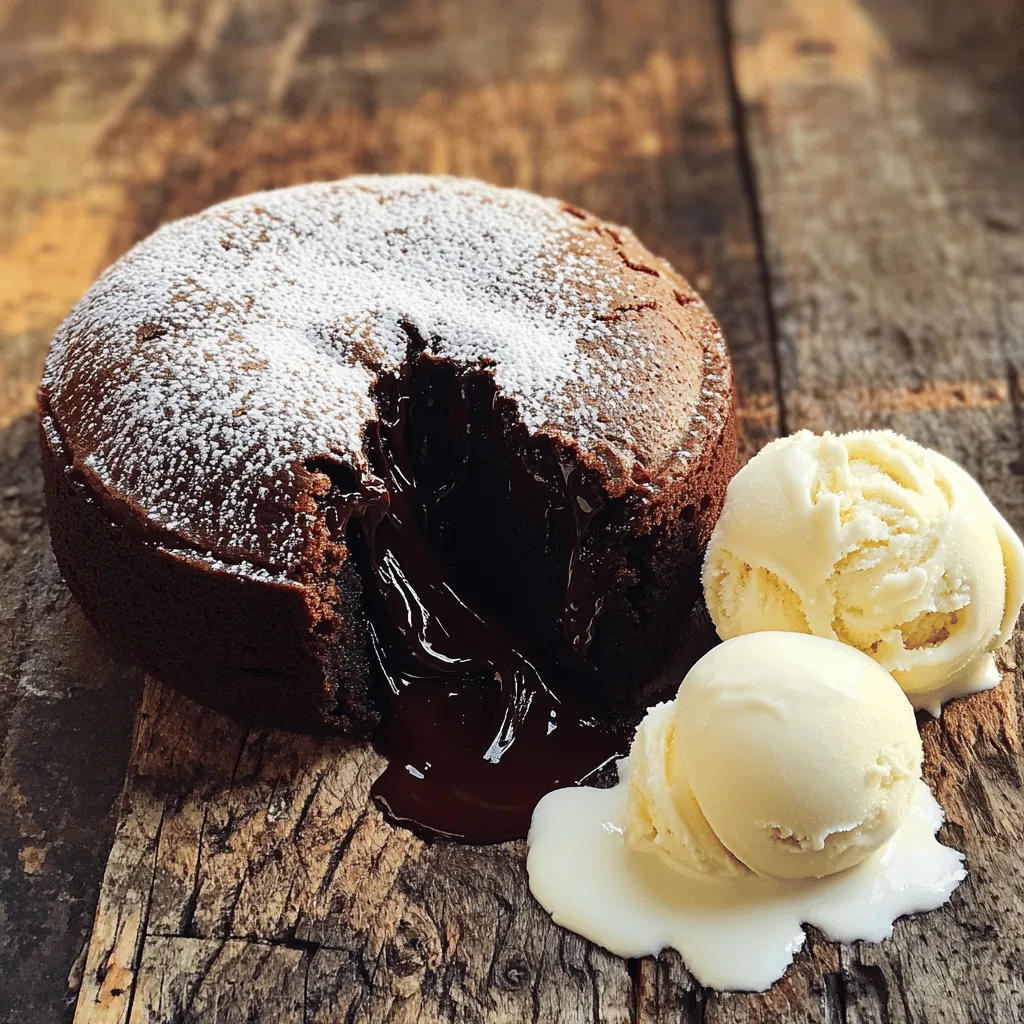
Indulge in the rich and molten goodness of Chocolate Lava Cake. This dessert delivers a warm, gooey center that melts in your mouth. In this post, I’ll guide you through easy steps for making a perfect lava cake, share tips for avoiding common mistakes, and suggest mouthwatering variations. Get ready to impress your friends and satisfy your sweet tooth with this decadent treat!
Ingredients
Detailed list of ingredients
To make a rich chocolate lava cake, gather these simple ingredients:
– 1/2 cup (115g) unsalted butter
– 1 cup (170g) good-quality dark chocolate, chopped
– 2 large eggs
– 2 large egg yolks
– 1/4 cup (50g) granulated sugar
– 2 tablespoons all-purpose flour
– Pinch of salt
– Powdered sugar for dusting
– Ice cream or whipped cream for serving (optional)
Ingredient substitutions
You can modify some ingredients for different needs. If you want a dairy-free option, use coconut oil instead of butter. For chocolate, select dairy-free or vegan dark chocolate. You can replace granulated sugar with coconut sugar for a healthier touch. If you need a gluten-free version, try almond flour instead of all-purpose flour.
Importance of ingredient quality
Using high-quality ingredients makes a big difference. Good chocolate gives the cake a deep, rich flavor. Unsalted butter adds a creamy texture. Fresh eggs help create the perfect rise. When you choose top-notch items, your cake turns out better. The taste and texture will impress everyone. Always remember, quality matters when you want the best chocolate lava cake.
Step-by-Step Instructions
Preparation: Preheating and greasing ramekins
Start by preheating your oven to 425°F (220°C). This step is key for the perfect bake. While the oven warms, grease four ramekins with unsalted butter. Make sure to coat the insides well. Then, lightly dust each ramekin with flour. This helps the cakes release easily after baking.
Melting chocolate and butter: Microwave method
Next, take a microwave-safe bowl and add your chopped dark chocolate and unsalted butter. Microwave this mixture in 30-second bursts. Stir after each interval. Keep doing this until the chocolate and butter melt smoothly. This step creates a rich, decadent base for your cakes.
Mixing eggs and sugar: Achieving the right consistency
In a separate bowl, whisk together the two large eggs, two large egg yolks, and the granulated sugar. Whisk until the mixture becomes pale and slightly thick. This should take about two minutes. This step adds air to your batter, making your cakes light and fluffy.
Combining ingredients: Folding techniques
Now, slowly pour the melted chocolate mixture into the egg mixture. Stir continuously as you combine them. After that, sift in two tablespoons of flour and a pinch of salt. Gently fold these in using a spatula. Be careful not to over-mix, as this can toughen your cakes.
Baking: Timing and temperature tips
Once the batter is ready, divide it evenly among your prepared ramekins. Place them on a baking sheet for easy handling. Bake the cakes in your preheated oven for about 12 to 14 minutes. The edges should look set, but the center should still jiggle slightly. This jiggle means you will get that gooey lava effect when you serve them.
Tips & Tricks
Achieving the perfect molten center
To get that gooey center, watch your baking time closely. Bake for only 12 to 14 minutes. The edges should be firm, but the middle must look soft. Overbaking makes the center less liquid. Remember, you want that warm, flowing chocolate when you cut into it.
Common baking mistakes to avoid
One common mistake is not greasing the ramekins well. This can make the cakes stick. Also, avoid overmixing the batter. This can lead to dense cakes instead of light ones. Lastly, don’t skip the flour dusting. It helps the cakes release easily from the ramekins.
How to test for doneness
To test if your cakes are done, gently shake the baking sheet. If the cakes jiggle slightly in the center, they are ready. A toothpick test won’t work here. You want the edges set but the center soft. This is the key to that rich, molten chocolate experience. Enjoy this fun dessert right after baking for the best taste!
Variations
Flavor variations: Adding espresso or orange zest
You can change the flavor of your chocolate lava cake easily. Adding espresso gives a rich, bold taste. Just mix in one tablespoon of brewed espresso with the melted chocolate. This will enhance the chocolate flavor.
If you prefer a fresher taste, try orange zest. Grate the peel from one orange and stir it into the batter. This adds a bright note that pairs perfectly with chocolate. The citrus flavor will lift the dessert to new heights.
Gluten-free options: Substituting flour
If you need a gluten-free version, you can substitute the all-purpose flour. Almond flour works great in this recipe. Use the same amount as the original flour. It adds a nutty flavor and helps keep the cake moist.
Another option is to use a gluten-free flour blend. Just ensure it is a 1:1 blend for the best results. Both options make the lava cake just as delicious.
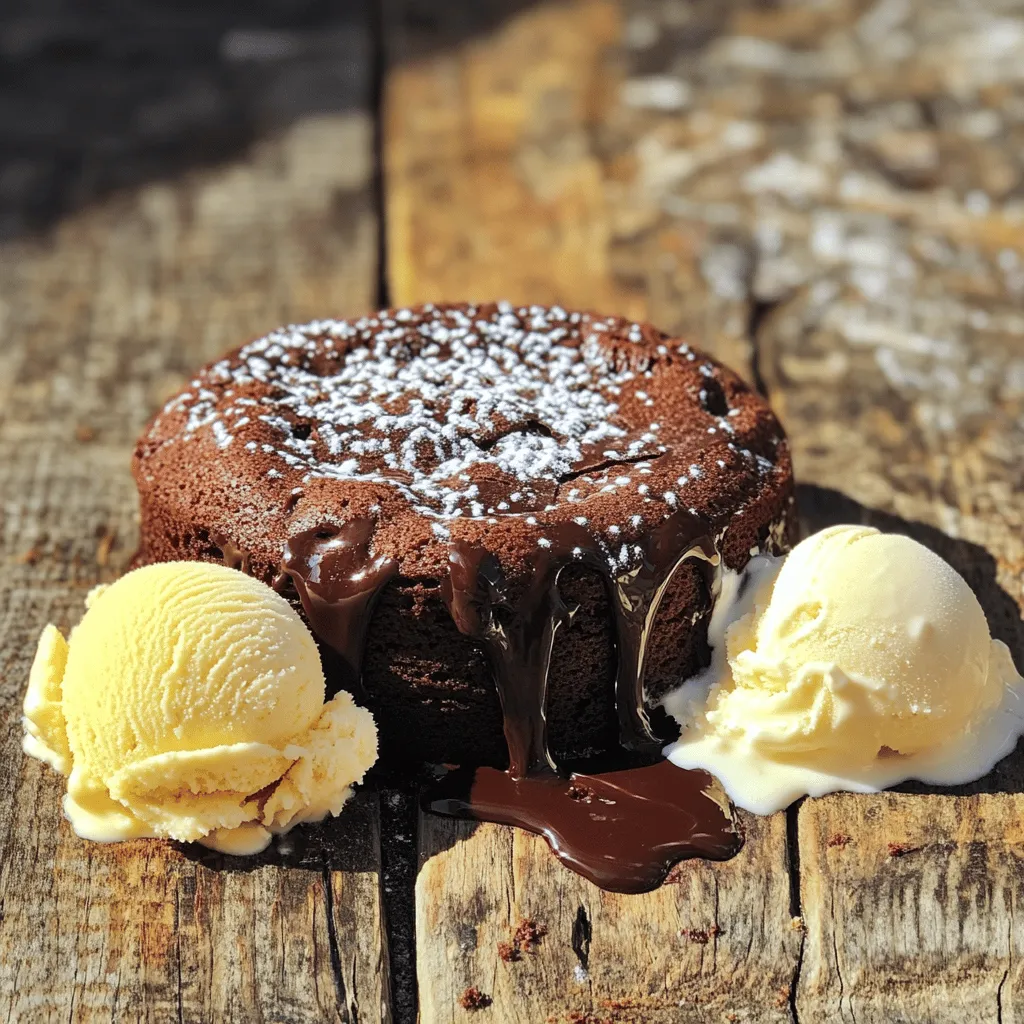
Serving suggestions: Creative accompaniments
The best part of a chocolate lava cake is how you can serve it. Ice cream is a classic choice. A scoop of vanilla or mint chocolate chip pairs well with the warm cake.
You can also try fresh berries. Strawberries or raspberries add a tart contrast to the rich chocolate. Another fun idea is to drizzle caramel or chocolate sauce over the cake.
For a special touch, sprinkle sea salt on top. It enhances the chocolate flavor and adds a crunchy texture. These creative additions will make your dessert even more indulgent.
Storage Info
Storing leftovers: Best practices
After enjoying your chocolate lava cake, you may have some leftovers. To store them, let the cakes cool completely. Then, cover each ramekin tightly with plastic wrap or transfer them to an airtight container. This way, they stay fresh for up to two days in the fridge. Remember to avoid stacking them to keep their shape intact.
Reheating tips: Keeping the lava center gooey
When you’re ready to enjoy your leftover lava cake, reheating is key. Preheat your oven to 350°F (175°C). Place the ramekin on a baking tray and heat for about 10 minutes. This will warm the cake while keeping the center soft and gooey. Avoid using the microwave, as it can make the cake rubbery and dry.
Freezing options: Preparing in advance
If you want to make your chocolate lava cake ahead of time, freezing is a great option. Prepare the cakes in ramekins but do not bake them. Cover each ramekin with plastic wrap and then foil, ensuring they are airtight. You can freeze them for up to three months. When ready to bake, no need to thaw. Just add a couple of extra minutes to the baking time. Enjoy the ease of a delicious dessert ready to go!
FAQs
How do you know when chocolate lava cake is done?
You know the cake is done when the edges look set but the center remains soft. It should jiggle a bit when you shake it. The baking time is key. If you bake it too long, you lose that oozy center. Aim for 12 to 14 minutes in a hot oven.
Can you make chocolate lava cake ahead of time?
Yes, you can prepare the batter in advance. Just cover the ramekins and place them in the fridge. Bake them fresh when you’re ready to serve. This way, you’ll have a warm dessert with a gooey center.
What can I use instead of ramekins for baking?
If you don’t have ramekins, you can use muffin tins or small oven-safe dishes. Just make sure they can hold the batter and withstand the heat. Adjust the baking time since smaller or larger molds may cook at different rates.
How to make individual servings without ramekins?
You can pour the batter into a lined muffin tin. Fill each cup halfway to allow space for rising. Once baked, let them cool for a minute, then flip them out like cupcakes. Enjoy each serving just like a lava cake.
What are some common chocolate lava cake variations?
You can add flavors to change things up. Try mixing in espresso for coffee notes or orange zest for a citrus twist. Some people love adding a splash of peppermint extract. These small changes can create a whole new dessert experience.
This blog post explained how to make the perfect chocolate lava cake. We discussed ingredients and their quality, plus clever substitutions. The step-by-step guide made baking simple, with tips to get a molten center. Variations offered exciting flavors, while storage info helped keep leftovers fresh.
By following these steps, you can create a dessert that impresses. Enjoy making this treat and share it with friends. Baking can be fun and rewarding.