
Honey Garlic Chicken Bites Tasty and Easy Recipe
If you’re craving a dish that’s both delicious and simple, you’ll love my Honey Garlic Chicken Bites. This recipe combines
If you’re craving a dish that’s both delicious and simple, you’ll love my Honey Garlic Chicken Bites. This recipe combines

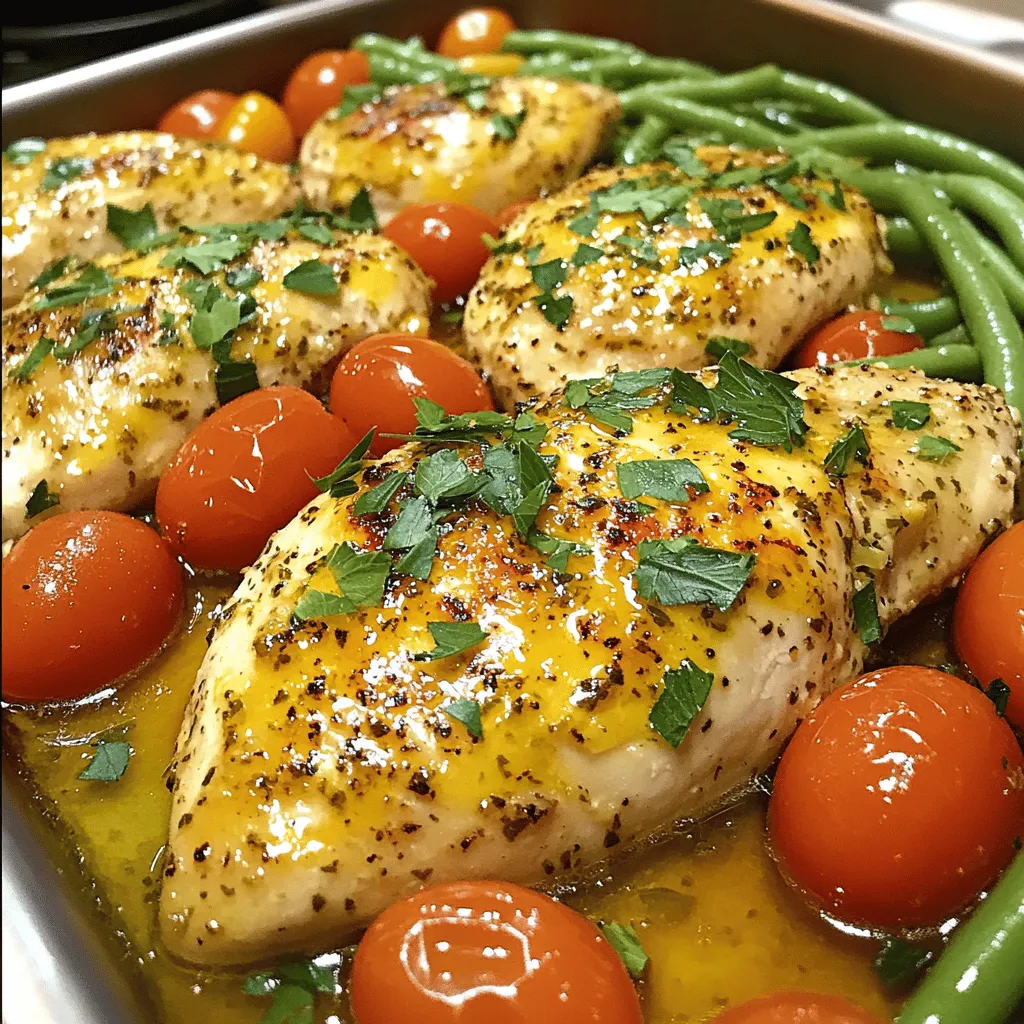
If you’re looking to bring a splash of flavor to your dinner table, try my Sheet Pan Fajita Chicken! This
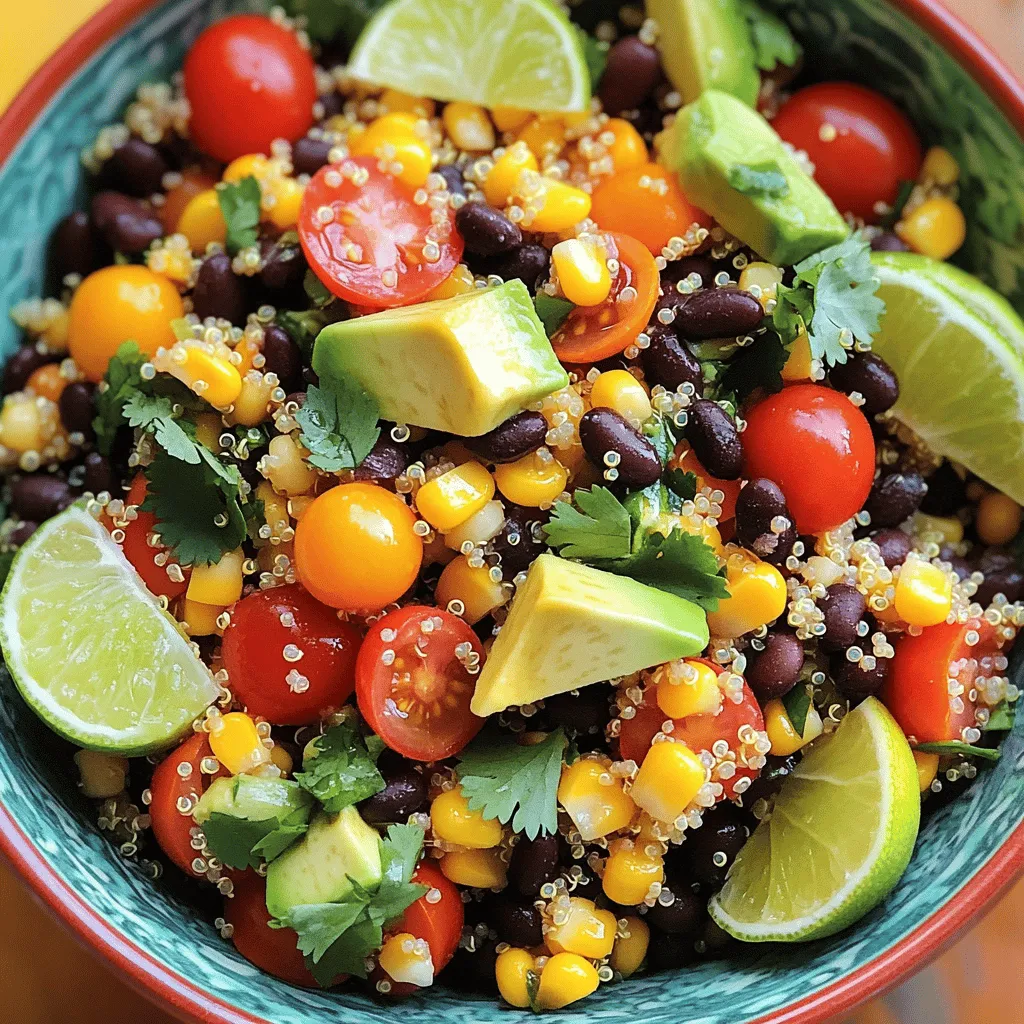
Are you ready to spice up your meal rotations? This Southwest Quinoa Salad is a vibrant, tasty dish that packs
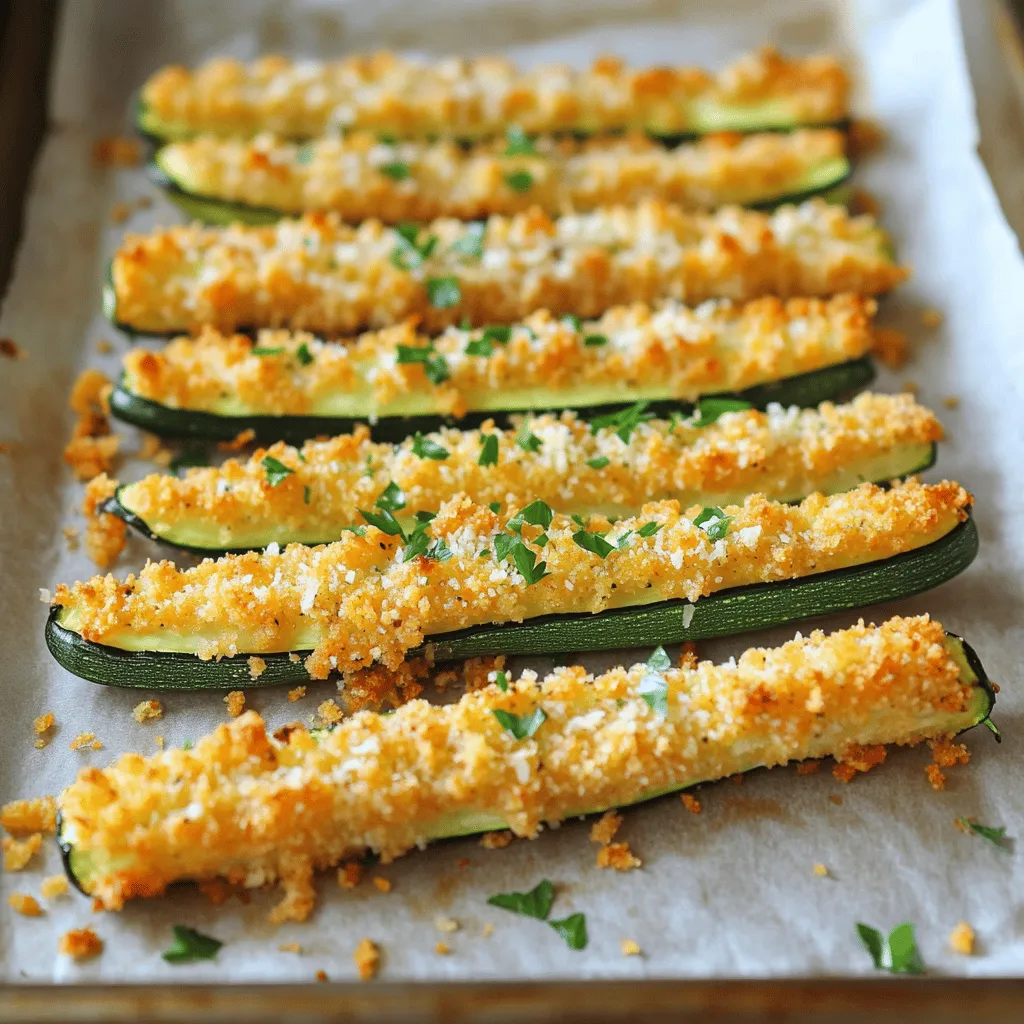
Are you ready to turn zucchini into a crispy, tasty snack? Baked Parmesan Zucchini Fries are your answer! These fries
![To make a classic Greek salad, you need fresh and simple ingredients: - 2 large ripe tomatoes, diced into bite-sized pieces - 1 cucumber, peeled and chopped - 1 red bell pepper, sliced - 1 small red onion, sliced thinly - 1 cup Kalamata olives, pitted - 1 cup feta cheese, crumbled - 3 tablespoons extra virgin olive oil - 2 tablespoons red wine vinegar (or lemon juice) - 1 teaspoon dried oregano - Salt and black pepper to taste - Fresh parsley for garnish These ingredients create a colorful and tasty dish. The tomatoes and cucumbers bring freshness. The feta cheese adds creaminess, while the olives offer a briny kick. If you want to add more to your salad, consider these options: - Grilled chicken - Shrimp - Capers These additions make the salad heartier and more filling. They also enhance the flavor in different ways. To prepare your Greek salad, gather these kitchen tools: - Large salad bowl - Small mixing bowl - Whisk Having the right tools makes the cooking process easier. A large bowl helps mix everything well, while a whisk is great for making the dressing. For the full recipe, check [Full Recipe]. Start by dicing the tomatoes. Aim for bite-sized pieces; this makes them easy to eat. Next, peel and chop the cucumber. The cucumber adds a nice crunch. Then, slice the red bell pepper into thin strips. This will add color and sweetness to the salad. Finally, slice the red onion thinly. It adds a sharp flavor that pairs well with the other veggies. In a large salad bowl, mix the diced tomatoes, chopped cucumber, sliced bell pepper, and thinly sliced red onion. Make sure everything is evenly spread out. Next, add in the Kalamata olives. Their briny flavor enhances the salad. Finally, crumble the feta cheese on top. Gently mix everything together, being careful not to break the feta too much. Take a small bowl and whisk together the extra virgin olive oil and red wine vinegar. If you prefer, you can use lemon juice instead of vinegar. Add in the dried oregano, salt, and black pepper. Whisk until everything is blended well. This dressing will bring all the flavors together. Pour the dressing over the salad mixture. Use tongs to toss everything gently. Make sure all the ingredients are coated with the dressing. This step is key to a flavorful salad. Let the salad sit for about 10 minutes before serving. This resting time allows the flavors to develop. The veggies will soak up the dressing and taste even better. Just before serving, garnish with fresh parsley for a pop of color. Check out the Full Recipe for complete details. Enjoy your delicious and refreshing Greek salad! Pick ripe tomatoes for the best taste. Look for ones that feel heavy and firm. Their color should be bright red, with no green spots. For feta cheese, choose a quality brand. It should be creamy with a slight tang. You can use block feta and crumble it yourself for better texture. Let your Greek salad sit for about 10 minutes. This allows the flavors to mix well. The salt draws out juices from the veggies. This creates a light dressing without extra effort. It makes each bite more flavorful. Garnish the salad with fresh parsley. This adds a pop of color and a fresh taste. You can also use mint for a different twist. Serve your salad in a nice bowl to make it look special. A pretty presentation makes the meal more inviting. {{image_2}} If you want more protein in your salad, try adding grilled chicken or shrimp. These meats work well with the fresh flavors of the salad. Grilled chicken adds a nice smoky taste. Shrimp gives a sweet and tender bite. To add them, just toss them in after cooking. You can also marinate the chicken or shrimp in olive oil and lemon juice for extra flavor. This makes your Greek salad even more filling and hearty. For a tasty vegetarian option, use chickpeas or quinoa. Chickpeas add a nutty flavor and good texture. They also pack a protein punch, making your salad healthy. Quinoa is another great choice. It provides a light, fluffy grain that complements the other ingredients. Just cook the quinoa according to the package instructions and let it cool before mixing it in. Both options make your salad more satisfying without meat. You can enhance the flavors of your Greek salad by adding herbs or spices. Fresh herbs like basil or mint add a burst of freshness. You can also try a pinch of crushed red pepper for a little heat. Adding a squeeze of lemon juice brightens the dish. These small tweaks can make a big difference. They help you create a unique salad that fits your taste. Remember, the key is to balance the flavors while keeping it fresh and vibrant. Try out these variations to make your Greek salad truly yours. For the full recipe, check out the Aromatic Greek Salad Delight. To keep your Greek salad fresh, store leftovers in an airtight container. Place the salad in the fridge. It will stay good for up to three days. If you know you will have leftovers, consider keeping the dressing separate. This way, the salad won’t get soggy. Just dress it before serving for the best taste. Greek salad is not ideal for freezing. The veggies lose their crunch and flavor. If you must freeze it, try only freezing the dressing. Store it in a small container and keep it in the freezer for up to three months. When you’re ready to use it, let it thaw in the fridge overnight. The shelf life of your Greek salad depends on the ingredients. Fresh tomatoes, cucumbers, and bell peppers stay good for about three days in the fridge. Feta cheese lasts a bit longer, around a week. Kalamata olives can last for several weeks if kept sealed. Always check for signs of spoilage, like off smells or discoloration. Enjoy your Greek salad fresh and vibrant for the best flavors! Greek salad has roots in the Mediterranean. It comes from Greece, where fresh ingredients are key. The dish reflects local farming and flavors. Traditionally, Greek salad uses ripe tomatoes, cucumbers, and olives. Each region in Greece may have its own twist. You can prepare Greek salad a few hours before serving. To keep it fresh, store the dressing separately. Mix it in just before serving. This way, the veggies stay crisp. If you make it too early, the salad may get soggy. If you need a feta substitute, try goat cheese or ricotta. For a dairy-free option, use tofu or vegan cheese. These alternatives provide a similar creamy texture. Adjust the flavors in your dressing to match your choice. Yes, Greek salad is very healthy. It is full of fresh veggies. Tomatoes and cucumbers offer vitamins and hydration. Kalamata olives add healthy fats. Feta cheese provides protein and calcium. This dish is low in calories, making it a great choice. You can personalize the flavors of your Greek salad easily. Start with the basic dressing. Then, add more oregano or lemon juice for zest. Taste and adjust salt and pepper. Experiment with fresh herbs like basil or mint for a twist. Yes, you can use different olives in Greek salad. Kalamata olives are traditional, but green olives work too. Each type has a unique taste. If you like, try mixing different olives for added flavor. Greek salad pairs well with many dishes. Serve it with grilled meats, like chicken or lamb. It also complements seafood nicely. You can enjoy it with pita bread or as a side to a larger meal. Check out the Full Recipe for more ideas! Greek salad is fresh and easy. We covered the key ingredients and how to mix them. You learned about optional additions like grilled chicken and shrimp. Tips on selecting the best items can help your salad shine. Don't forget about cooling and storing your leftovers well. With these steps, you can enjoy this dish anytime. Dive in and enjoy the vibrant flavors of Greece!](https://southerndishes.com/wp-content/uploads/2025/07/b8bdf8cf-45d6-4d65-8095-18f9e401e671.webp)
Are you ready to discover a dish that bursts with freshness and flavor? The Classic Greek Salad is not just

Get ready to spice up your game day with my Spicy Sriracha Honey Chicken Wings! These delicious wings hit the

Looking for a quick and healthy meal? You can whip up a delicious veggie stir fry in no time! This
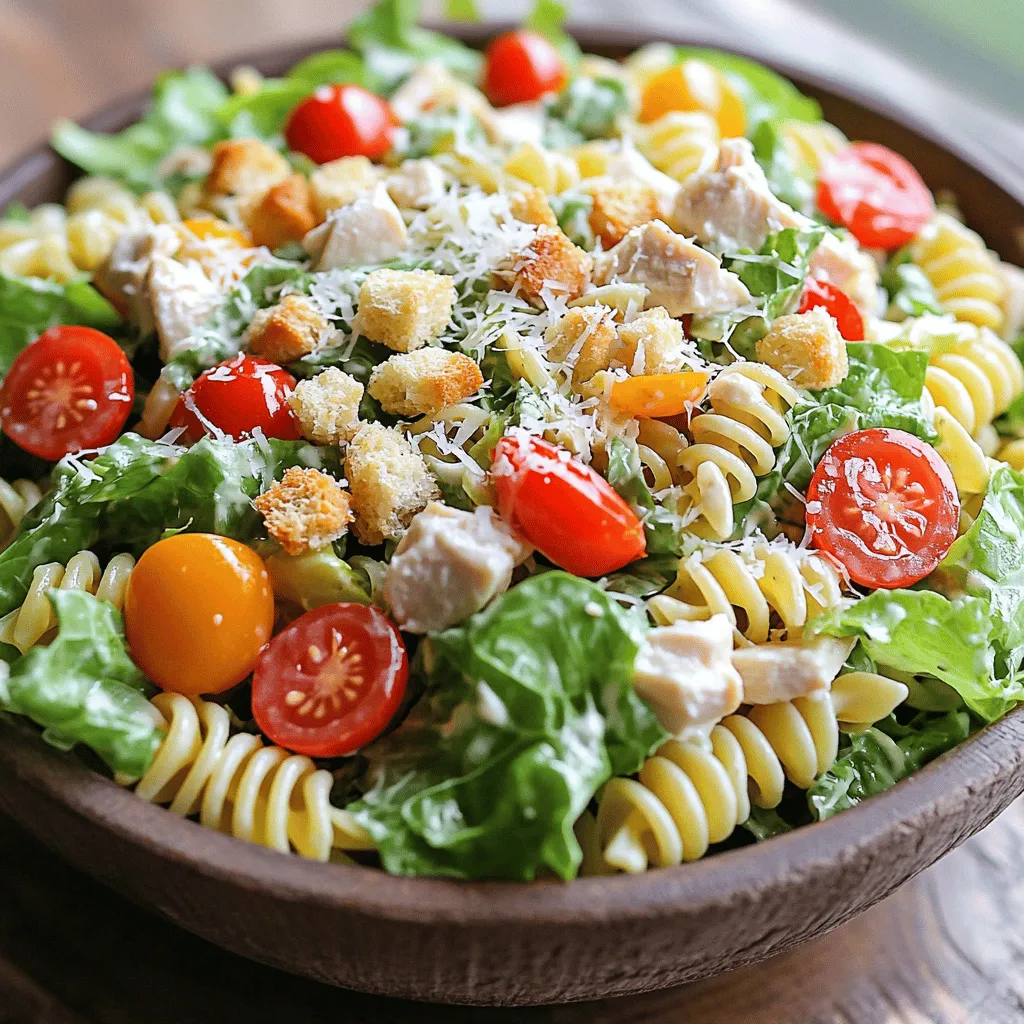
Looking for a dish that combines classic flavors with a fresh twist? Chicken Caesar Pasta Salad is your answer! It’s

Are you ready to enjoy a meal that’s both tasty and good for you? Stuffed bell peppers are a delightful
Looking for a fresh and flavorful meal that’s super easy to make? You’ve come to the right place! I’m excited
