
One-Pot Creamy Cajun Chicken Alfredo Delightful Meal
Craving a tasty meal that’s easy to make? Dive into my One-Pot Creamy Cajun Chicken Alfredo. This dish blends creamy
Craving a tasty meal that’s easy to make? Dive into my One-Pot Creamy Cajun Chicken Alfredo. This dish blends creamy

Welcome to the world of delicious baking with my Cinnamon Swirl Coffee Cake Muffins! You’ll learn how to create warm,
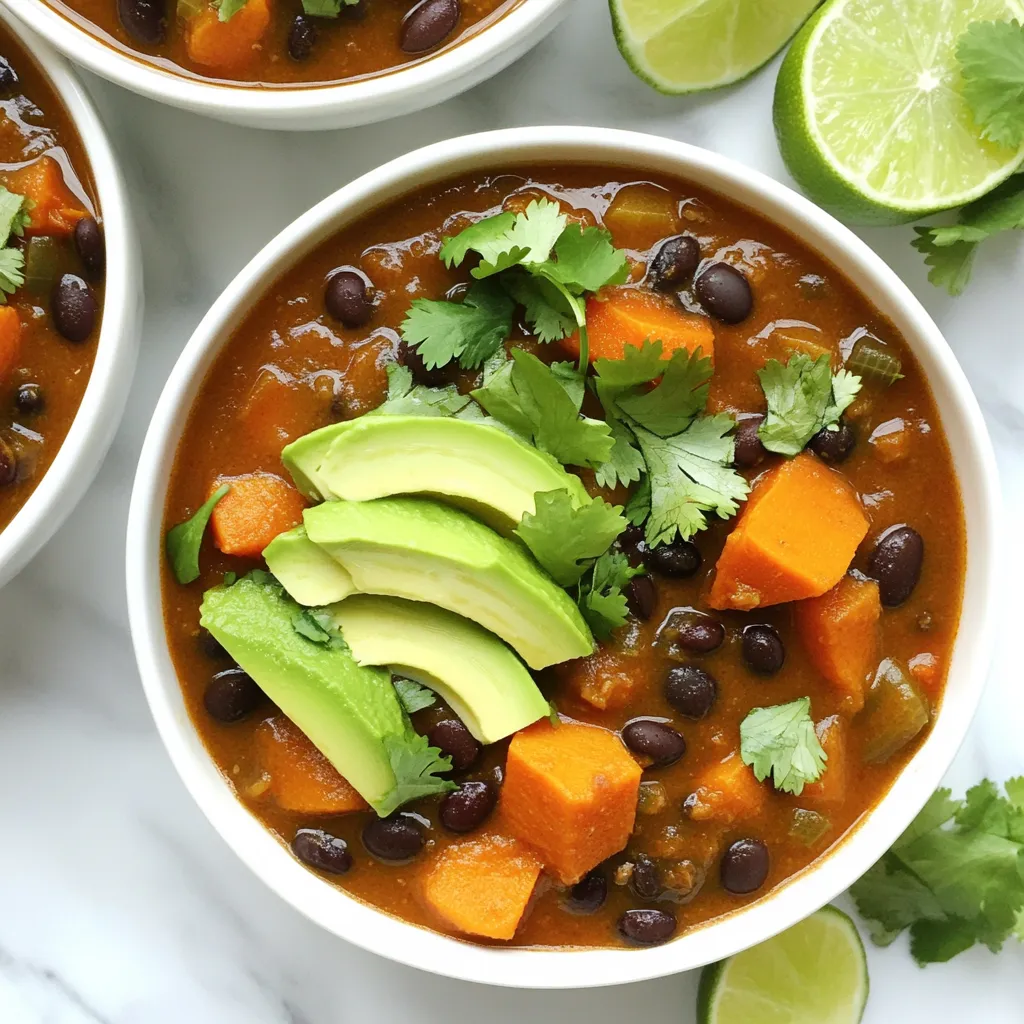
If you’re craving a warm, filling dish, try my slow cooker sweet potato black bean chili! This recipe is easy,

Craving a tasty snack that fuels your day? Look no further than these No Bake Salted Caramel Energy Bites! Packed
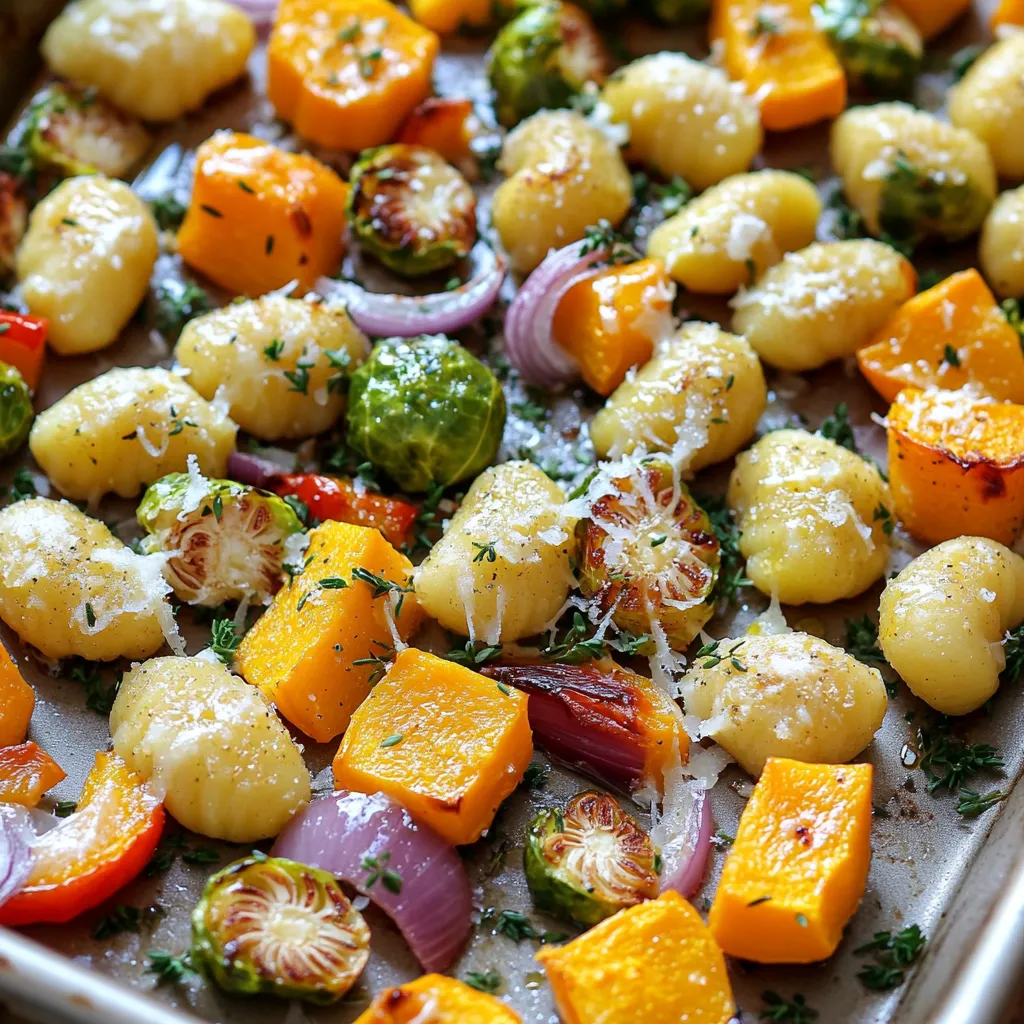
Get ready to delight your taste buds with my Sheet Pan Crispy Gnocchi Fall Veggies Delight! This easy recipe combines
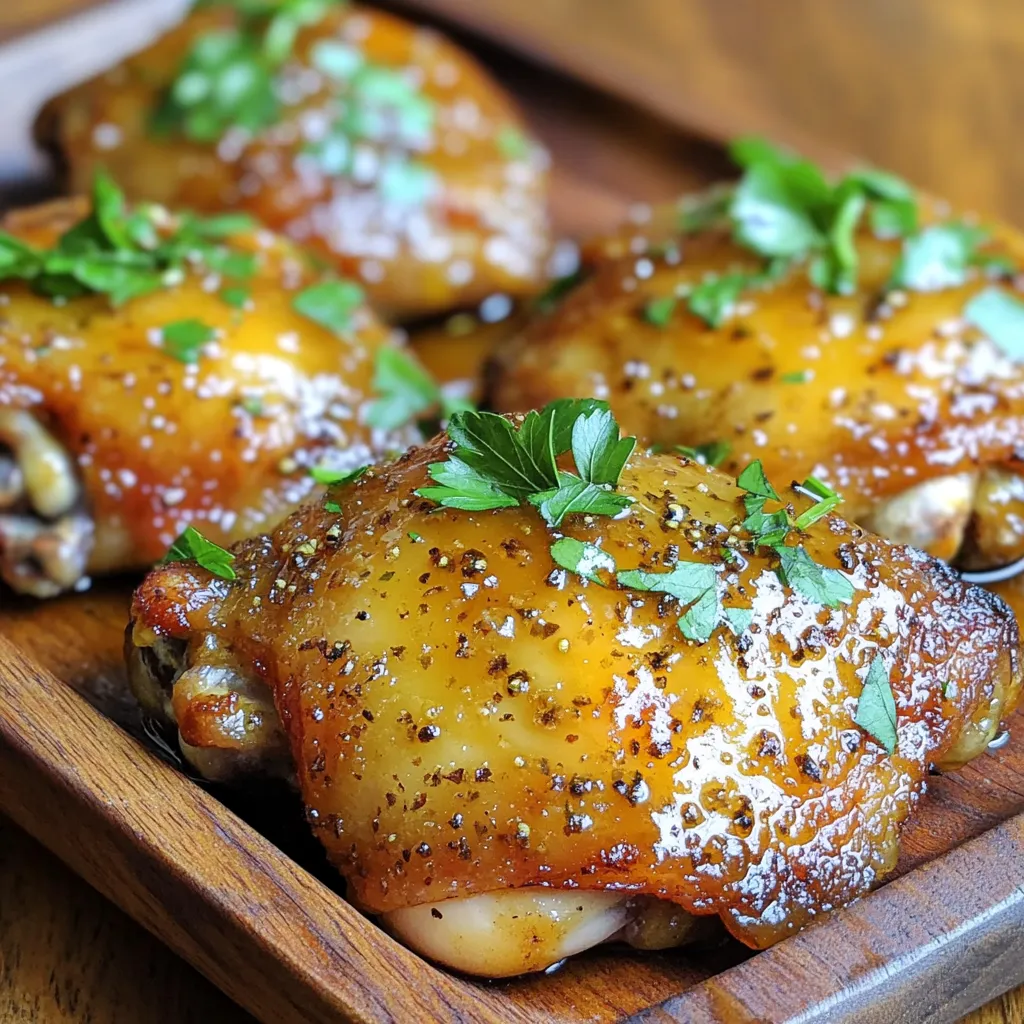
Looking for a simple, tasty dish that impresses? Let me introduce you to Apple Cider Glazed Chicken Thighs! This recipe

If you’re craving a treat that’s warm and cozy, I have just the thing for you! My Pumpkin Oatmeal Chocolate
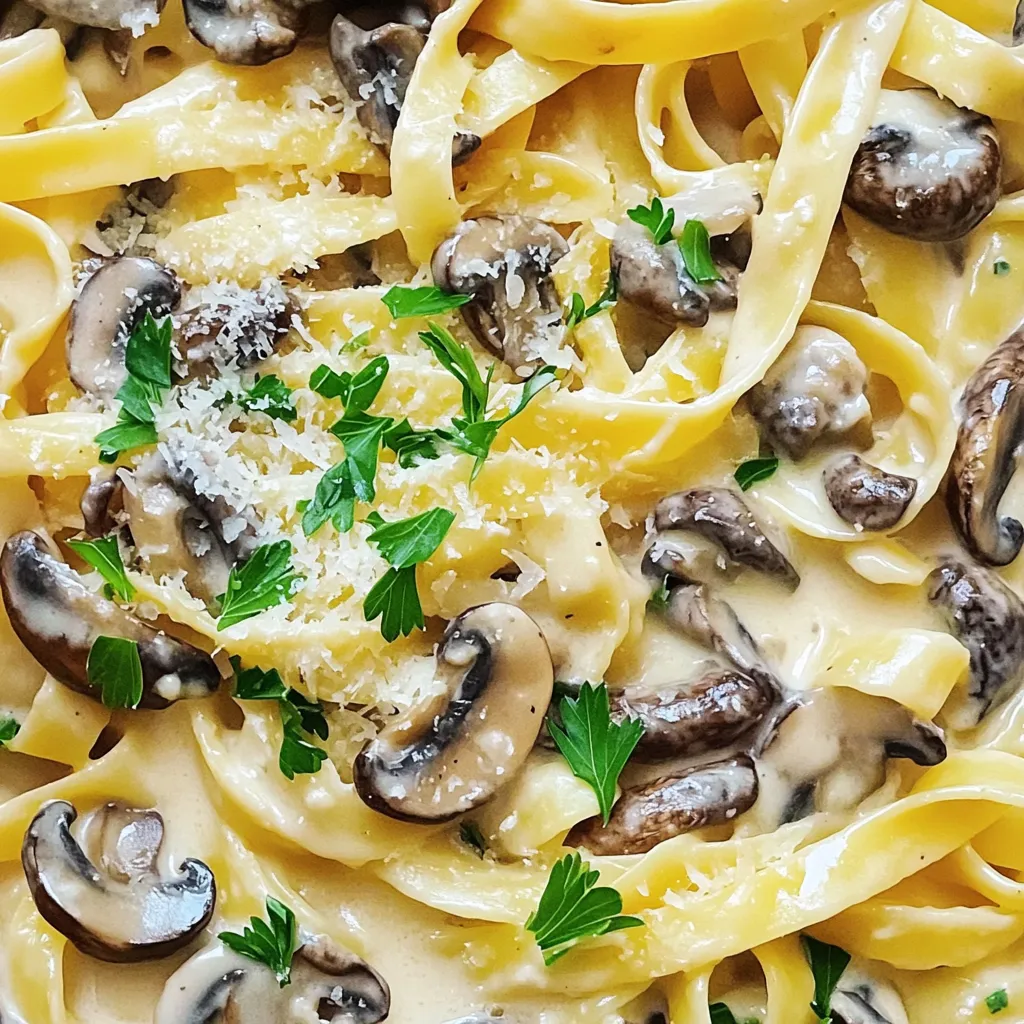
If you crave a rich and creamy dish that’s quick and easy, you’re in the right place! My Creamy Mushroom

Warm, hearty, and full of flavor, my Savory Slow Cooker Beef Barley Soup will become your new go-to recipe. Packed

Looking for a fun and tasty meal? Air Fryer Jalapeño Popper Chicken is the answer! This dish combines juicy chicken
