Cheesy Baja Chicken Pepper Skillet Zesty Weeknight Meal
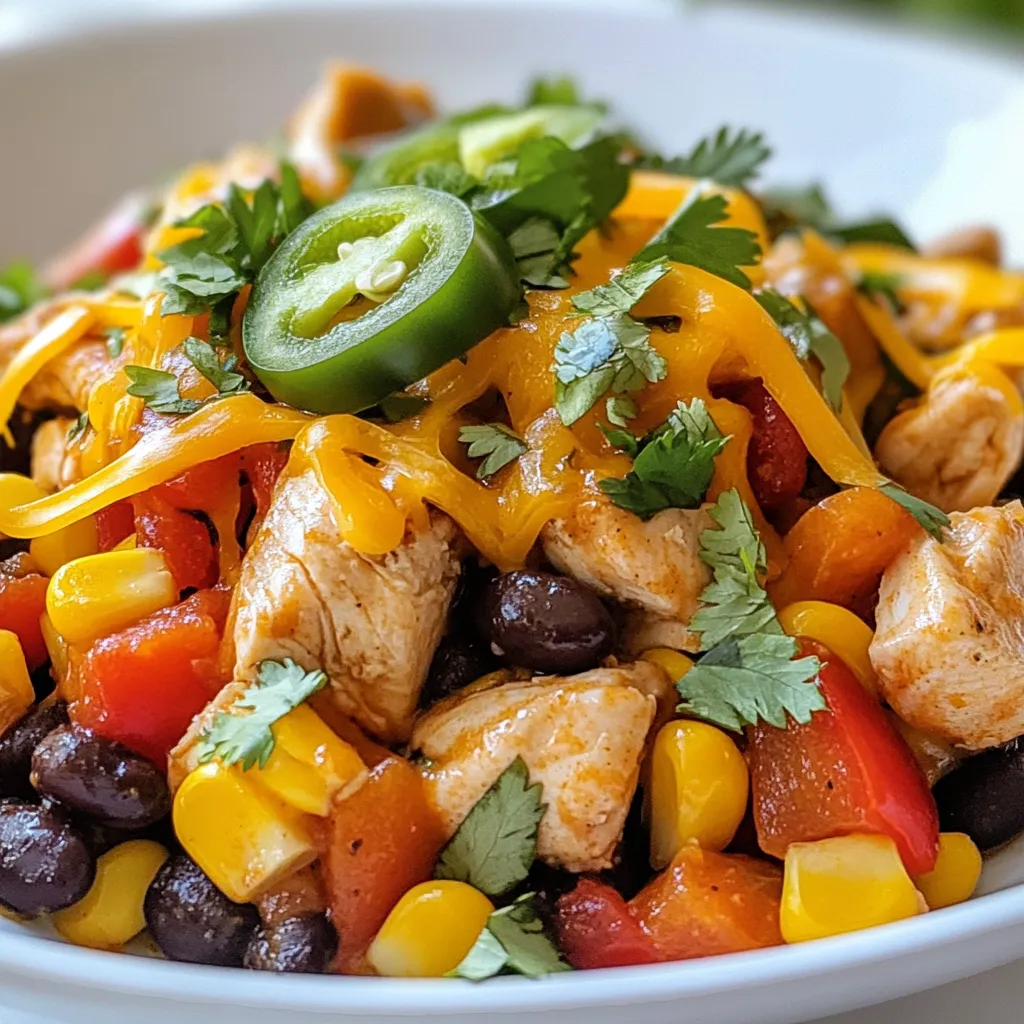
Looking for a quick and tasty weeknight meal? Let me introduce you to my Cheesy Baja Chicken Pepper Skillet! This
Looking for a quick and tasty weeknight meal? Let me introduce you to my Cheesy Baja Chicken Pepper Skillet! This
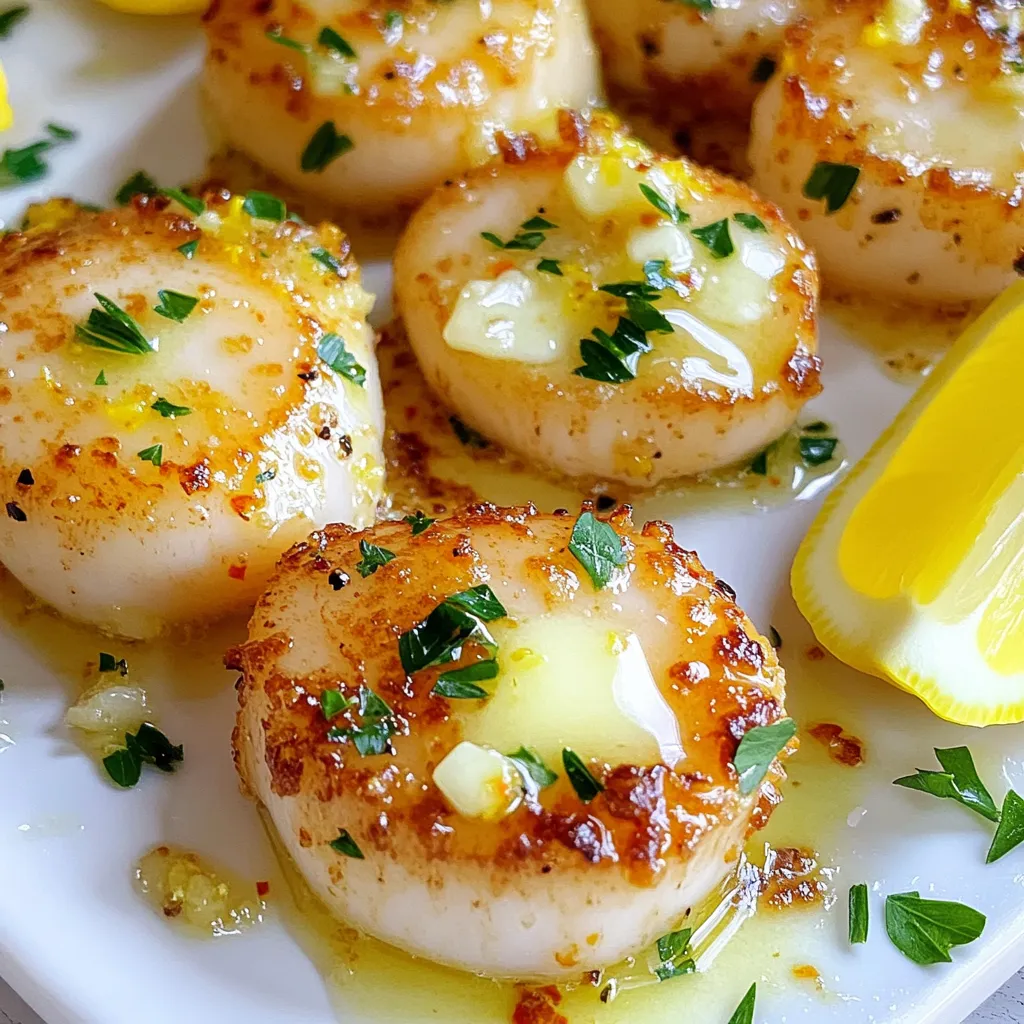
Do you crave a dish that’s both tasty and quick? Minute Garlic Butter Scallops are your answer! In just a
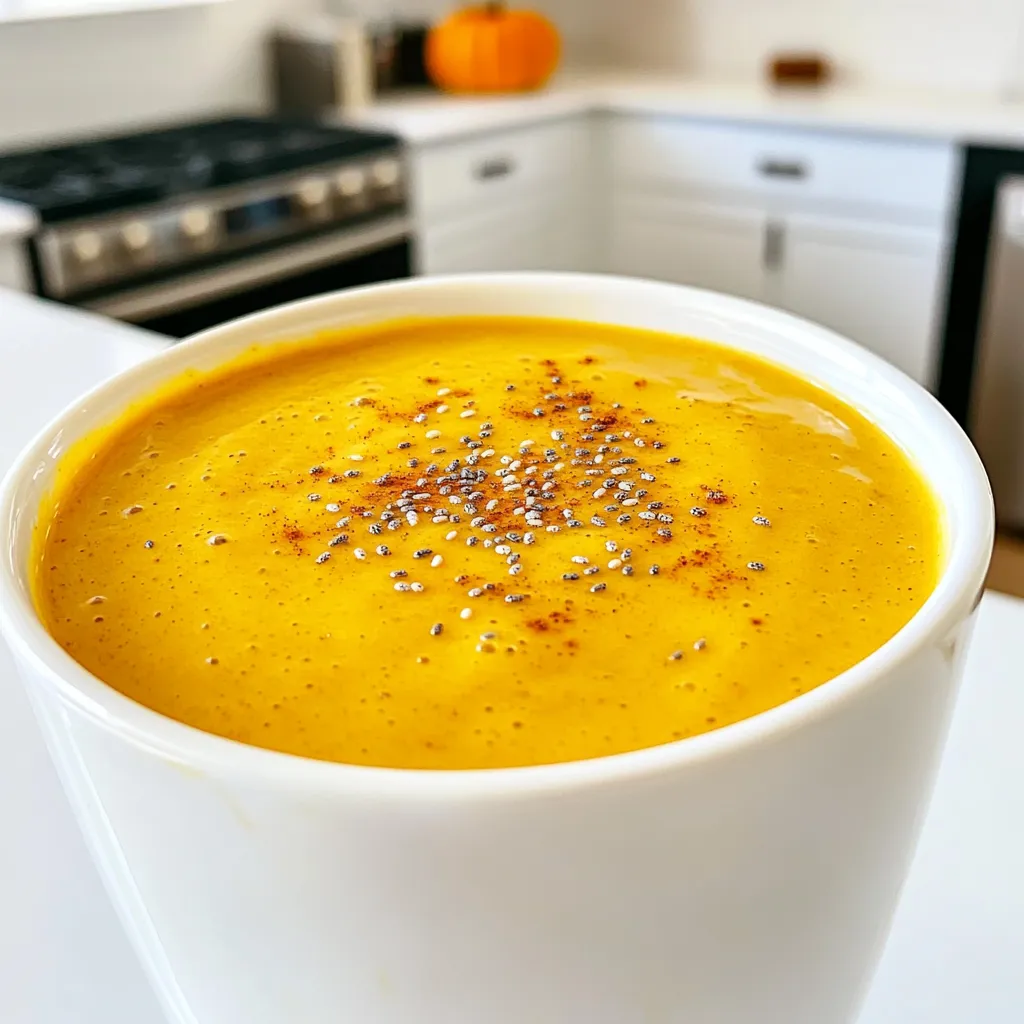
Fall is here, and so is the time for cozy, warm drinks! I’m excited to share my recipe for a
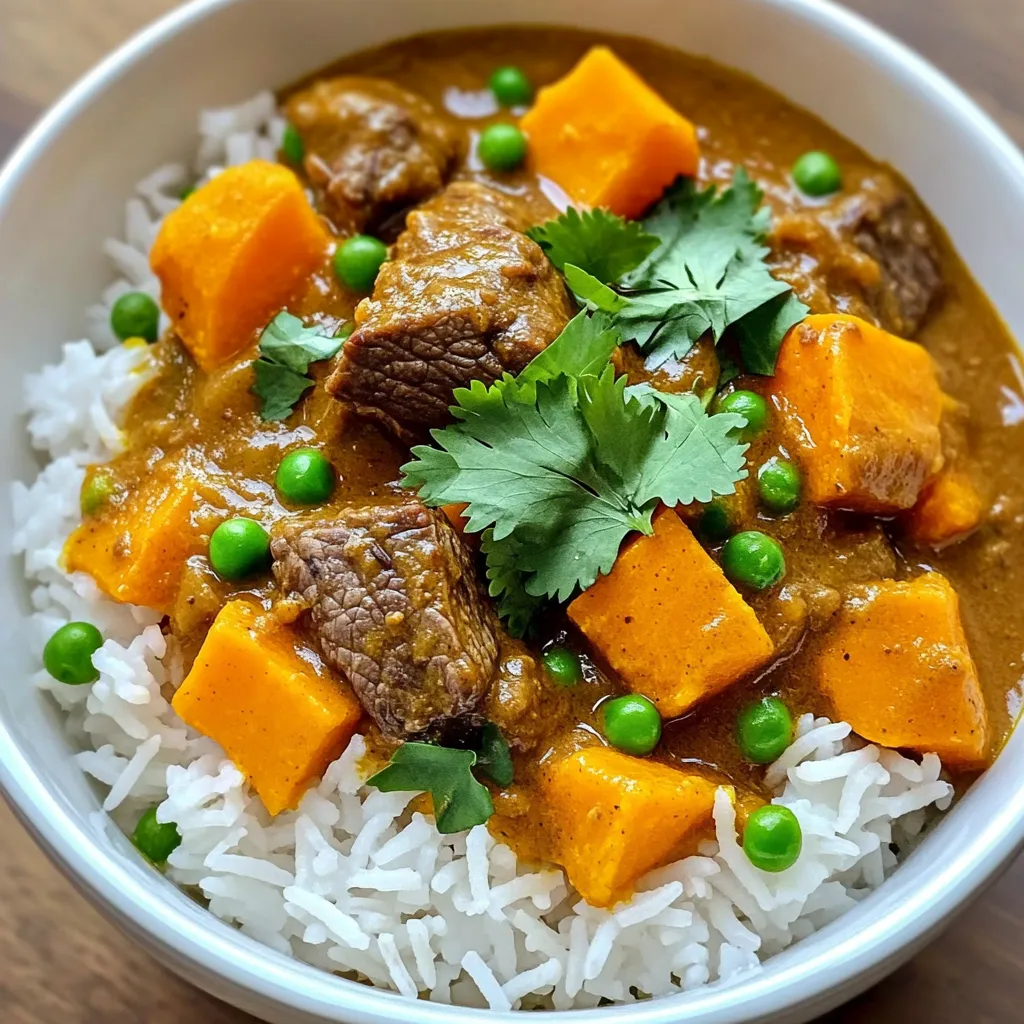
Are you ready to dive into a dish that’s both comforting and bursting with flavor? My Slow Cooker Beef and
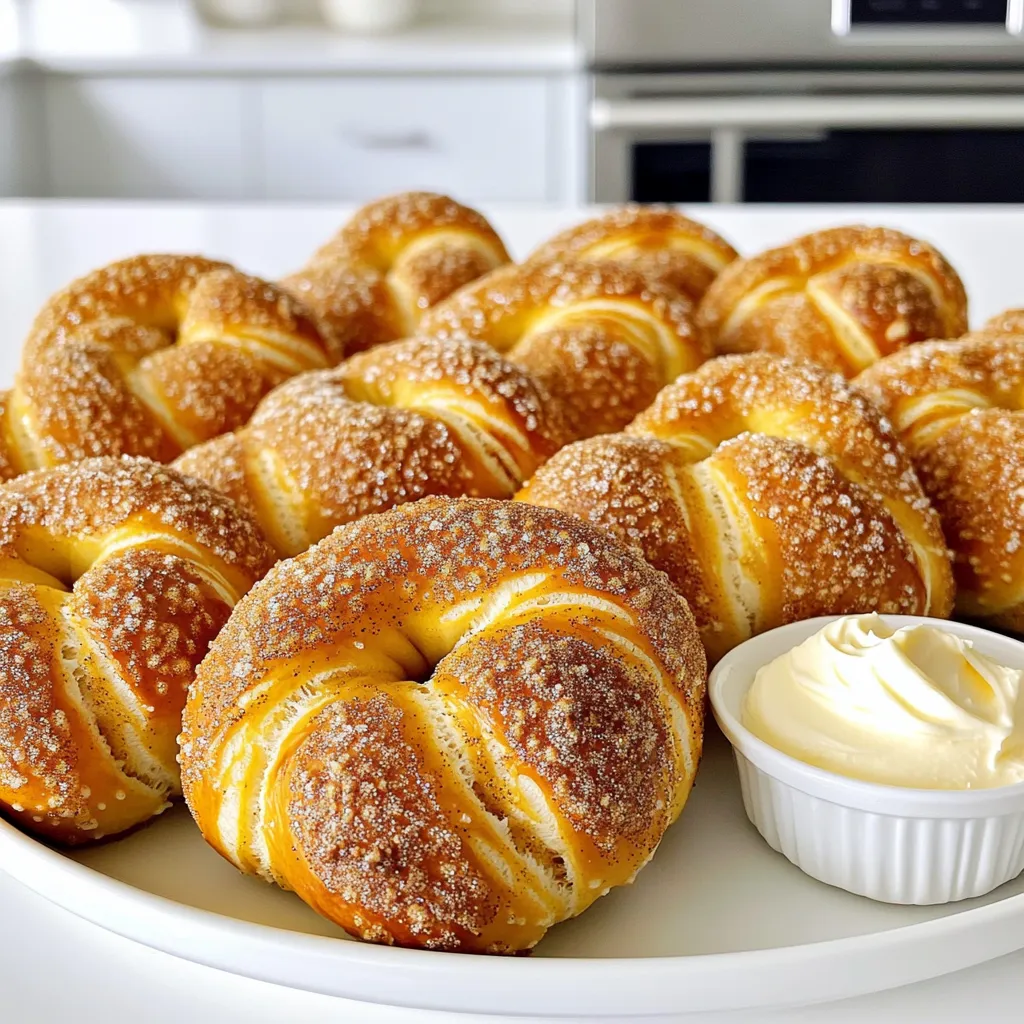
Do you crave a warm, sweet treat that feels like a visit to your favorite bakery? Try my Bakery-Style Cinnamon
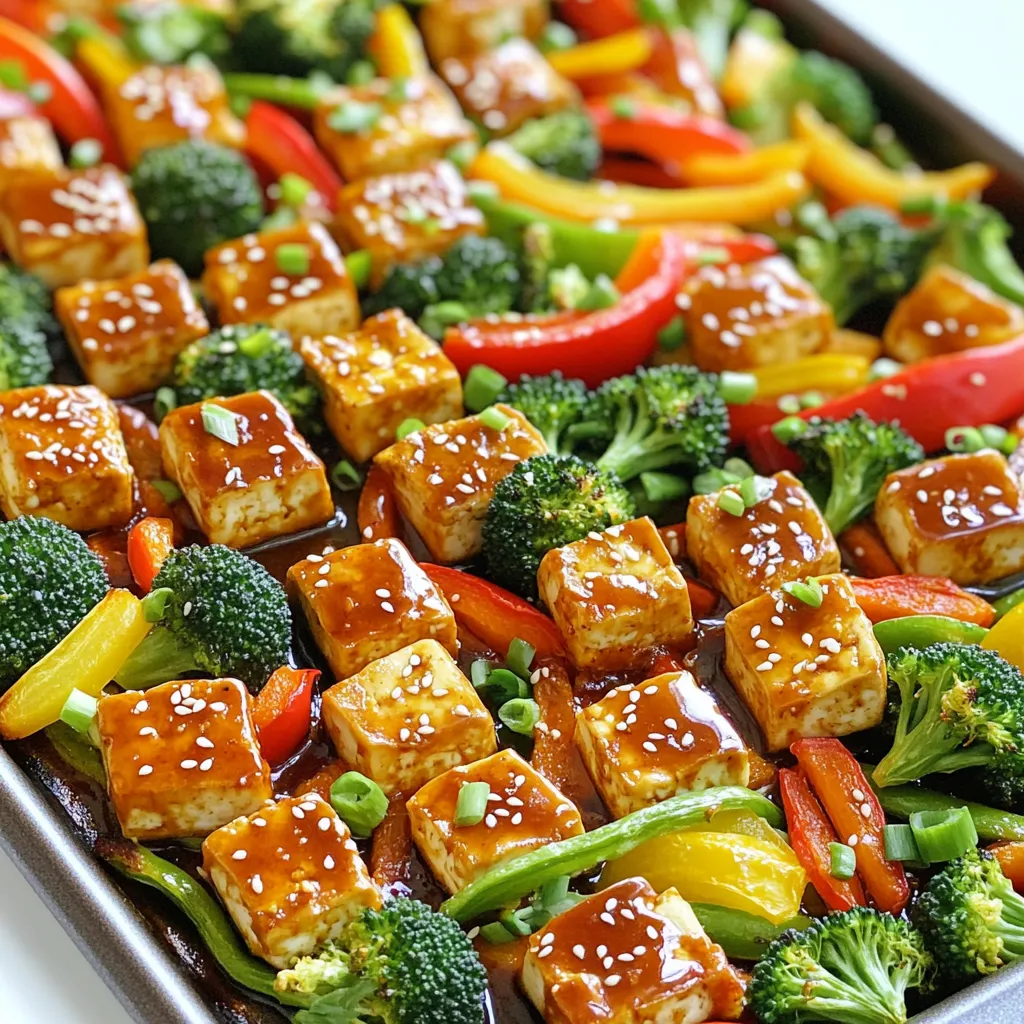
Looking for a quick and tasty dinner? My Sheet-Pan Sweet Chili Tofu with Veggies might be just what you need!
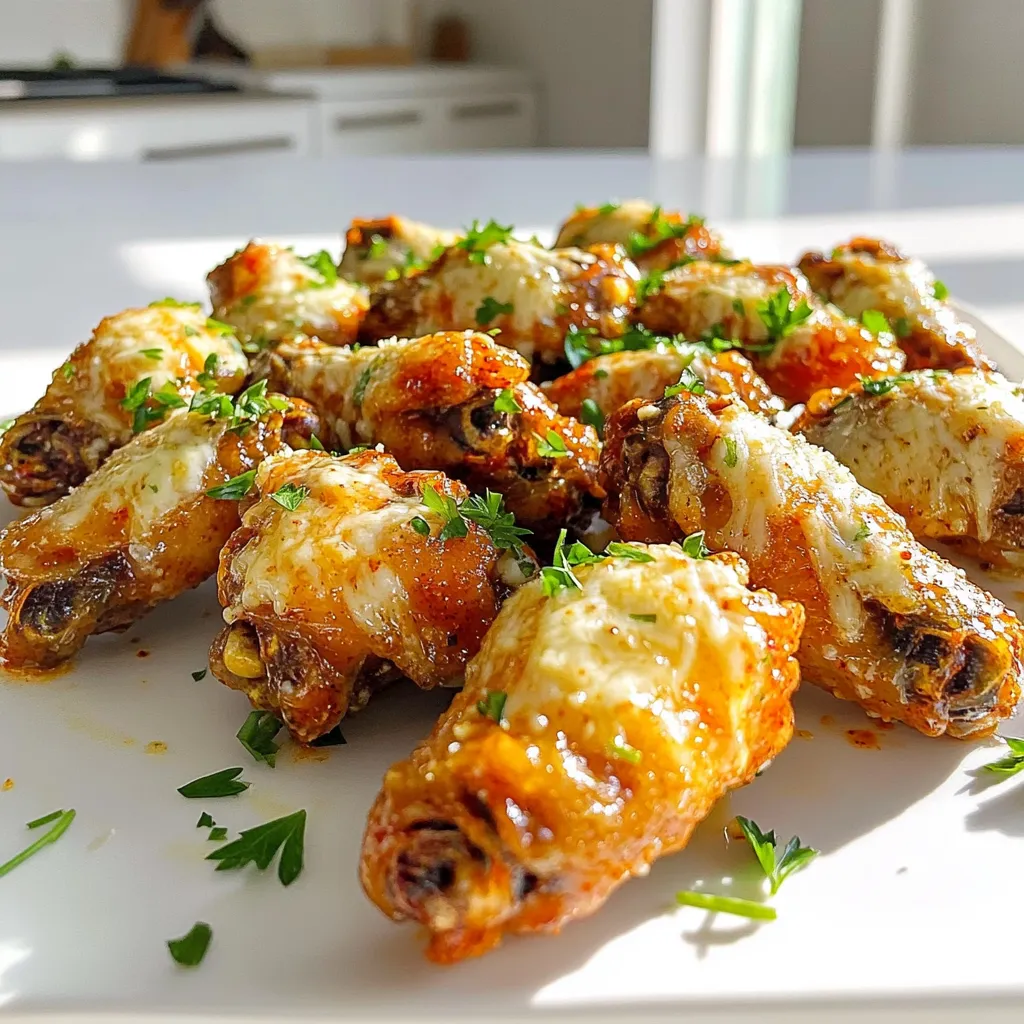
Are you ready to elevate your snack game? These Air Fryer Spicy Garlic Parmesan Wings are an absolute must-try. Crisp
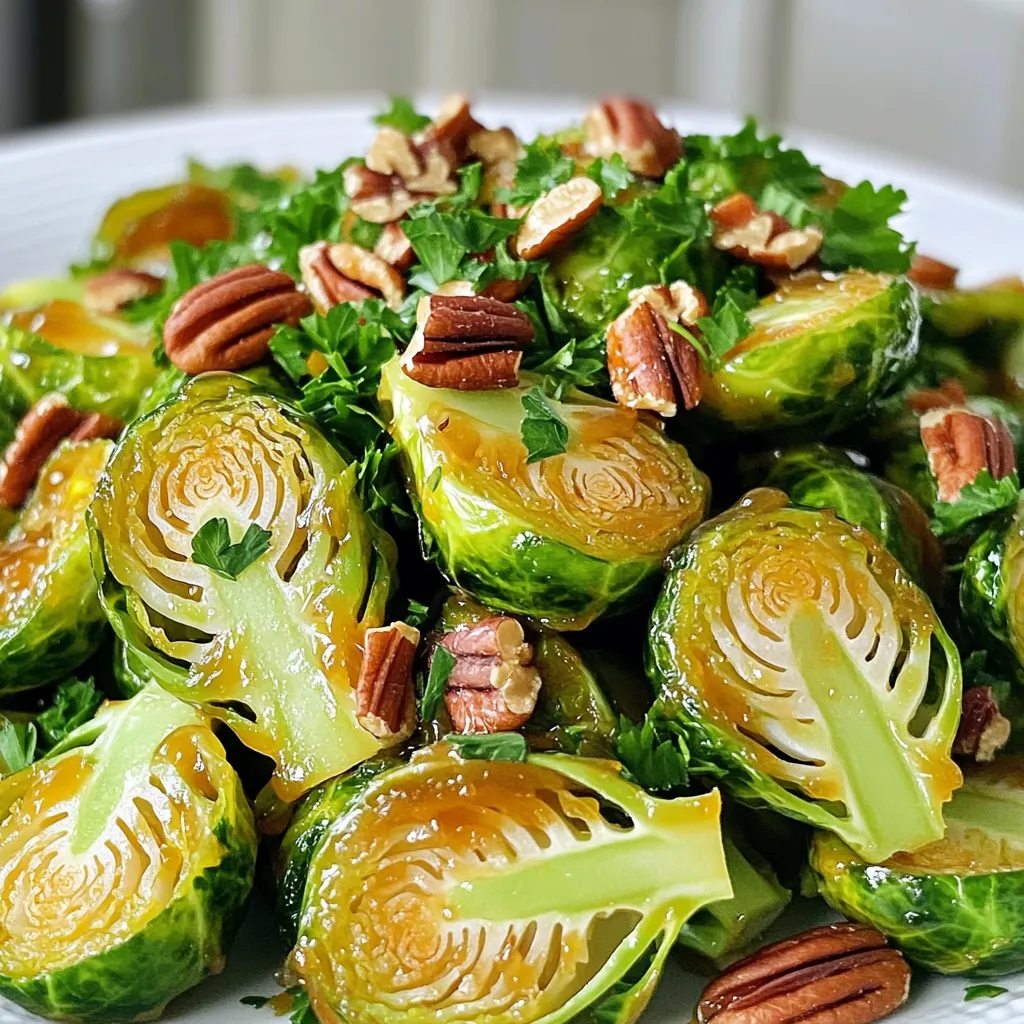
If you think Brussels sprouts can’t be delicious, think again! My Caramelized Maple Glazed Brussels Sprouts Delight will change your

Fall is the perfect time to enjoy a cozy treat that combines two favorites: pumpkin spice lattes and ice cream.

Start your day with a burst of flavor! This Savory Sausage and Spinach Breakfast Strata is your new go-to recipe.
