Creamy Crockpot Ranch Chicken Easy Family Meal Recipe
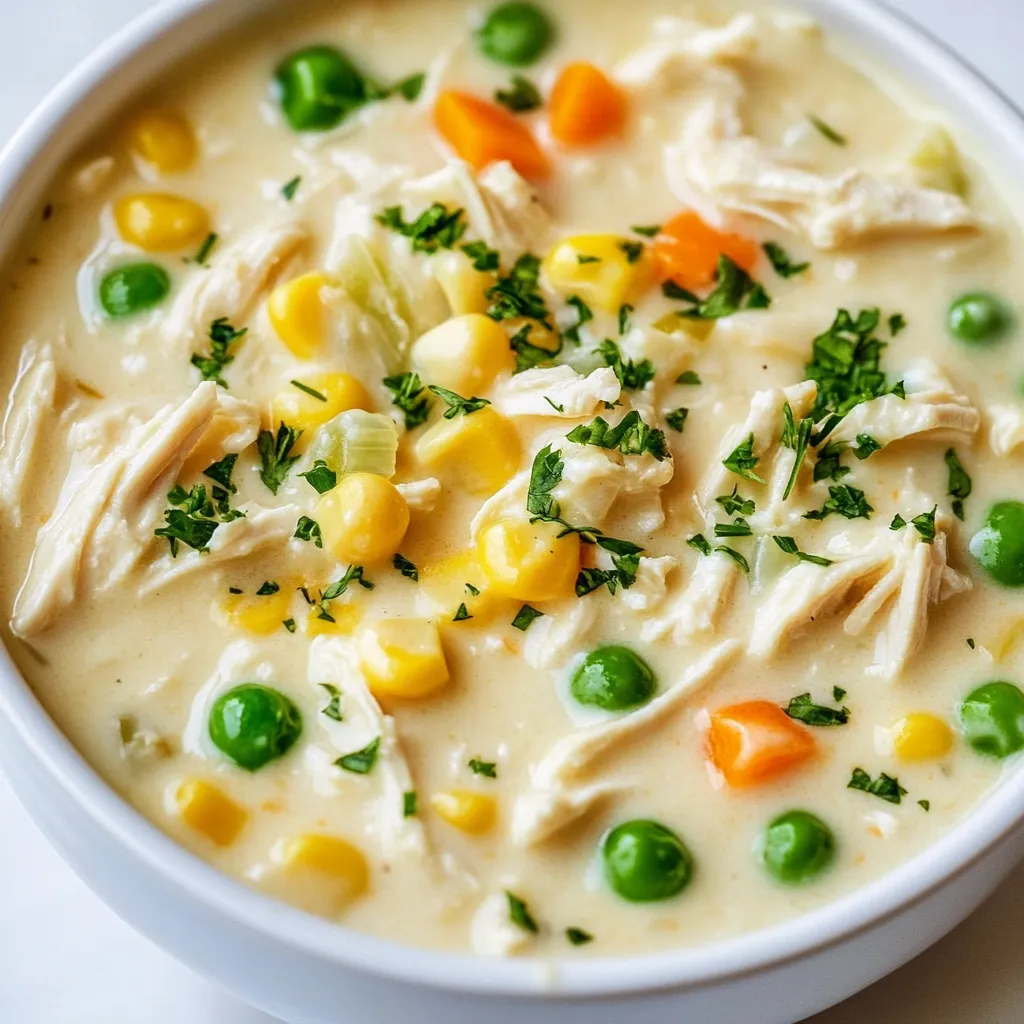
Looking for an easy and delicious family meal? You’re in the right place! My Creamy Crockpot Ranch Chicken recipe combines
Looking for an easy and delicious family meal? You’re in the right place! My Creamy Crockpot Ranch Chicken recipe combines

Want a warm, filling dish that fits your keto diet? Look no further than my Keto Beef Stroganoff Casserole! This
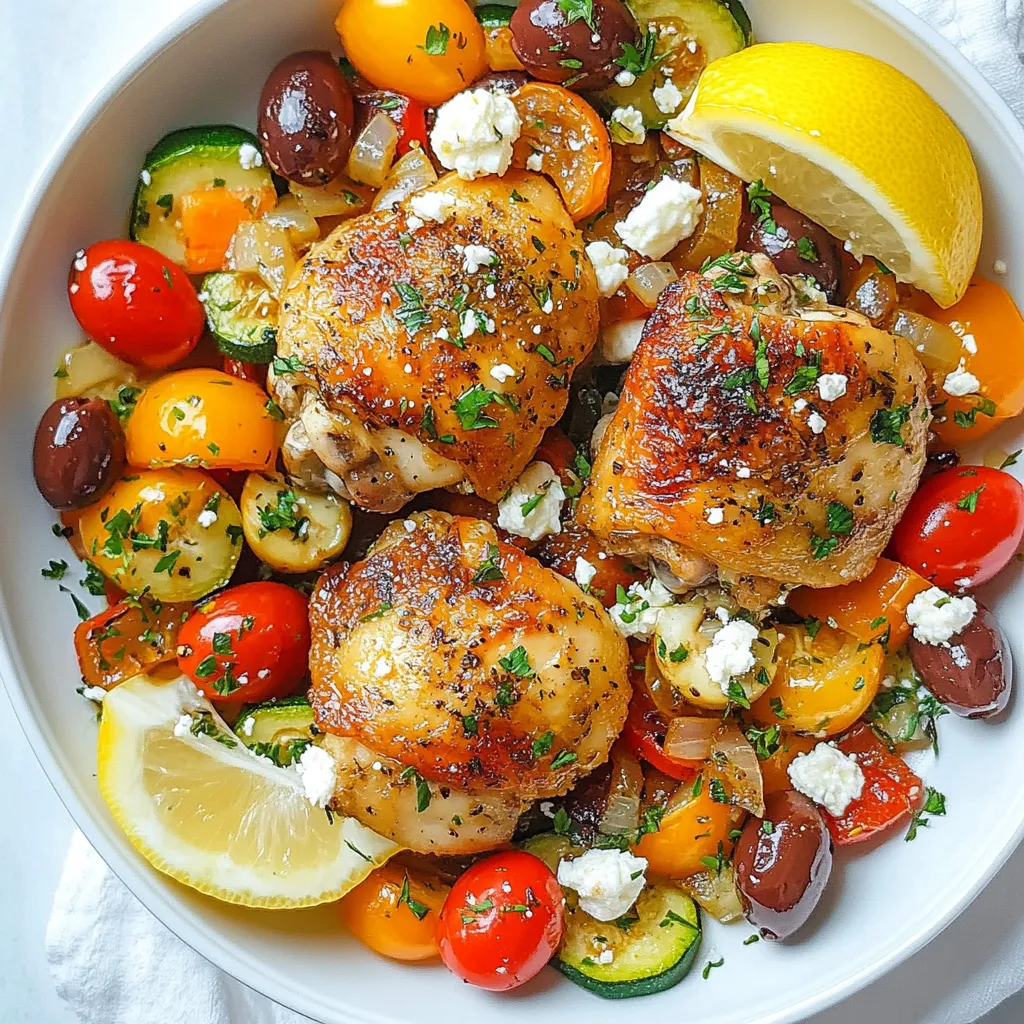
Looking for a quick and tasty meal? My Mediterranean Chicken Skillet is just what you need! This dish combines juicy

Welcome to a tasty journey with my Herb Cheese Pumpkin Biscuits! These savory bites blend the rich flavors of cheese
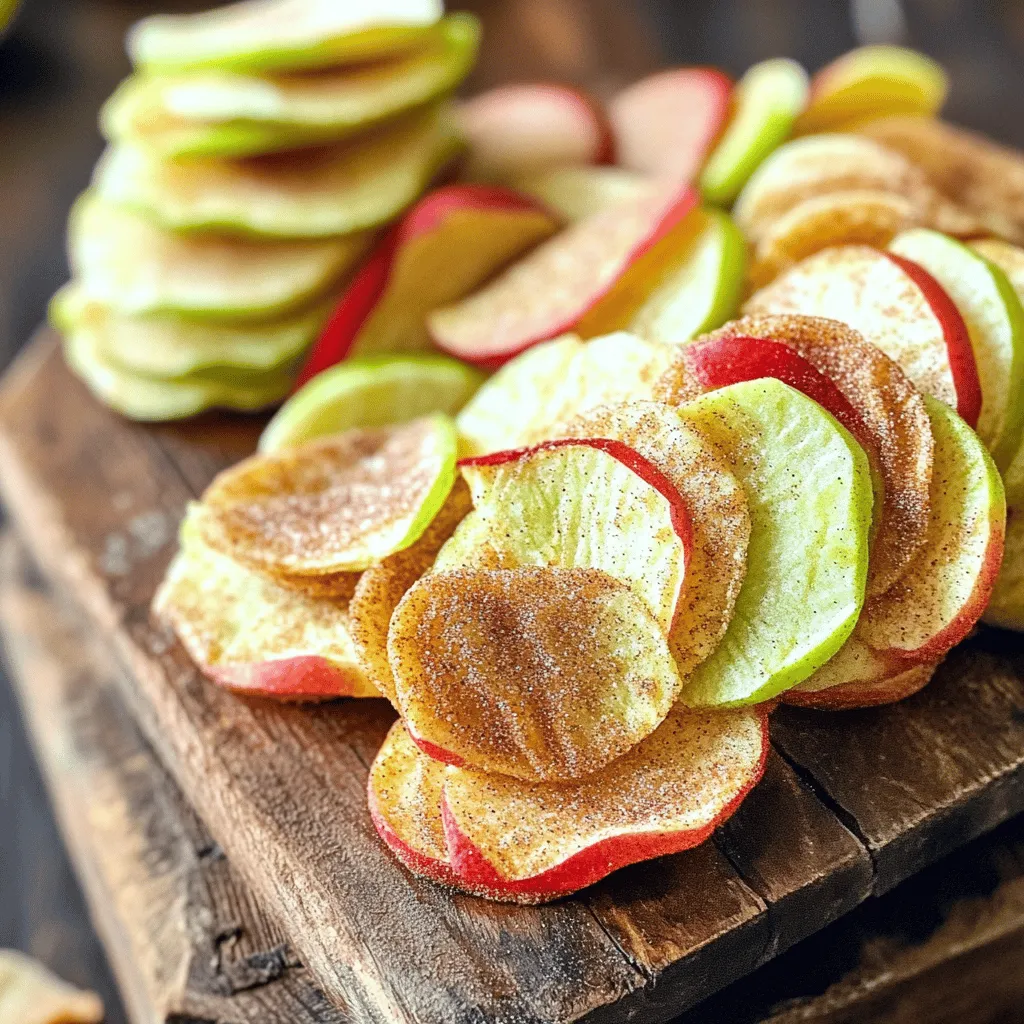
Ready for a snack that’s both crunchy and sweet? You’ll love these Air Fryer Cinnamon Apple Chips! With just a
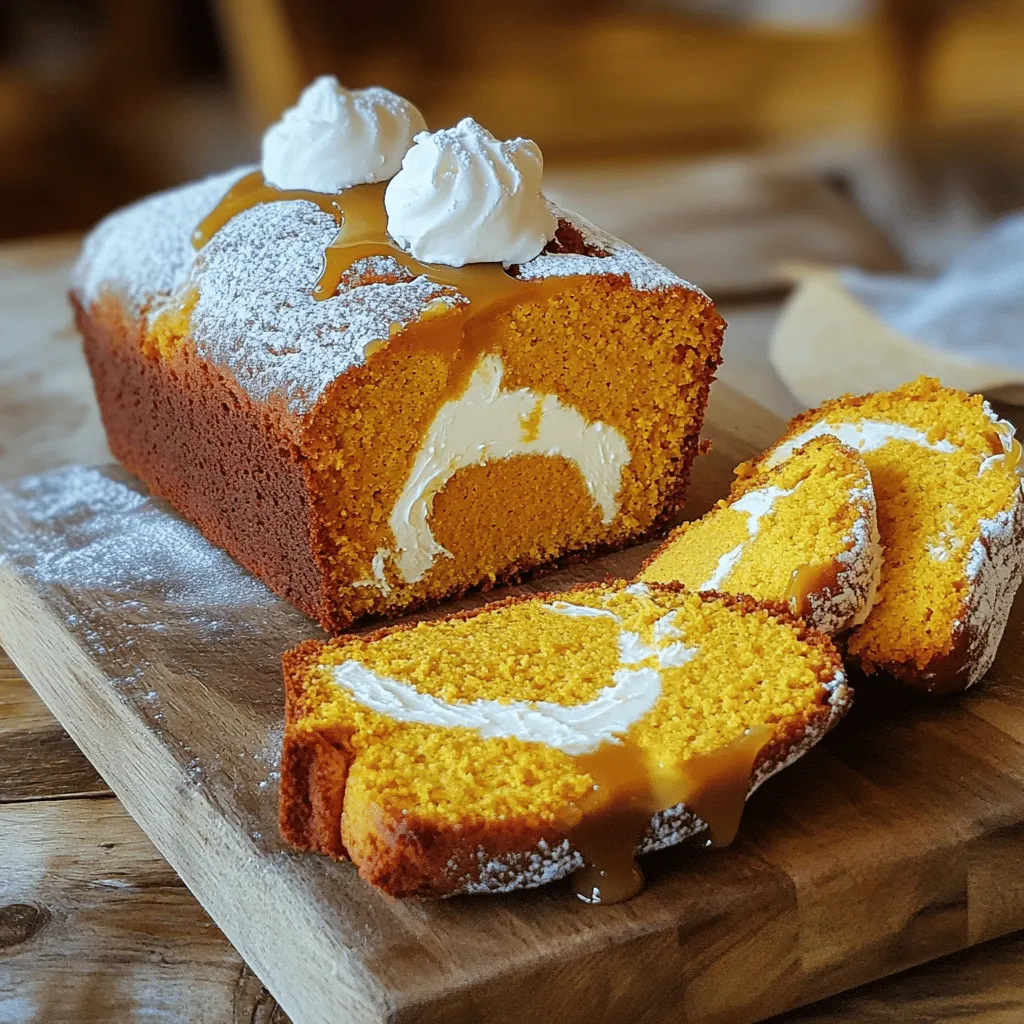
Fall is here, and nothing says cozy like a warm slice of Pumpkin Spice Cream Cheese Loaf. This treat mixes
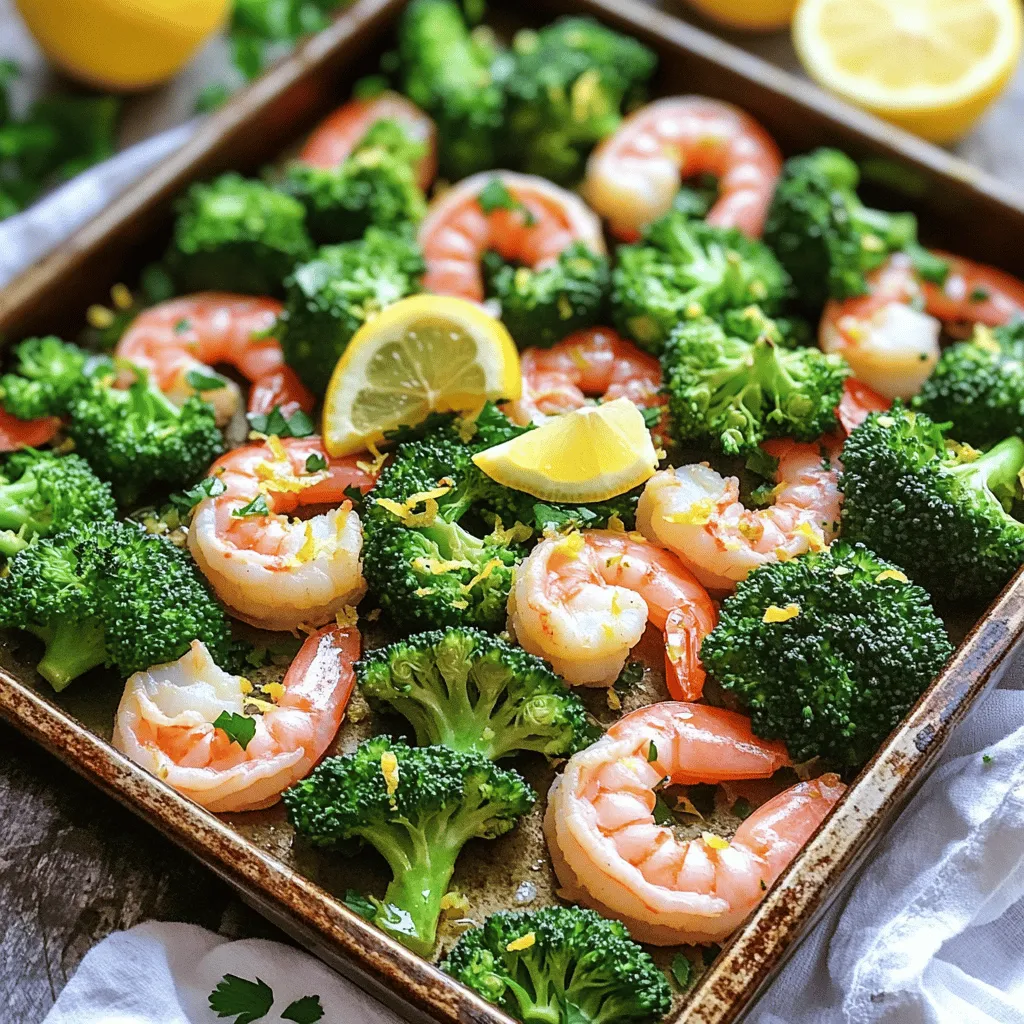
Are you looking for a quick, tasty dinner? Get ready to fall in love with my Sheet Pan Lemon Garlic

If you love sweet treats that are easy to make, you’ll adore this Maple Pecan Coffee Cake recipe. This cake
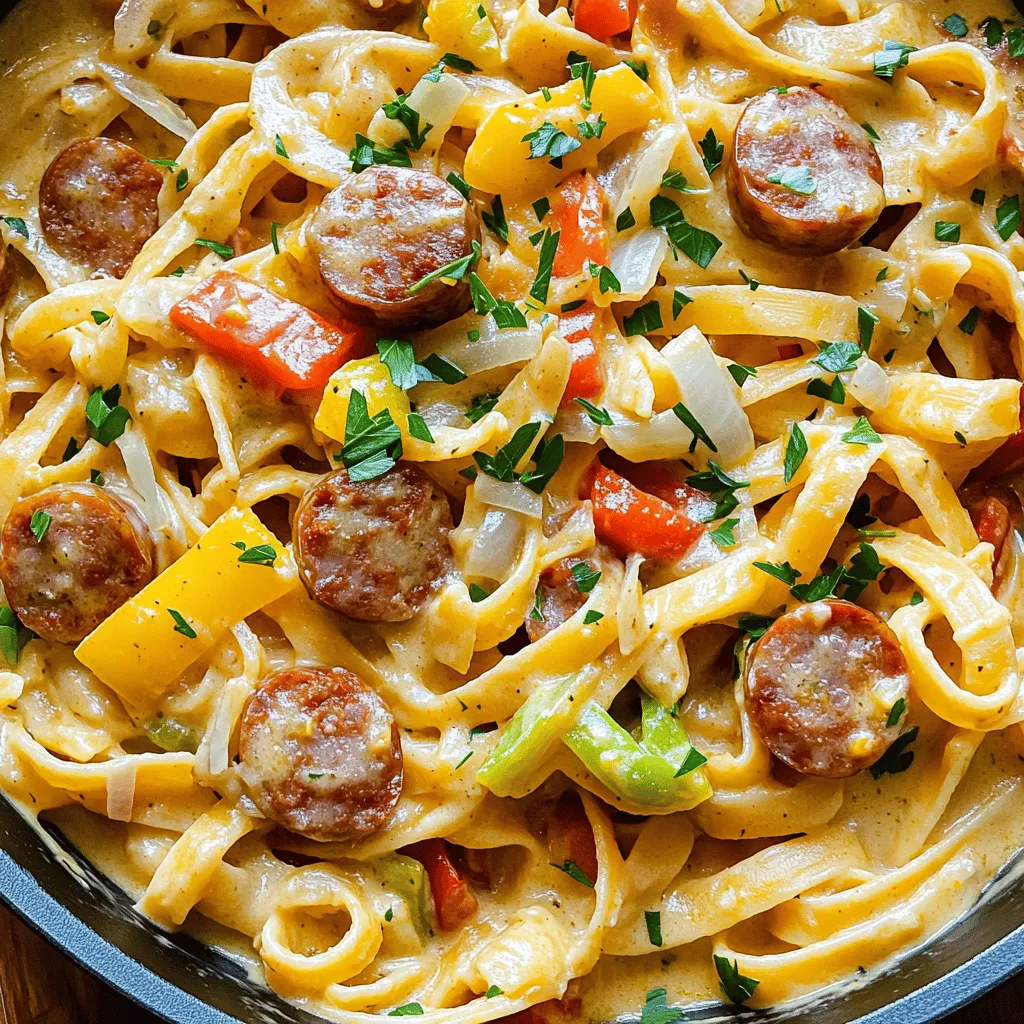
Looking for a fun dinner idea that packs a punch? Creamy Cajun Pasta with Sausage is just what you need!
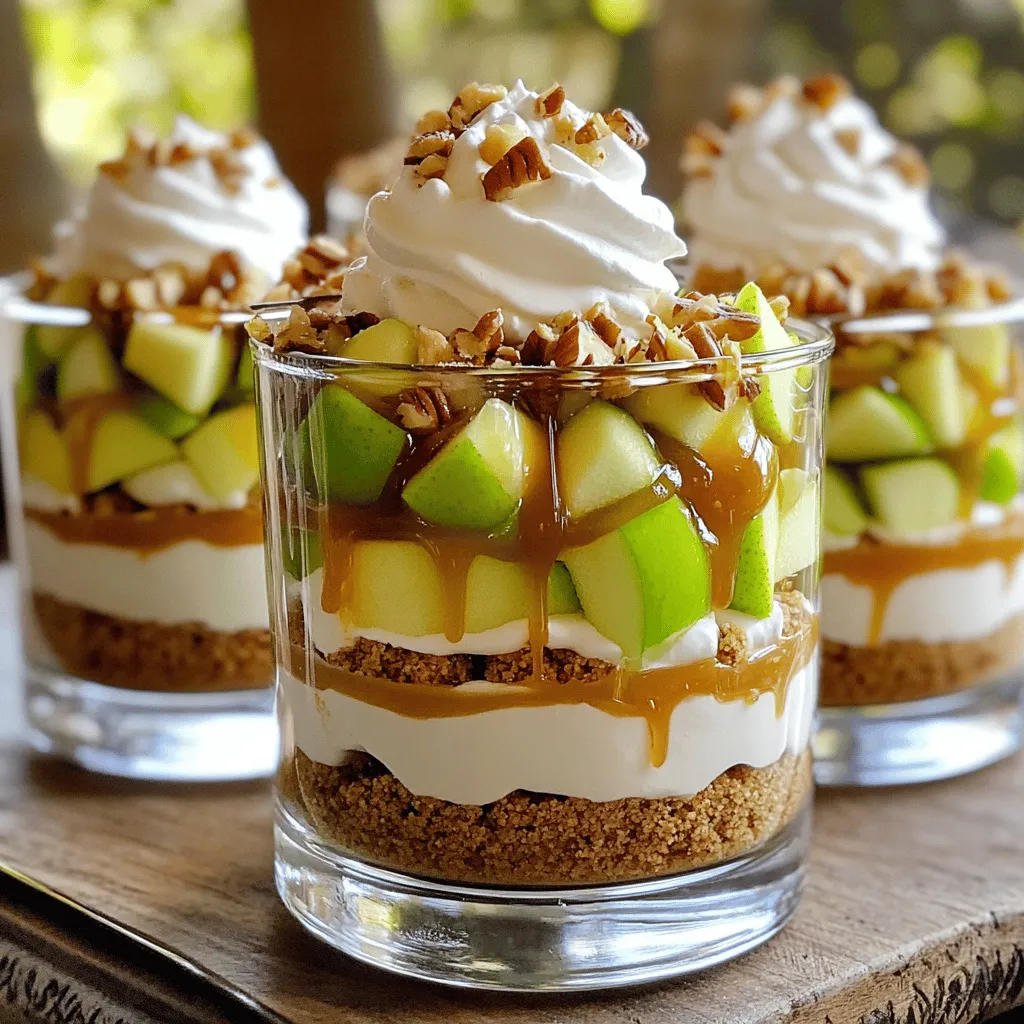
Craving a dessert that’s easy to make and oh-so-delicious? Let’s dive into Caramel Apple Cheesecake Trifles! This layered treat combines
