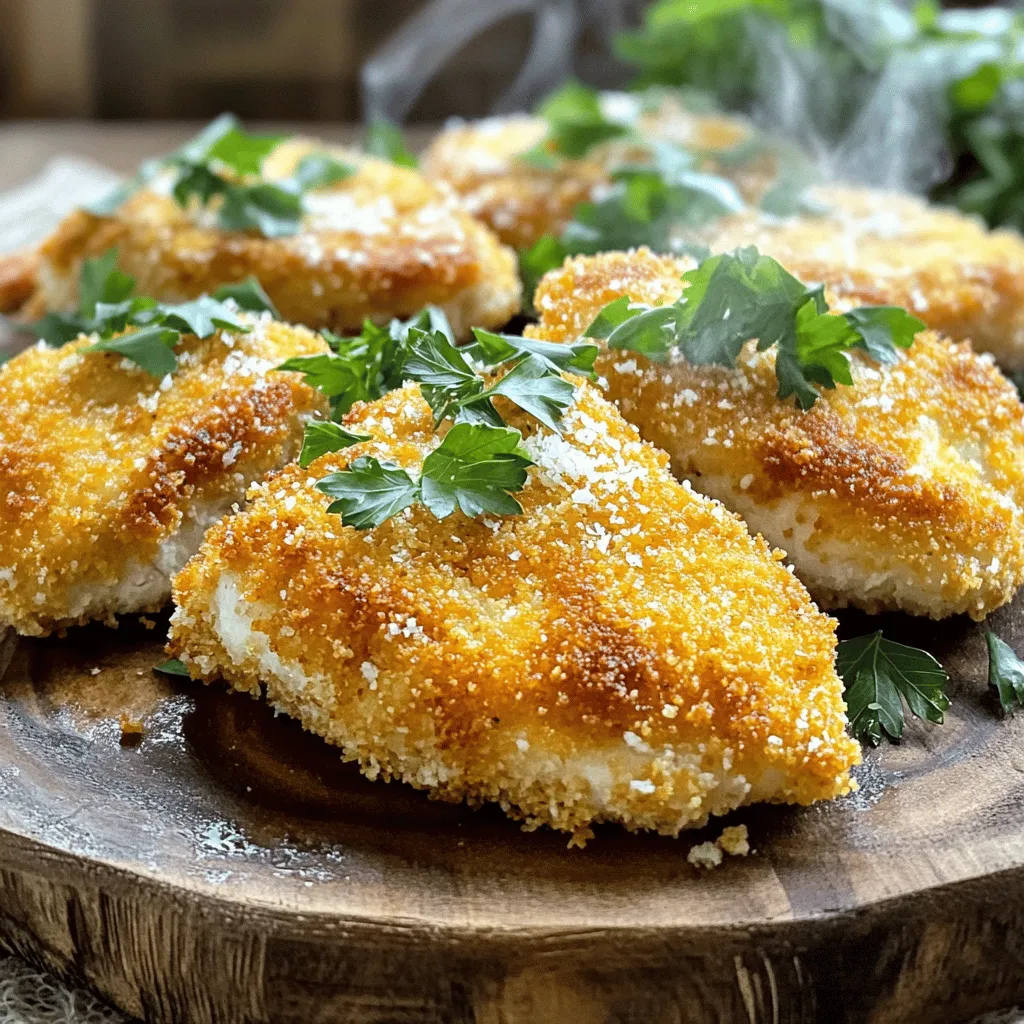
Panko Parmesan Chicken Cutlets Crispy and Tasty Meal
Ready to bring some crunch to your dinner table? Panko Parmesan Chicken Cutlets are the perfect mix of crispy and
Ready to bring some crunch to your dinner table? Panko Parmesan Chicken Cutlets are the perfect mix of crispy and

Are you ready for a quick dinner that’s packed with flavor? This Garlic Butter Shrimp Alfredo brings together tender shrimp,
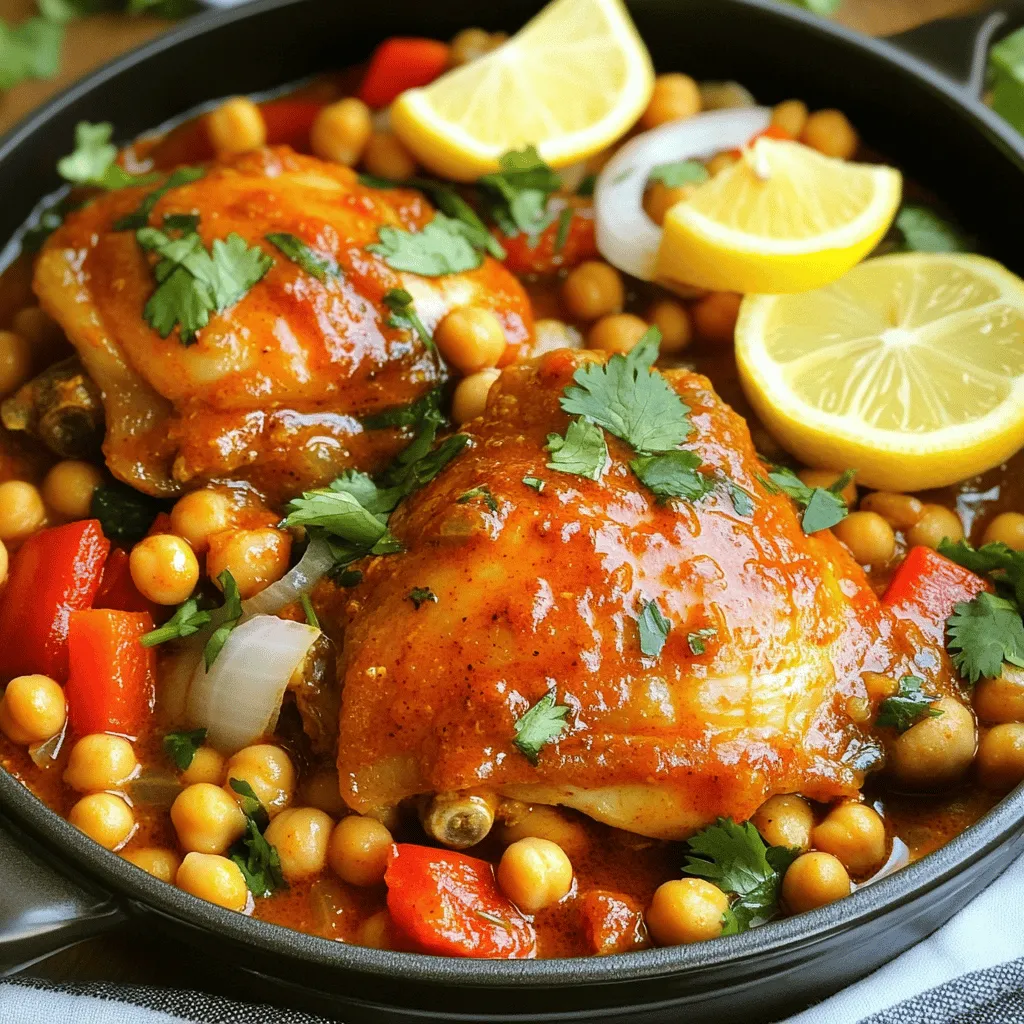
Looking for a meal that’s both tasty and easy to prep? You’ve found it! Harissa Chicken with Chickpeas is packed
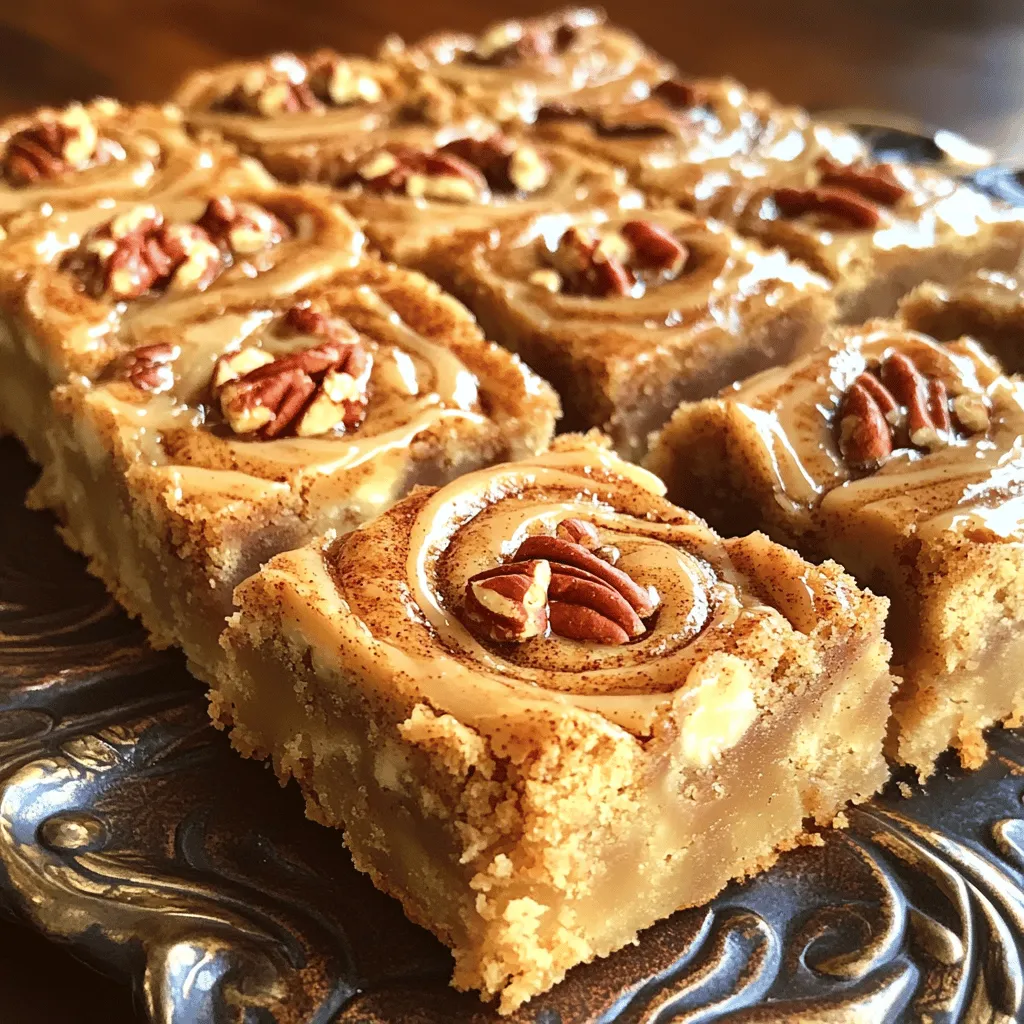
Cinnamon Roll Blondies are a sweet treat that combines warm spices with soft, chewy goodness. If you’re craving something delicious
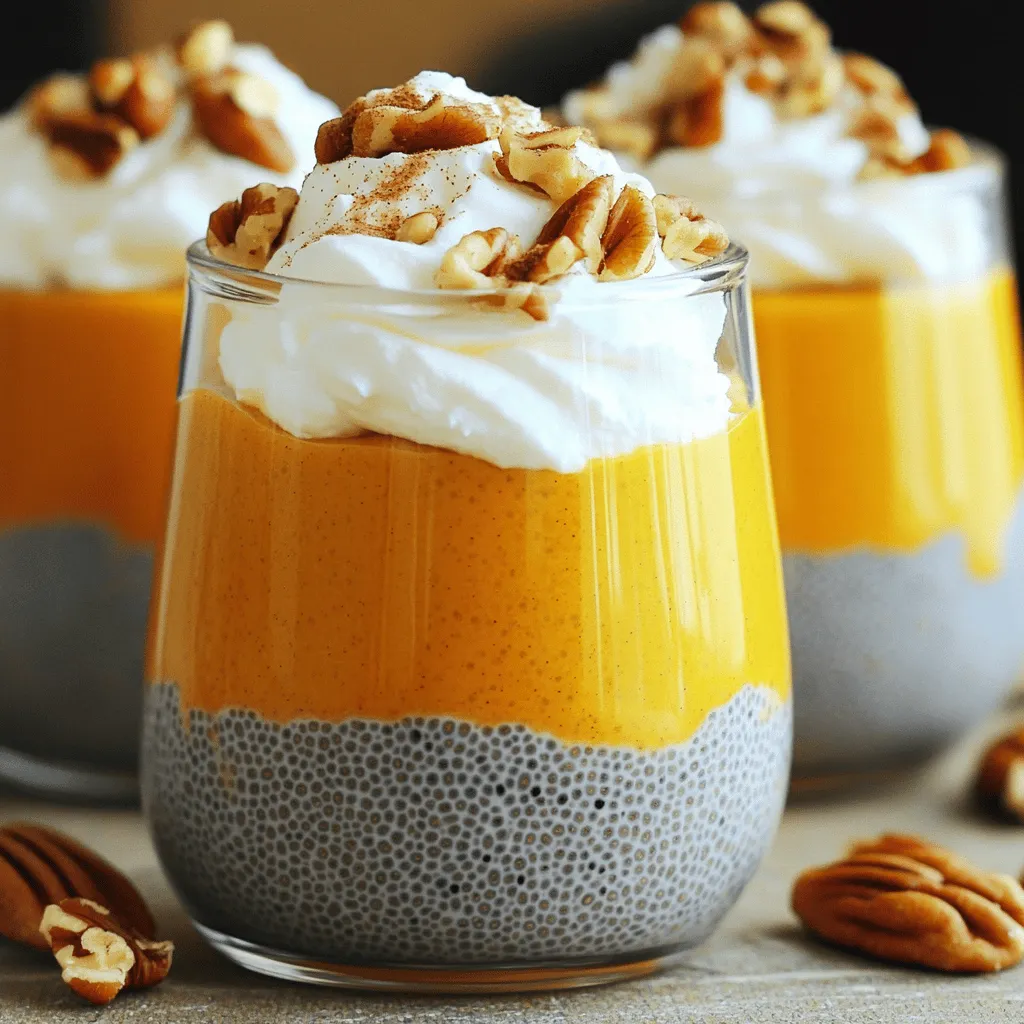
Craving a tasty fall treat? My Pumpkin Pie Chia Pudding combines the flavors of pumpkin spice with a creamy, sweet
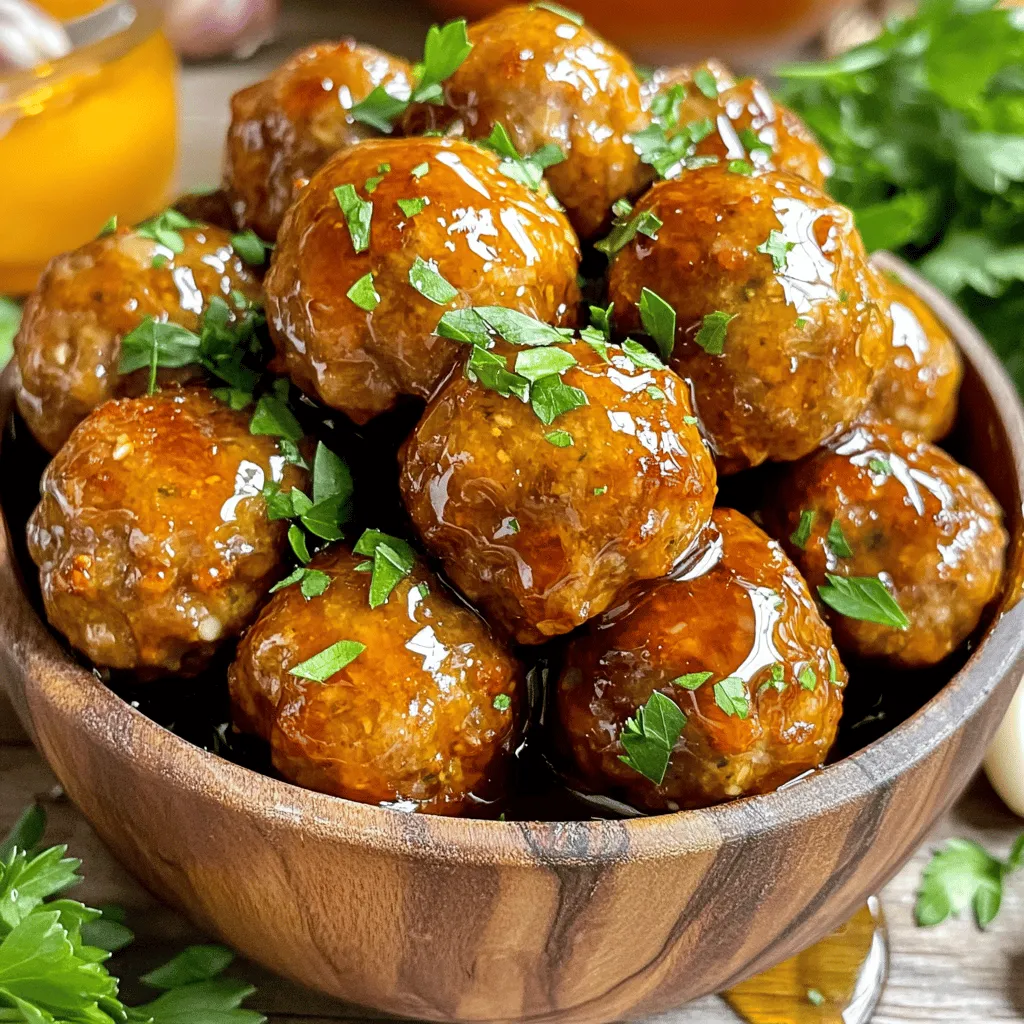
Looking for a quick and tasty meal? Honey Garlic Meatballs are your solution! These sweet and savory bites are simple
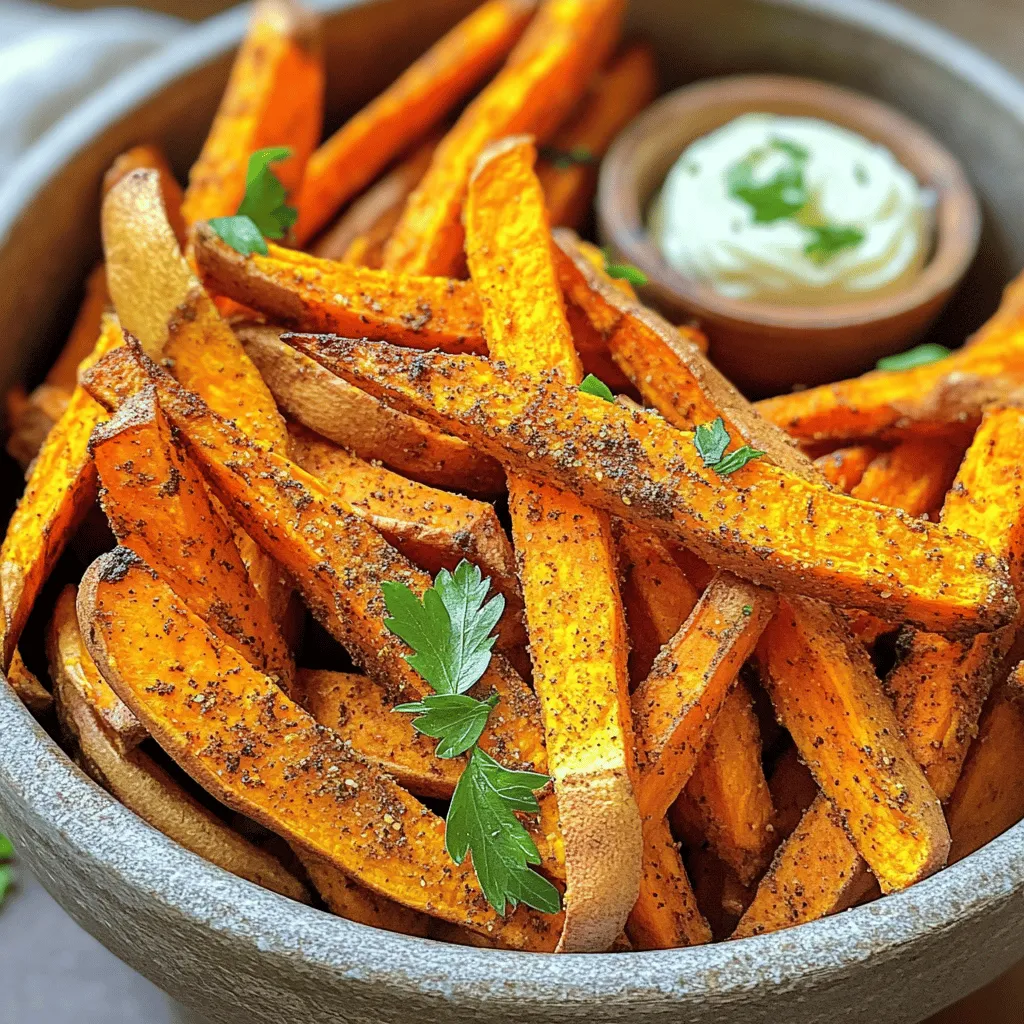
Craving a tasty snack that’s easy to make? Try my Air Fryer Sweet Potato Fries! These crispy, flavorful fries are
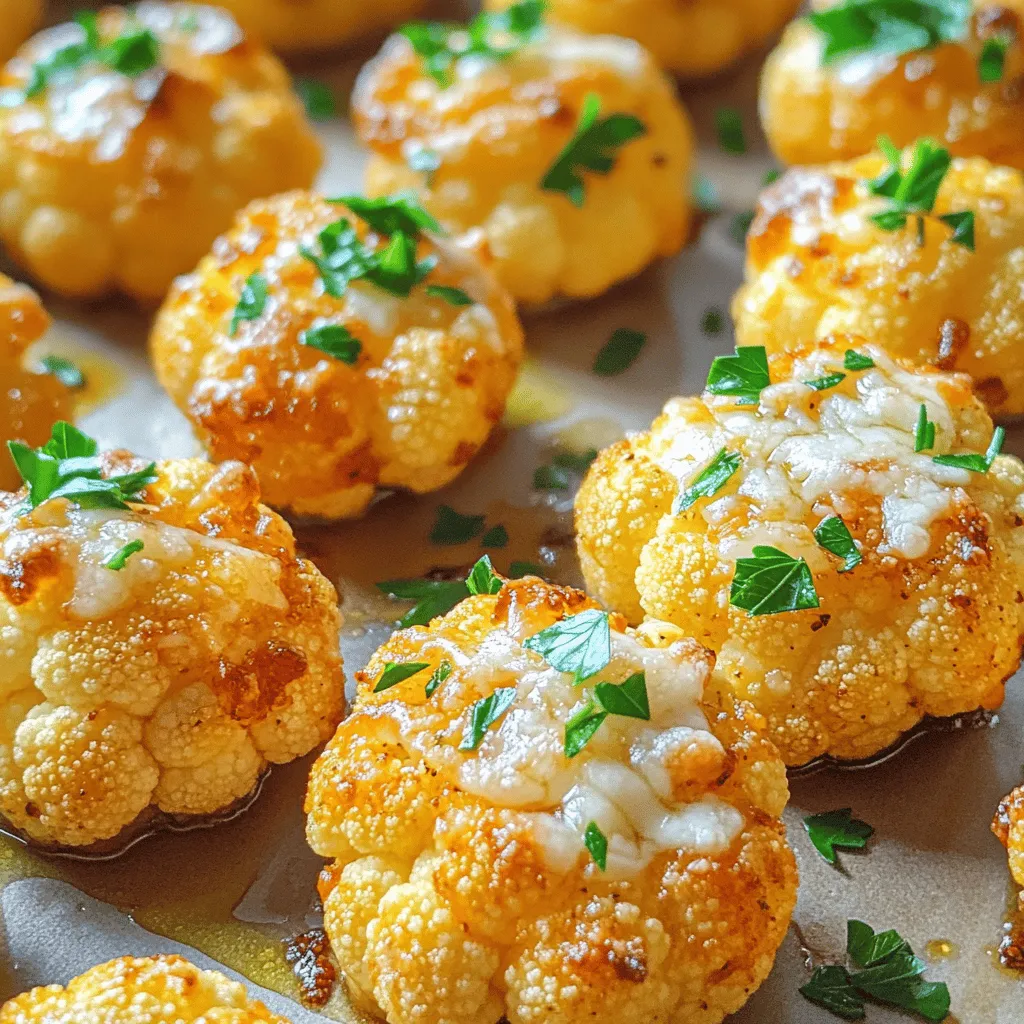
If you’re craving a delicious snack, look no further! Garlic Parmesan Cauliflower Bites are crispy, flavorful, and simple to make.
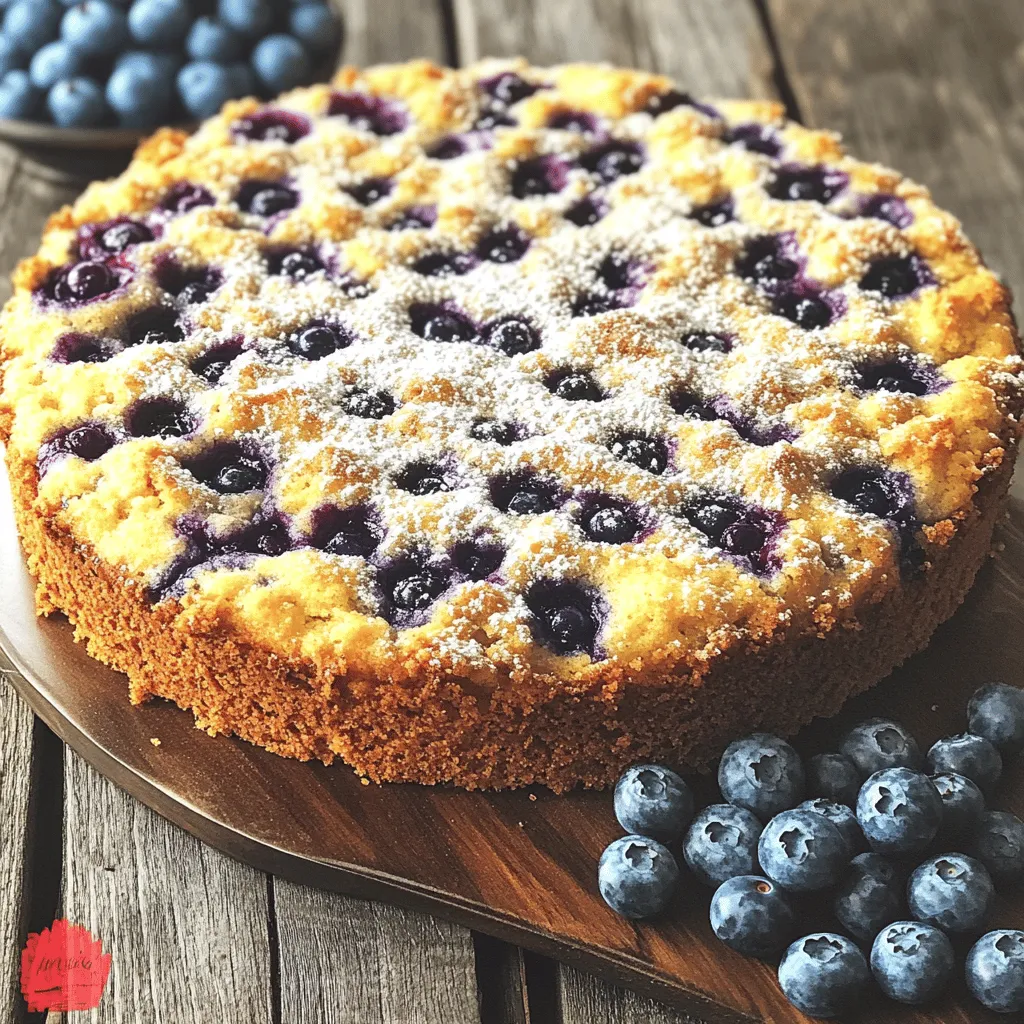
Welcome to your new favorite recipe: Blueberry Streusel Coffee Cake! This easy guide shows you how to bake a moist,
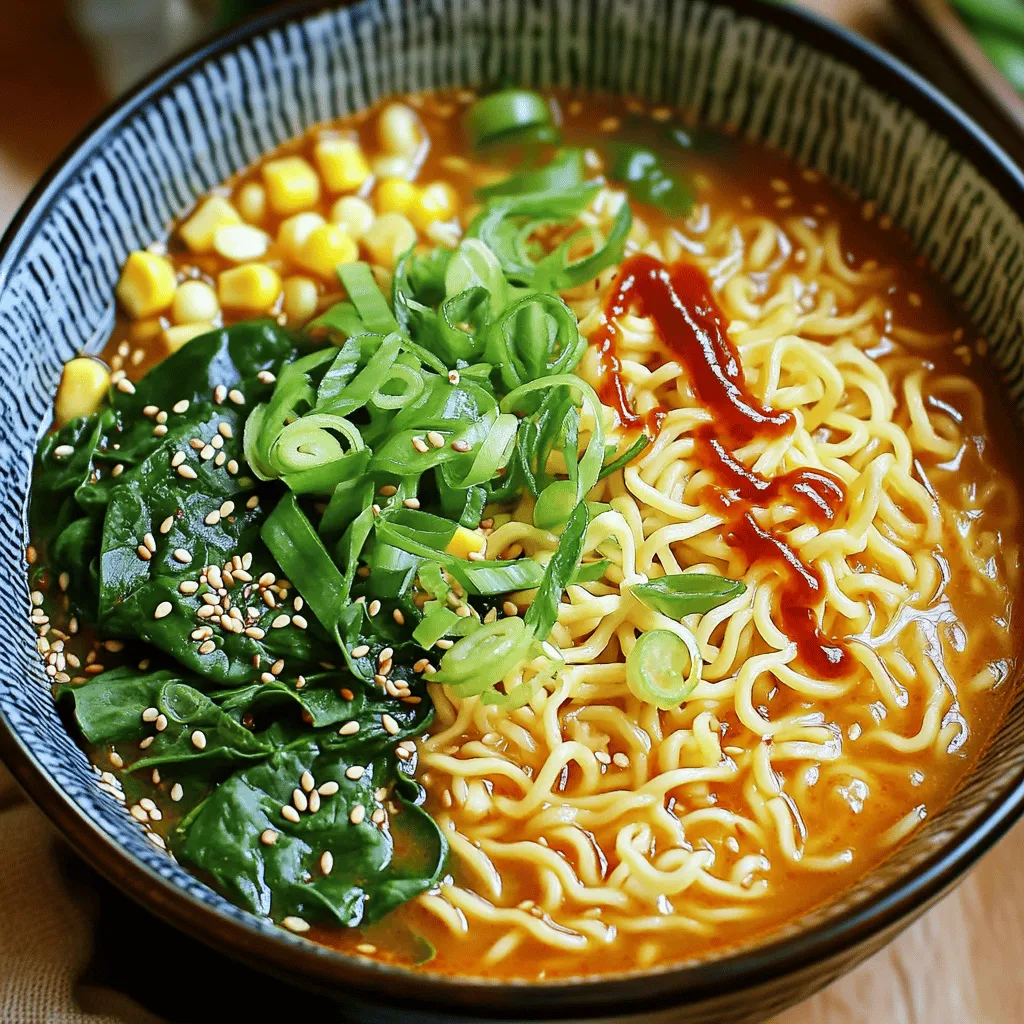
Are you craving a quick, tasty meal that packs a punch? Look no further than Minute Garlic Chili Ramen! This
