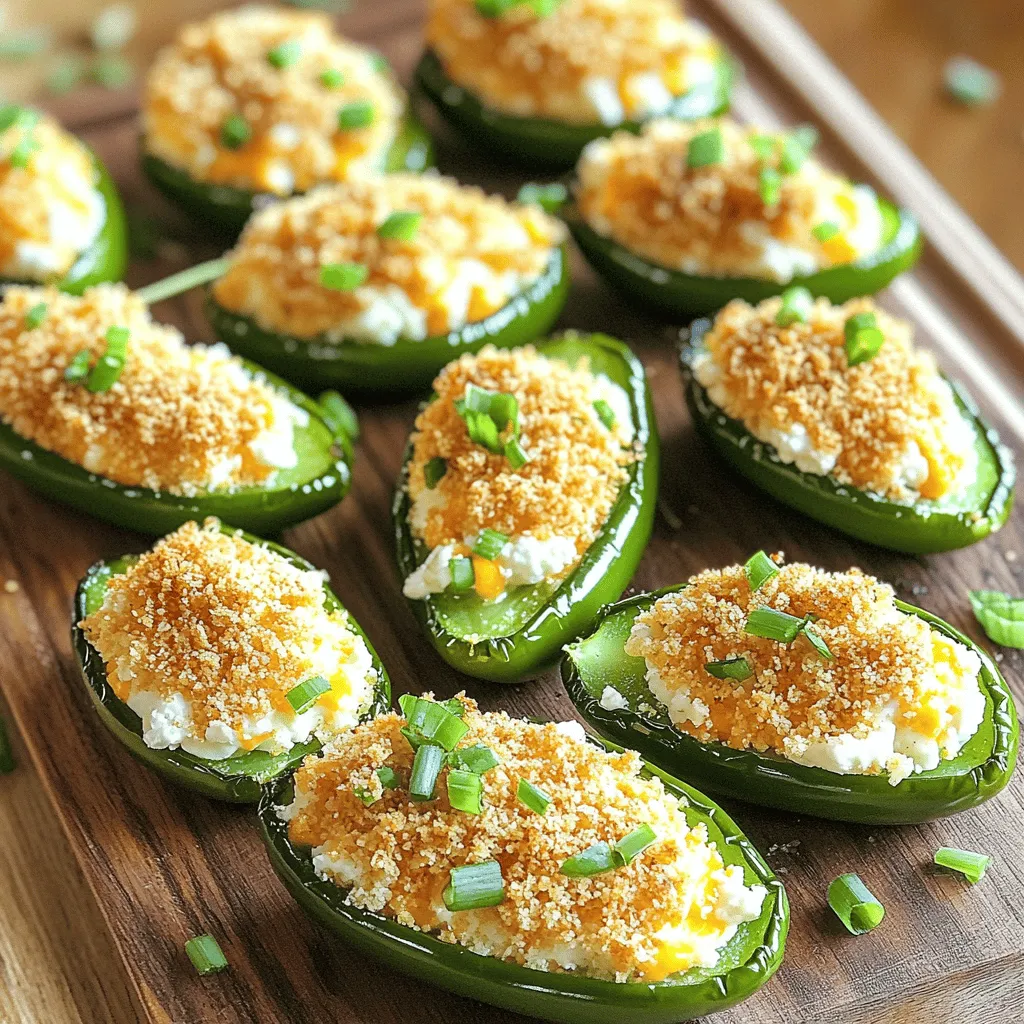
Air Fryer Jalapeño Popper Bites Tasty and Simple Snack
Craving a tasty snack that’s both simple and fun? Try Air Fryer Jalapeño Popper Bites! These crispy bites pack a
Craving a tasty snack that’s both simple and fun? Try Air Fryer Jalapeño Popper Bites! These crispy bites pack a
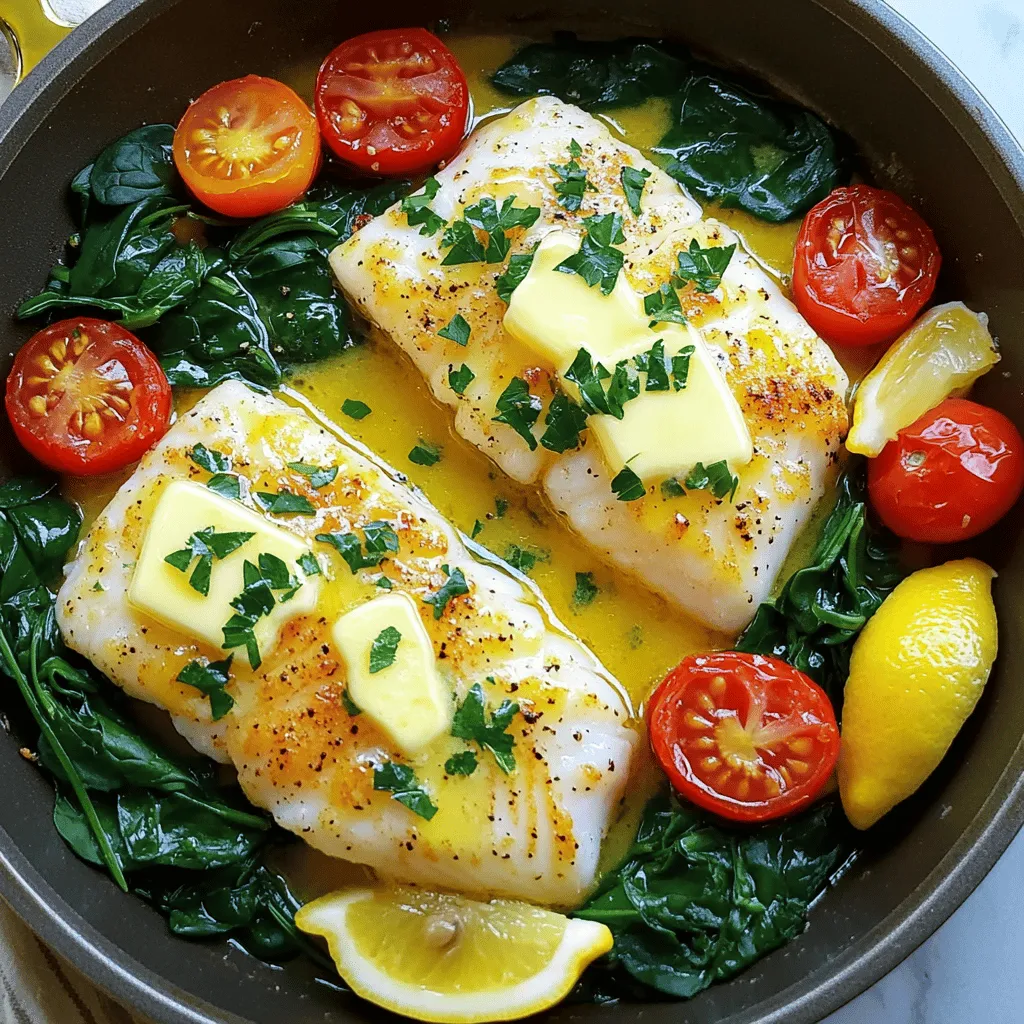
If you’re craving a quick, tasty dinner, look no further than Lemon Garlic Butter Cod. This one-pan recipe is bursting

Are you ready to indulge in something sweet and delicious? Caramel apple hand pies combine crisp apples with gooey caramel,
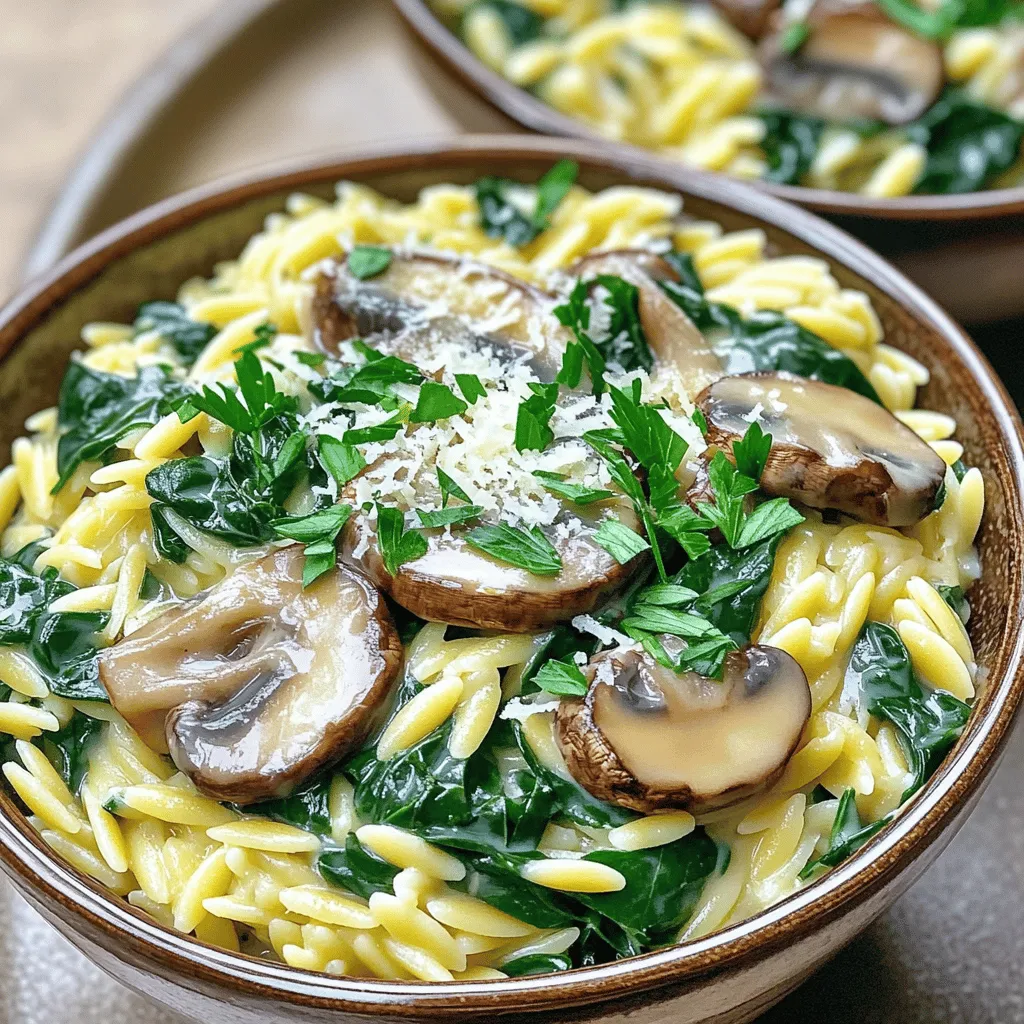
Looking for a dish that brings comfort and flavor? You’ll love my Creamy Mushroom Spinach Orzo! This easy recipe combines
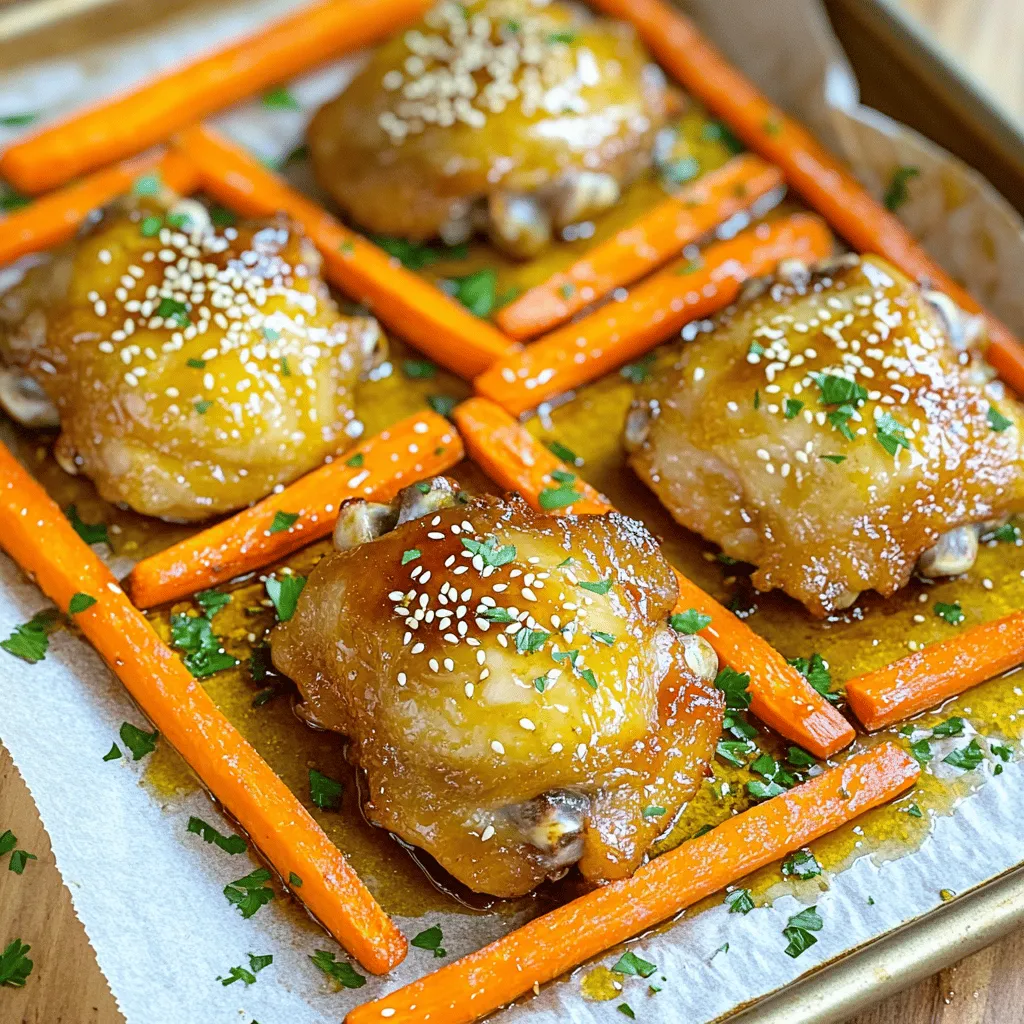
Looking for a quick dinner that impresses? Try my Honey Garlic Chicken & Carrots Sheet Pan Delight! In just one
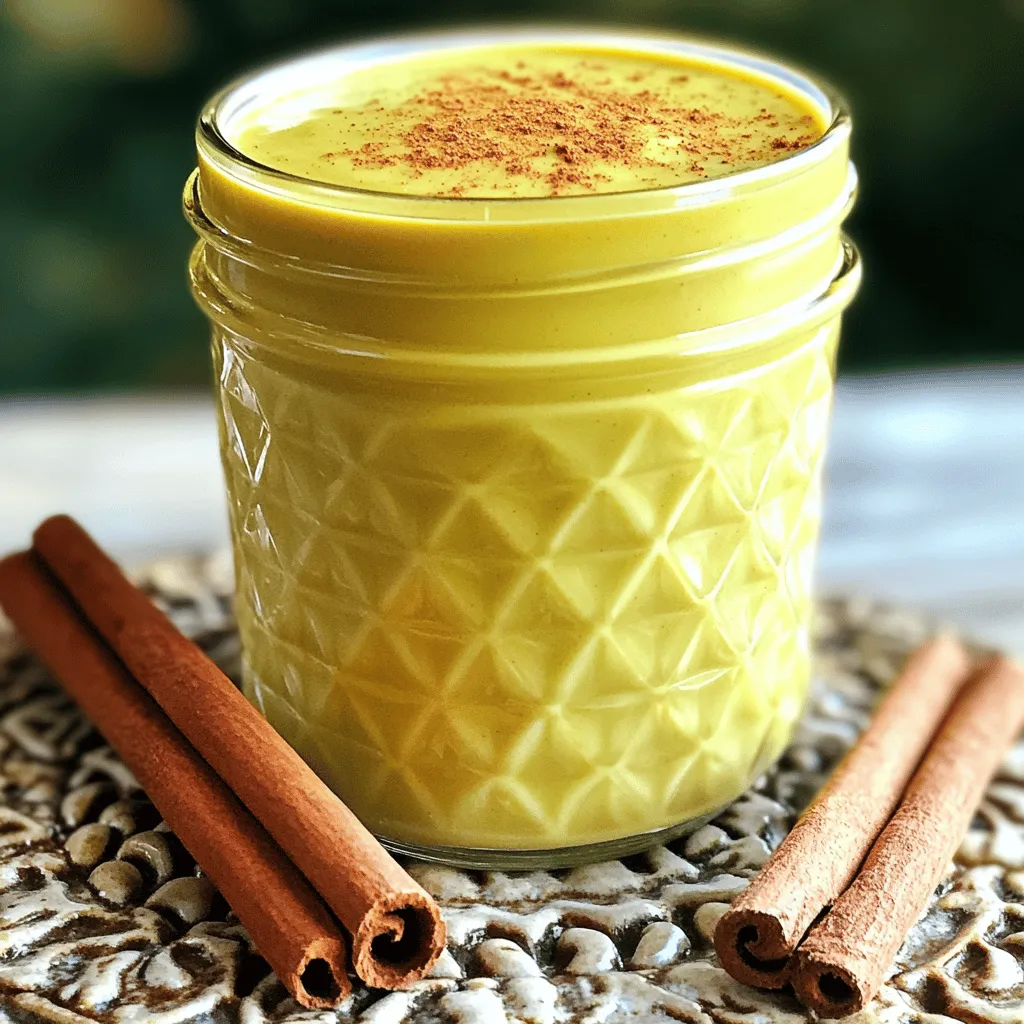
Fall is here, and that means pumpkin spice season has arrived! If you want to elevate your morning coffee, I’m
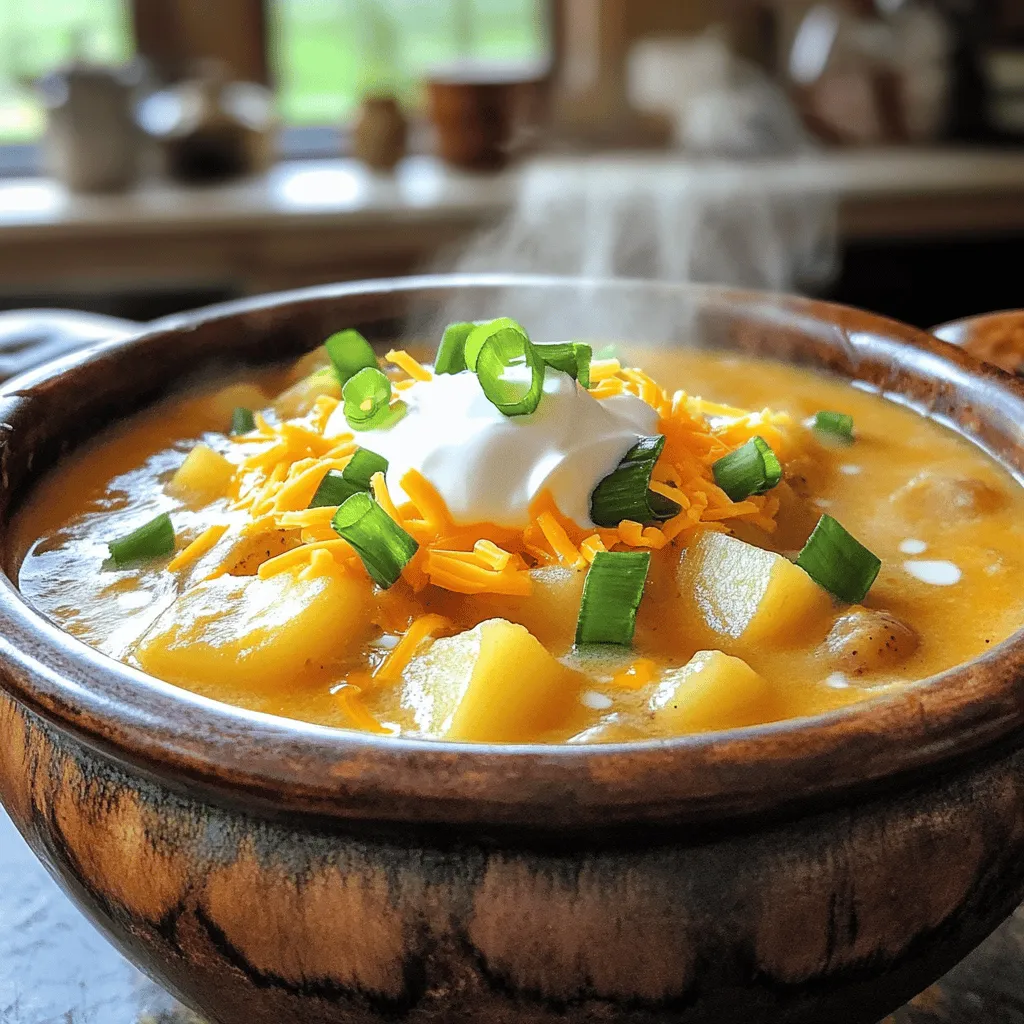
Are you ready to dive into a warm bowl of comfort? This Slow Cooker Loaded Potato Soup is creamy, hearty,
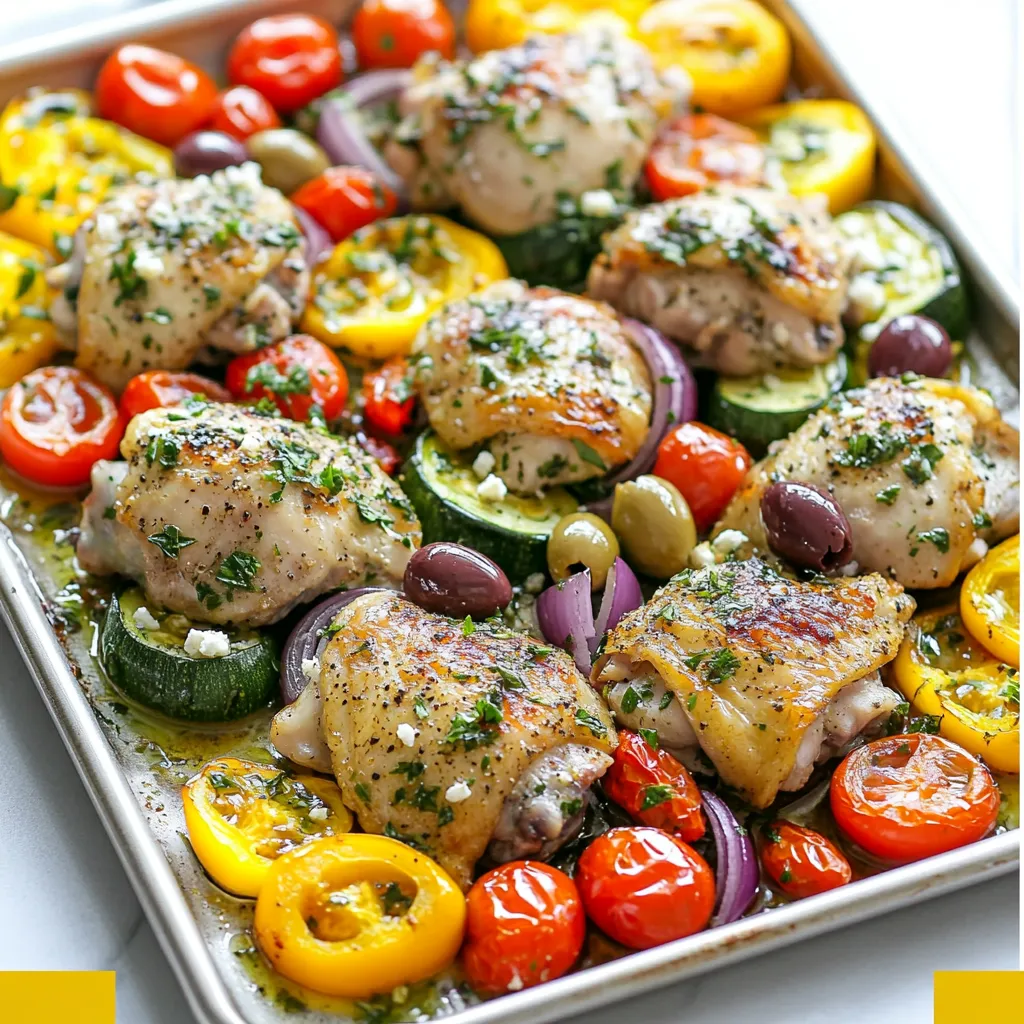
Looking for a simple yet tasty dinner idea? Let me introduce you to Greek Sheet Pan Chicken! This colorful dish
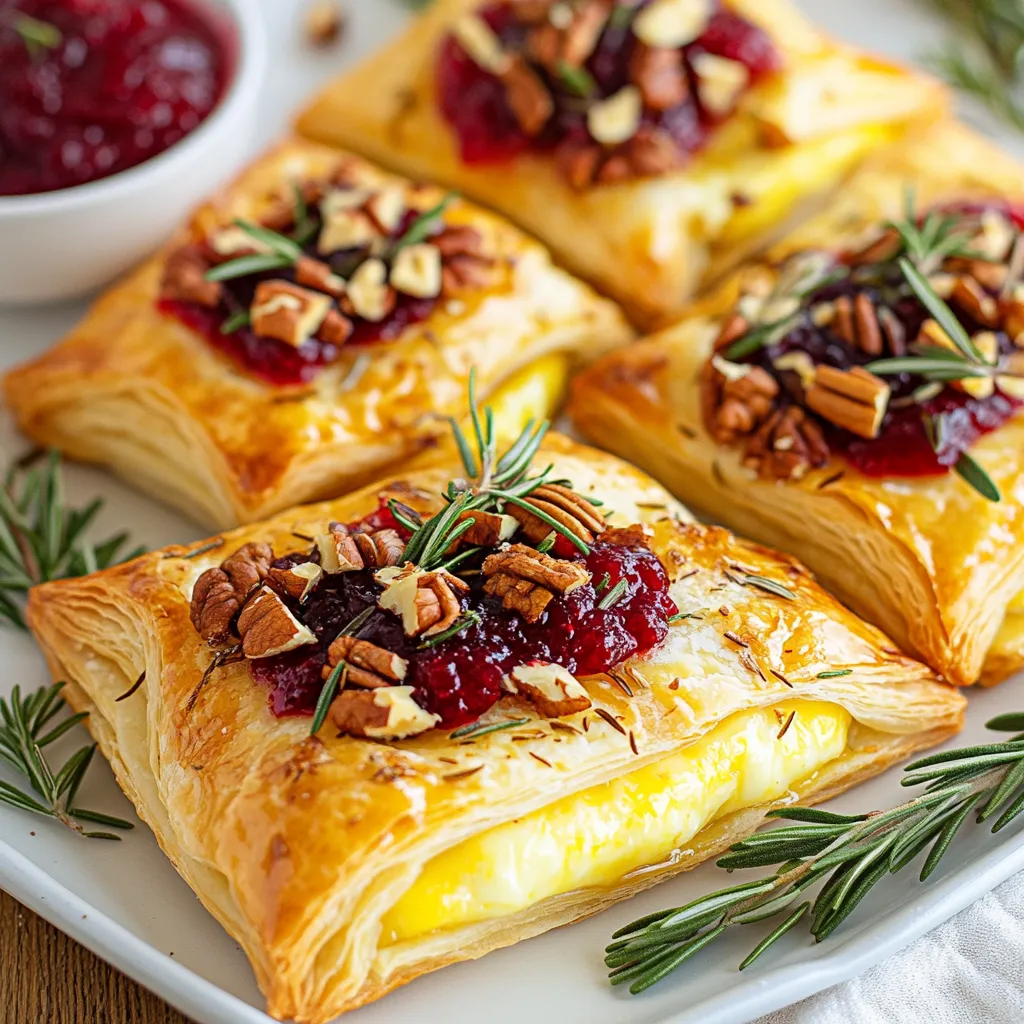
Cranberry Brie Puff Pastry is a perfect treat for your holiday gatherings. It combines creamy brie cheese and sweet cranberry

Are you ready to dive into the world of Jambalaya? This dish bursts with flavor and is super easy to
