Slow Cooker Beef Stroganoff Tasty and Comforting Dish
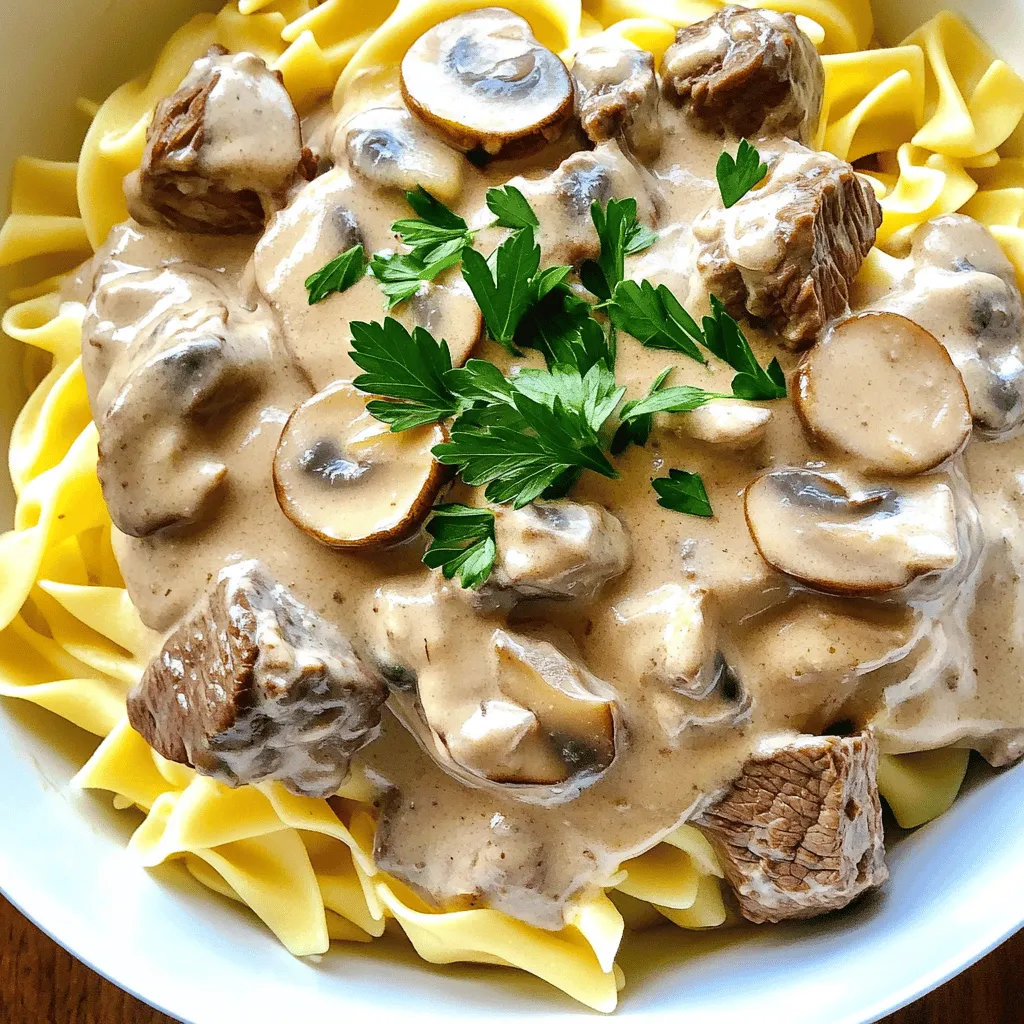
If you’re craving a warm, hearty meal, look no further than Slow Cooker Beef Stroganoff! This classic dish combines tender
If you’re craving a warm, hearty meal, look no further than Slow Cooker Beef Stroganoff! This classic dish combines tender
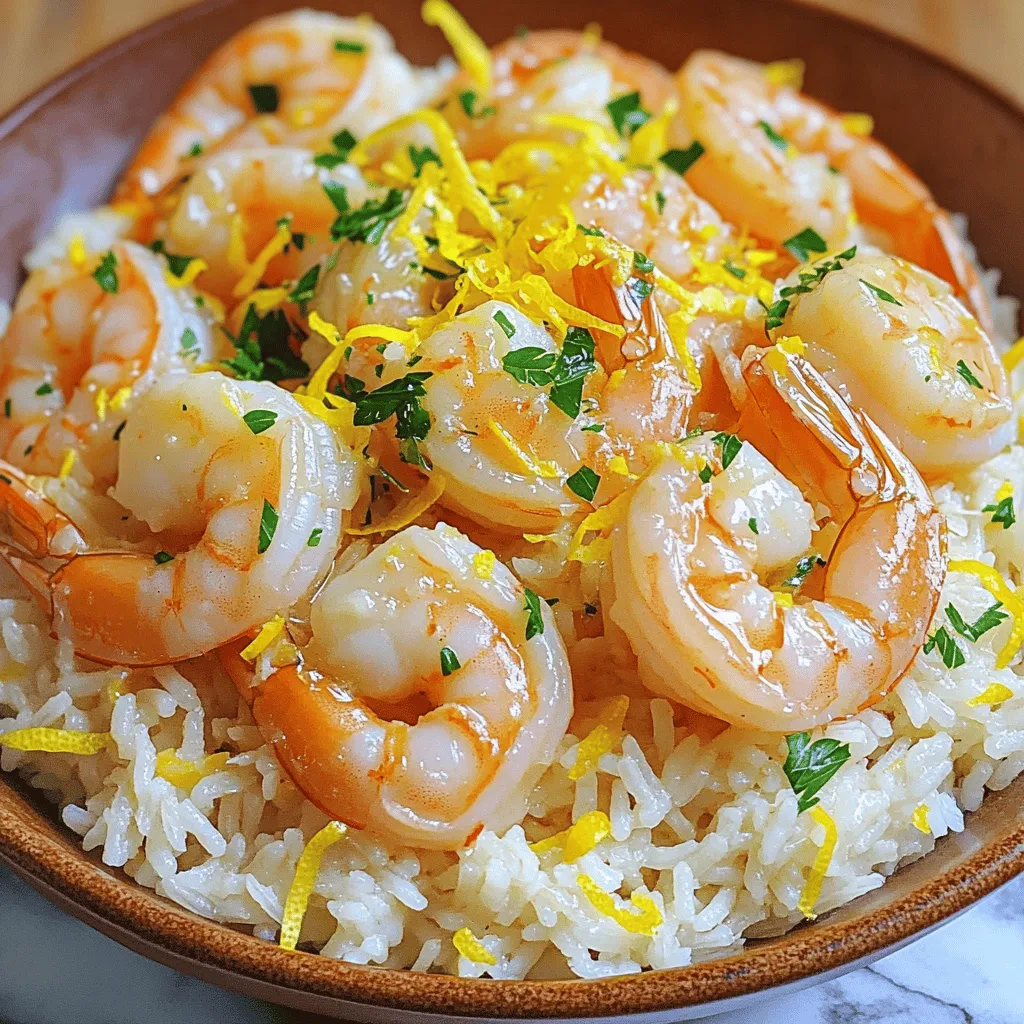
Are you ready for a quick and tasty meal? Lemon Garlic Butter Shrimp Rice is a must-try! This dish bursts

Get ready for a warm, cozy treat that will blow your taste buds away! My Caramel Apple Cinnamon Roll Bake

Are you ready to impress with a simple, tasty dinner? My Garlic Herb Salmon and Asparagus Sheet Pan Delight offers

Fall is here, and it’s time to indulge in Pumpkin Spice Tiramisu Cups—a sweet and cozy treat! This easy recipe

Are you ready to take your pasta game to the next level? My Savory Spinach Artichoke Pasta Bake will amaze

Are you ready to elevate your snack game? These Air Fryer Potato Wedges with Ranch are crispy, tasty, and easy

Are you craving a warm, comforting meal that’s both simple and delicious? Look no further! My Slow Cooker White Chicken

Looking for a sweet treat that’s simple and healthy? Try these Greek Yogurt Cheesecake Cups! They’re creamy, delicious, and easy

Looking for a delicious and easy dinner? Try my Slow Cooker Korean Beef Bowls! This dish brings tender beef, vibrant
