
Sheet-Pan Maple Dijon Chicken and Carrots Delight
Looking for a simple yet tasty meal? My Sheet-Pan Maple Dijon Chicken and Carrots Delight combines juicy chicken thighs and
Looking for a simple yet tasty meal? My Sheet-Pan Maple Dijon Chicken and Carrots Delight combines juicy chicken thighs and

Craving that perfect sweet and sour chicken, but tired of takeout? You’re in the right place! I promise this dish

If you love the cozy taste of fall, you’ll adore my Apple Cider Donut Loaf! This rich and flavorful treat

Craving a quick and tasty meal? Look no further than Minute Sesame Peanut Noodles! This dish is nutty, creamy, and

If you’re craving a warm, cozy meal, this Slow Cooker Chicken Pot Pie Soup is a must-try! With tender chicken,
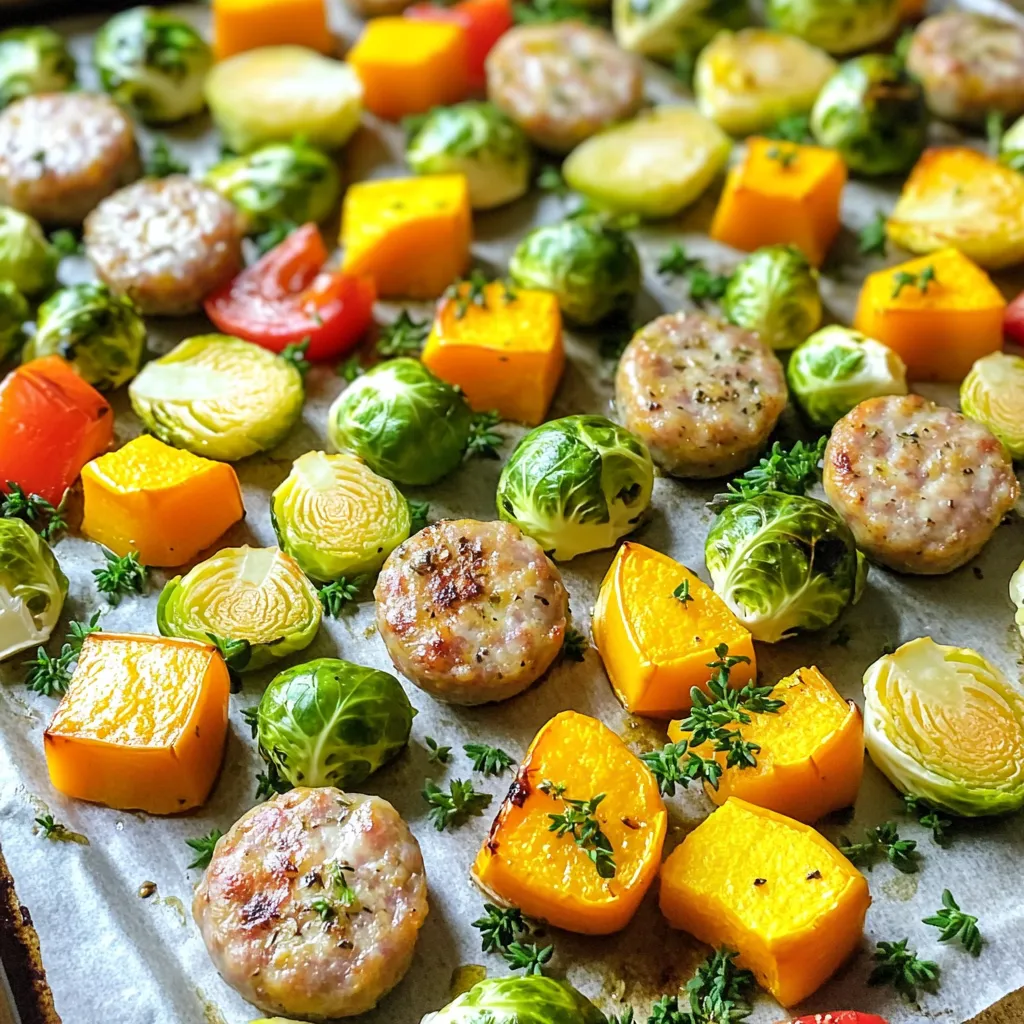
Looking for a simple, tasty dinner option? You’ll love this Harvest Sausage & Veggie Sheet Pan recipe! It combines juicy

Are you ready to savor a dish that bursts with flavor? Air Fryer Garlic Butter Herb Mushrooms are here to

Craving a sweet and satisfying breakfast without the guilt? Cinnamon Roll Overnight Oats High Protein Delight is your answer! This

Get ready to indulge in the sweetest treat with my Caramel Apple Cheesecake Brownies! These brownies are a perfect mix
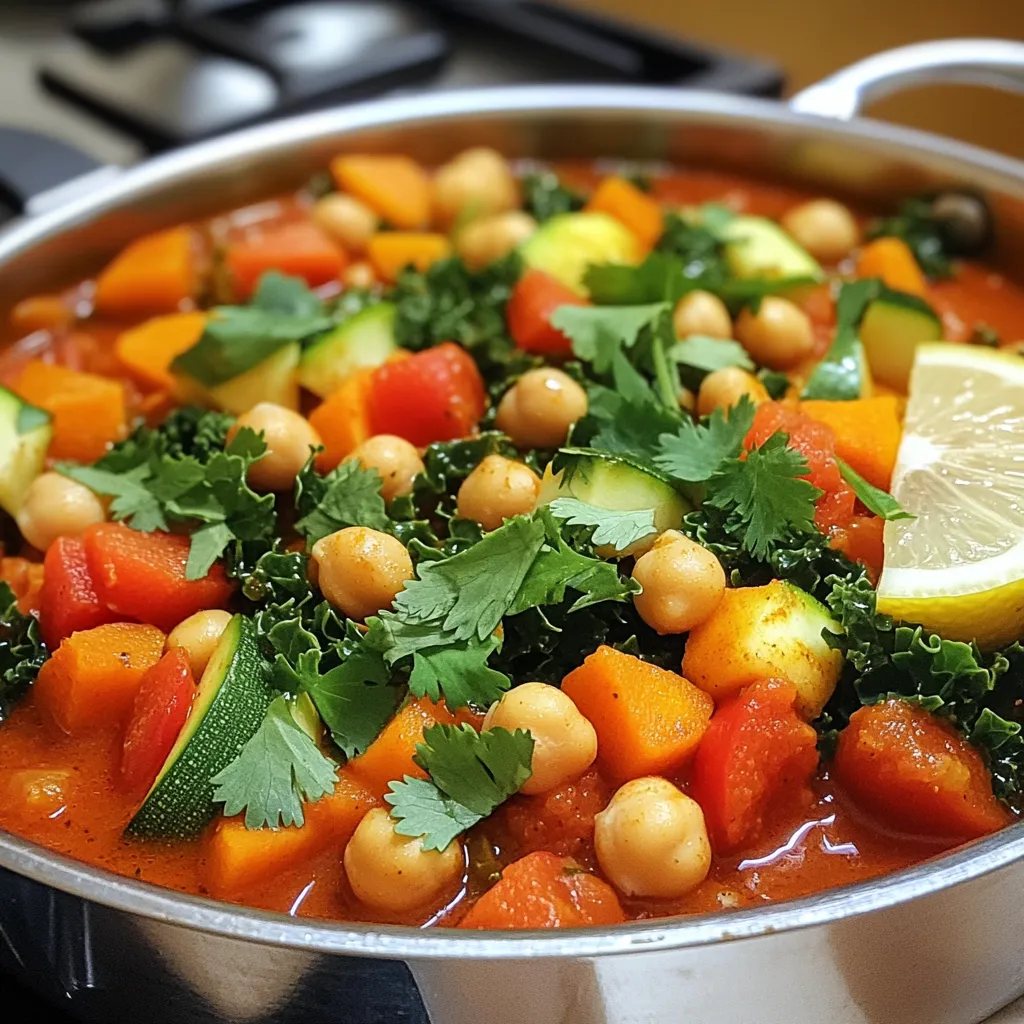
Looking for a warm, tasty meal with a kick? My Moroccan Chickpea Harissa Stew is just what you need. This
