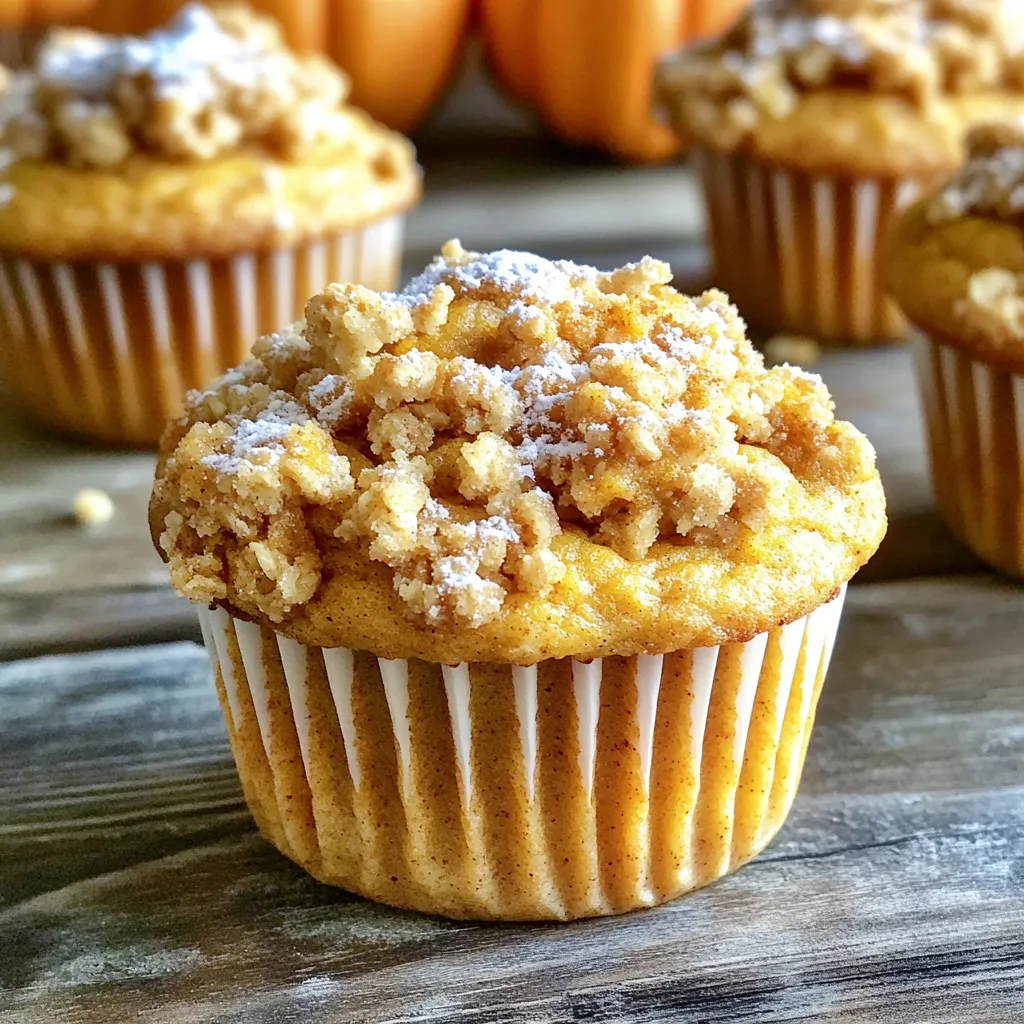
Bakery-Style Pumpkin Streusel Muffins Irresistible Treat
Are you ready to bake a treat that will make your kitchen smell like fall? These bakery-style pumpkin streusel muffins
Are you ready to bake a treat that will make your kitchen smell like fall? These bakery-style pumpkin streusel muffins
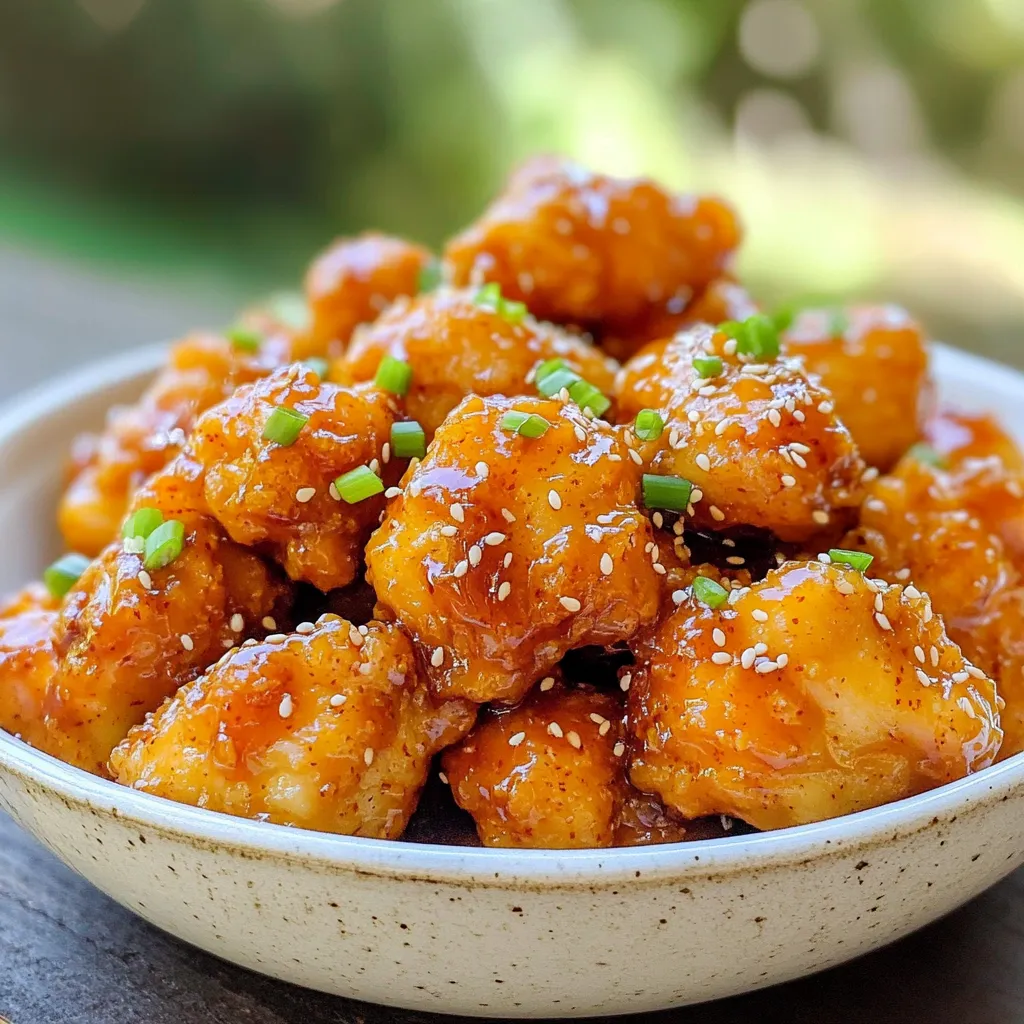
Get ready to delight your taste buds with my Air Fryer Crispy Sweet Chili Chicken! This dish combines juicy chicken

Looking for an easy and tasty meal? These Slow Cooker Pulled Chicken Sliders are perfect for you! With simple steps
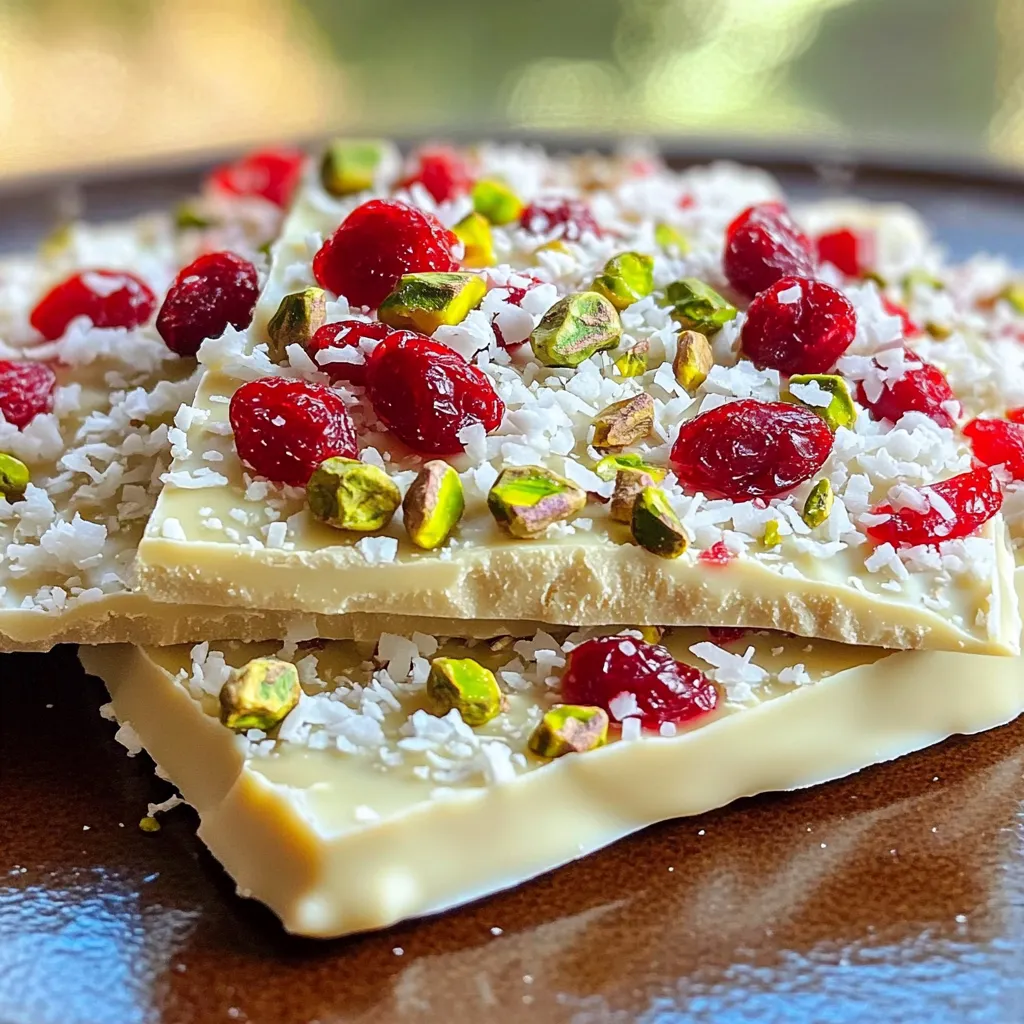
Are you ready to delight your taste buds? This No-Bake White Chocolate Cranberry Bark is a treat that’s easy to

Looking for a fun, tasty, and easy meal? You’re in the right place! My Sheet-Pan Greek Chicken Gyro Bowls pack
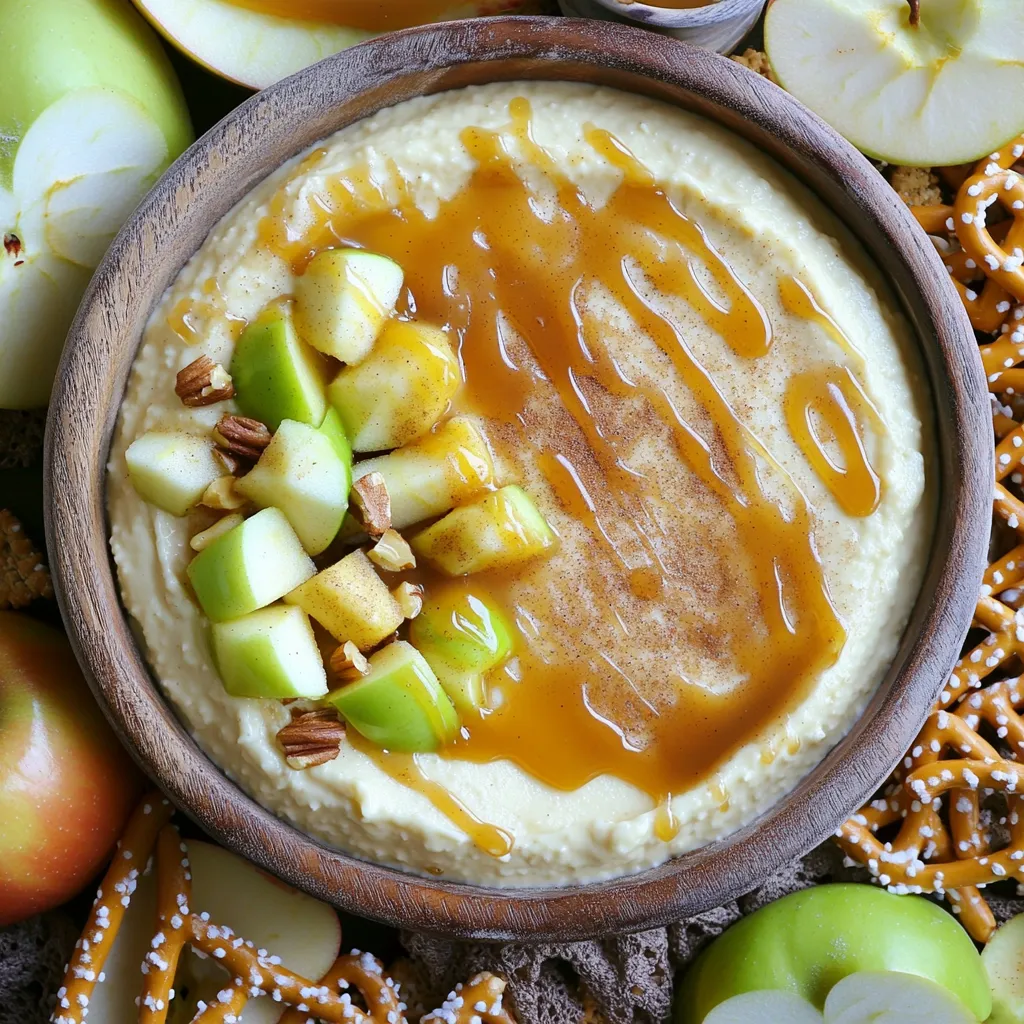
Craving a sweet and creamy treat that’s as fun to make as it is to eat? Look no further than
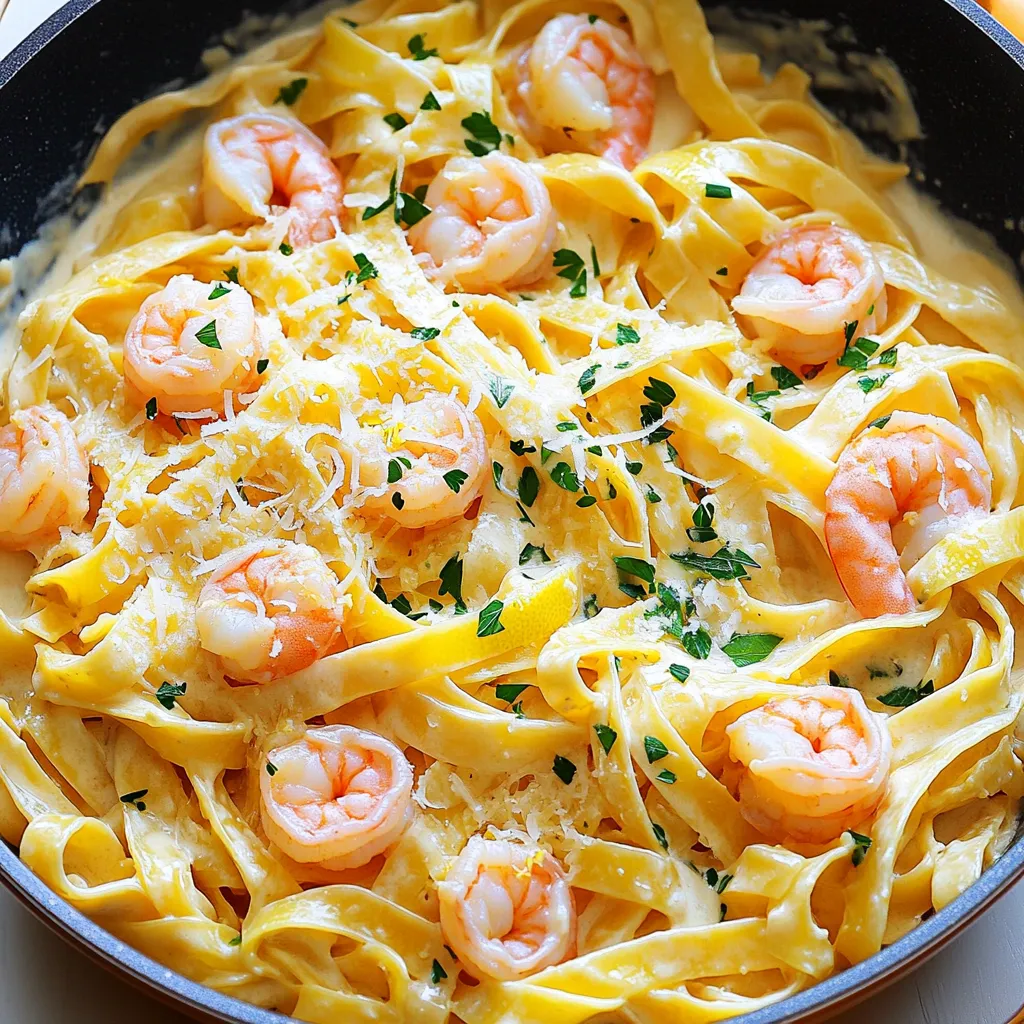
Get ready for a tasty treat with my One-Pan Creamy Lemon Butter Shrimp Pasta Delight! This dish combines tender shrimp,
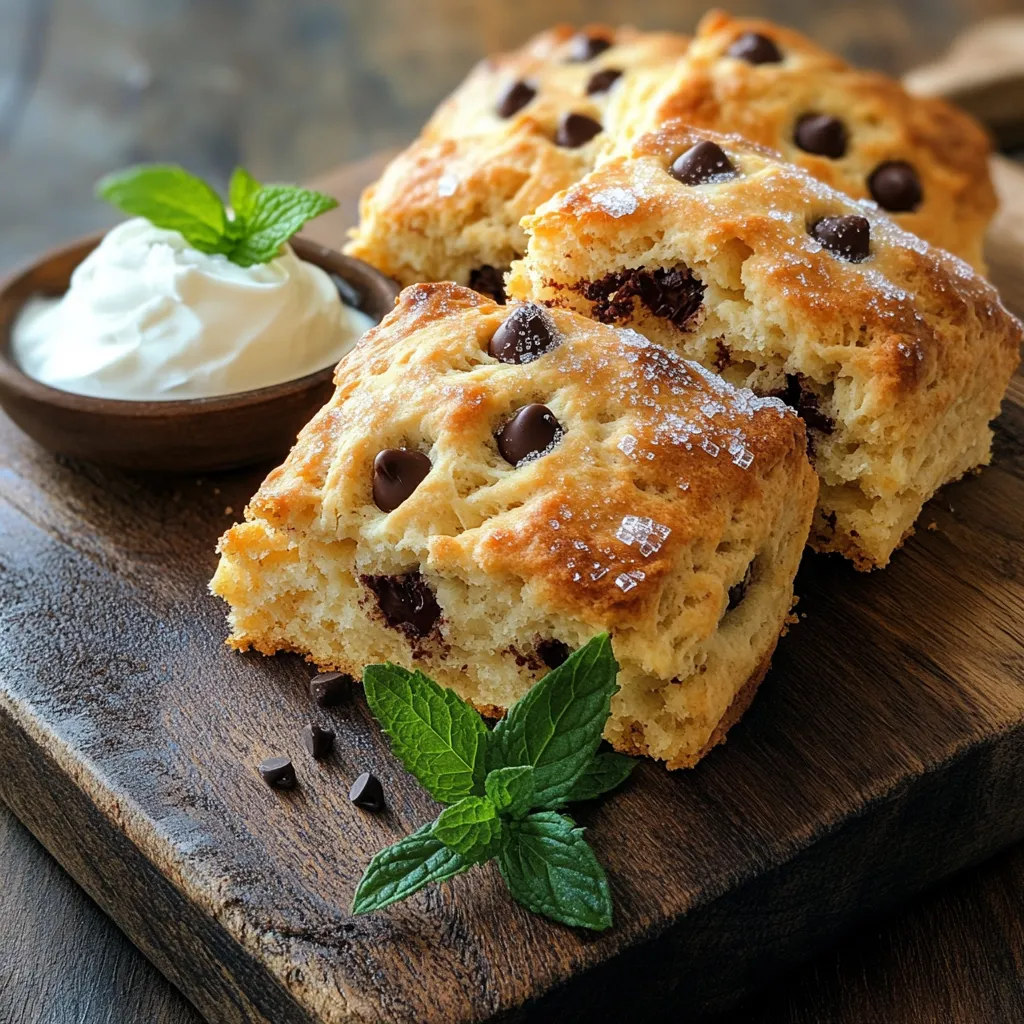
Do you crave those light, fluffy scones from your favorite bakery? You’re in the right place! In this easy recipe,
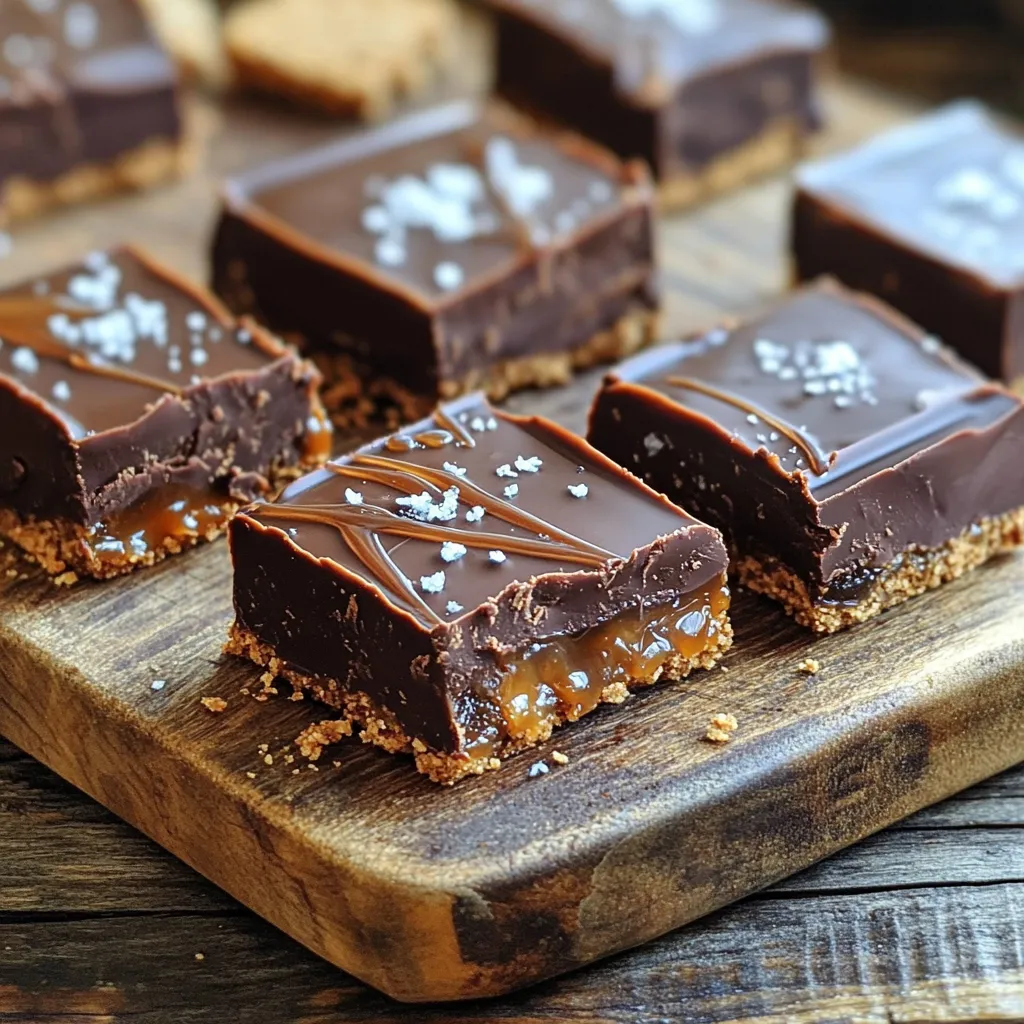
Looking for a quick and tasty dessert? Try my No-Bake Salted Caramel Chocolate Bars! These bars combine rich chocolate and
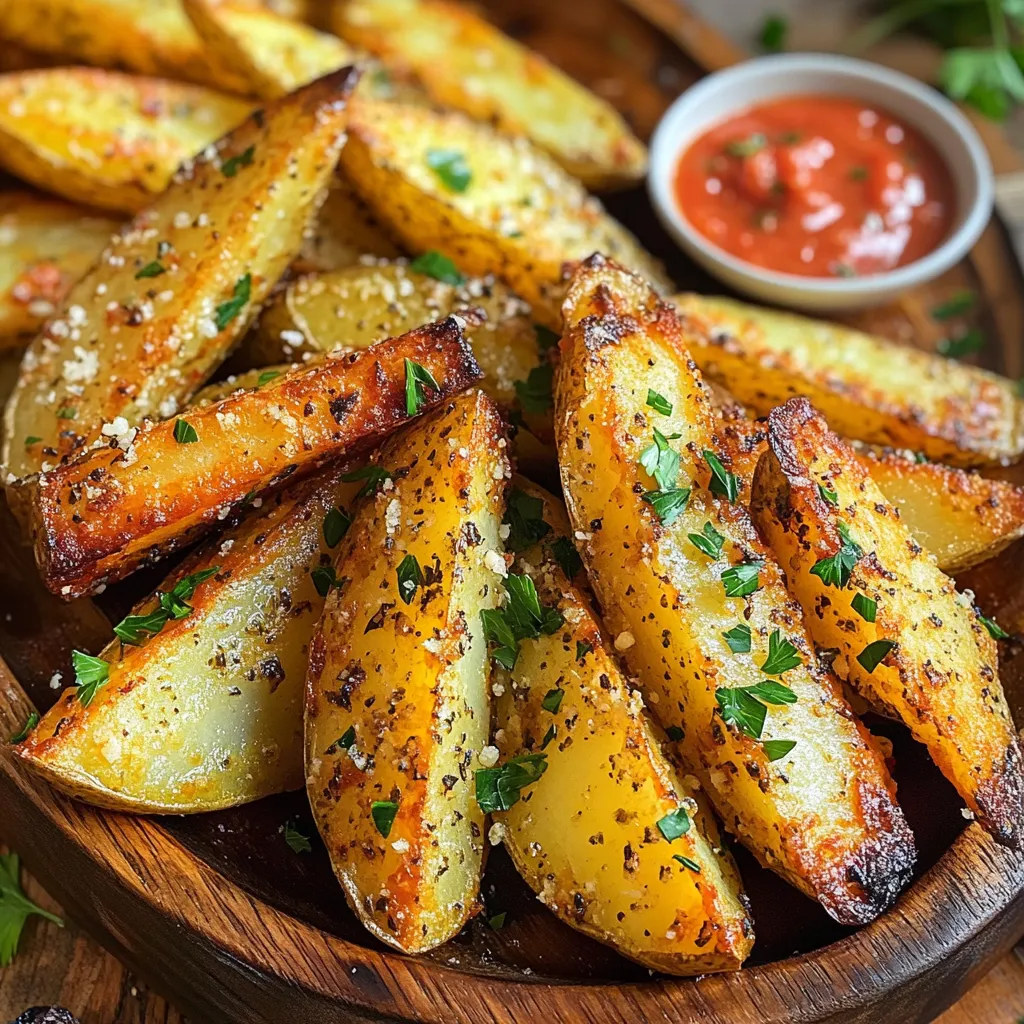
If you love crispy snacks, you’ll adore these Air Fryer Garlic Parmesan Potato Wedges! I’m here to guide you through
