Maple Pecan Breakfast Cookies Easy and Tasty Snack
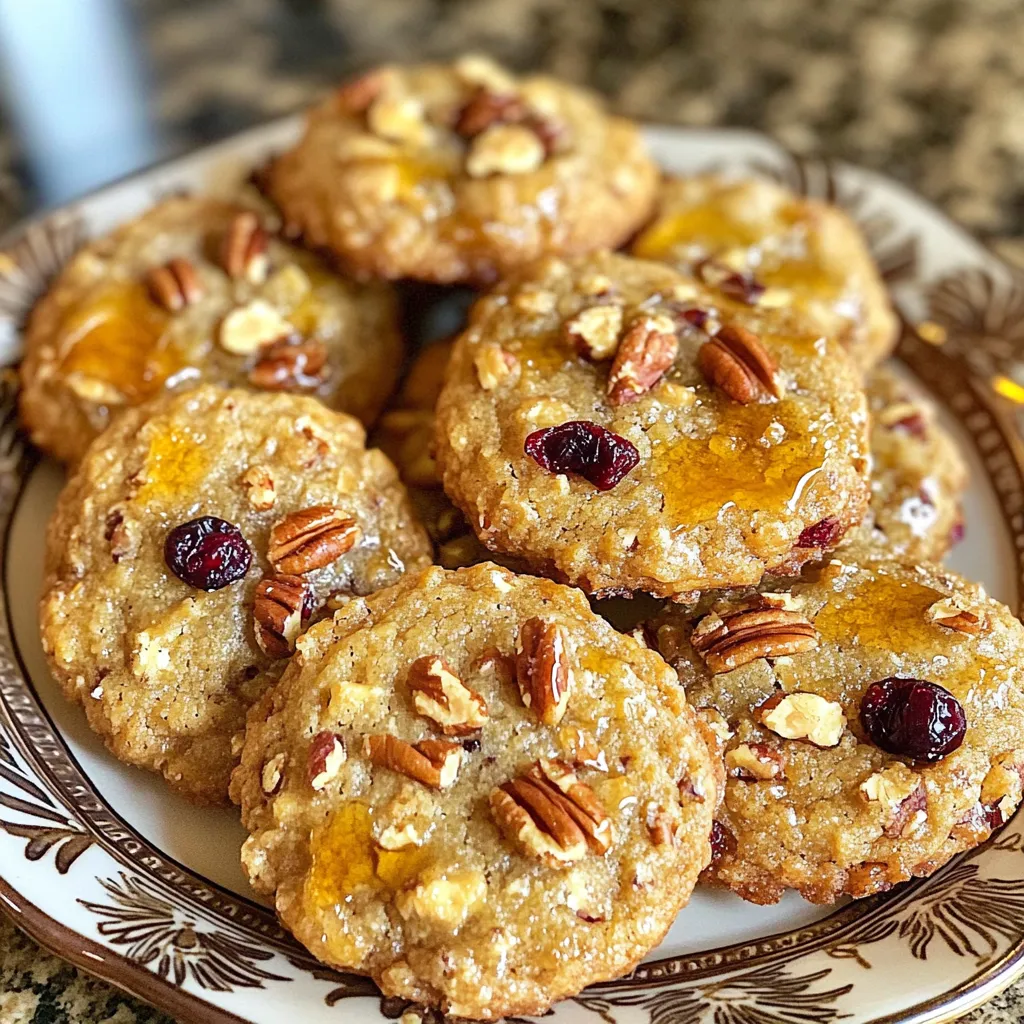
Are you ready to transform your mornings with a quick and tasty treat? Maple Pecan Breakfast Cookies are a fun
Are you ready to transform your mornings with a quick and tasty treat? Maple Pecan Breakfast Cookies are a fun

Are you ready to bring vibrant flavors to your dinner table? This Greek Lemon Chicken Thighs recipe stands out for

Looking for a tasty side dish that’s both crispy and sweet? These Air Fryer Honey Brussels Sprouts are your answer!
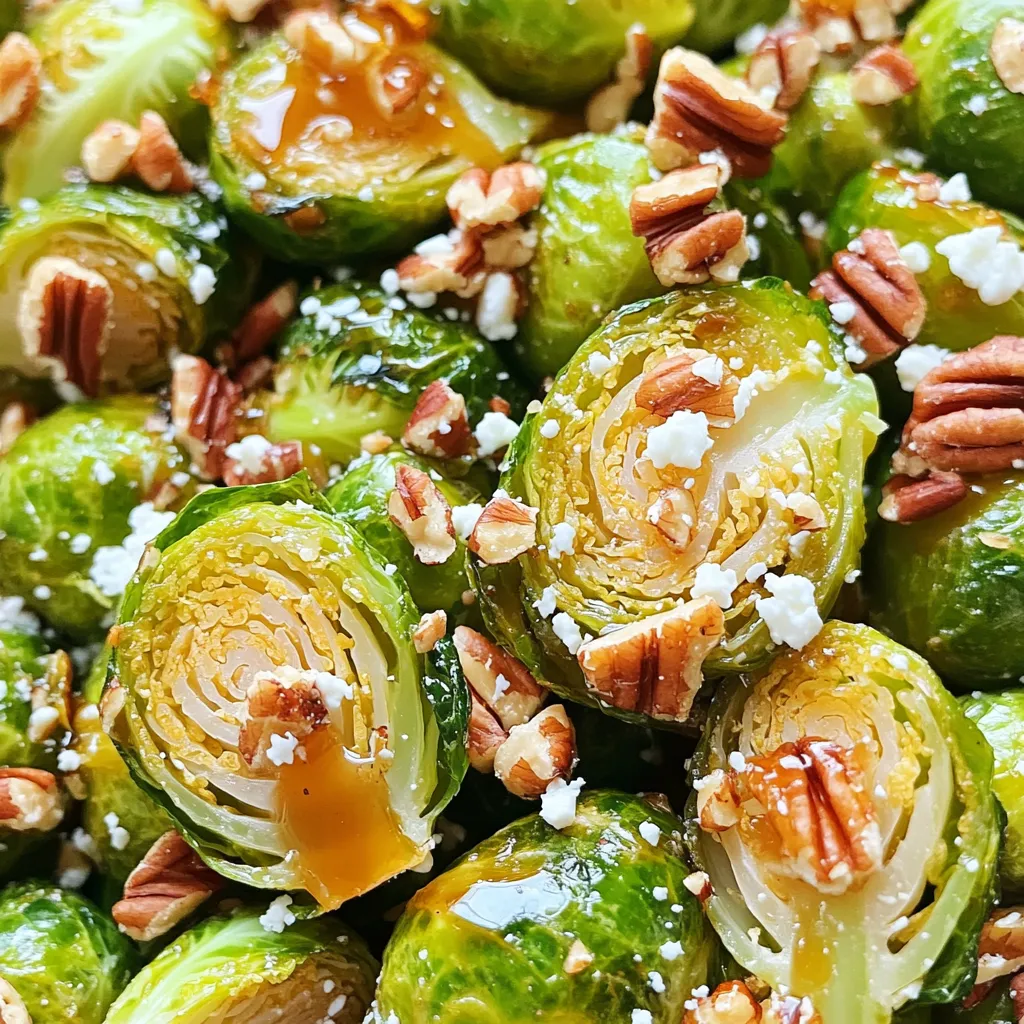
Looking for a tasty side dish that’s both crispy and sweet? These Air Fryer Honey Brussels Sprouts are your answer!

If you love pumpkin-flavored treats, you’re in for a real delight! Pumpkin Cheesecake Parfaits are not just simple to make;
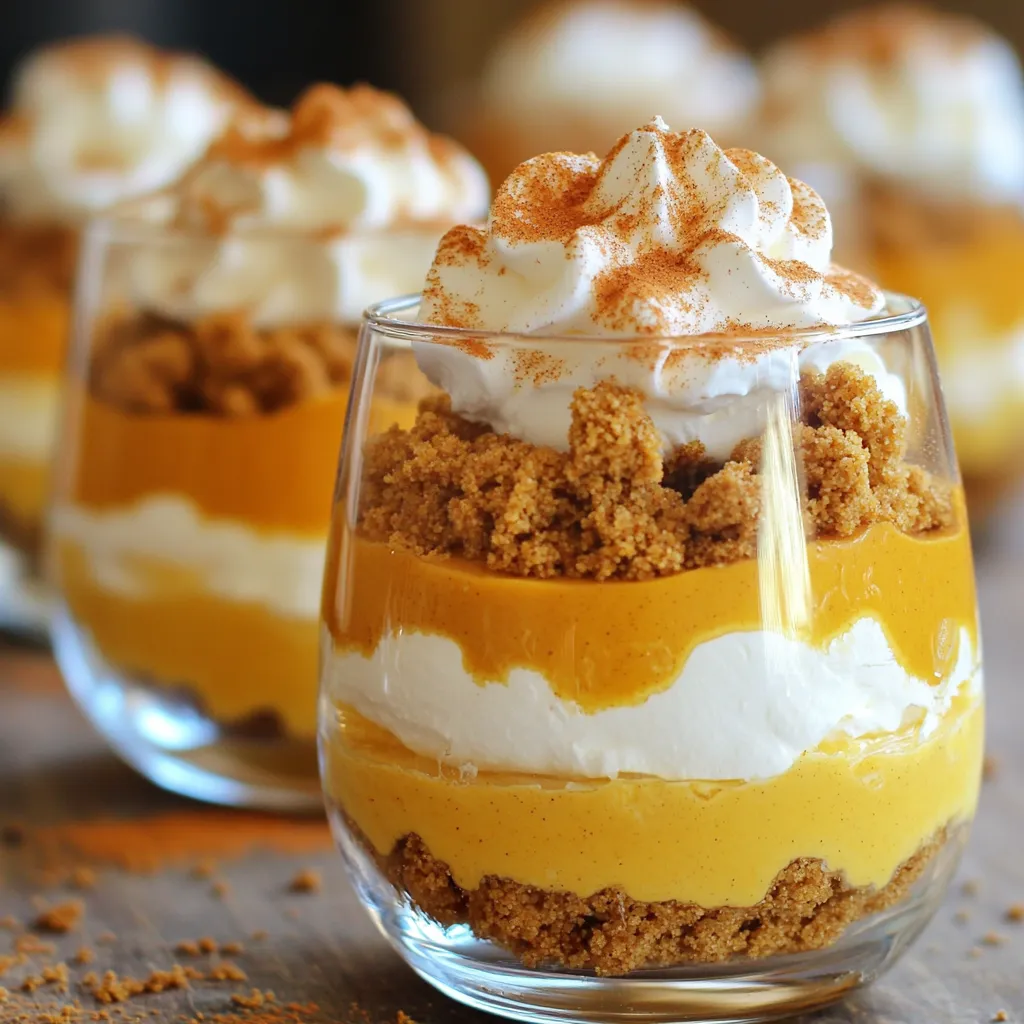
If you love pumpkin-flavored treats, you’re in for a real delight! Pumpkin Cheesecake Parfaits are not just simple to make;
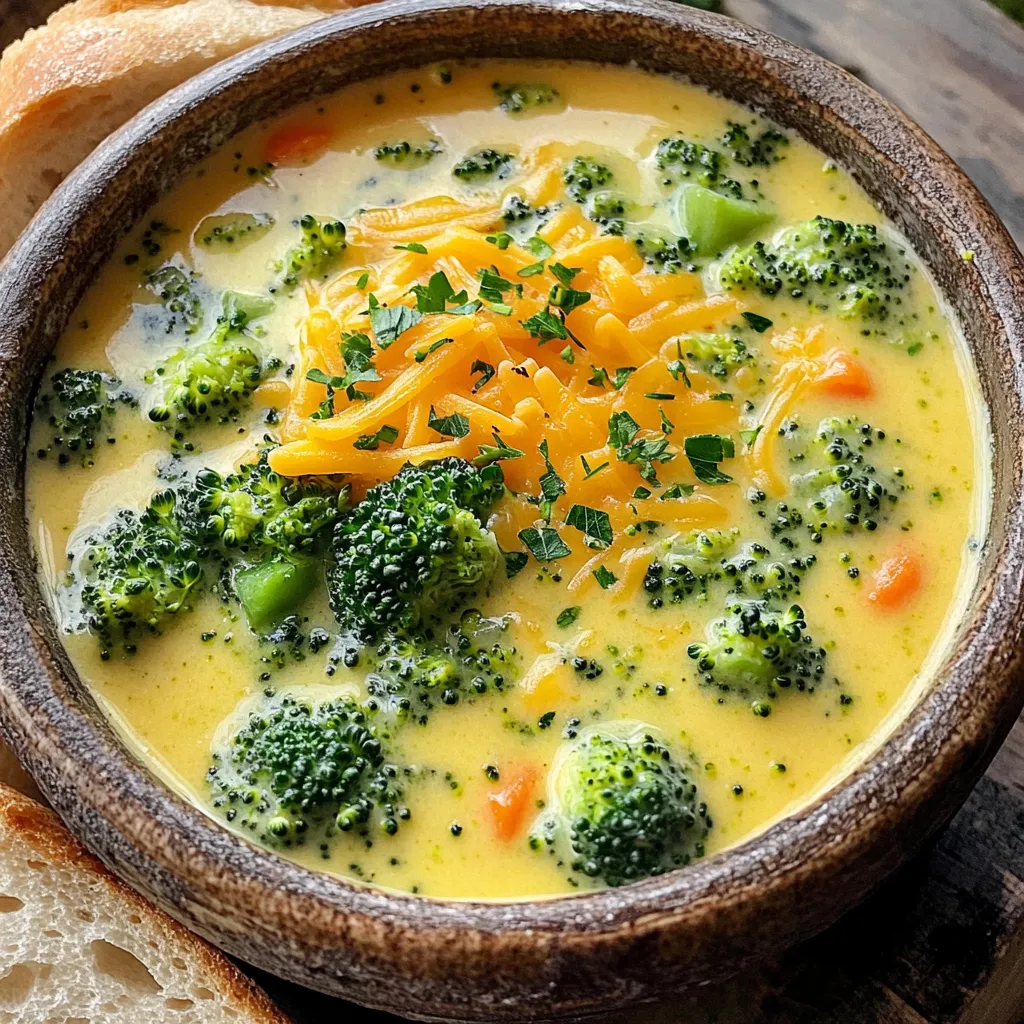
Looking for a cozy meal that’s quick to make? This Broccoli Cheddar Soup is your answer! In just one pot,

Looking for a cozy meal that’s quick to make? This Broccoli Cheddar Soup is your answer! In just one pot,
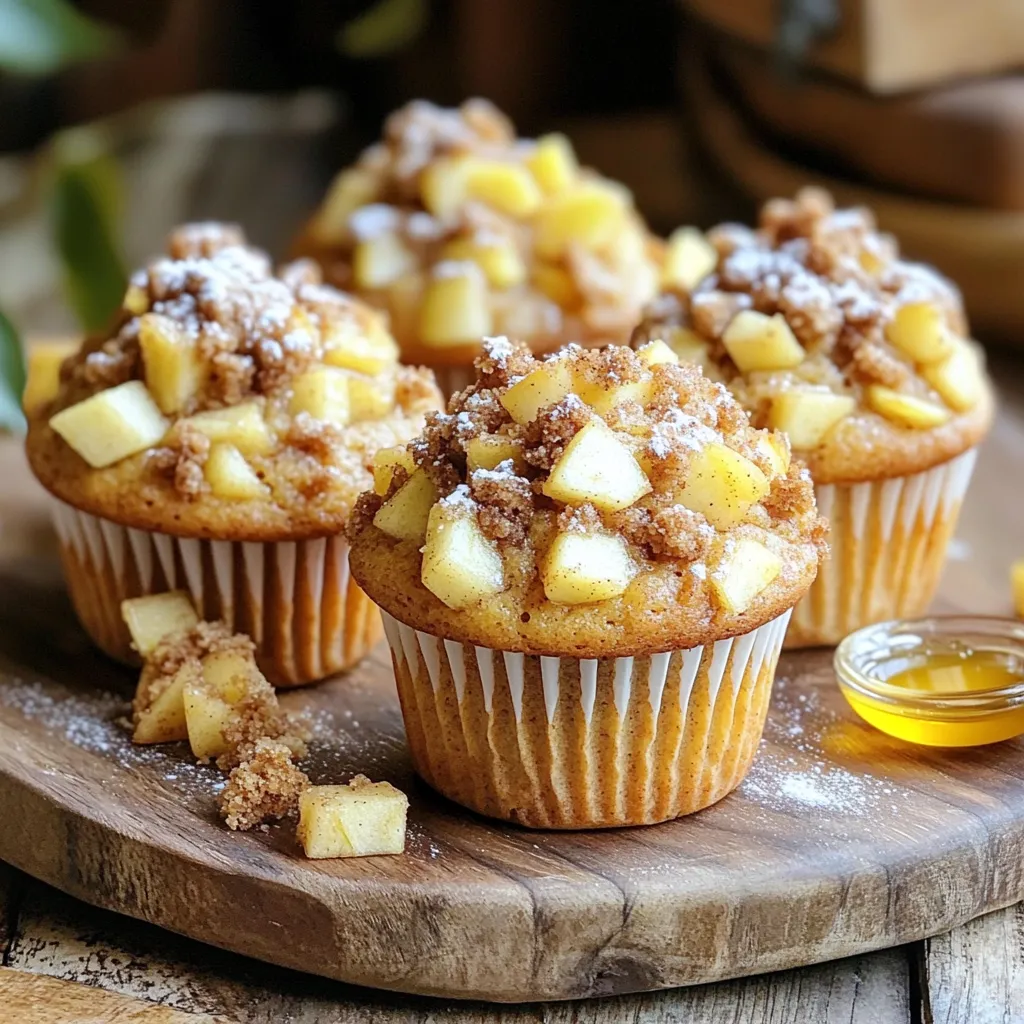
If you love the warm aroma of baked apples and cinnamon, you’ll adore these Apple Streusel Muffins! This easy recipe

If you love the warm aroma of baked apples and cinnamon, you’ll adore these Apple Streusel Muffins! This easy recipe
