
Creamy Garlic Tuscan Chicken Flavorful Family Meal
Want to impress your family with a delicious meal? Creamy Garlic Tuscan Chicken is your answer! This dish packs rich
Want to impress your family with a delicious meal? Creamy Garlic Tuscan Chicken is your answer! This dish packs rich
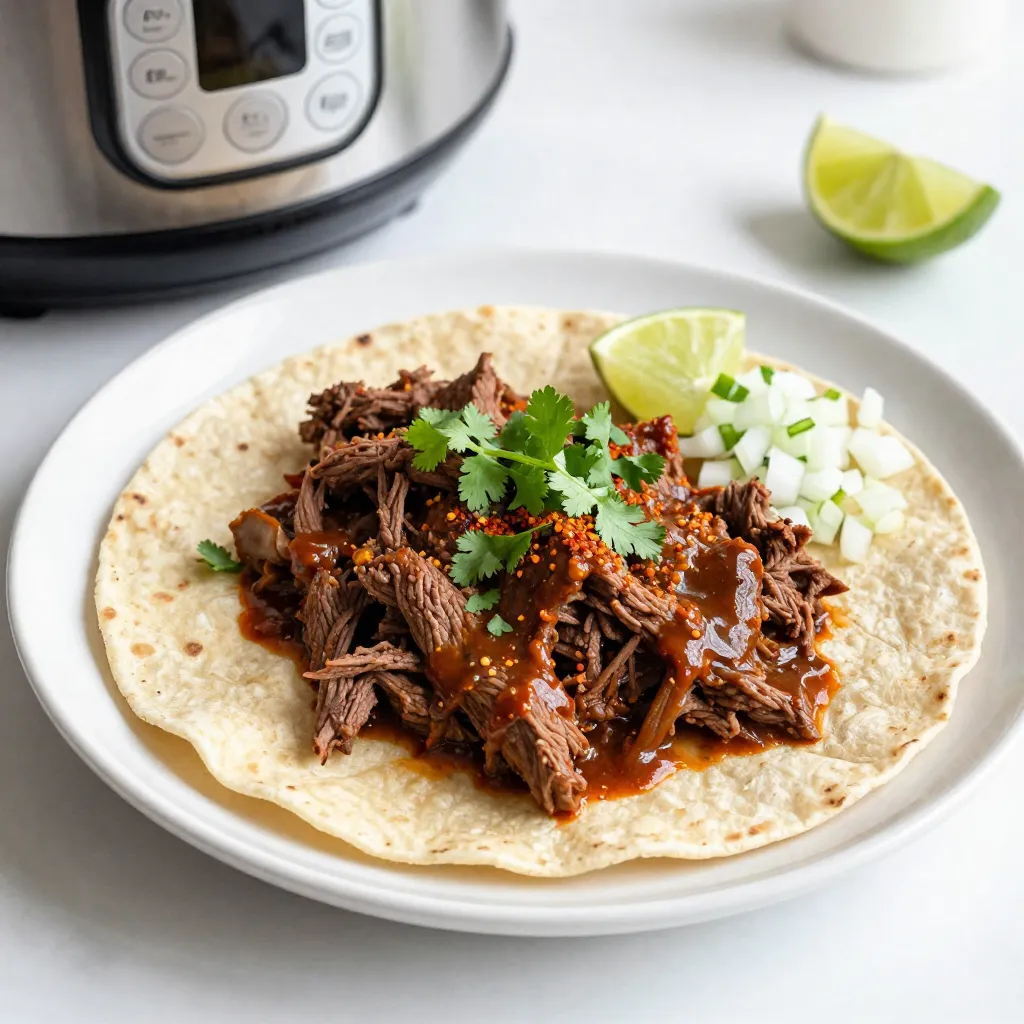
Are you ready to transform your dinner with a burst of flavor? This Instant Pot Beef Barbacoa recipe is simple,

Looking for a fun and healthy way to enjoy sushi at home? Rainbow Veggie Sushi Rolls are simple, vibrant, and

Get ready for a sweet adventure! Maple glazed donut holes are the ultimate treat for your taste buds. These little
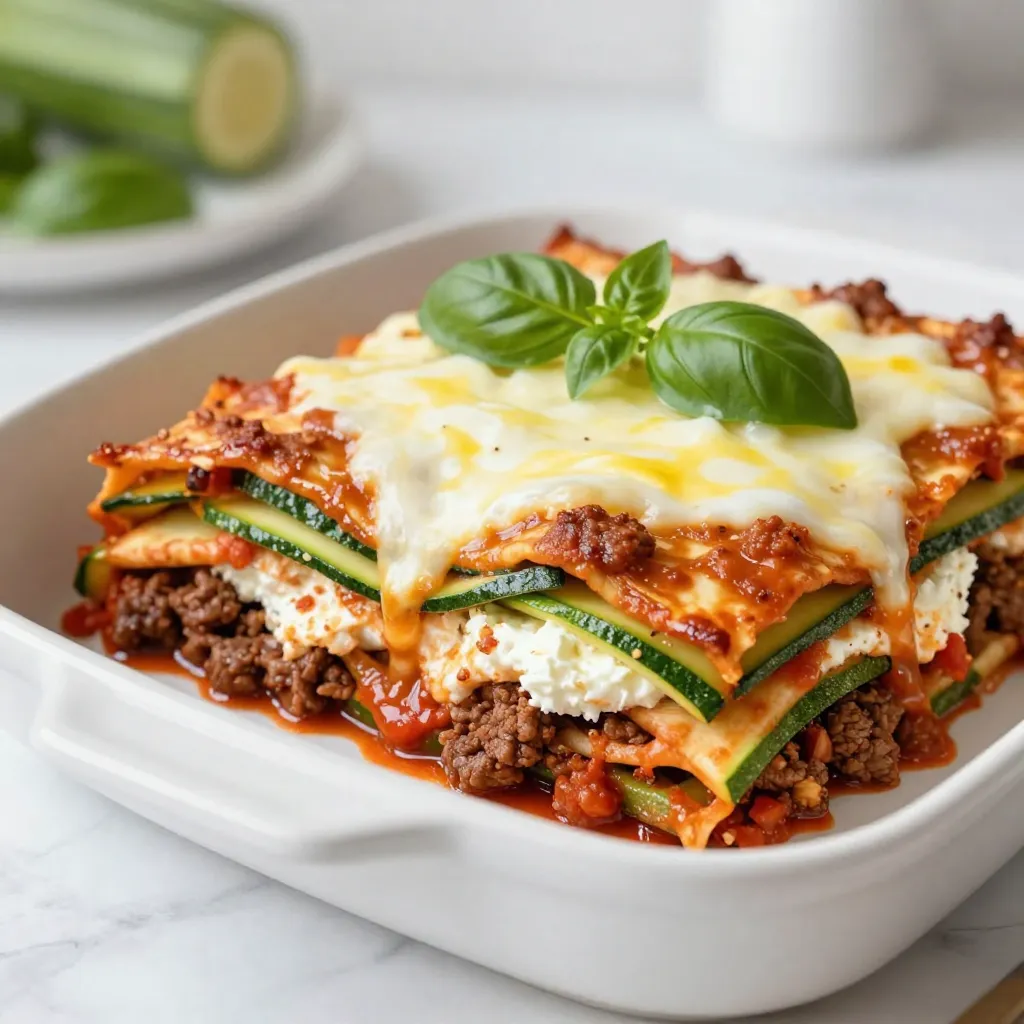
Are you craving a satisfying, guilt-free meal? Look no further than my Keto Zucchini Lasagna! This flavorful dish swaps noodles

Are you ready to treat yourself to a rich and chocolaty delight? These Triple Chocolate Chip Muffins are not just
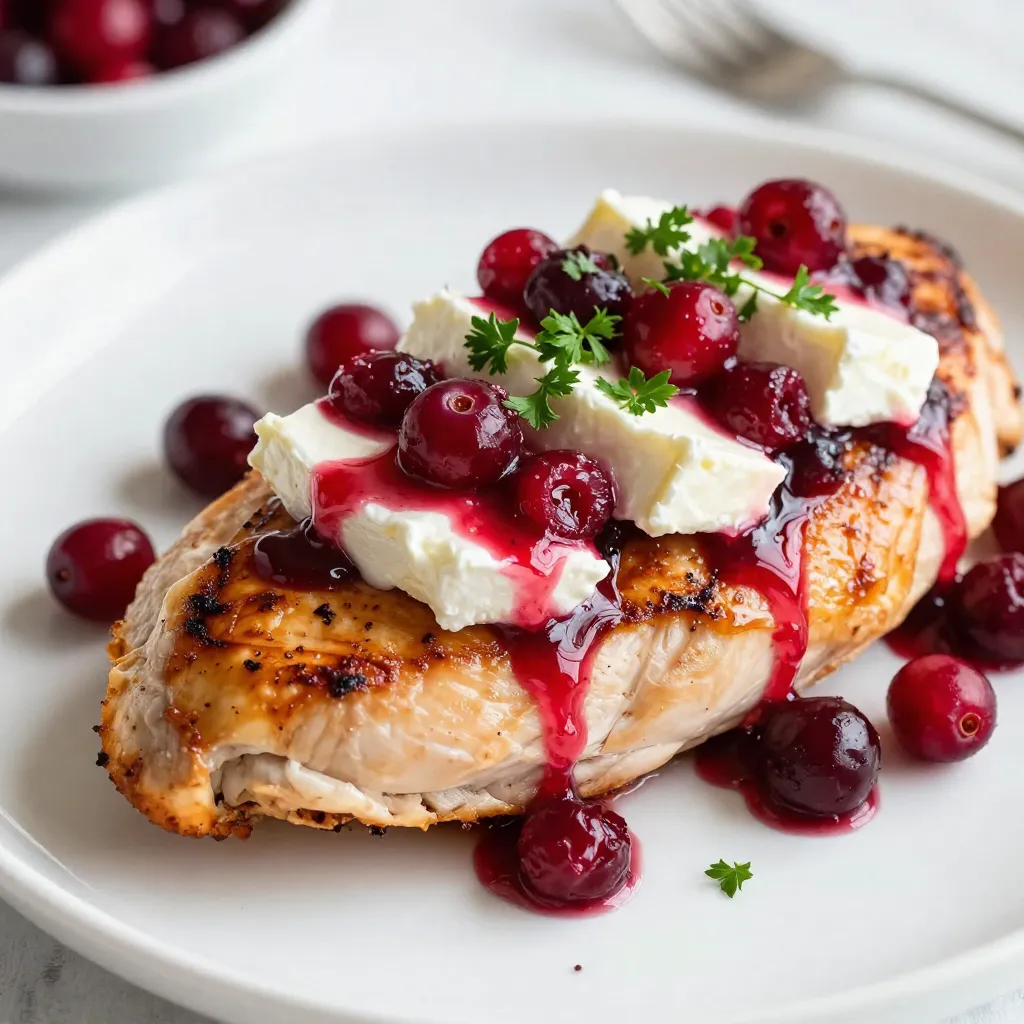
Looking for a delicious and simple dinner idea? Try my Cranberry Brie Chicken recipe! This dish combines juicy chicken with

Looking for a vibrant side dish that will elevate your meals? Try my Maple Glazed Carrots! Sweet, tender, and easy
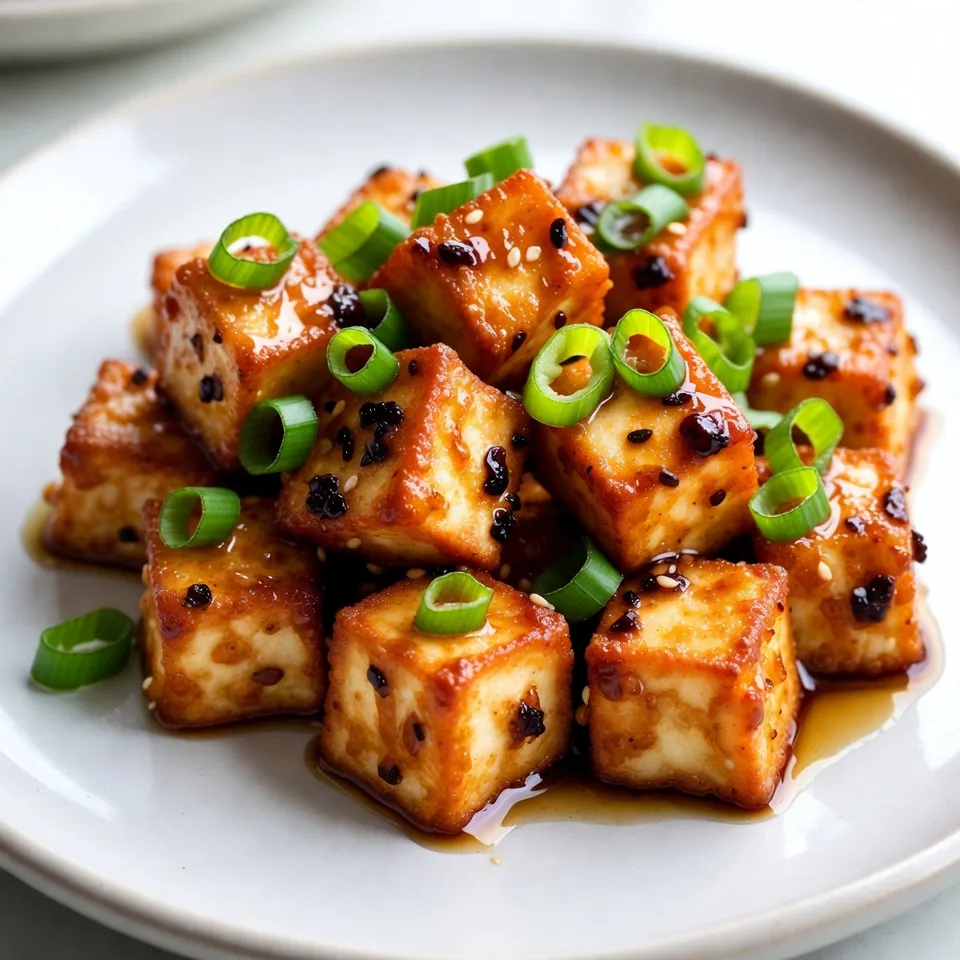
Looking for a tasty vegan treat that packs a flavor punch? Let me introduce you to my Spicy Honey Garlic
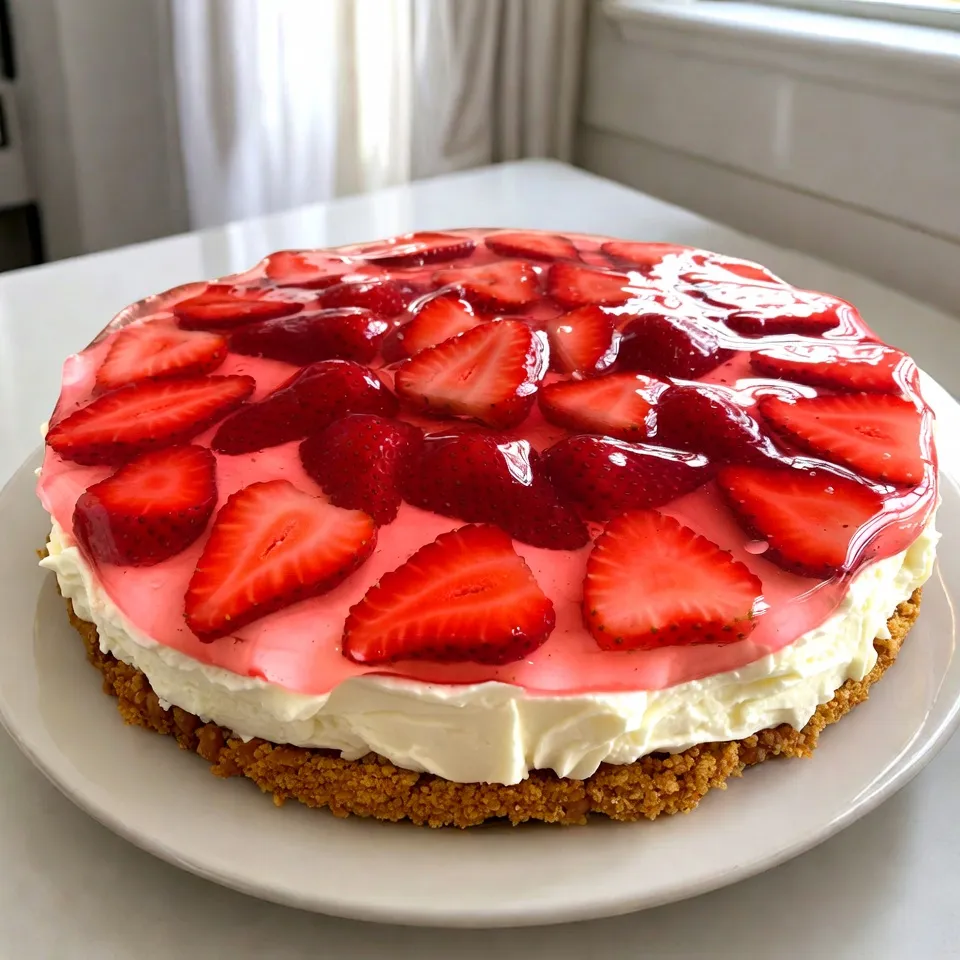
Looking for a fun and tasty dessert? Strawberry Pretzel Salad is a must-try! This dish combines crunchy pretzels with creamy
