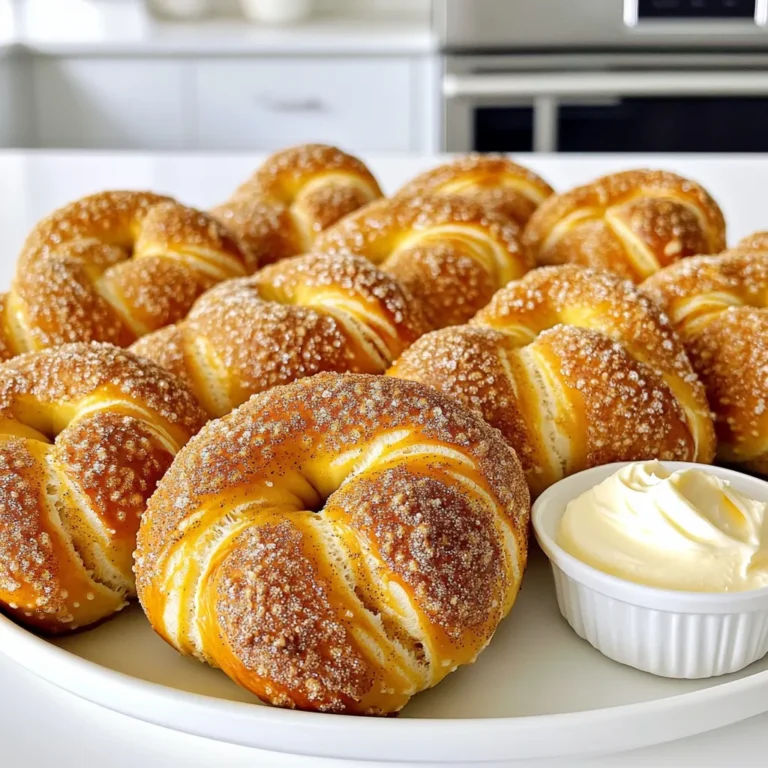
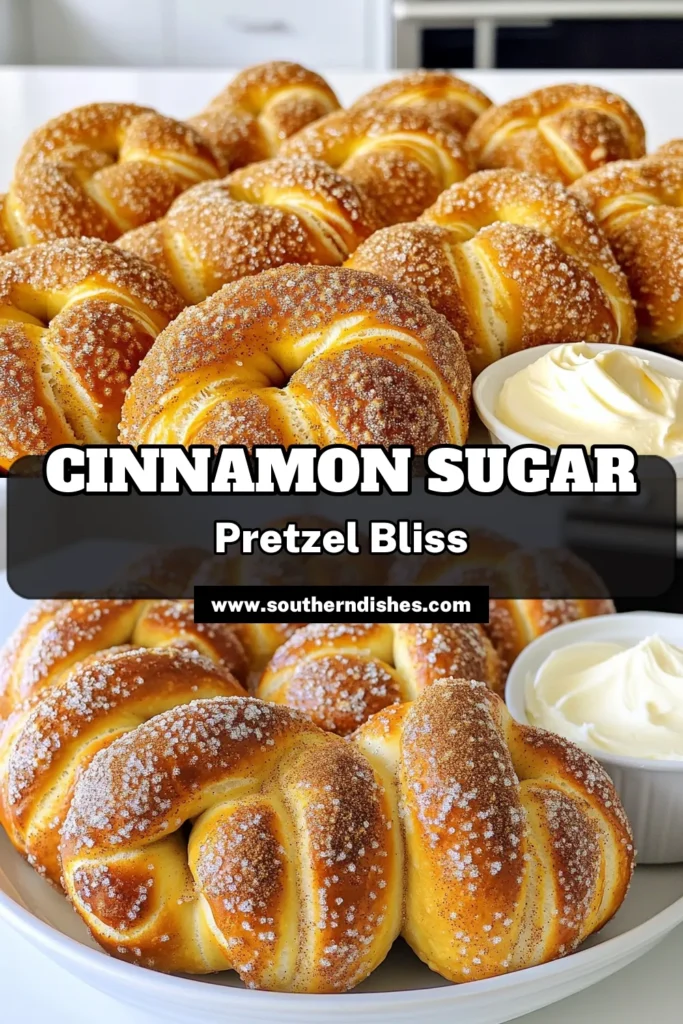
Do you crave a warm, sweet treat that feels like a visit to your favorite bakery? Try my Bakery-Style Cinnamon Sugar Pretzel Knots! They are soft, chewy, and bursting with flavor. In this post, I’ll guide you through making these delicious knots from scratch. You’ll learn the ingredients you need, step-by-step instructions, and helpful tips to ensure your pretzels turn out perfect every time. Let’s get baking!
Ingredients
List of required ingredients
To make these tasty pretzel knots, gather these items:
– 2 ½ cups all-purpose flour
– ¼ cup granulated sugar
– 1 teaspoon salt
– 1 packet (2 ¼ teaspoons) active dry yeast
– 1 cup warm water (110°F)
– 2 tablespoons unsalted butter, melted
– ¼ cup baking soda
– 1 large egg, beaten (for egg wash)
– 2 tablespoons ground cinnamon
– ½ cup brown sugar
– Coarse sea salt, for sprinkling
Measurement specifics
Using precise measurements ensures great results. Make sure to:
– Use a measuring cup for flour, leveling it off for accuracy.
– Warm the water to about 110°F. This helps activate the yeast.
– Measure the sugar and salt carefully. Too much or too little can affect taste.
Optional ingredients for flavor enhancement
Want to elevate your pretzel knots? Consider these options:
– Add vanilla extract for a sweet hint.
– Include nutmeg for a warm, spiced flavor.
– Experiment with different sugars, like coconut sugar, for unique tastes.
– Top with a drizzle of icing or serve with dipping sauces like caramel or chocolate.
Step-by-Step Instructions
Preparation of the dough
Start by mixing warm water and yeast in a small bowl. Let it sit for about 5 minutes. This helps the yeast activate. You want it to get frothy. In a large bowl, whisk together the flour, sugar, and salt. Then, add the melted butter and the frothy yeast mix. Stir until a dough forms. Knead the dough on a floured surface for 5 to 7 minutes. It should feel smooth and elastic. Place it in a greased bowl and cover it with a damp cloth. Let it rise in a warm spot for about 1 hour or until it doubles in size.
Shaping and knotting the pretzels
Once the dough rises, punch it down gently. Divide it into 8 equal pieces. Roll each piece into a long rope, about 20 inches long. Now, twist each rope into a knot shape. Make sure the ends are tucked under nicely. This gives the pretzels their classic look. Place the shaped knots aside on a floured surface while you prep for boiling.
Boiling and baking process
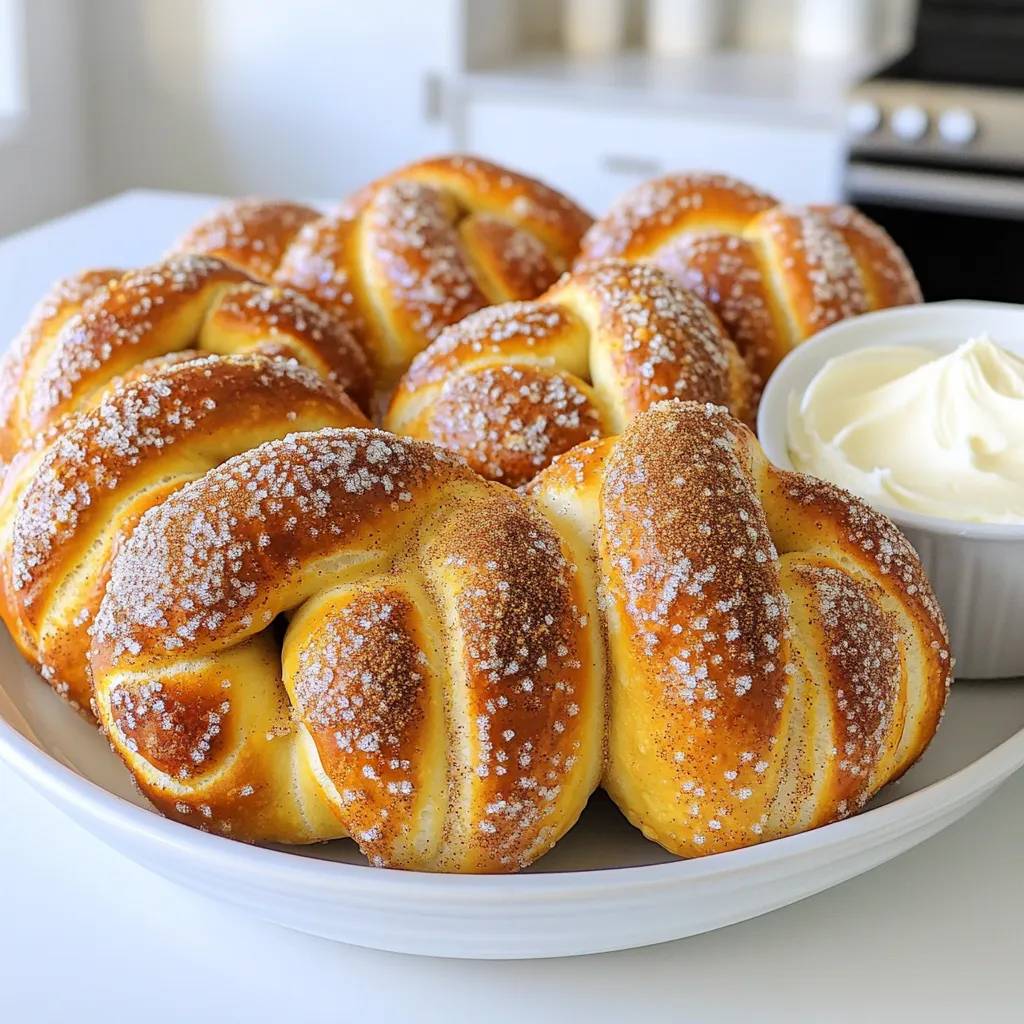
In a large pot, bring about 4 cups of water to a boil. Add the baking soda carefully. This step is key for that chewy texture. Drop each pretzel knot into the boiling water for 30 seconds. Then, remove them and place them on a lined baking sheet. Brush each knot with the beaten egg for a nice shine. In a small bowl, mix ground cinnamon and brown sugar. Sprinkle this mix generously over the pretzels. Bake them in a preheated oven at 425°F for 12 to 15 minutes. Look for a golden brown color. Once they are done, sprinkle coarse sea salt on top while they are still warm. Enjoy the sweet and salty goodness!
Tips & Tricks
Achieving the perfect dough texture
To get the right dough, start with warm water at 110°F. This temperature wakes up the yeast. After mixing, knead the dough for about 5-7 minutes. It should be smooth and elastic. If it feels sticky, add a little more flour, but don’t overdo it. The goal is a soft, pliable dough. Let it rise in a warm spot, and it should double in size.
Best practices for boiling pretzels
Boiling your pretzel knots is key to their texture. Use a large pot with at least 4 cups of water. Add ¼ cup of baking soda once the water is boiling. This step gives pretzels their shiny crust. Drop each knot into the water carefully. Let them boil for 30 seconds. This short boil helps form a crisp outer layer while keeping the inside soft.
Ensuring a bakery-style finish
For that bakery-style look, brush the pretzels with a beaten egg before baking. This gives them a beautiful, shiny finish. Don’t forget to sprinkle the cinnamon and brown sugar mix generously on top. You can add coarse sea salt right after baking for an extra crunch. For a fun touch, serve your pretzel knots on a wooden board with a dip like cream cheese frosting or chocolate sauce. This not only looks great but also enhances the flavor!
Variations
Flavor variations (e.g., chocolate, cheese)
You can change the flavor of your pretzel knots easily. For a chocolate twist, add cocoa powder to the dough. Mix in chocolate chips before shaping the knots. If cheese is your thing, use cheddar or mozzarella. Add shredded cheese to the dough or sprinkle it on top before baking. These small changes can make a big difference!
Gluten-free alternatives
Want to make gluten-free pretzel knots? Use a gluten-free flour blend instead of all-purpose flour. Look for blends that work well for baking. You may need to adjust the liquid in the recipe. Make sure to add a binding agent like xanthan gum. This will help give the pretzels a nice texture!
Seasonal twists (e.g., pumpkin spice)
Seasonal flavors can add fun to your pretzel knots. For fall, try adding pumpkin spice to the cinnamon sugar mix. Just mix cinnamon with nutmeg, ginger, and allspice. You can also add pumpkin puree to the dough for a richer flavor. These seasonal twists will keep your pretzels exciting all year long!
Storage Info
Best ways to store pretzel knots
To keep your pretzel knots fresh, store them in an airtight container. This helps maintain their soft texture. You can keep them at room temperature for up to two days. If you want to save them longer, refrigerate them. Just wrap them tightly in plastic wrap first.
Reheating instructions
When you’re ready to enjoy your pretzel knots again, reheating is easy. Preheat your oven to 350°F (175°C). Place the knots on a baking sheet. Heat them for about 5-7 minutes. This method restores their soft, warm goodness. You can also use a microwave, but they may lose their crispiness. Heat them in 15-second bursts until warm, but check often.
Freezing options and tips
You can freeze pretzel knots for later use. Allow them to cool completely first. Then, wrap each knot in plastic wrap. Place them in a freezer-safe bag or container. They can stay in the freezer for up to three months. To enjoy, thaw them in the fridge overnight. Reheat them as mentioned above for the best taste and texture.
FAQs
What makes these pretzel knots “bakery-style”?
These pretzel knots are “bakery-style” because of their fluffy texture and rich flavor. The dough has a perfect balance of sweetness from granulated sugar and brown sugar. The addition of cinnamon gives them warmth and a cozy taste. Boiling the pretzels in baking soda water helps create a chewy crust, just like the ones from your favorite bakery. This method makes them golden brown and adds a nice shine. When you top them with coarse sea salt, you get that classic sweet and salty combo.
Can I make the dough ahead of time?
Yes, you can make the dough ahead of time! After kneading, place the dough in a greased bowl and cover it. You can store it in the fridge for up to 24 hours. When you are ready to bake, let the dough sit at room temperature for about 30 minutes. This will help it rise better. If it has not doubled in size, give it more time. Making dough ahead saves you time and allows you to enjoy fresh pretzel knots later.
What if my pretzel knots don’t rise properly?
If your pretzel knots don’t rise, it may be due to inactive yeast. Always check the yeast by mixing it with warm water. If it doesn’t froth, it’s no longer good. Another reason may be the temperature. Make sure your dough rises in a warm area. If it is too cold, it won’t rise well. If your dough doesn’t rise, give it more time. Patience is key! If all fails, you can still bake them, but the texture will be denser.
In this blog post, we covered how to make perfect pretzel knots. We discussed the ingredients needed and their measurements. I provided step-by-step instructions for preparation, shaping, boiling, and baking. You also learned tips for texture and storage options for your pretzels. Remember, variations like cheese or gluten-free options can add fun. Enjoy making and sharing these tasty treats. With practice, your pretzel knots will become a favorite for everyone. Dive in, and have fun with your baking journey!

