-min.png)
-min.png)
-min.png)
-min.png)
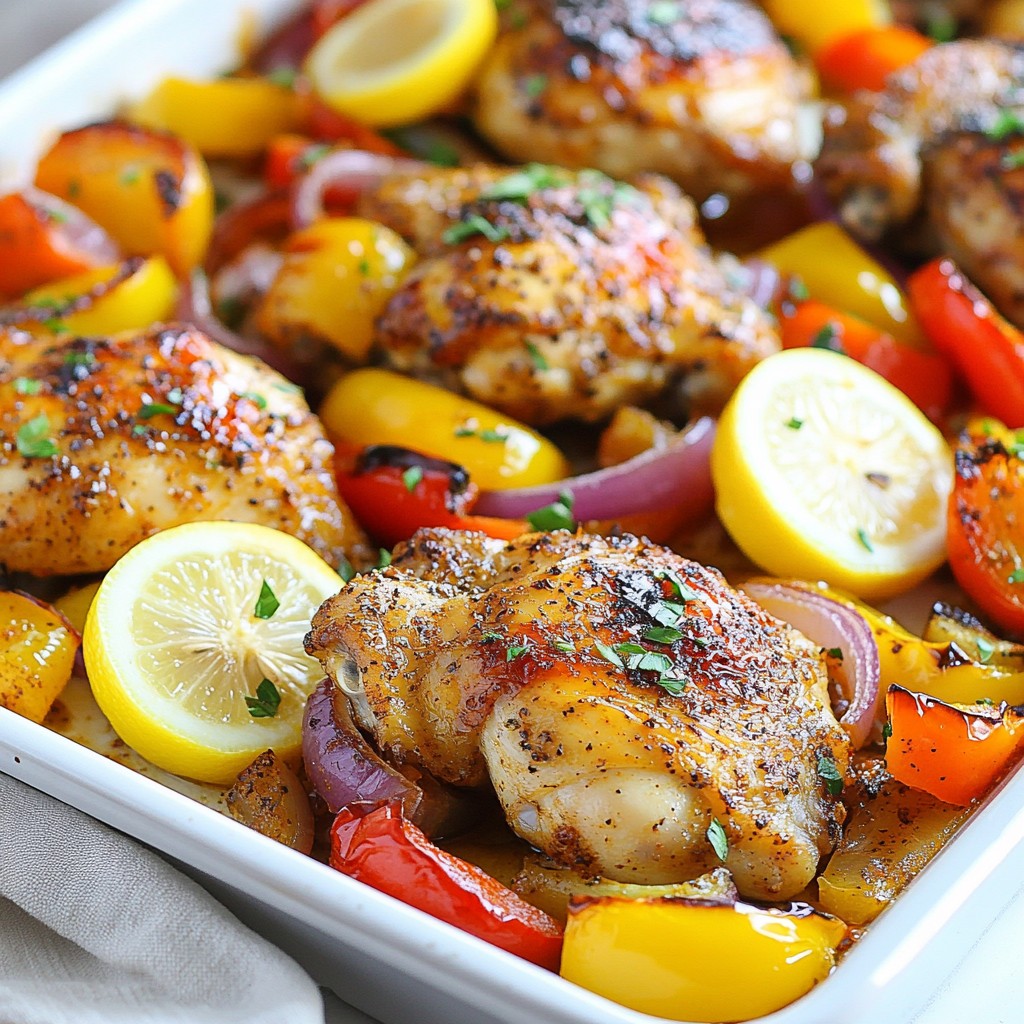
Sheet Pan Chicken Shawarma Flavorful and Easy Meal
A flavorful and easy-to-make chicken shawarma dish roasted with vibrant vegetables on a single sheet...
Today's Special
A flavorful and easy-to-make chicken shawarma dish roasted with vibrant vegetables on a single sheet pan.
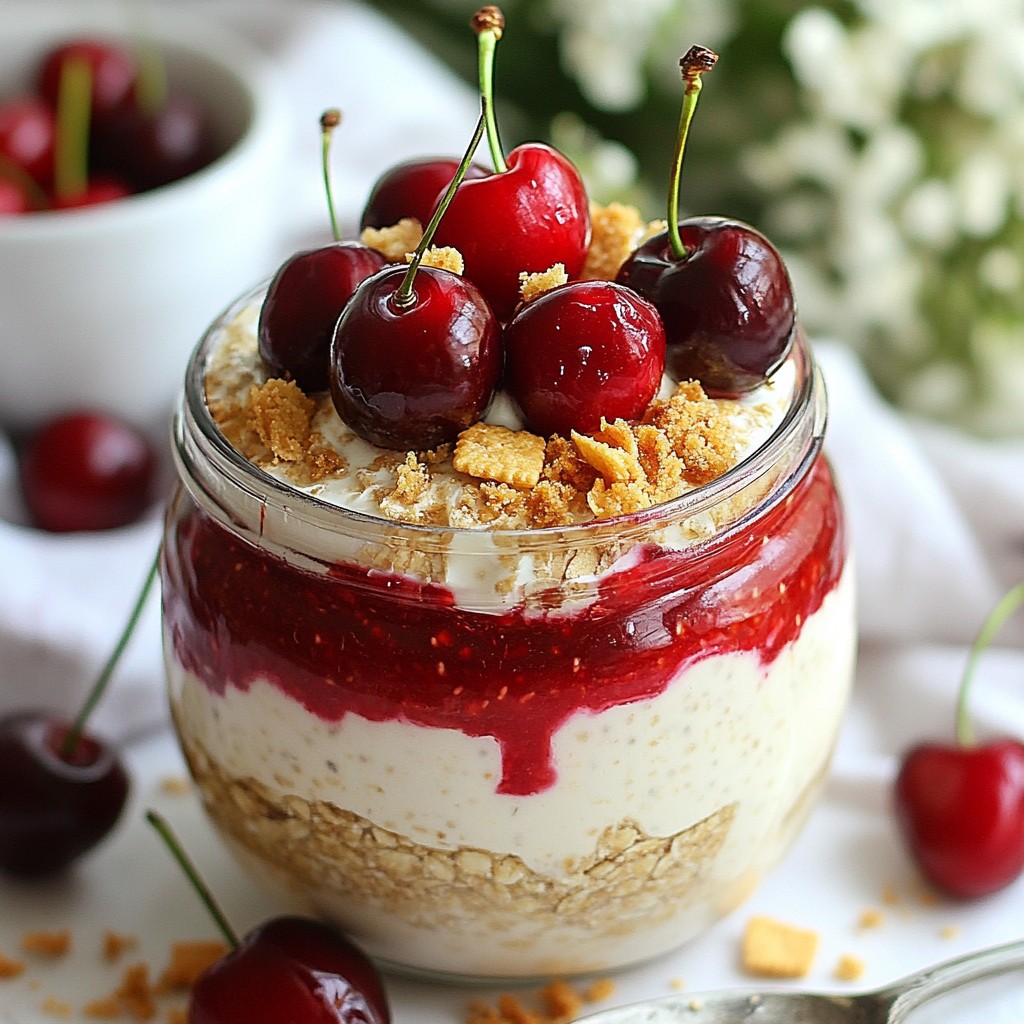
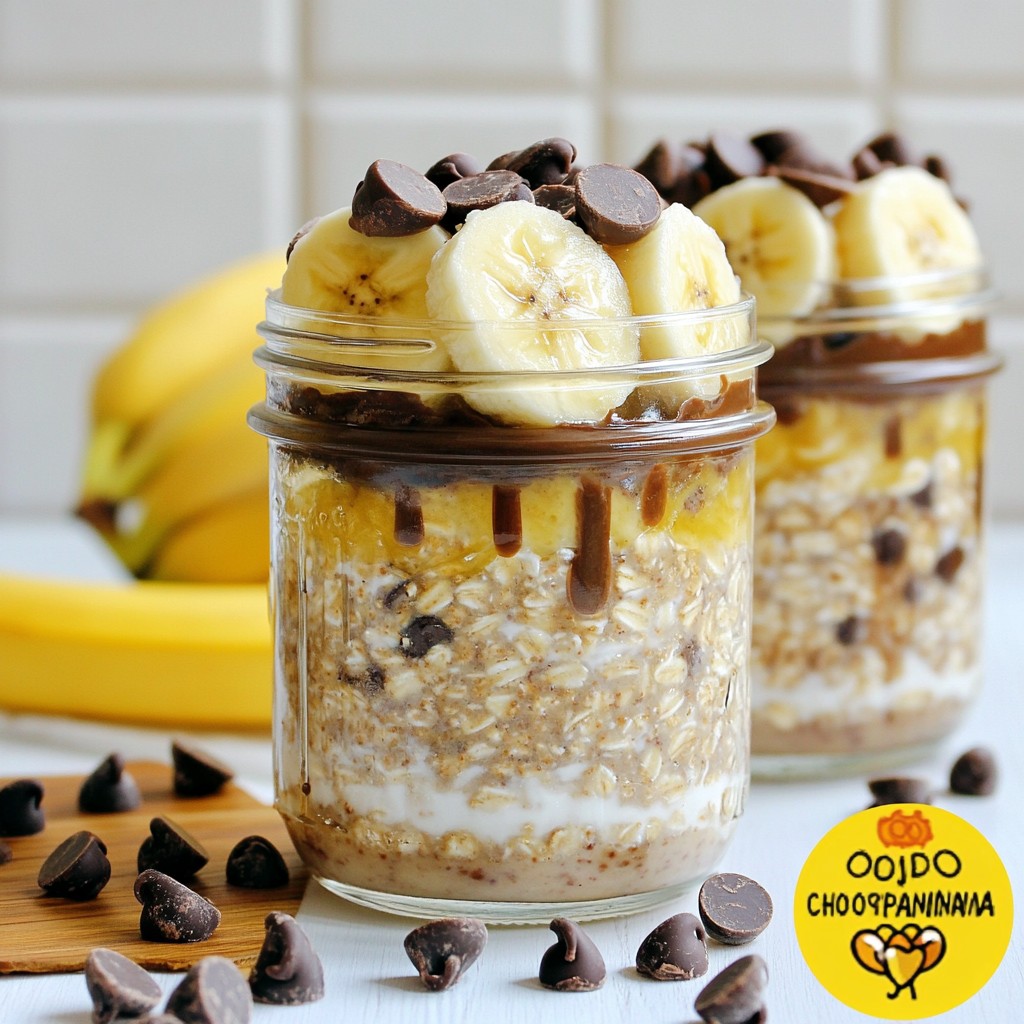
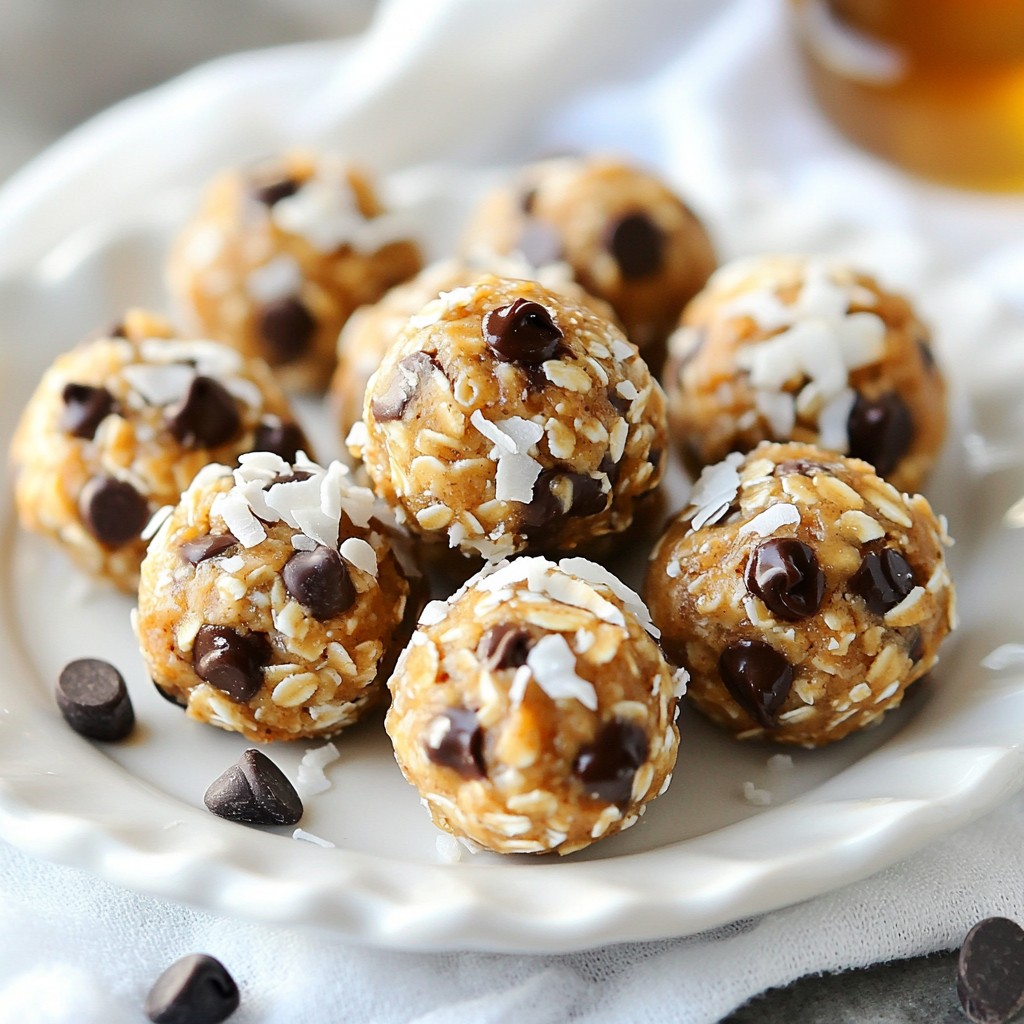
Indulge in our collection of irresistible dessert recipes! From decadent chocolate treats to light and fruity delights, discover sweet creations that will satisfy every craving and make every occasion special!
More Desserts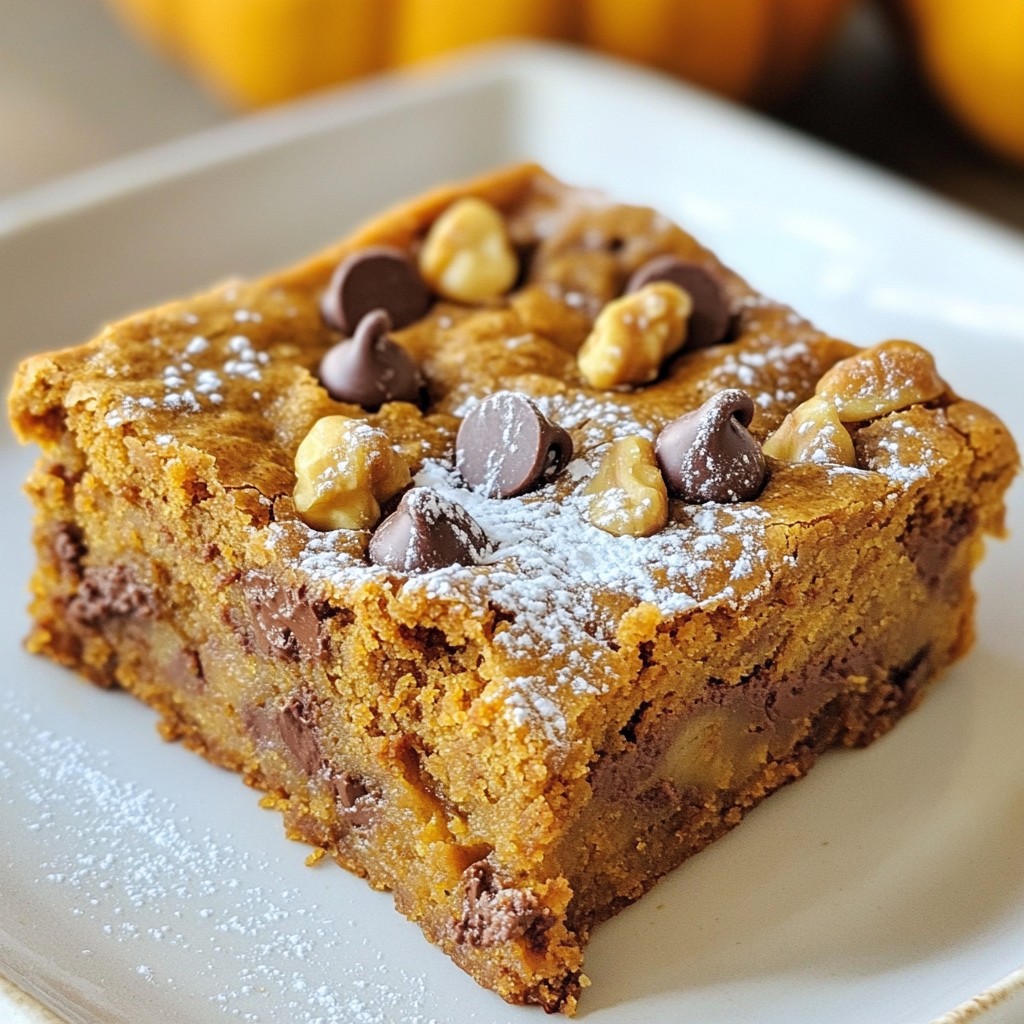
What are you craving?
Explore our delicious collection of recipes organized by category
Discover delicious dinner recipes that bring joy to your table! From quick weeknight meals to impressive family feasts, explore our collection of savory dishes that make every dinner time memorable!
More Dinners 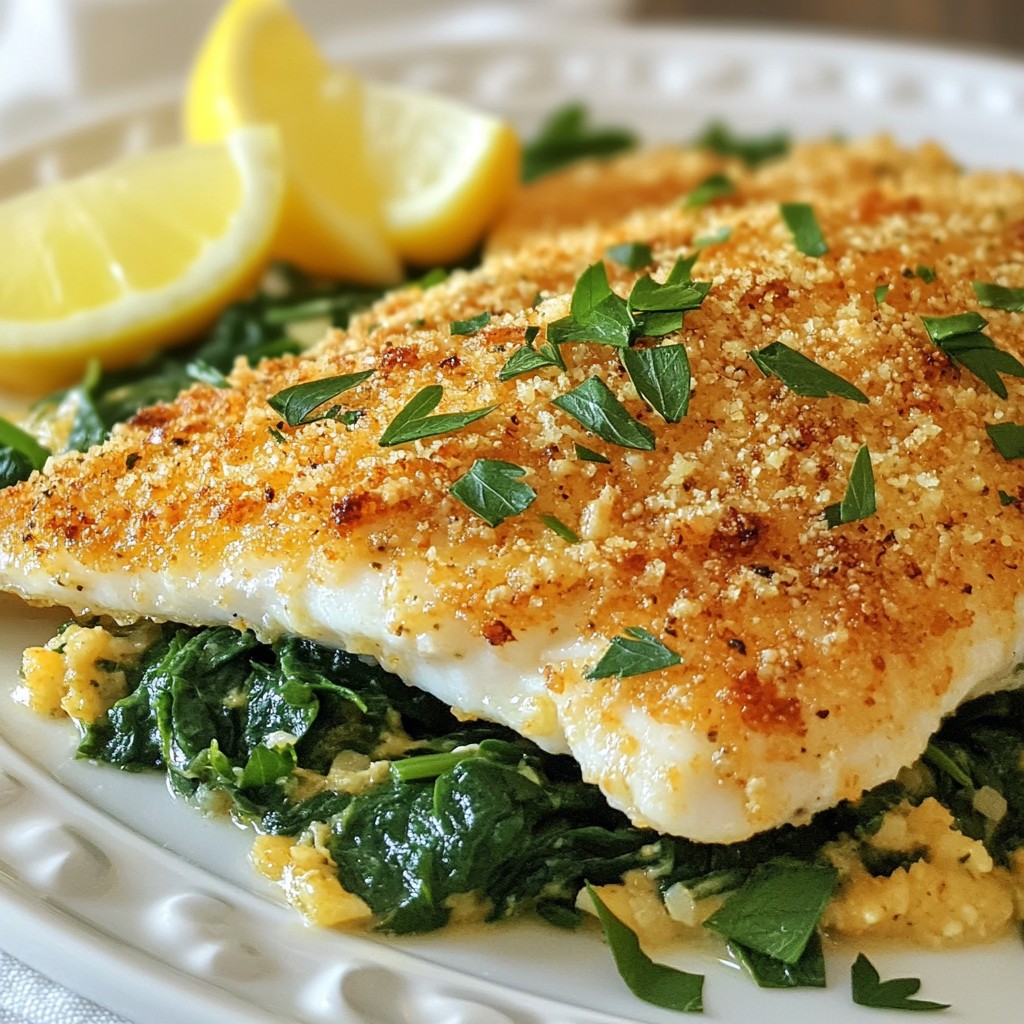

Nice to meet you!
Isabella Jones, the Founder, brings her culinary vision to life at southerndishes.
Learn More About MeLooking for something?
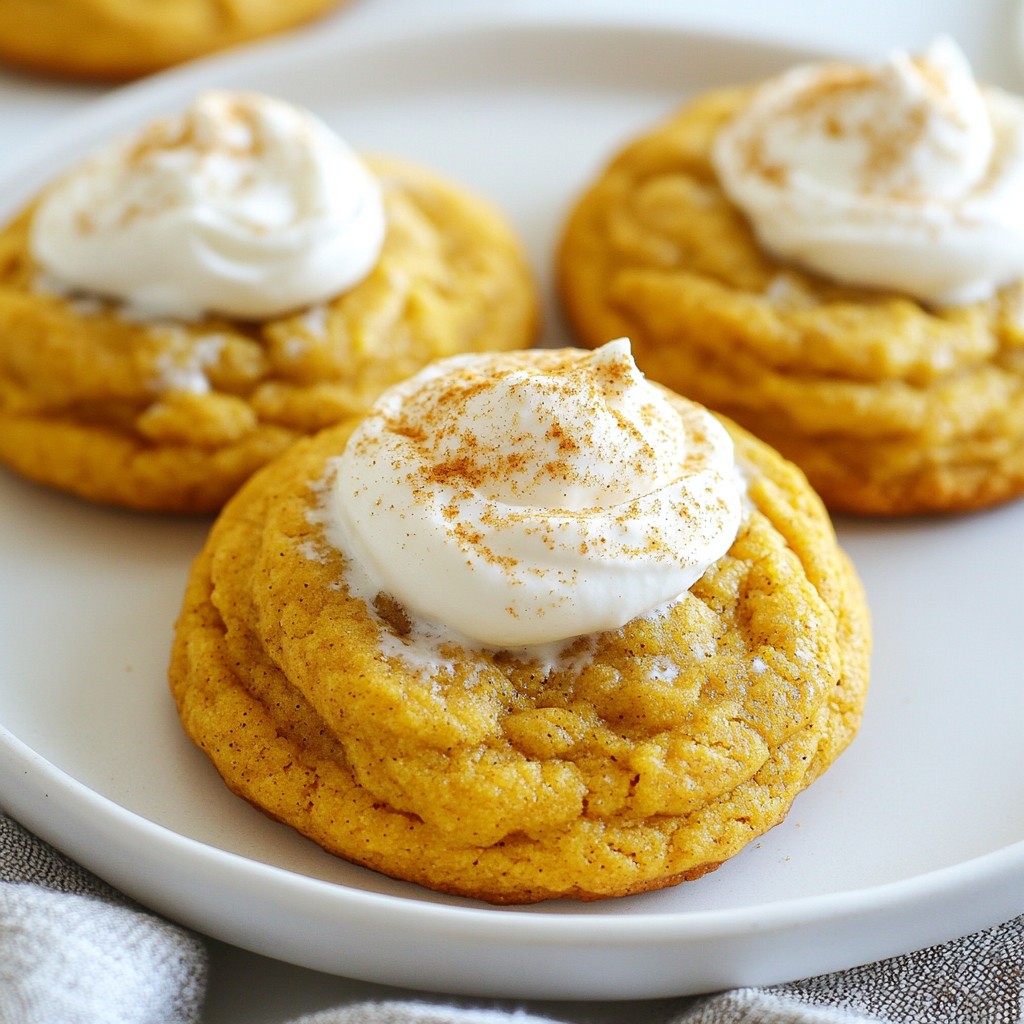
Fresh from the kitchen
Check out our newest additions - tried, tested, and absolutely delicious!
A flavorful and easy-to-make chicken shawarma dish roasted with vibrant vegetables on a single sheet...
Delicious blondies made with pumpkin puree and chocolate chips, perfect for fall.
A delicious and crispy tilapia dish coated with Parmesan cheese and breadcrumbs.
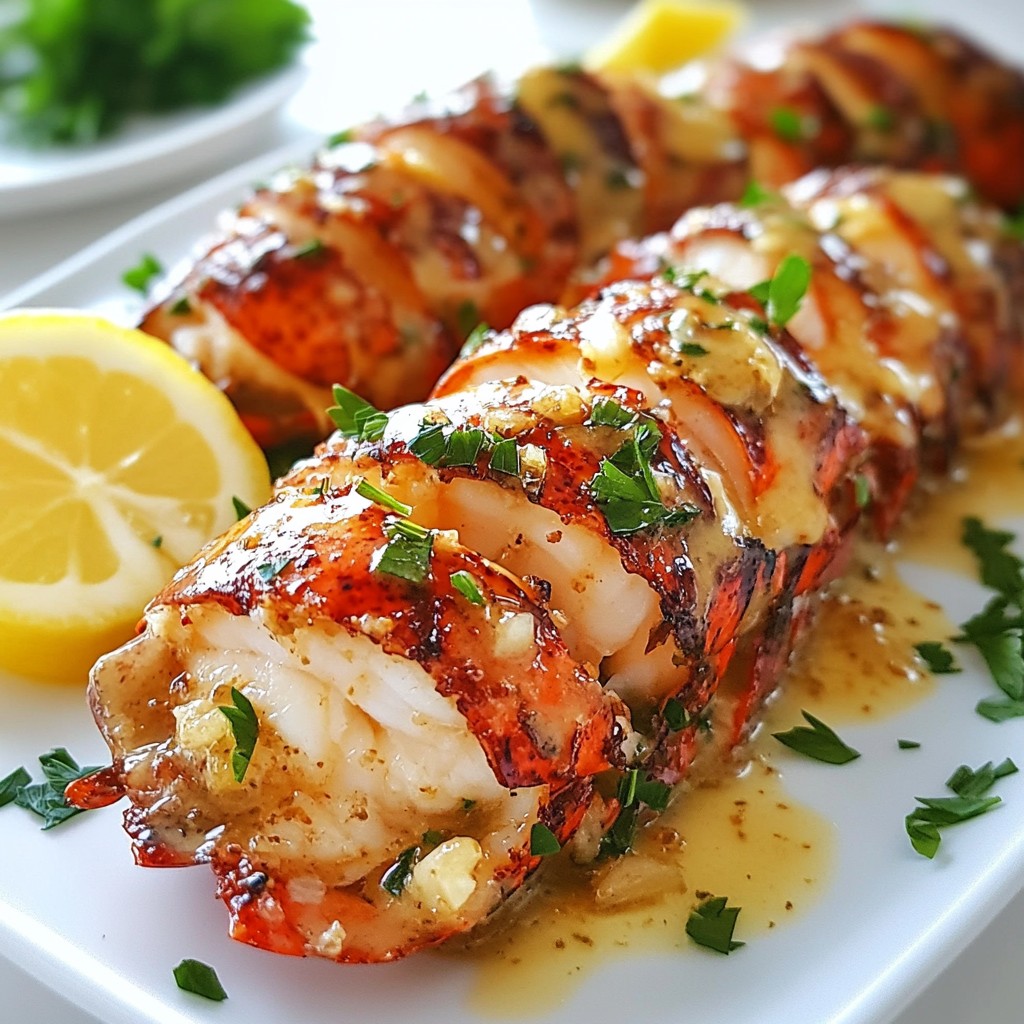
Delicious lobster tails baked with a garlic butter sauce.
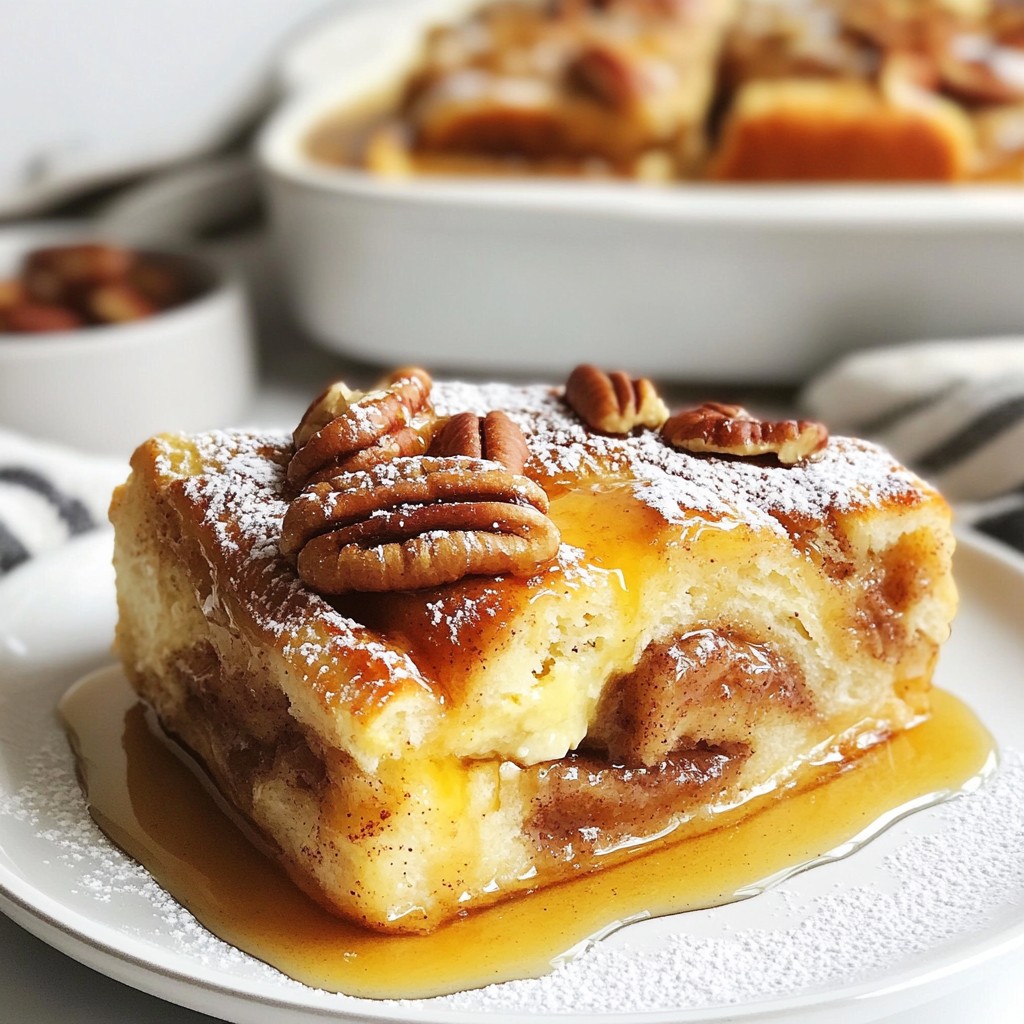
A delicious and easy-to-make breakfast bake combining cinnamon rolls and French toast.
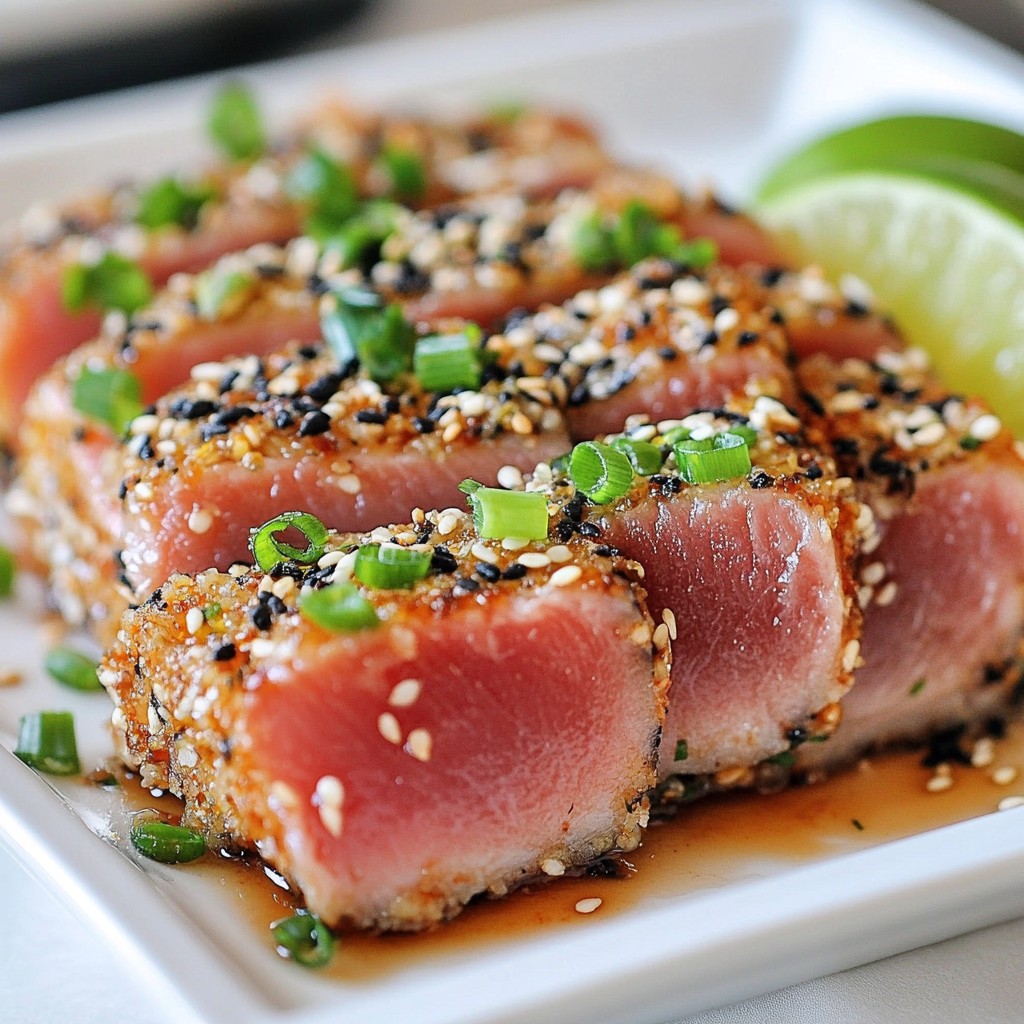
Ahi tuna steaks coated with sesame seeds and seared to perfection, served with a zesty lime garnish.