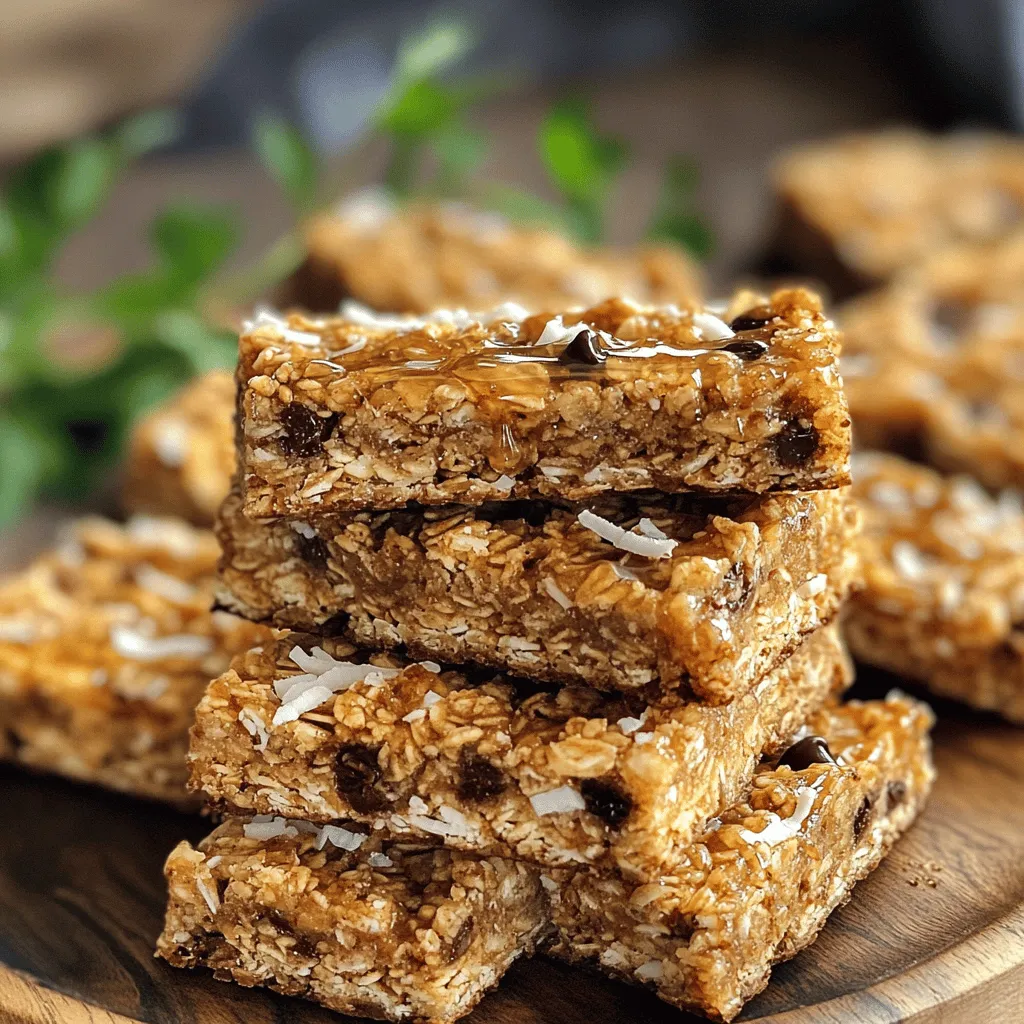
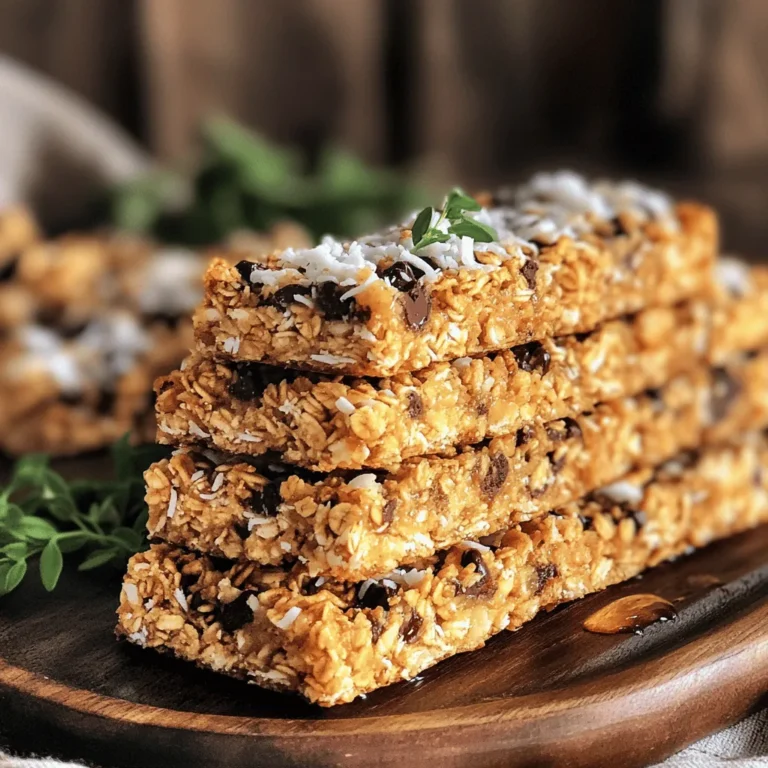
Looking for a quick, healthy snack? Homemade granola bars are the perfect answer! You can mix simple ingredients to create a tasty treat that fits your diet. Whether you need a quick breakfast or a mid-afternoon boost, these bars are easy to make and customizable. In this post, I’ll guide you through each step to create delicious homemade granola bars that are both healthy and satisfying. Let’s dive in!
Ingredients
Detailed Ingredient List
– Rolled oats: These form the base of the bars. They add fiber and texture.
– Unsweetened shredded coconut: This adds a sweet, nutty flavor and chewy texture.
– Nut butter options: Almond butter is my favorite. You can use peanut or cashew butter too.
– Sweetener options: Honey works well, but maple syrup is a great vegan choice.
– Chopped nuts: Almonds or walnuts add crunch and healthy fats.
– Dark chocolate chips or chunks: They bring sweetness and richness to the bars.
– Sea salt and vanilla extract: These enhance all the flavors in your bars.
– Optional ingredients (dried fruits): Try cranberries, apricots, or raisins for extra sweetness.
These simple ingredients make a delicious snack.Using fresh and quality ingredients makes a big difference in taste. Enjoy your homemade granola bars!
Step-by-Step Instructions
1. Preheat the Oven: Start by preheating your oven to 350°F (175°C). Line an 8×8 inch baking pan with parchment paper. Leave some paper hanging over the sides. This will help you lift the bars out later.
2. Mix Dry Ingredients: In a large bowl, combine 2 cups of rolled oats, 1 cup of unsweetened shredded coconut, 1/2 cup of chopped nuts, and 1/2 cup of dark chocolate chips. Add 1/4 teaspoon of sea salt. Stir everything well to mix.
3. Combine Wet Ingredients: In a small saucepan, add 1/2 cup of almond butter and 1/4 cup of honey (or maple syrup). Heat on low while stirring until it melts and becomes smooth. Remove from heat and mix in 1/2 teaspoon of vanilla extract.
4. Combine Mixtures: Pour the melted almond butter mix over the dry ingredients. Fold everything together until it’s well mixed. If you want to add dried fruit, like cranberries or apricots, fold them in now.
5. Press into Pan: Transfer the granola mixture to your prepared baking pan. Press down firmly with a spatula or your hands. Make sure it is tightly packed. This helps the bars hold together.
6. Bake: Place the pan in your preheated oven. Bake for 20-25 minutes, or until the edges turn golden brown. Keep an eye on them to prevent burning.
7. Cool and Slice: After baking, remove the pan from the oven. Let it cool for about 10 minutes. Use the parchment paper to lift the bars out of the pan. Let them cool completely on a wire rack before slicing into bars.
8. Store: Place your granola bars in an airtight container. They can stay fresh at room temperature for up to one week. For longer freshness, store them in the fridge.
Tips & Tricks
Perfecting Textures
To get the right texture for your granola bars, mix the dry and wet ingredients well. You want a thick, sticky mix. This helps hold the bars together. If your mixture feels too dry, add a splash of water or a bit more nut butter. Press the mixture down firmly in the pan. This step is key to avoid crumbling.
Tips for avoiding crumbling:
– Use parchment paper for easy lifting.
– Pack the mixture tightly into the pan.
– Bake until the edges are golden brown.
Flavor Enhancements
Spices can boost the taste of your granola bars. A pinch of cinnamon adds warmth. Nutmeg brings a lovely depth of flavor. Feel free to experiment!
Using nut butters:
– Almond butter gives a mild flavor.
– Peanut butter adds a rich, nutty taste.
– Sunflower seed butter is a great nut-free option.
Presentation Tips
Presentation can make your bars more appealing. Arrange the bars neatly on a plate for serving. Garnish them with a sprinkle of shredded coconut or a few chocolate chips on top. This adds a nice touch.
For a fun idea, wrap each bar in parchment paper. This makes them portable and cute for snacks on the go.

Variations
Vegan Options
To make these granola bars vegan, swap honey for maple syrup. Maple syrup adds sweetness without animal products. You can also use plant-based protein like pea protein or hemp protein. This keeps your bars nutritious and friendly for vegans.
Gluten-Free Options
For gluten-free bars, choose certified gluten-free oats. These oats ensure no cross-contamination with gluten. You can also replace nuts with seeds like sunflower or pumpkin seeds. This keeps the crunch while avoiding gluten.
Flavor Combinations
Get creative with flavor! Adding seeds like chia or flax boosts nutrition. They offer healthy fats and fiber. You can also mix in nut or seed butters, such as peanut or sunflower butter. These add creaminess and extra flavor to your bars.
Feel free to explore variations that suit your taste. You can make these bars truly your own!
Storage Info
How to Store
To keep your homemade granola bars fresh, store them in airtight containers. This helps keep moisture out. You can keep them at room temperature for a week. If you want them to last longer, put them in the fridge. The cold helps maintain their crunch.
Shelf Life
When stored at room temperature, these granola bars last about a week. In the fridge, they can stay fresh for up to two weeks. If you want to enjoy them longer, consider freezing them. Just wrap each bar in plastic wrap before placing them in a freezer bag.
FAQs
Can I make these bars without nuts?
Yes, you can make these bars without nuts. If you have nut allergies, use seeds instead. Sunflower seeds or pumpkin seeds work well. You can also use more dried fruit or extra oats to replace the nuts. This keeps the bars tasty and safe for everyone.
How long do granola bars last?
Granola bars last about one week at room temperature. Store them in an airtight container to keep them fresh. If you put them in the fridge, they can last longer, up to two weeks. Be sure to check for any signs of spoilage before eating.
Can I freeze homemade granola bars?
Yes, you can freeze these bars. Wrap each bar tightly in plastic wrap or foil. Place them in a freezer bag for easy storage. To thaw, just take them out and let them sit at room temperature for about 30 minutes before eating.
Are these granola bars healthy?
These granola bars are healthy! They contain rolled oats, which are high in fiber. The nuts provide healthy fats, and dark chocolate adds antioxidants. Using honey or maple syrup gives natural sweetness without too much sugar. Plus, adding dried fruits boosts vitamins and minerals.
How to modify the recipe for different diets?
To make these bars vegan, replace honey with maple syrup. For gluten-free options, make sure to use certified gluten-free oats. You can also swap almond butter for a seed butter to accommodate nut-free diets. This way, everyone can enjoy these tasty snacks!
Making granola bars at home is fun and easy. We covered essential ingredients and step-by-step instructions to create perfect bars. I shared tips to enhance flavor and texture. You can try different variations, from vegan to gluten-free, to suit your needs. Storing your bars correctly helps keep them fresh longer. With these ideas, you can create healthy snacks that fit your diet. Now, go ahead and enjoy your homemade granola bars, knowing they are tailored just for you!


